Feeling KEFish
Designer:
Sam
Project Category:
Bookshelf Speakers
Project Level:
Advanced
Project Time:
20+ Hours
Project Cost:
$100 – $500
Project Description:
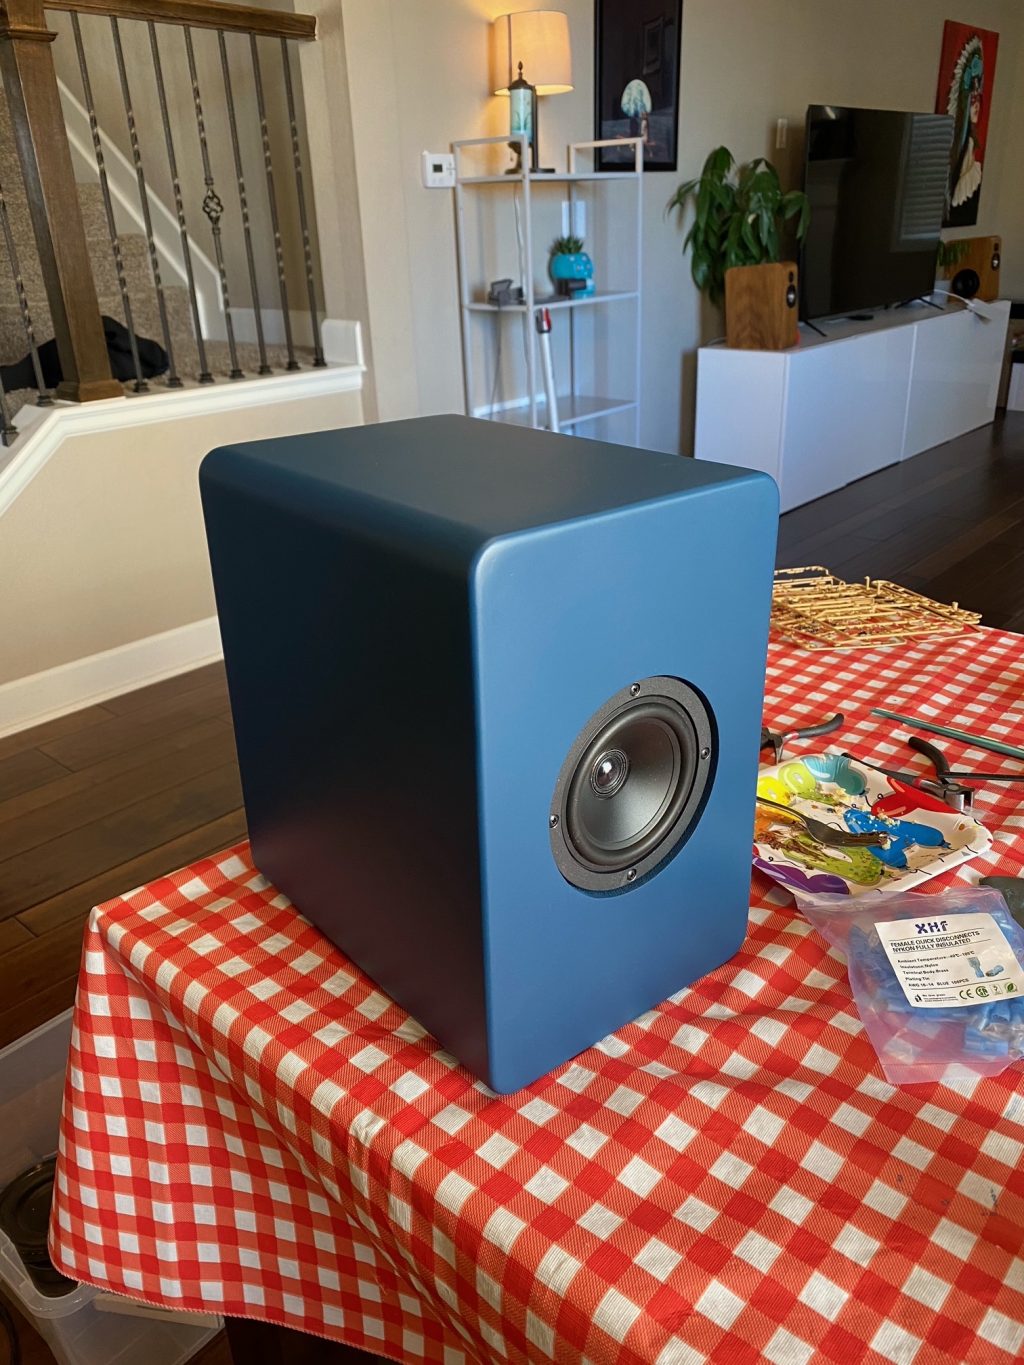
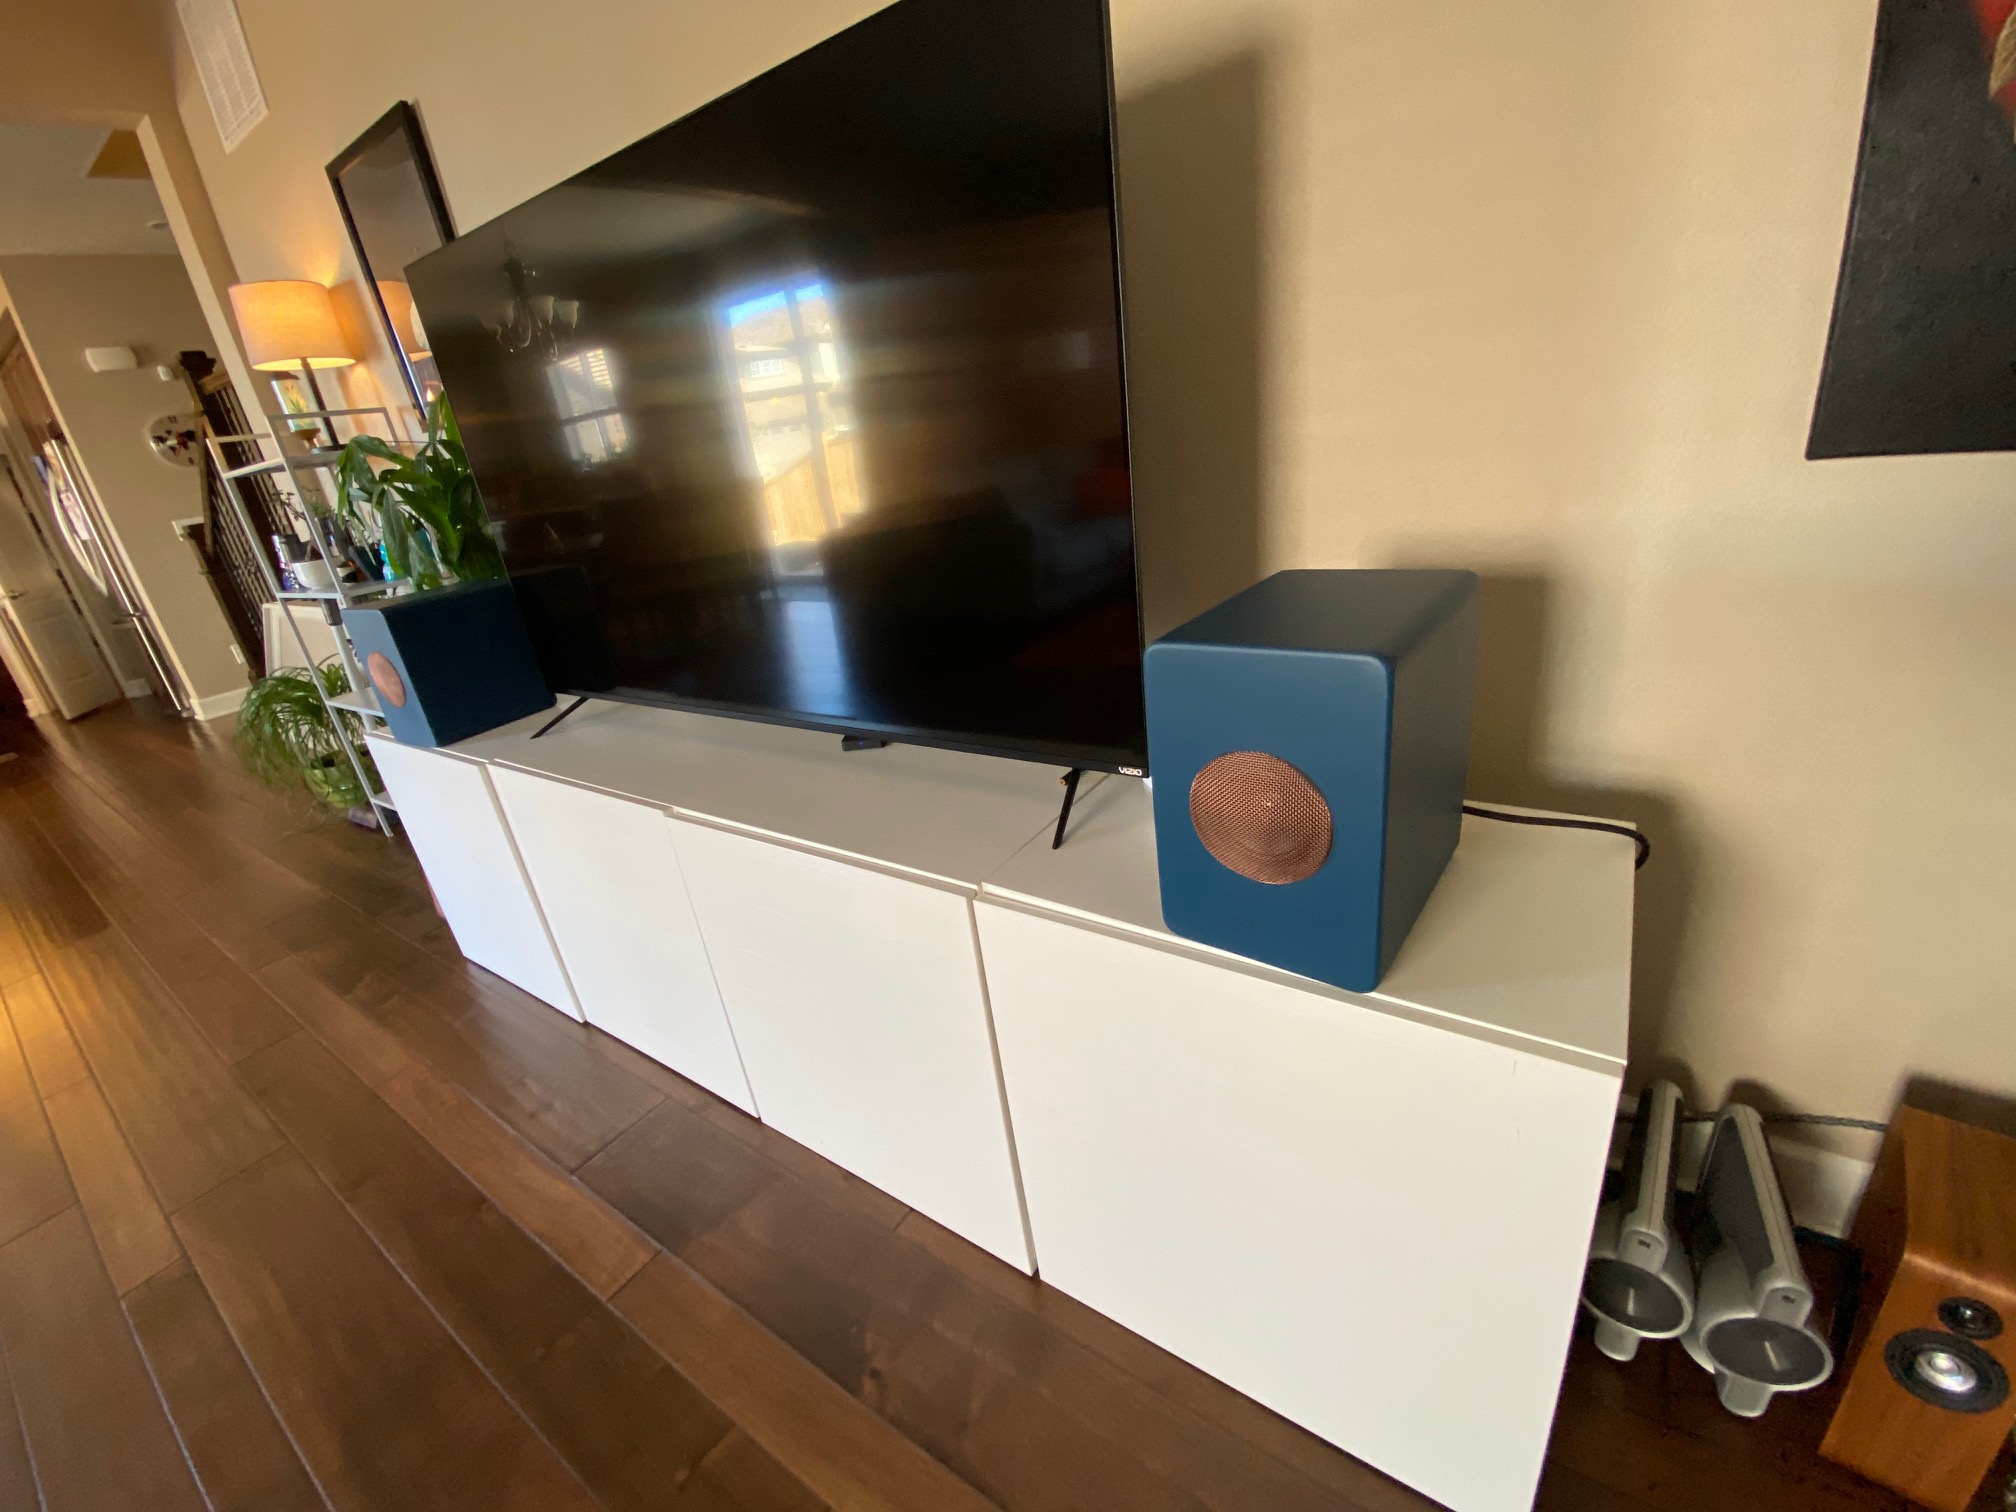
I am a huge fan of the form factor of the KEF LS50s, looking as much a piece of art as a loudspeaker. I was also drawn to their powered “wireless” version as it allowed for a legit hi-fi in a living room friendly package.
If I’d have just bought the KEFs we wouldn’t have a writeup here, but since I was lacking the $2500 clams for their version, and also had a pair of Dayton CX-120s that have been lying around a while, I decided to embark on my own coaxial design but with a twist.
Design Goals:
I wanted something similar visually to the LS50s but also to be truly full range as they would be hooked up to my living room TV for movies as well as music. I decided to work with a simpler form from the KEF curved baffle as I don’t have a CNC machine, but overall the aesthetic is similar.
Driver Selection:
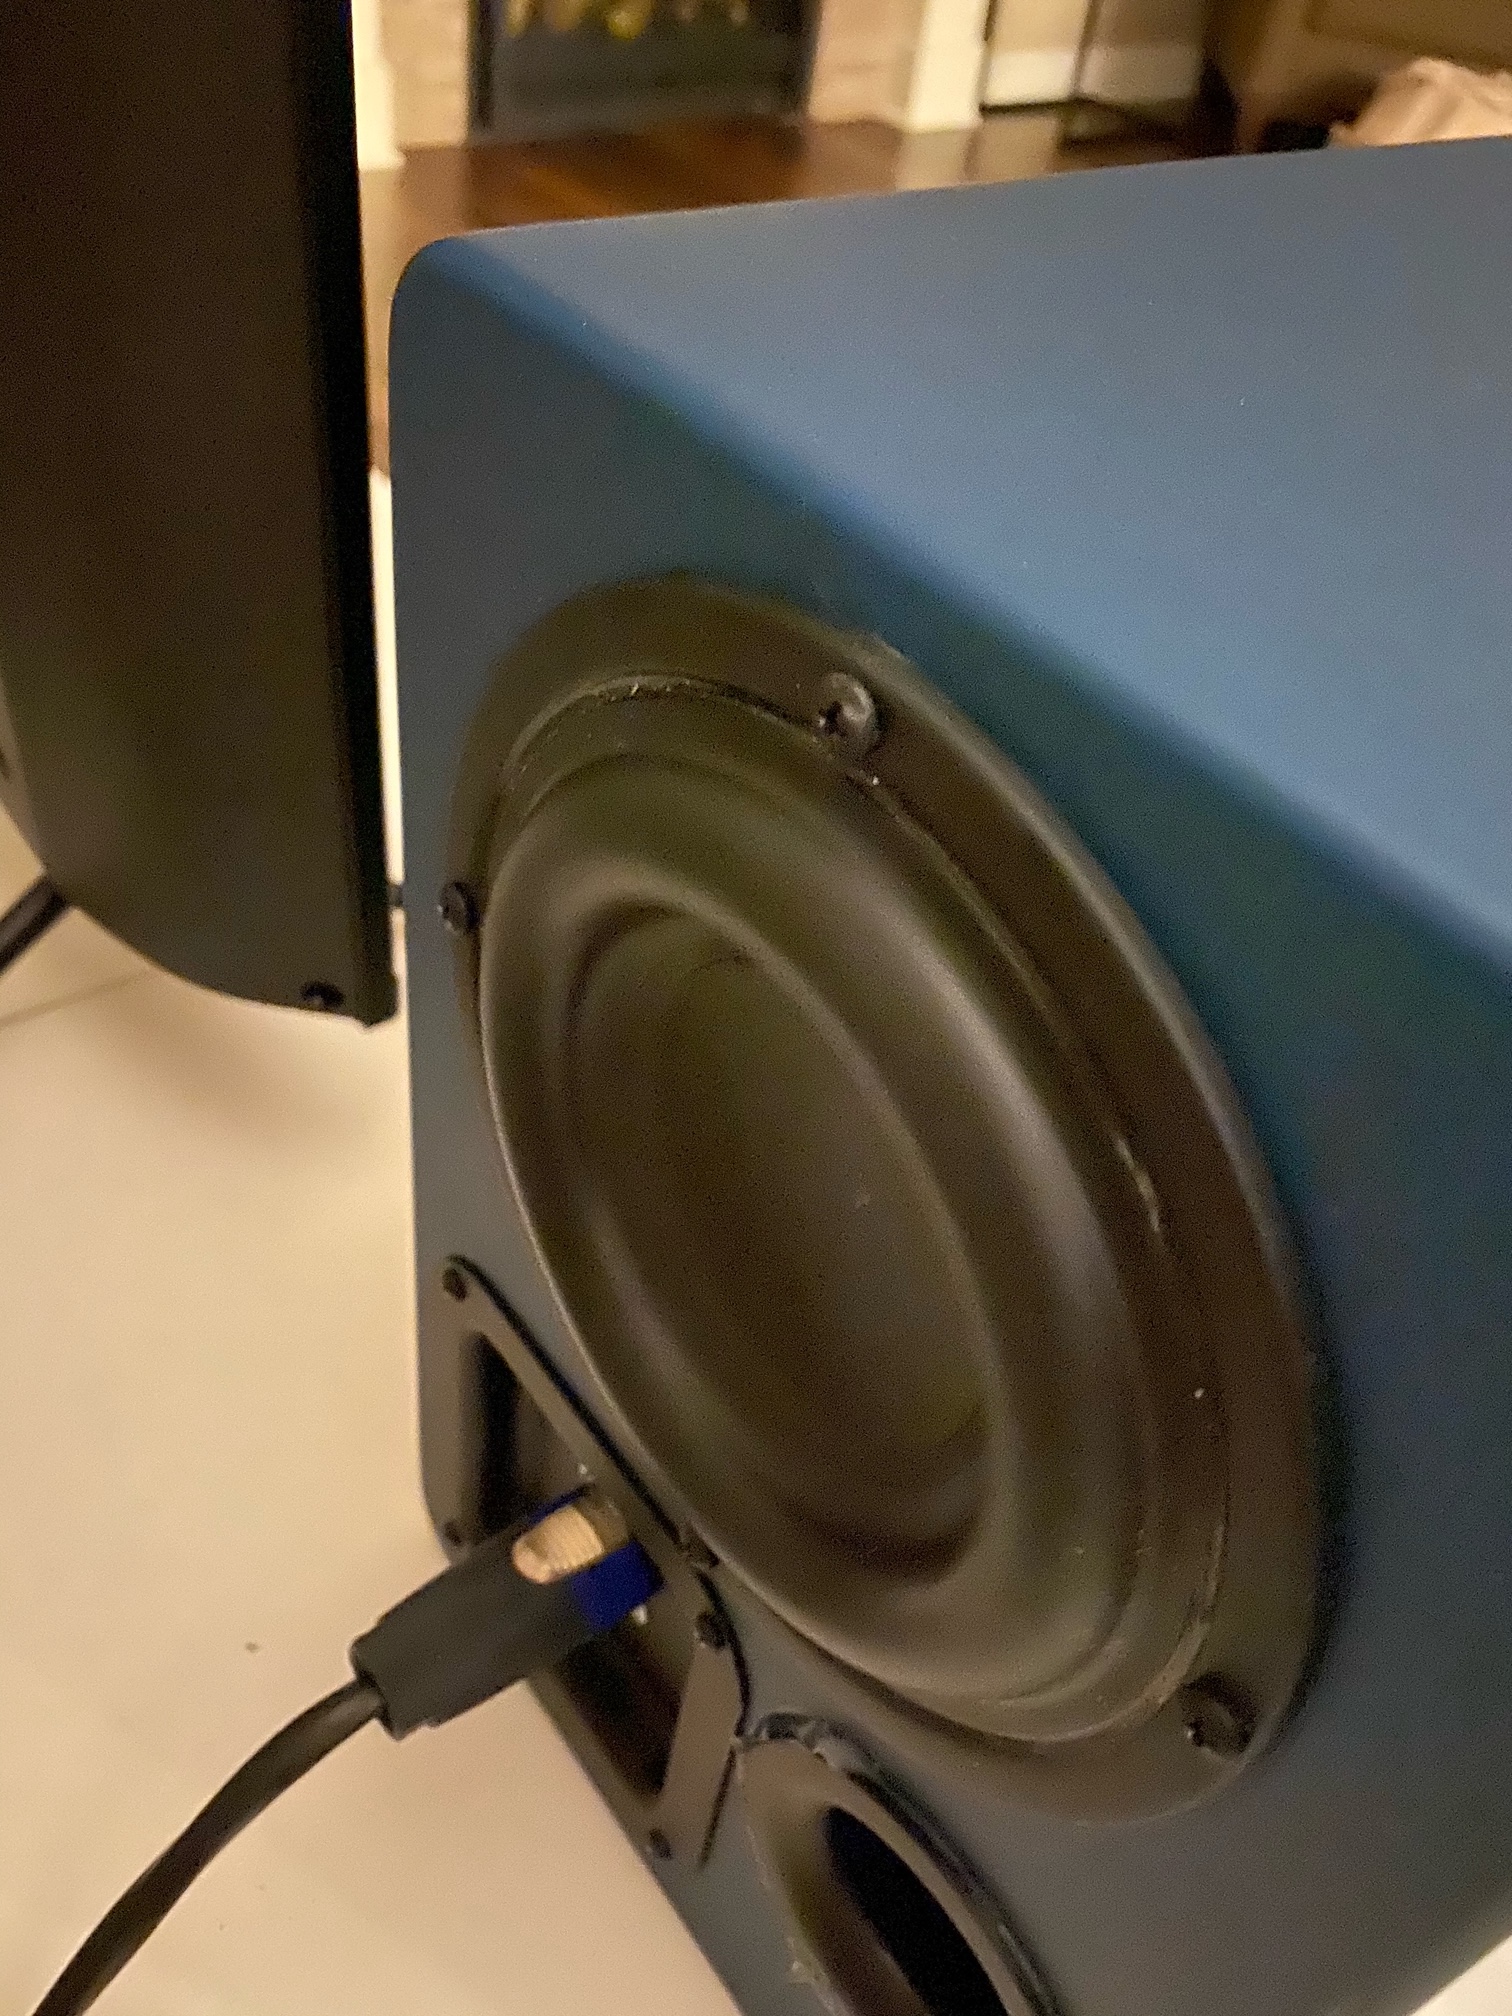
I needed some serious bass in a tiny enclosure, and there’s really only one woofer that fits in a tiny box and makes a big boom, the Tang Band W5. I mentioned I had some Dayton CX120s laying around I never quite found the project for so they got the call as the only coaxial option that doesn’t need big space or drain the bank.
Enclosure Design:
These measure almost exactly the same dimensions as the LS50s, 8Wx12Hx11D which using 3/4″ MDF gives us about .38 cu ft to play with.
I made a separate internal chamber that houses the CX-120, it’s a simple U shape of 1/2″ MDF around the woofer internally glued in place and sealed from the pounding of the W5 behind it. This chamber is filled with some fill and foam damping sheets, the passive crossover lives mounted to the back of this enclosure as this is a very small space for the coaxial to save airspace for the woofer.
The port needs to be about 10″ long in the volume I had available for low tuning, so it is curved up from the bottom of the cabinet to about an inch from the cabinet top. It’s a tight squeeze, everything is tight in these things.
I used standoffs to mount the Dayton boards together and then to the side wall of the right speaker, and the power supply lives on the bottom panel inside that speaker as well.
I used 4 conductor Belden wire and 4 pole Speakon connectors to run the highs and lows to the passive left speaker. No fancy wireless like the KEFs sorry.
I haven’t noticed any interference with the power supply being in the same box, but it does get warm in there when you crank them up. So far the amps show no signs of distress, but you could always build a small external box to house the power supply too if it’s a concern. I wanted simplicity so everything got stuffed inside.
I used some Penn Elcom plates as terminals on the backs, also I put an analog in which is fed from the TV for sound. I control the volume on that input from the TV.
Enclosure Assembly:
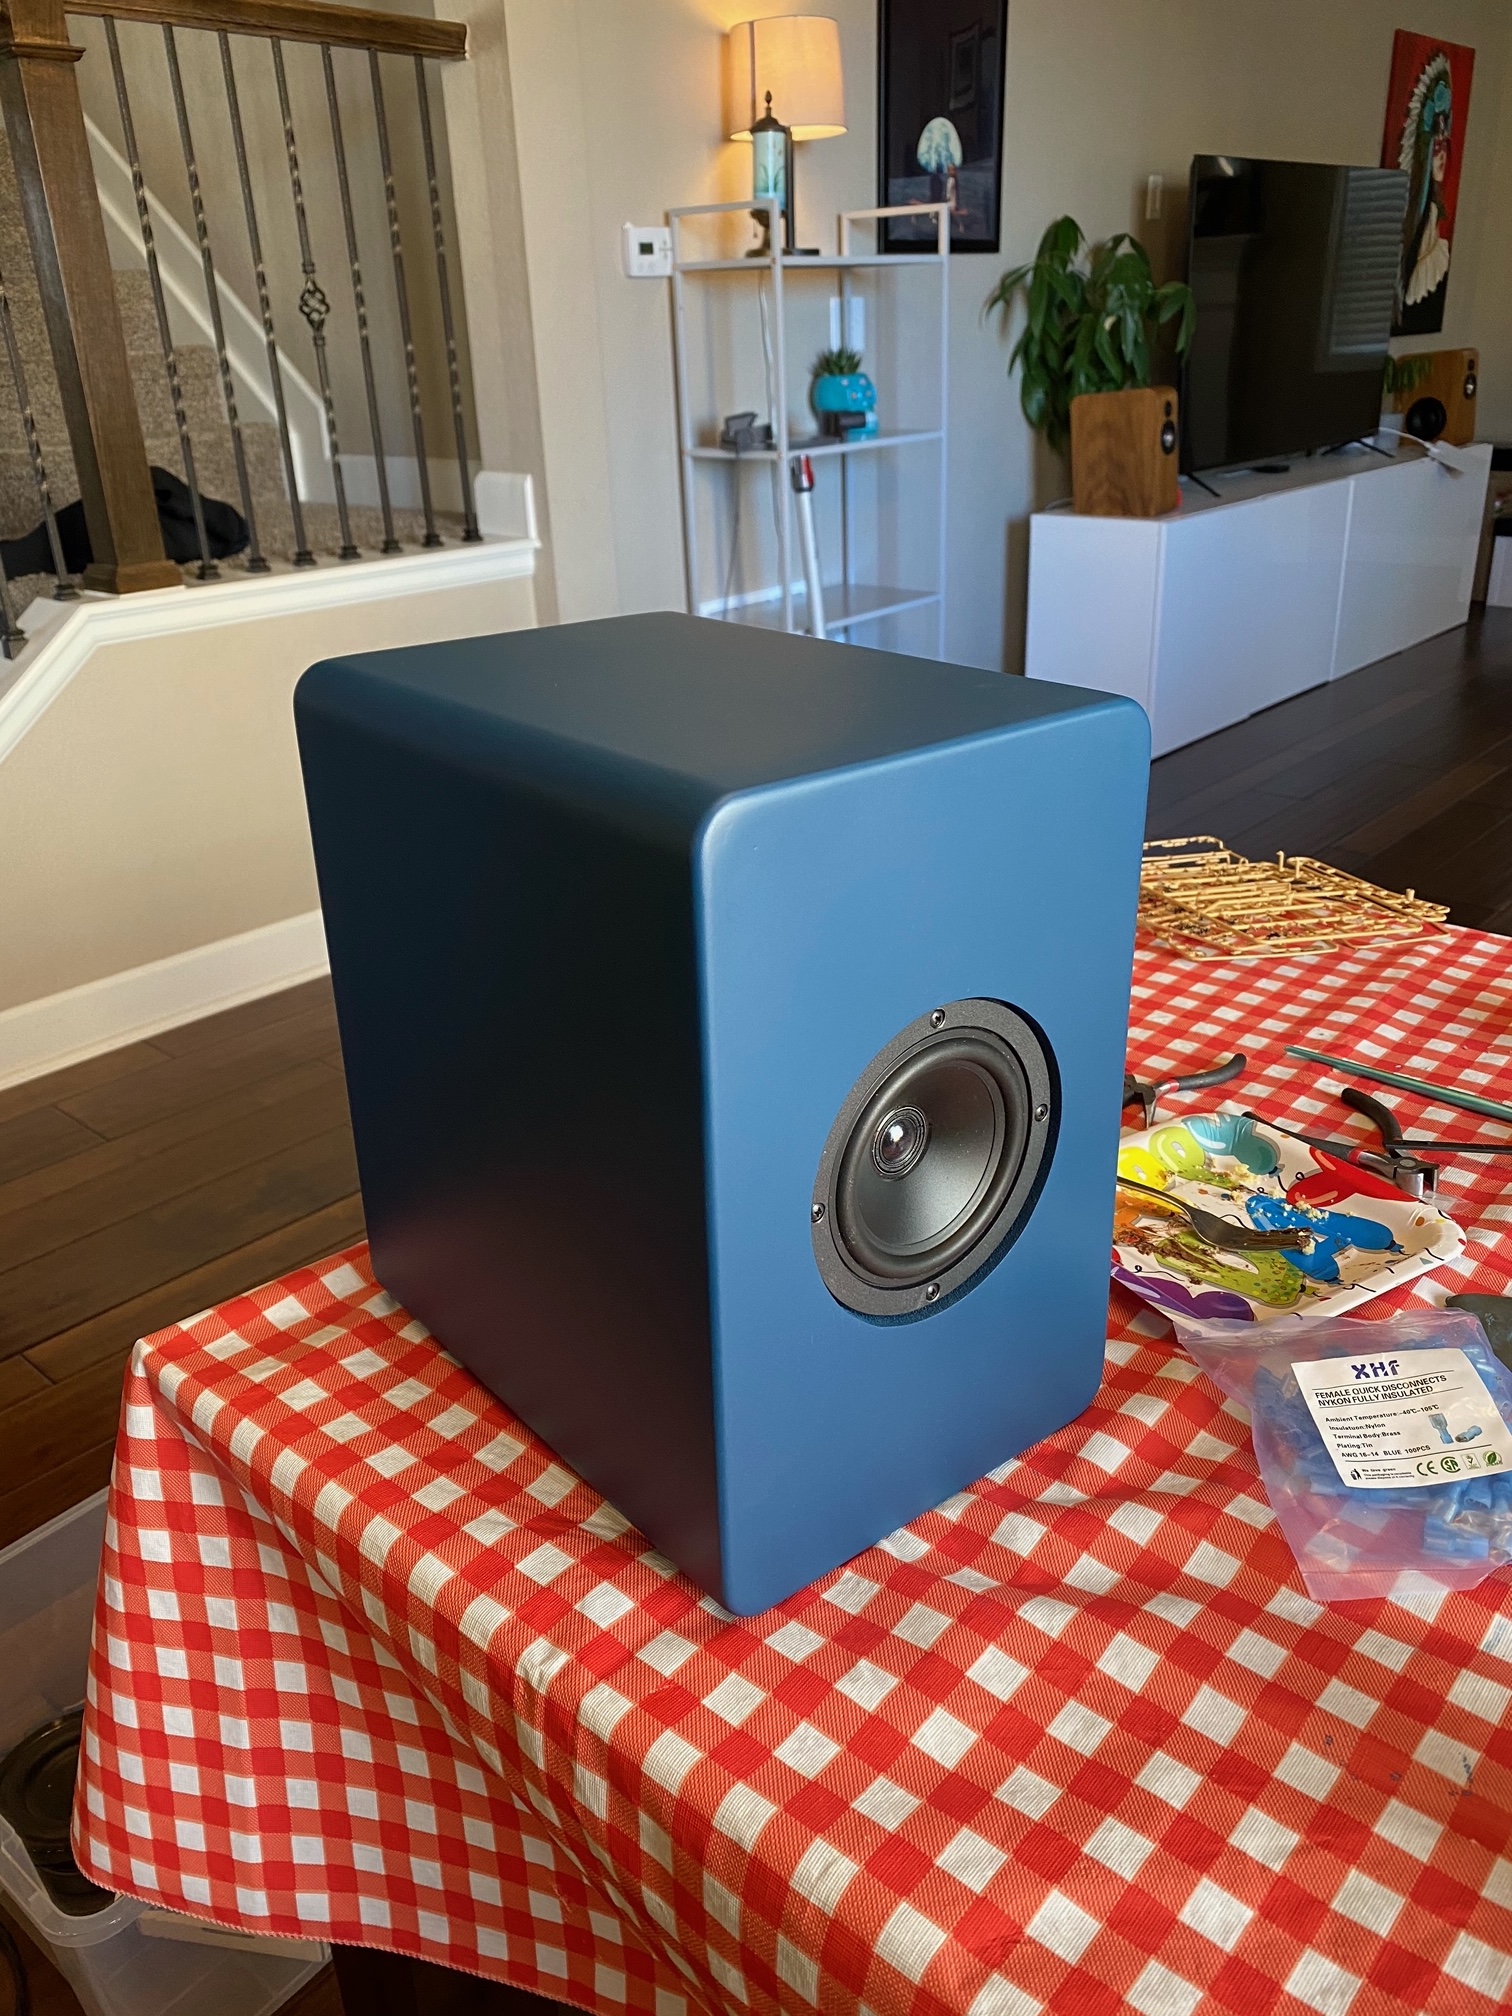
I used 3/4″ MDF for all the outer walls and used a big rounder on the corners. I coated the MDF with wax free shellac, then spray painted with Krylon matte ink blue spray paint from Lowes, three coats, then wet sanded and two coats of matte clear coat rattle can as well. I am a terrible painter and the finish isn’t perfect but I like it anyway. The matte really fits what I was going for.
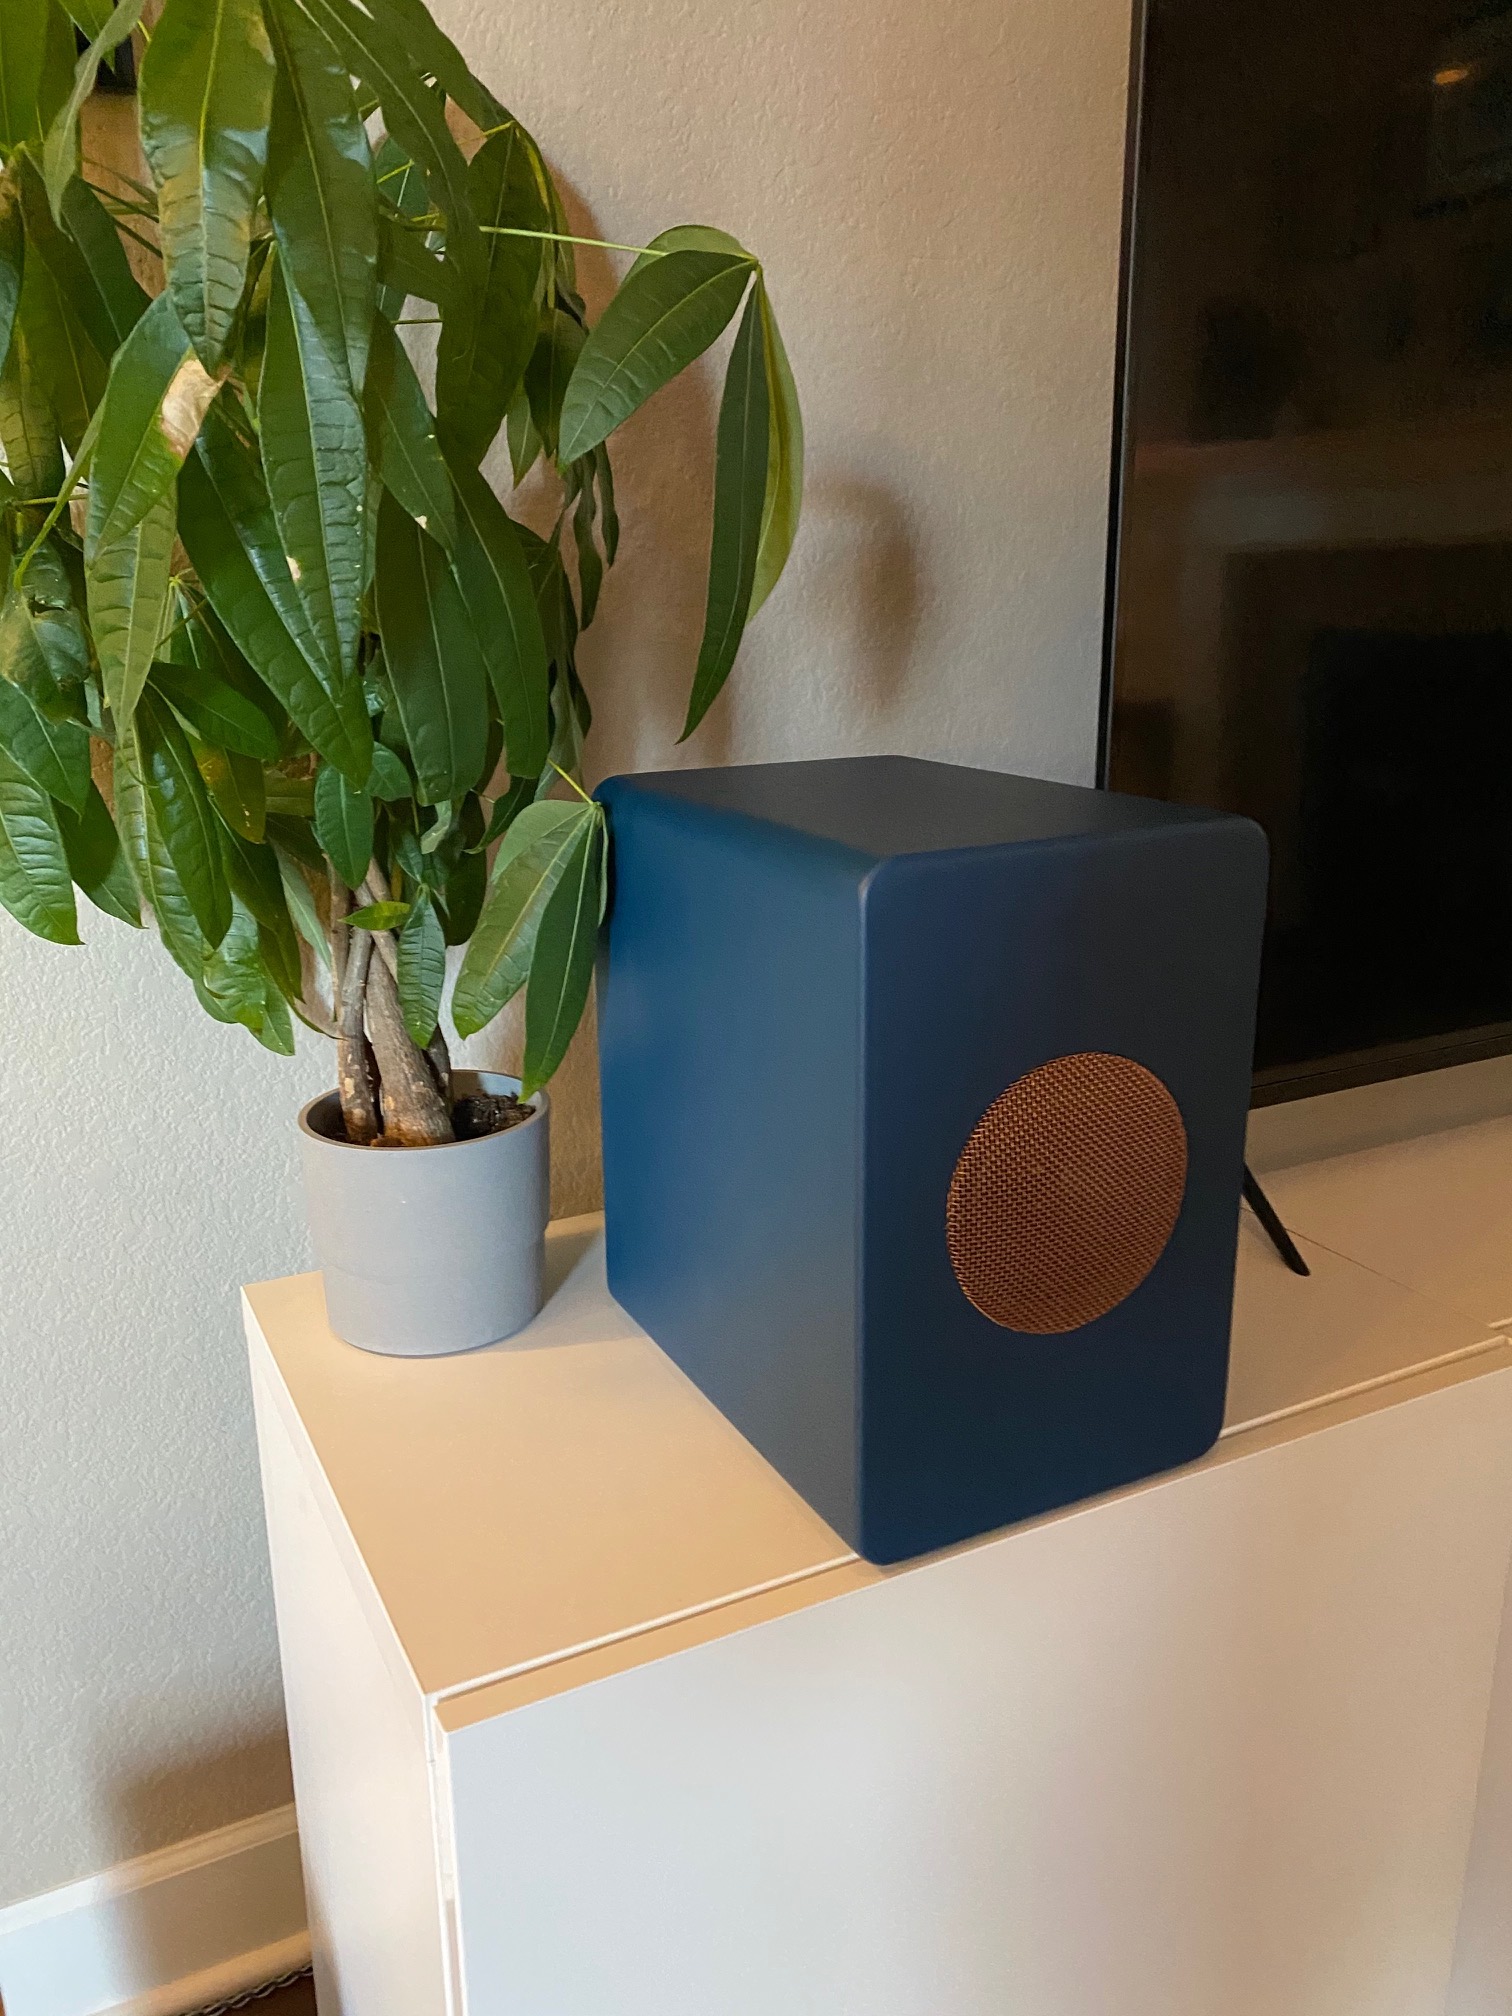
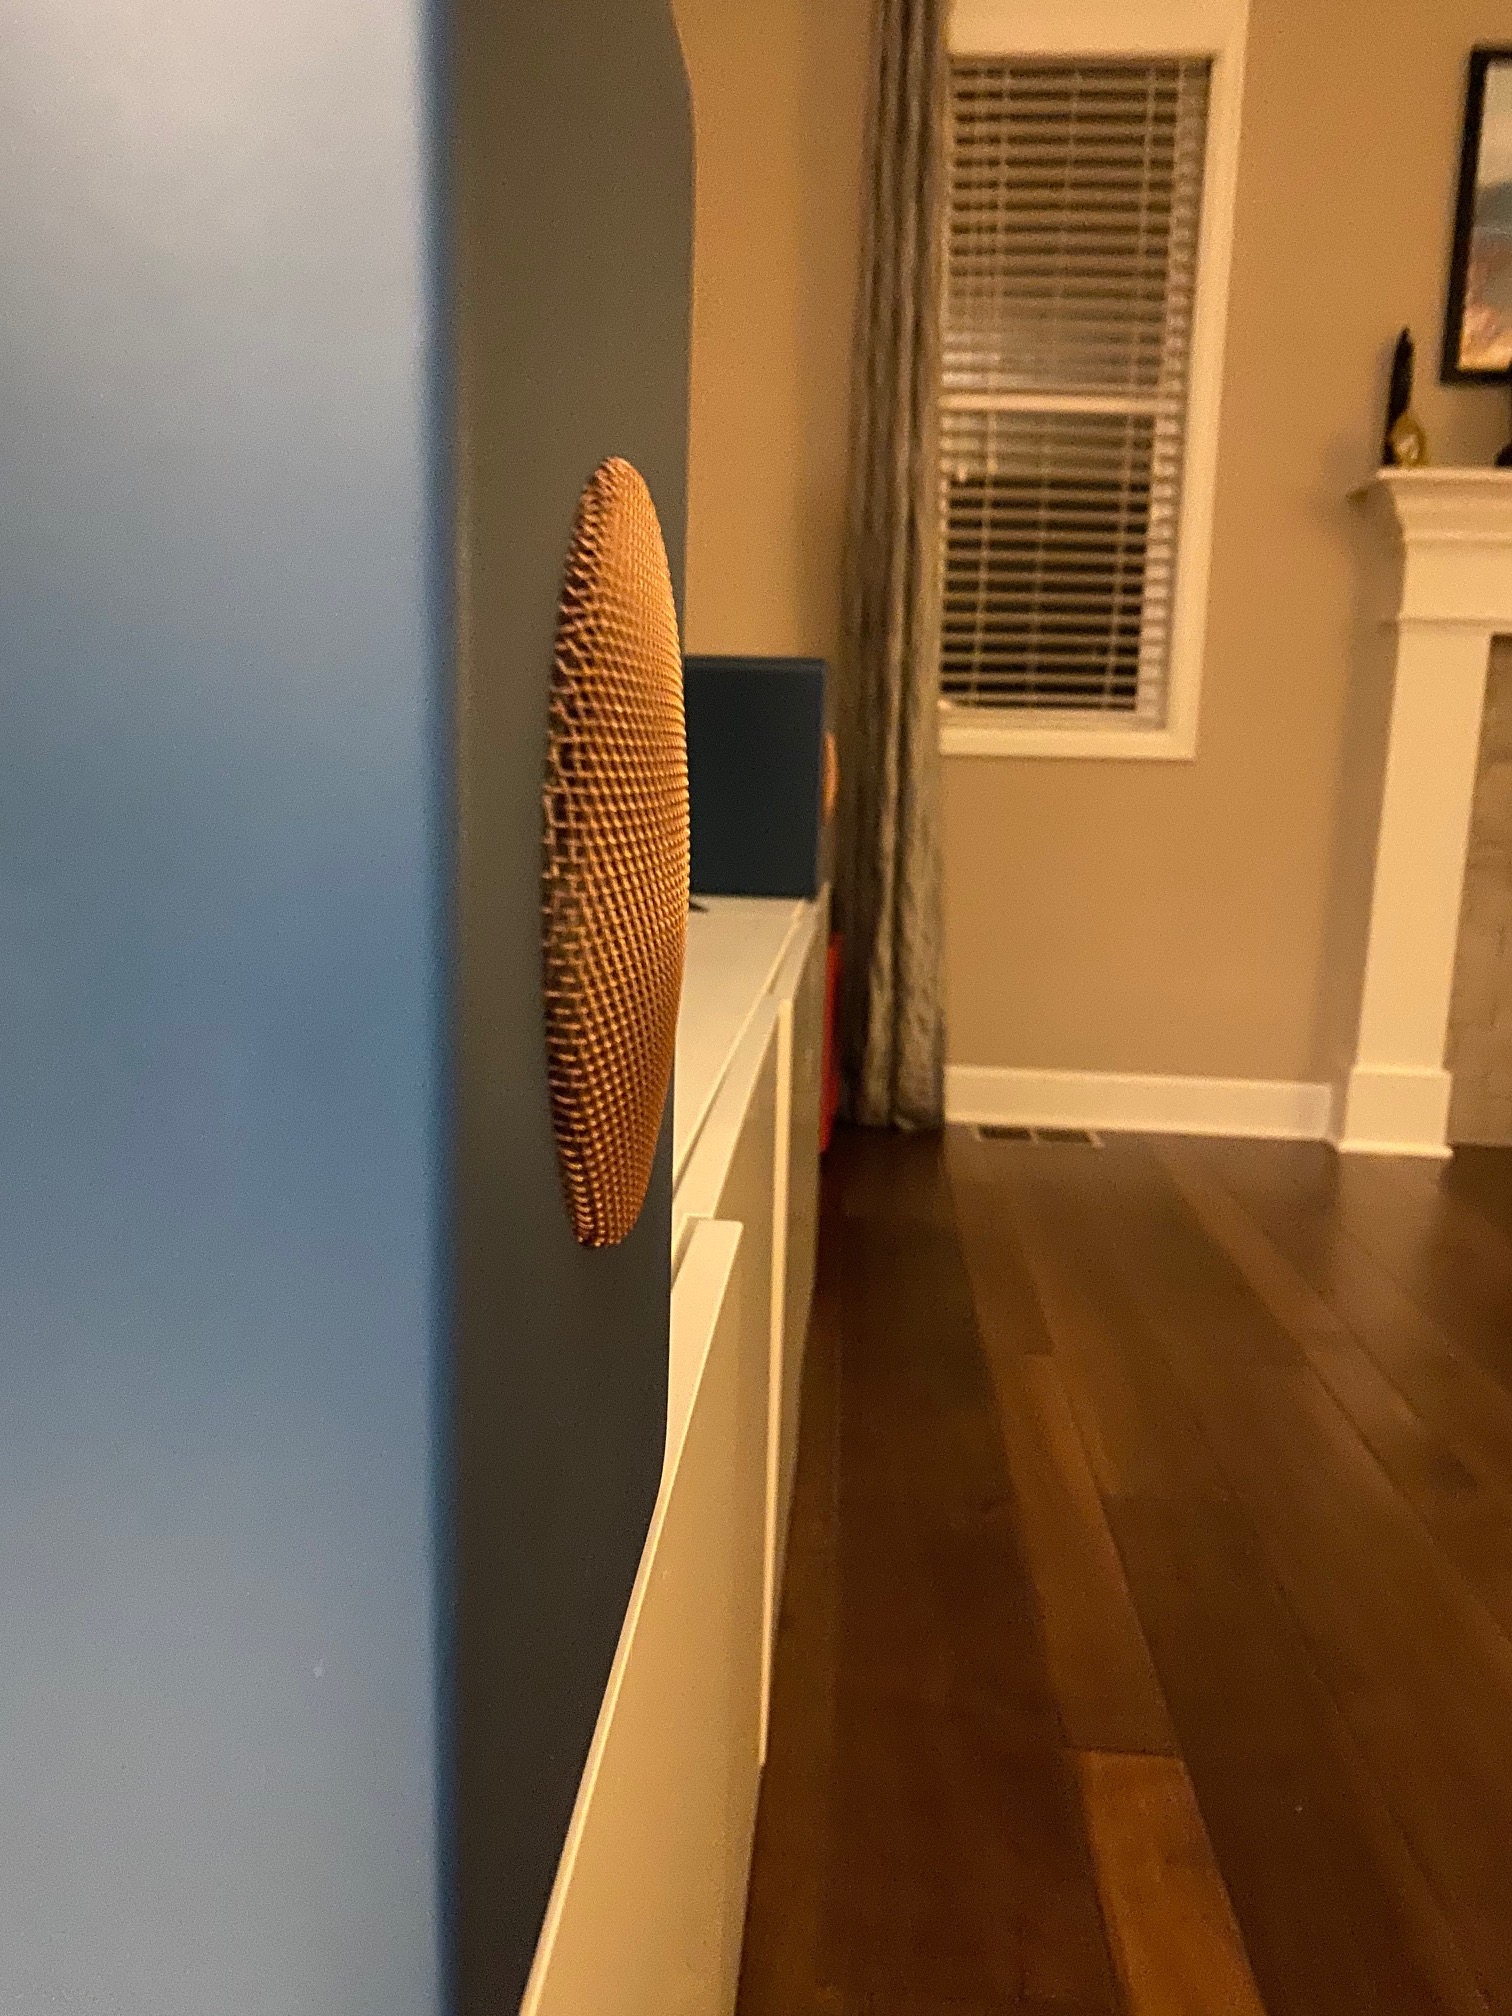
The grilles are stainless mesh, I cut a circle the same size as the driver outer and then a “doughnut” 1/16″ smaller and used it in a vice to press the grille into shape then trimmed the excess. I sprayed it with a rattle can copper metallic spray to get the finish I was looking for. I actually love the grilles, when the sun hits they actually sparkle!
the pics of the rear still show leftover sealant around the port and input plate, sorry they weren’t totally finished yet but had to snap a few.
Crossover Design:
The passive crossover on the CX-120 is the one from the Executive speaker kit from Dayton, find that here: https://www.parts-express.com/pedocs/manuals/300-7164–executive-speaker-assembly-manual-2.pdf
The crossover between the CX-120 and the W5 is handled within Sigma Studio on the Dayton DSPB board.
This was my first experience with this software and it took some trial and error to get the result I wanted. I ended up crossing over at 125hz with 24db/octave filters, and added another filter at 25hz to filter out low sub-bass and keep the W5’s happier.
Essentially the software can do anything you want it to, but I haven’t taken the time to seriously measure these and make EQ adjustments, just dialed in by ear.
One note- the sensitivity of the subs even when run parallel at 2 ohms is much lower than the mains, so I set the gain in the crossover screen to 6 for the mains and 10 for the subs to equal it out. The bass is definitely more than strictly “accurate” but it makes most casual listening and movies a lot more interesting!
Conclusion:
First off these have HUGE bass for such small speakers. The Dayton DSPB board has a good bit of juice, only running out of steam at louder levels than you’d normally listen at. The KAB interface will only play as loud as the bluetooth gain on music, but in reality this is plenty loud in most cases. If you listen to a lot of classical or jazz that has much less compression this may not be the best setup for you. As I mentioned early on I gave up some volume on the coaxials to get the sub level high enough, and there really isn’t a way to get it back.
This was my first experience with the DSPB board and if you don’t like the sound of what I described, change it! They really are pretty incredible for the price and so far the performance has been very good. These aren’t anywhere near as powerful or transparent as my main setup, but for thirty-something bucks they kick butt and open up a whole new world of experimenting with all the filters you can create.
About the Designer:
Have been involved in audio for many years both as a hobby and commercially, nowadays I like to come up with projects as a creative outlet as much as selling anything.
Project Parts List:
Superb looking build, great stuff. Those grilles look excellent. Where did you get the mesh?
You may already know this, but you have a few options for adding an external volume control to adjust the gain on the amp. The crudest is just to remove one of the on-board pots, and wire it up to an external knob. Alternatively, you can use the digital gpios on connector J2. With those, you can do simple up and down volume buttons, or a rotary encoder for a stepped volume knob.
Luke, I got the mesh on Amazon. I’ve also bought it from hardware stores before but online you can select the wire gauge and overall open airspace which is nice depending on application. The gain on the coaxials is maxed, I didn’t bother with an external pot as with the terminal plate I can access the amps pretty easily if needed. You can also adjust the gain in the software, I do wish I had an external input for the USB plug but I couldn’t find a nice airtight input for this, so when I need to change settings I just unscrew the plate.