mom’s mini towers


Designer:
j.a.m. inc.
Project Category:
Tower Speakers
Project Level:
Beginner
Project Time:
8-20 Hours
Project Cost:
Under $100
Project Description:
a total crap shoot with random cheap parts. i don’t have all the fancy measuring equipment(yet) but i’ve got some things that get me by for now. i do use Bassbox 6 and Crossover Pro 3. xsim and passive crossover designer.
Design Goals:
my goal was to provide my mother with speakers because her soundbar just didn’t cut it for tunes. they had to be small because i knew she would not want big obtrusive enclosures in her living room.
Driver Selection:
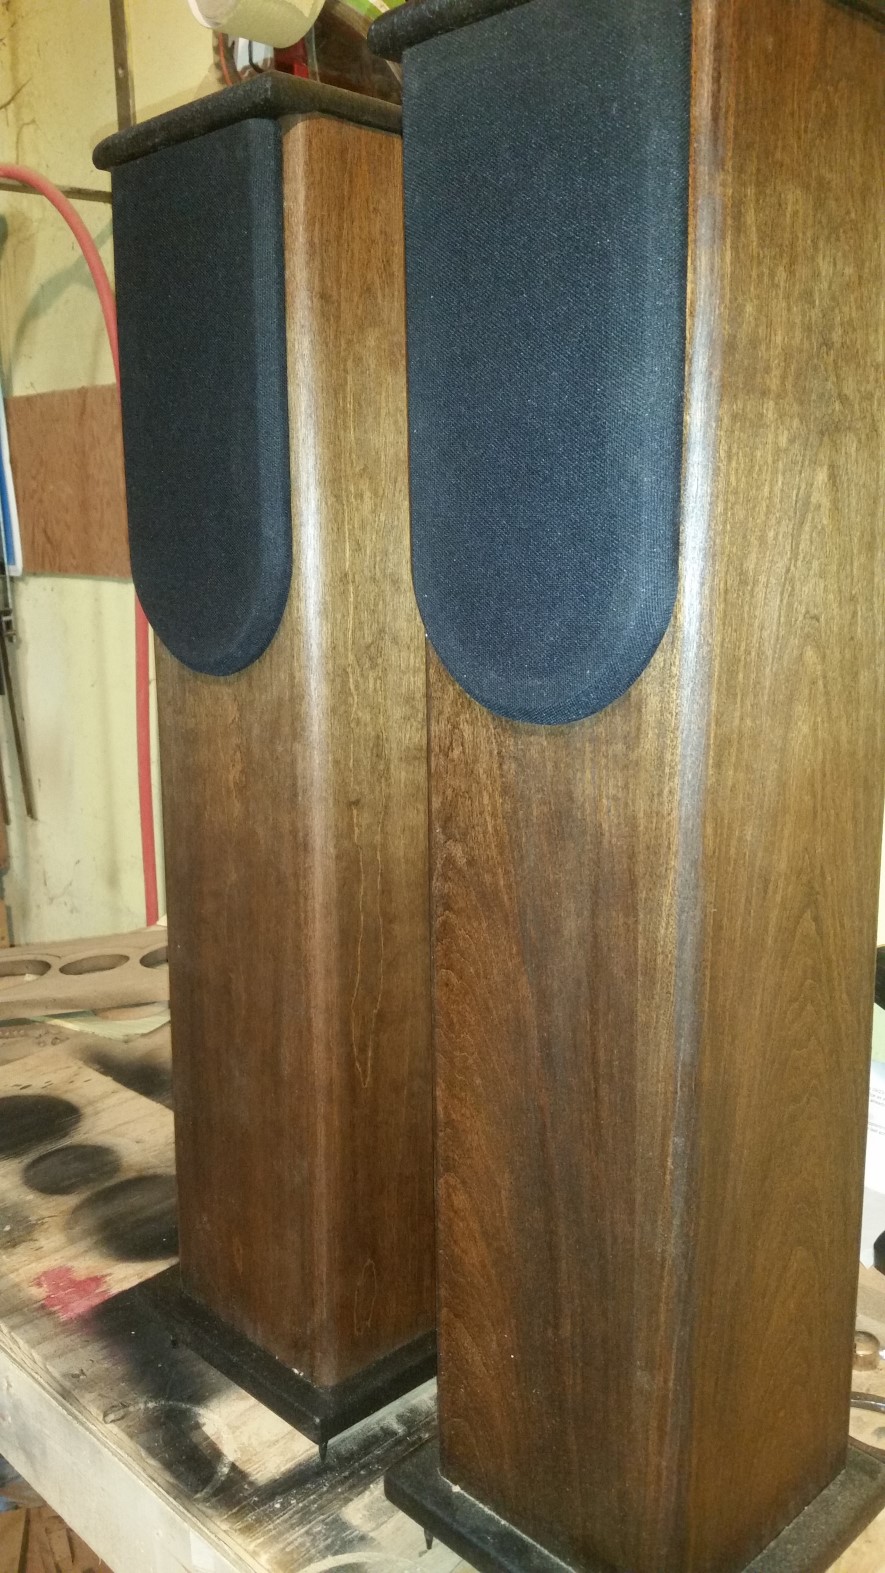
i had noticed the tectonic drivers on sale for $10 so i thought, “why not?” i knew i would want a small tweeter for my piece of mind but also keeping in mind that mom’s hearing isn’t that keen, so i went with the mini planar just for giggles.
Enclosure Design:
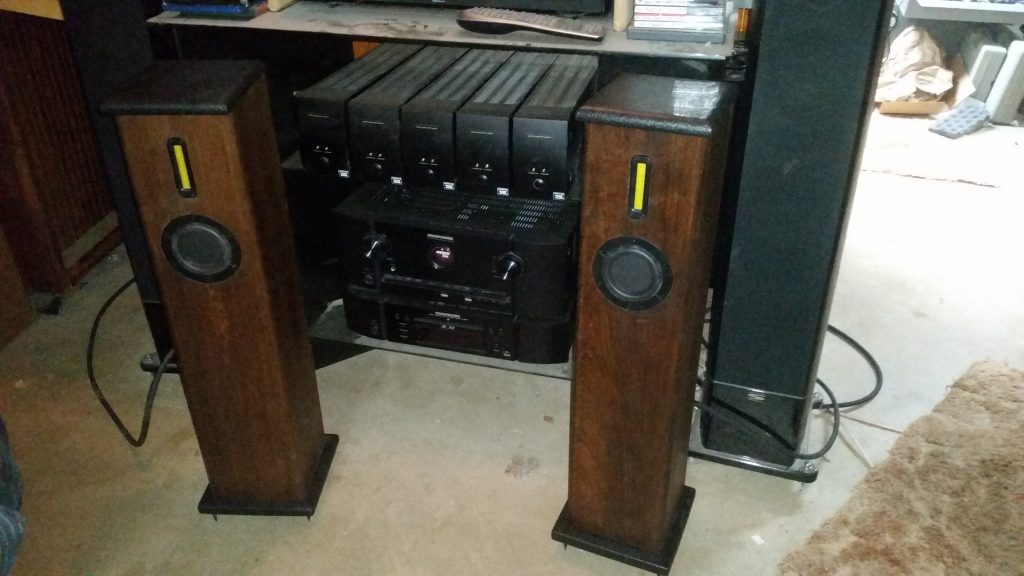
i used Bassbox 6 for the design and came up with .3^ft. (inside dimensions are 26h x 4d x 5w.) knowing the location of where the speakers would live their entire life prompted me for a slot port(.5h x 5w x 4.5length) at mid height on the rear(tuning of 66hz(f3 of 56hz)). i knew that they would be powered by an extra pioneer “elite” int. amp @40wpc and tweaked with an extra 10bd/ch eq, i knew i could tweak the sound. the towers were modeled with heavy fill but i only stuffed the top and bottom with polyfill with acoustic foam behind the driver. the middle of the enclosure is empty at the moment. 1/2″ of the rear spikes were cut off to make the rear lean easier to dial in.
Enclosure Assembly:
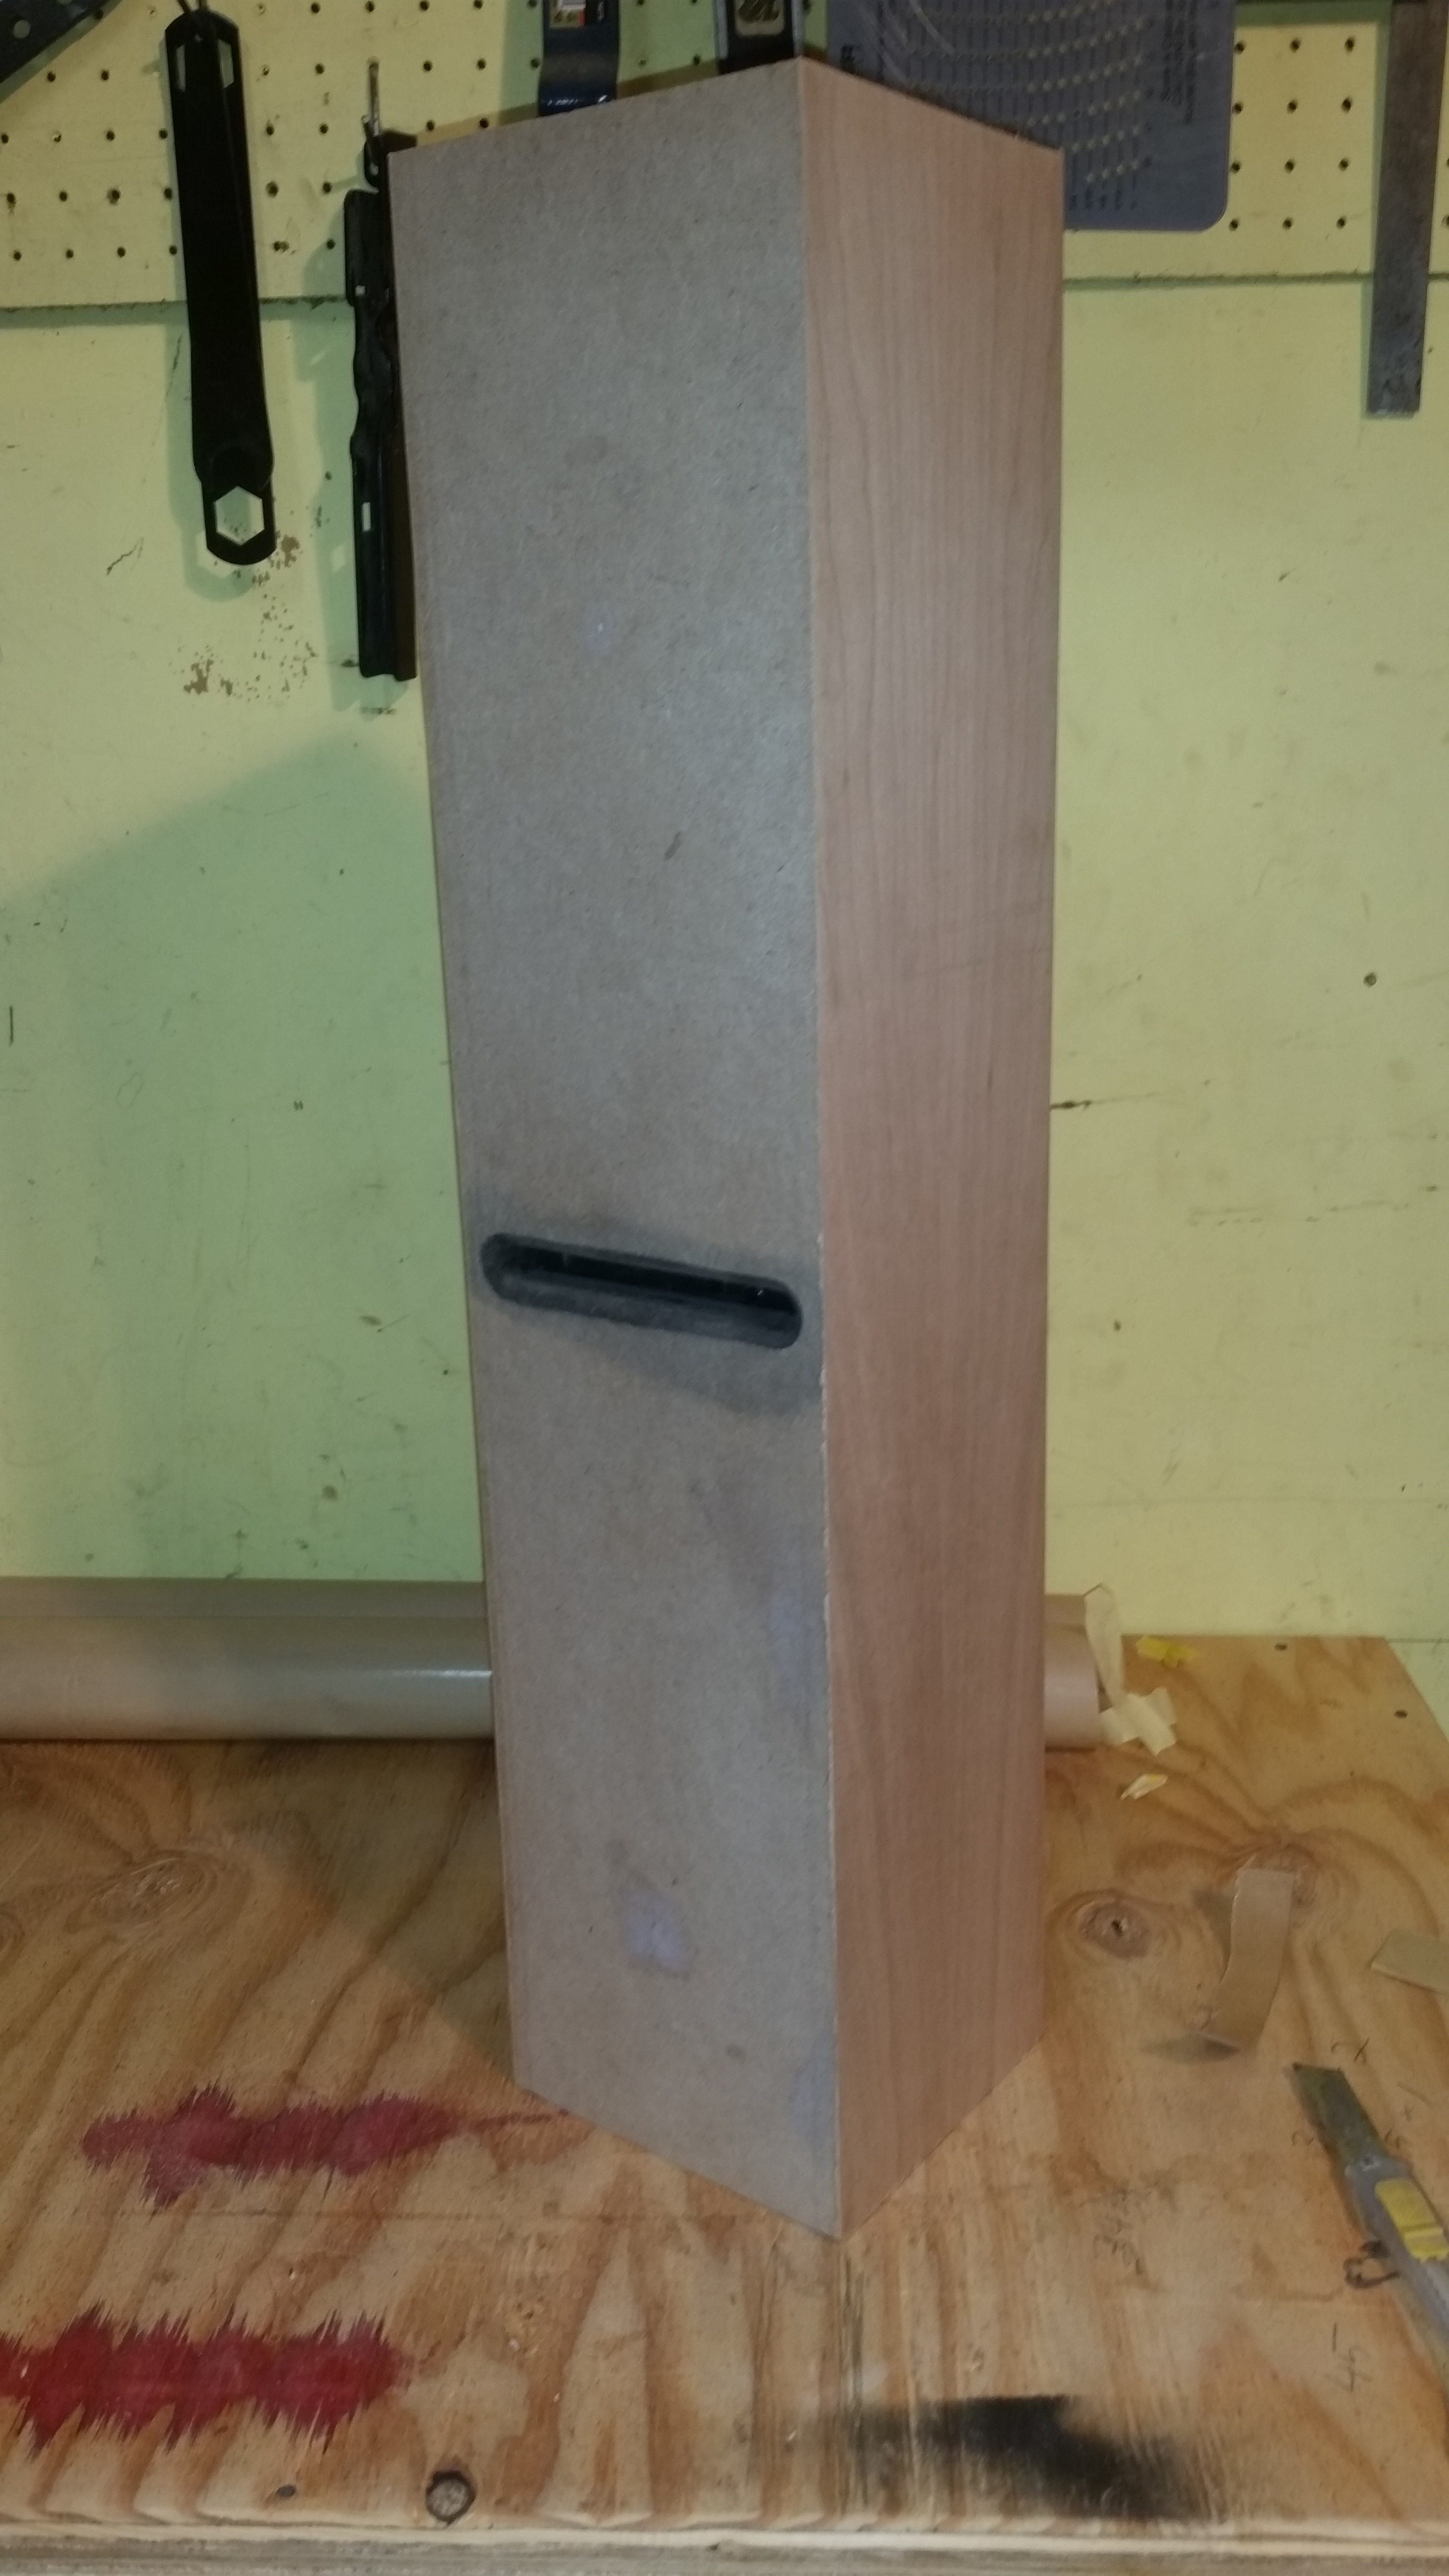
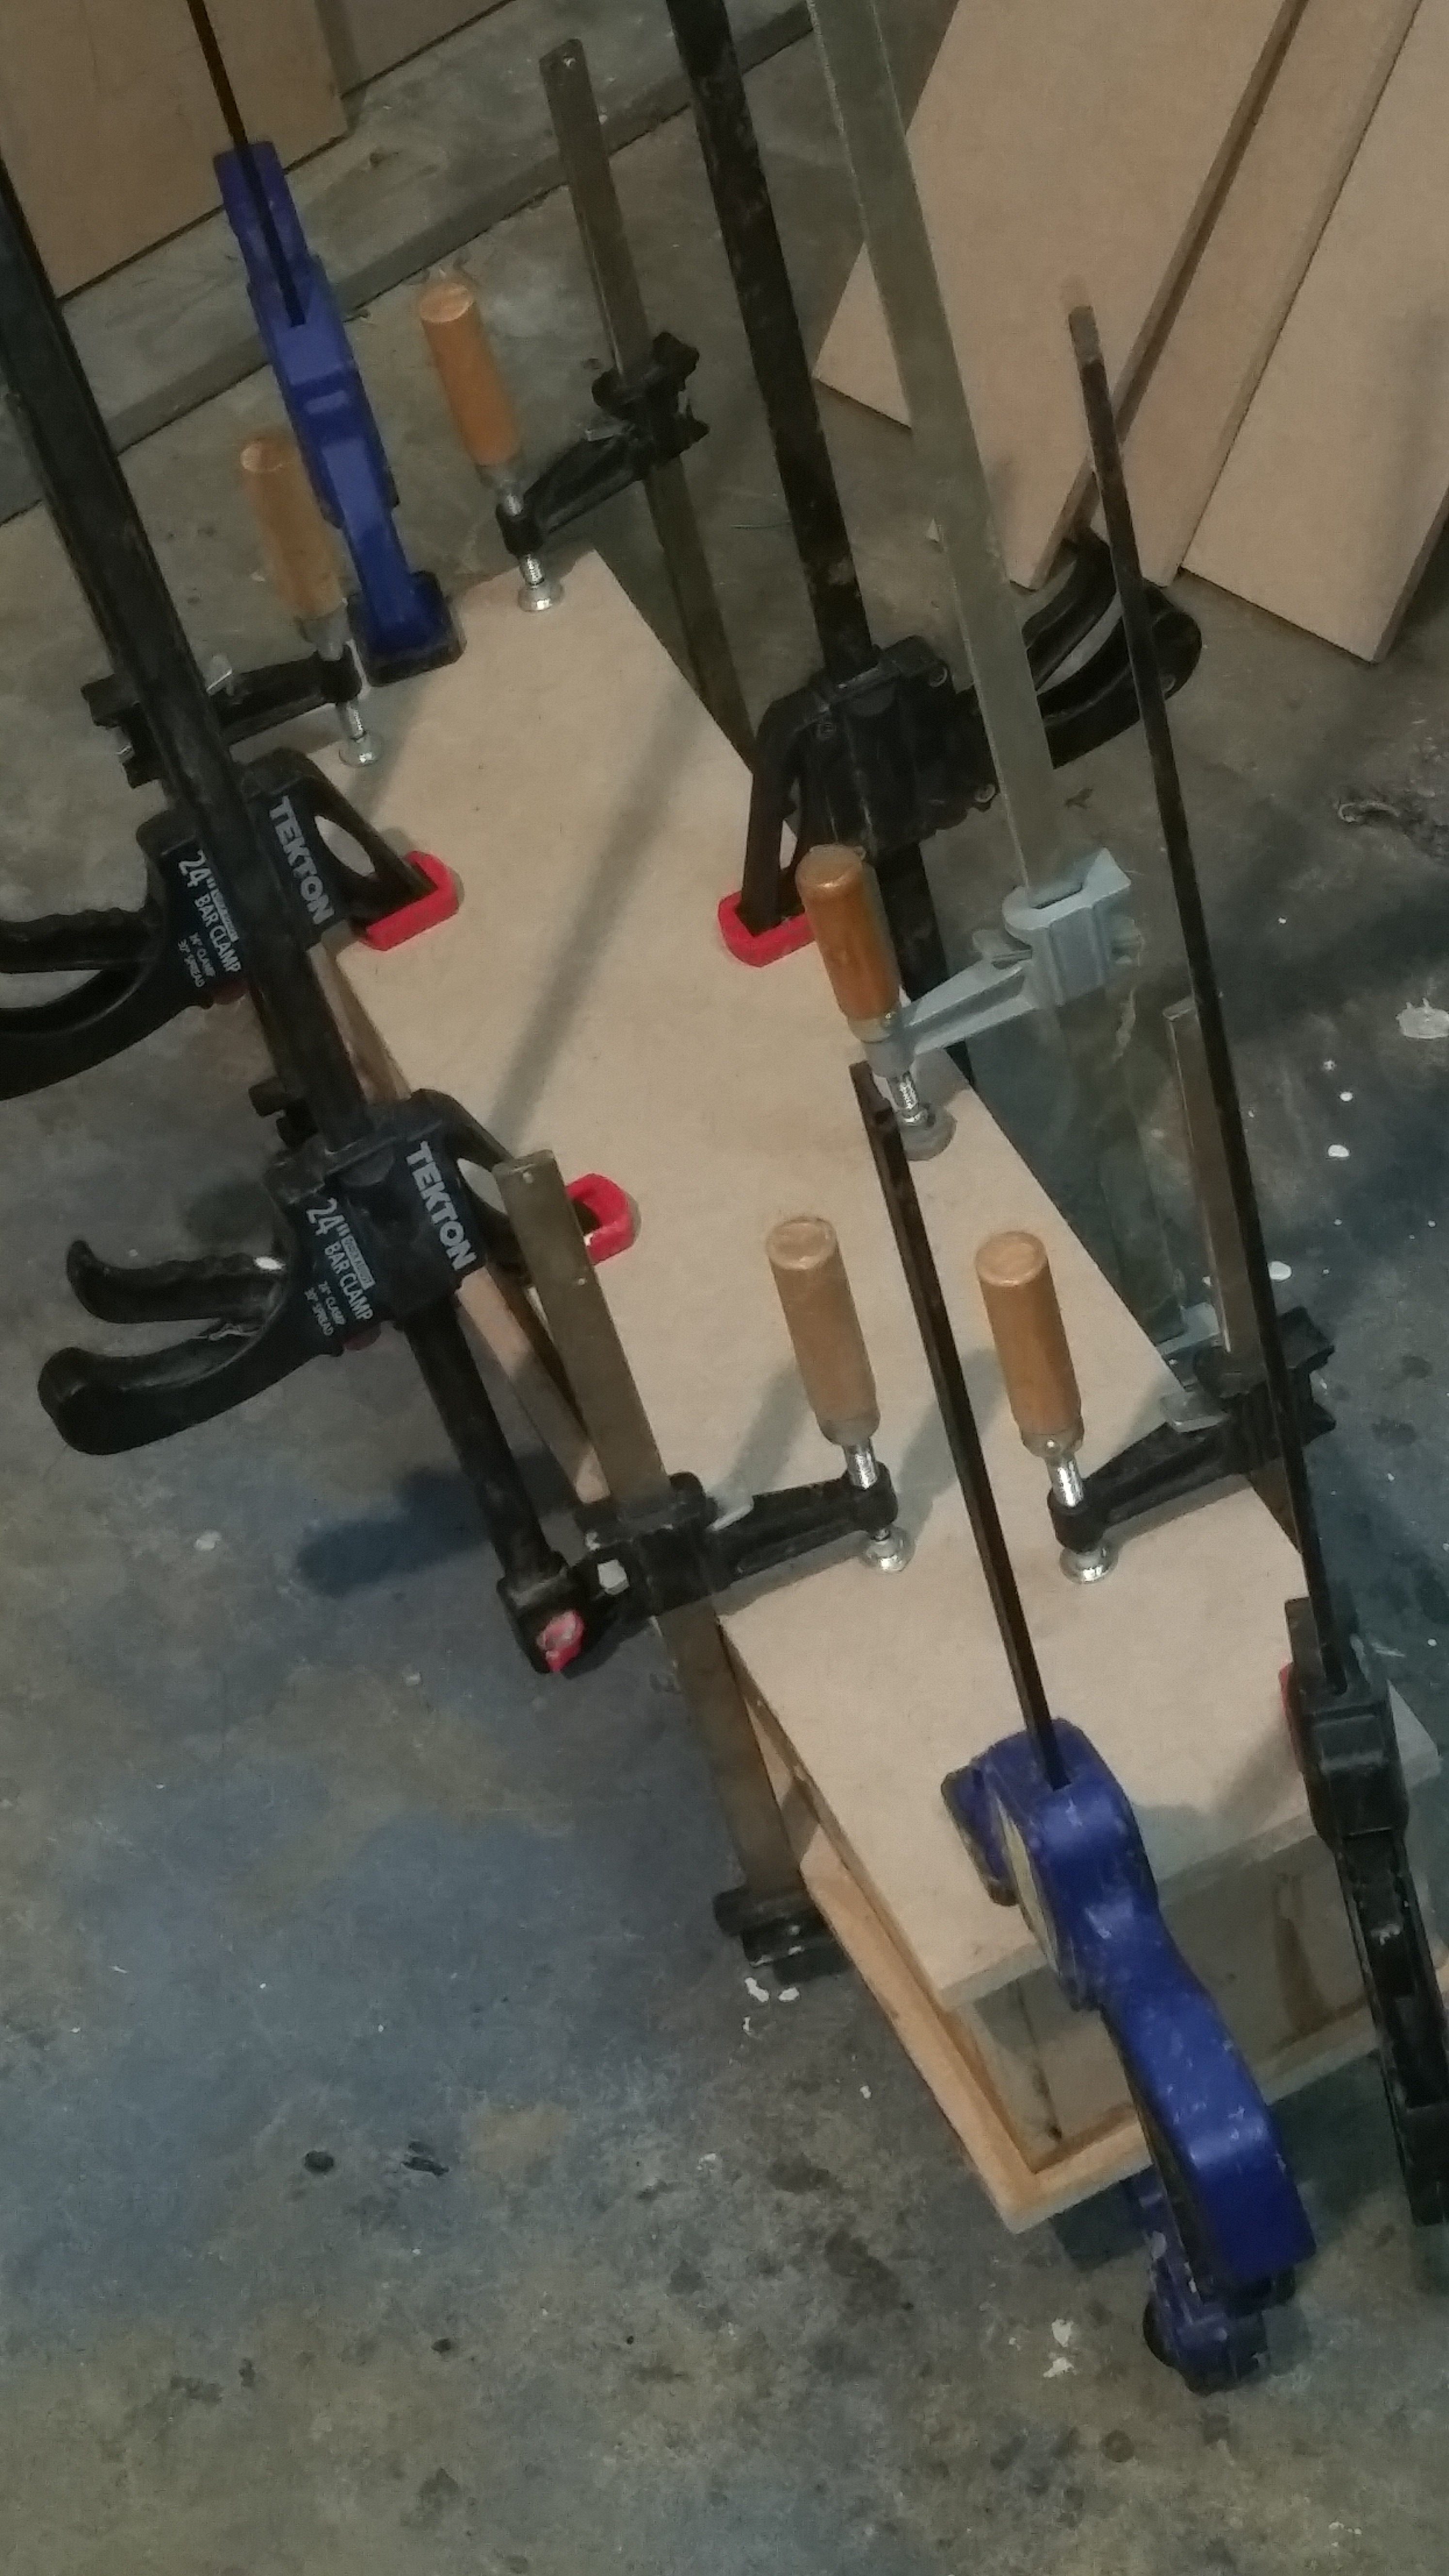
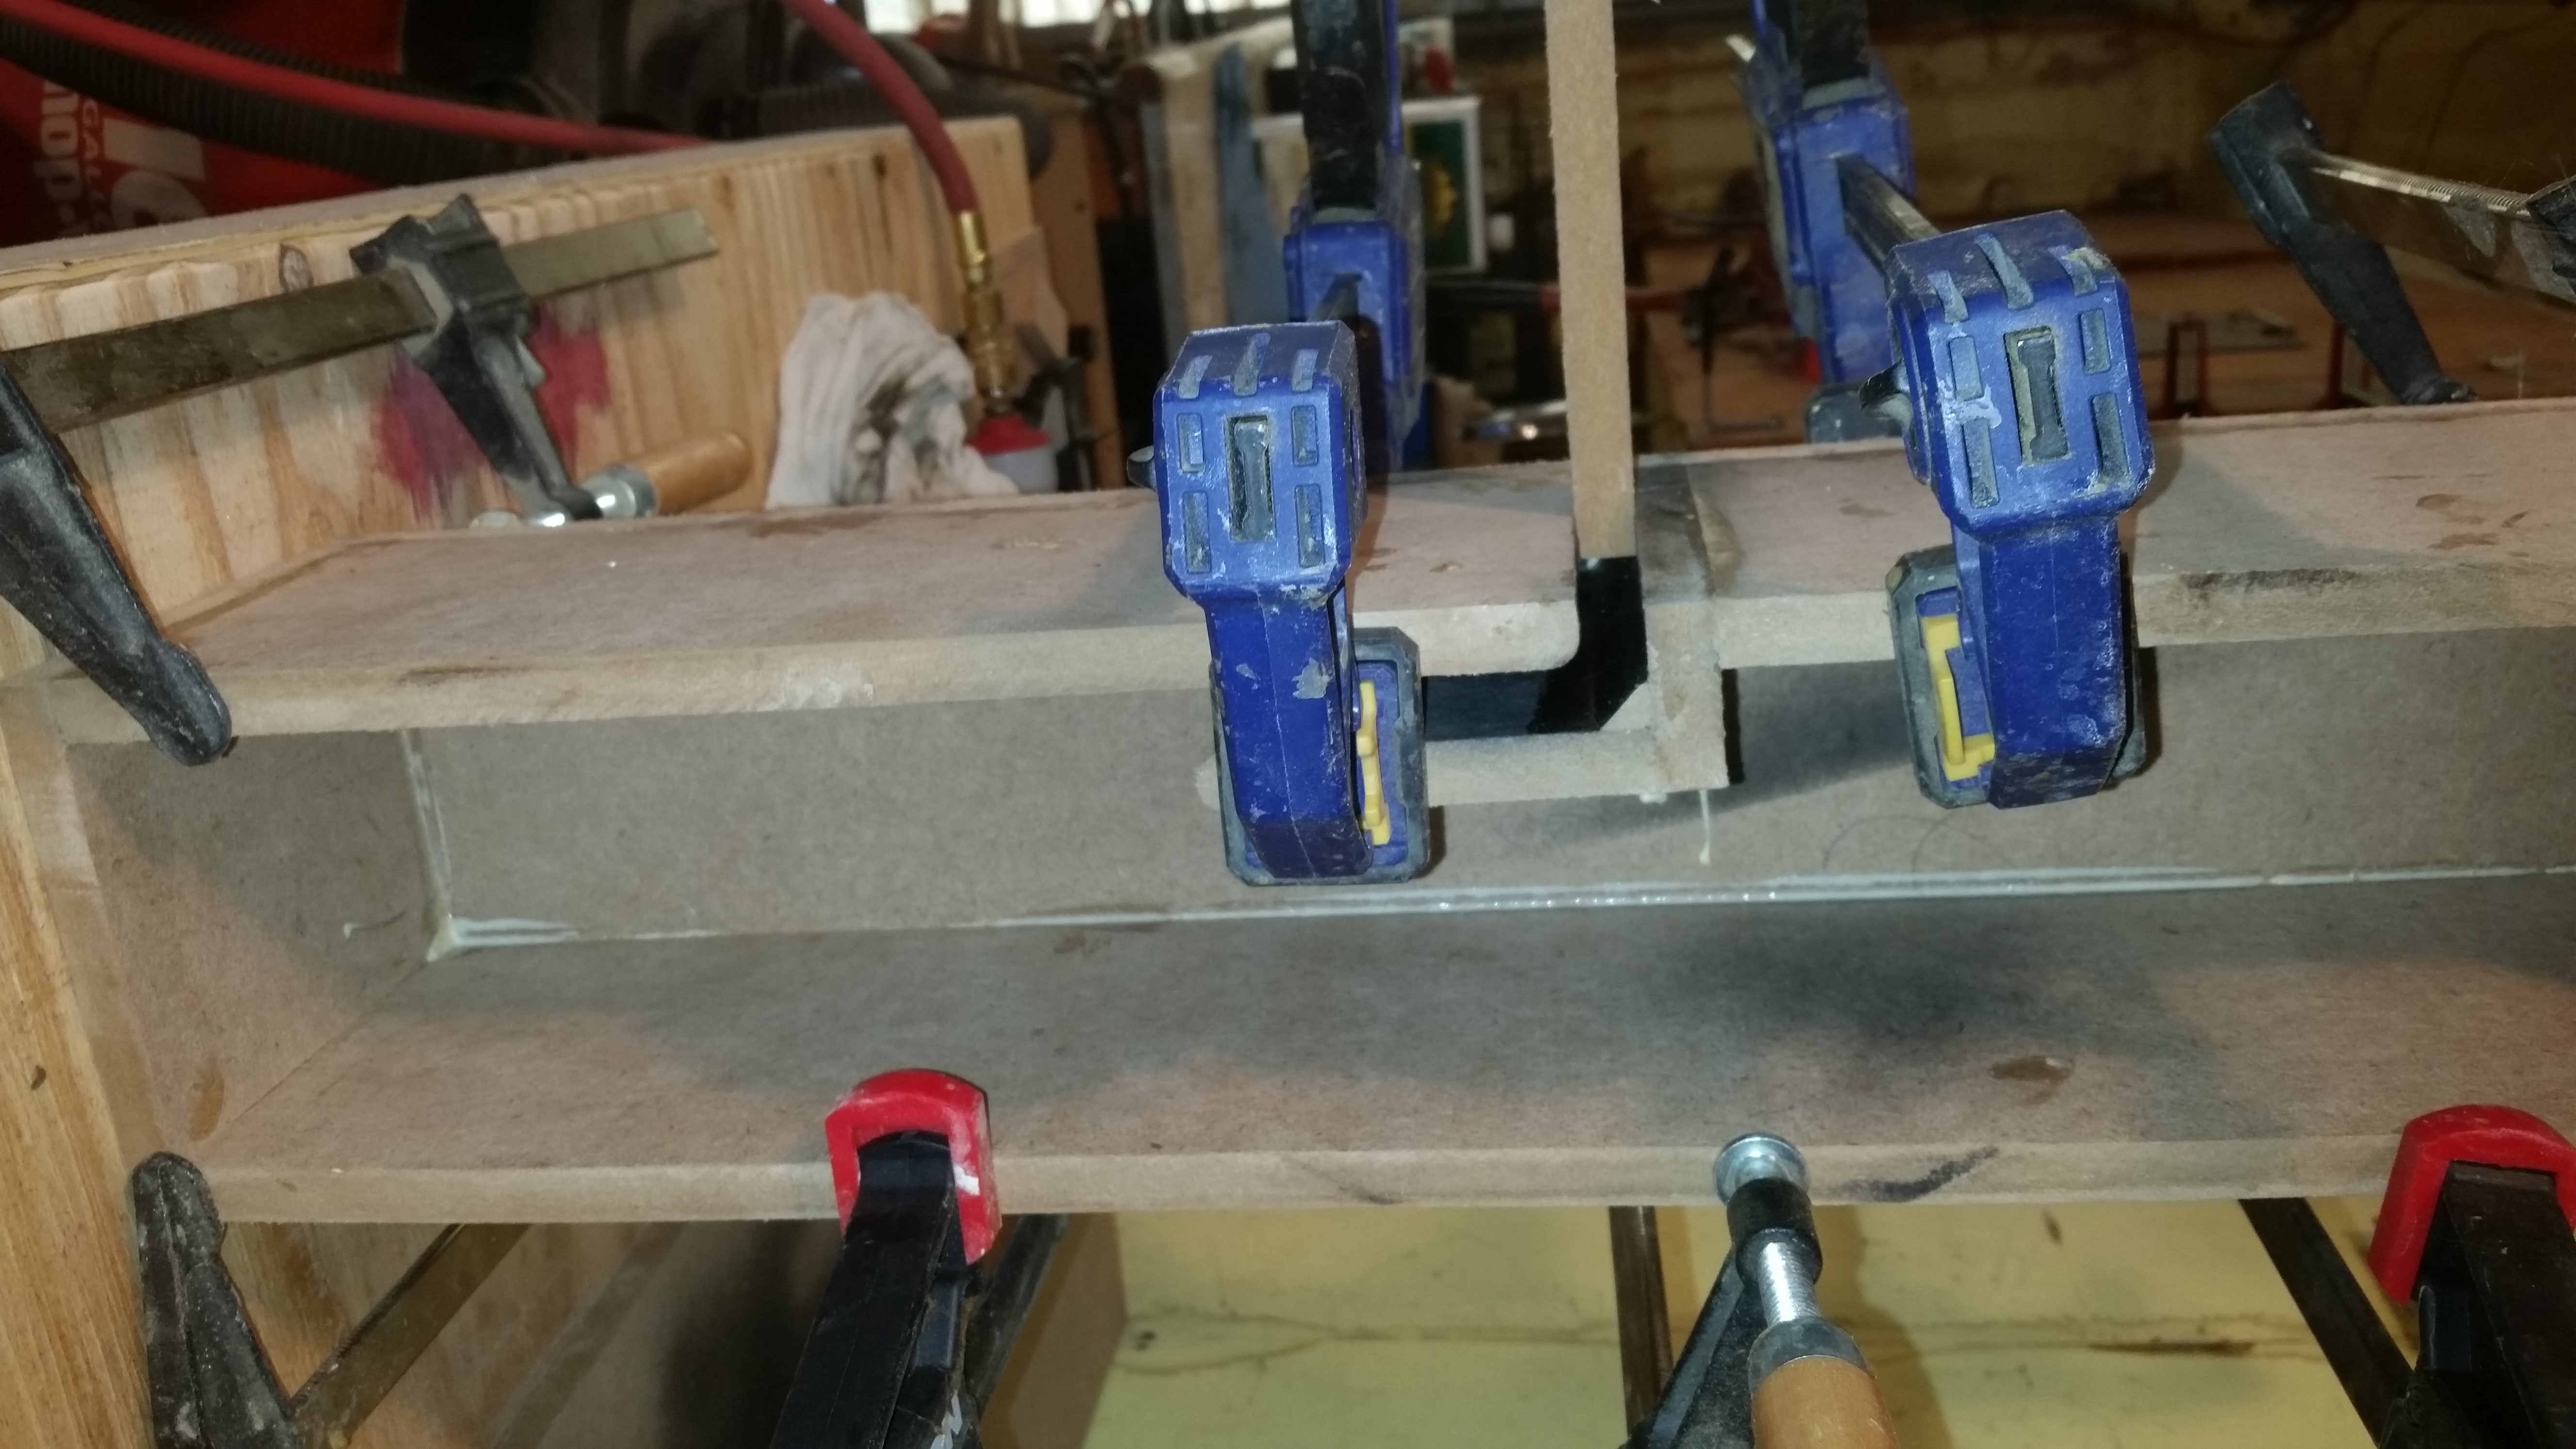
the cabinet is 1/2″ mdf with my normal dbl thickness front and rear baffles but this time, not so much for strength but more for cosmetics, eg. 1/2″ roundovers on the side edges of the front baffle, all exterior parts flush mounted with lpad recessed. no bracing was used. the top and bottoms are separate 3/4″ mdf and the bases were screwed and glued to the box. i had issues with the mdf on the cap breaking because of too thin of a lip so i just leveled 3 sides after a few repair attempts. the top was glued on and had 3 dowels each for proper alignment.a few brads were used here and there to hold things in place and then clamped tight and allowed to dry. left over cherry veneer was used along with “jacobean” stain and wipe on satin poly. the black is Duratex brused on then worked over with plastic sheeting.
Crossover Design:
crossover design was simple, i saw that Dan M. mentioned “Gold Binding Post Terminal Cup with 2-Way 4,000 Hz Crossover” Part # 299-4030– on the tweeter product page so i picked up a pair on buyout for $2.75 each! i removed the resistor on the low pass section and then for the tweeter, i added an 8 ohm l-pad that has been sitting on my shelf for years, to get the tweeter to a reasonable level.
Tips & Tricks:
service your tools before each project. check motor brushes,lube moving parts, check belts/cables, etc. blow out dust with an air compressor or leaf blower(i vaccuum first, use leaf blower second and finish it with my air compressor)
Conclusion:
the drivers are still “breaking in” but do not sound horrible. the Techtonic drivers are cheap and work but really require eq to tweak. i got out of this cheap because i had the cabinet materials leftover from previous speakers.
About the Designer:
i’m a 30 year veteran of autobody and paint who loves good sounding tunes.
Project Parts List:
|
Part # |
Description |
Qty |
|
299-4030 |
Gold Binding Post Terminal Cup with 2-Way 4,000 Hz Crossover |
1 |
|
275-083 |
Dayton Audio PTMini-6 Planar Tweeter 6 Ohm |
1 |
|
297-2156 |
Tectonic TEBM65C20F-8 3-1/2″ BMR Full-Range Speaker 8 Ohm |
1 |
|
240-725 |
Parts Express Speaker Cabinet 3/8″ Toe Spike Set 4 Pcs. |
1 |
|
260-265 |
Speaker L-Pad Attenuator 100W Mono 1″ Shaft 8 Ohm |
1 |
|
260-111 |
Acry-Tech DuraTex Black 1 Quart Roller Grade Cabinet Texture Coating Kit with Textured 3″ Roller |
1 |
looks great , and good finish ! rigth now Im trying a similar project for me, thanks for the tips!.