
Tang Band Bluetooth


Designer:
David Ng
Project Category:
Portable Speakers
Project Level:
Intermediate
Project Time:
8-20 Hours
Project Cost:
$100 – $500
Project Description:
Tang band 4″ Titanium speakers
Design Goals:
Compact and elegant.
Driver Selection:
Tang band 4″ Titanium speakers
Part # 264-848
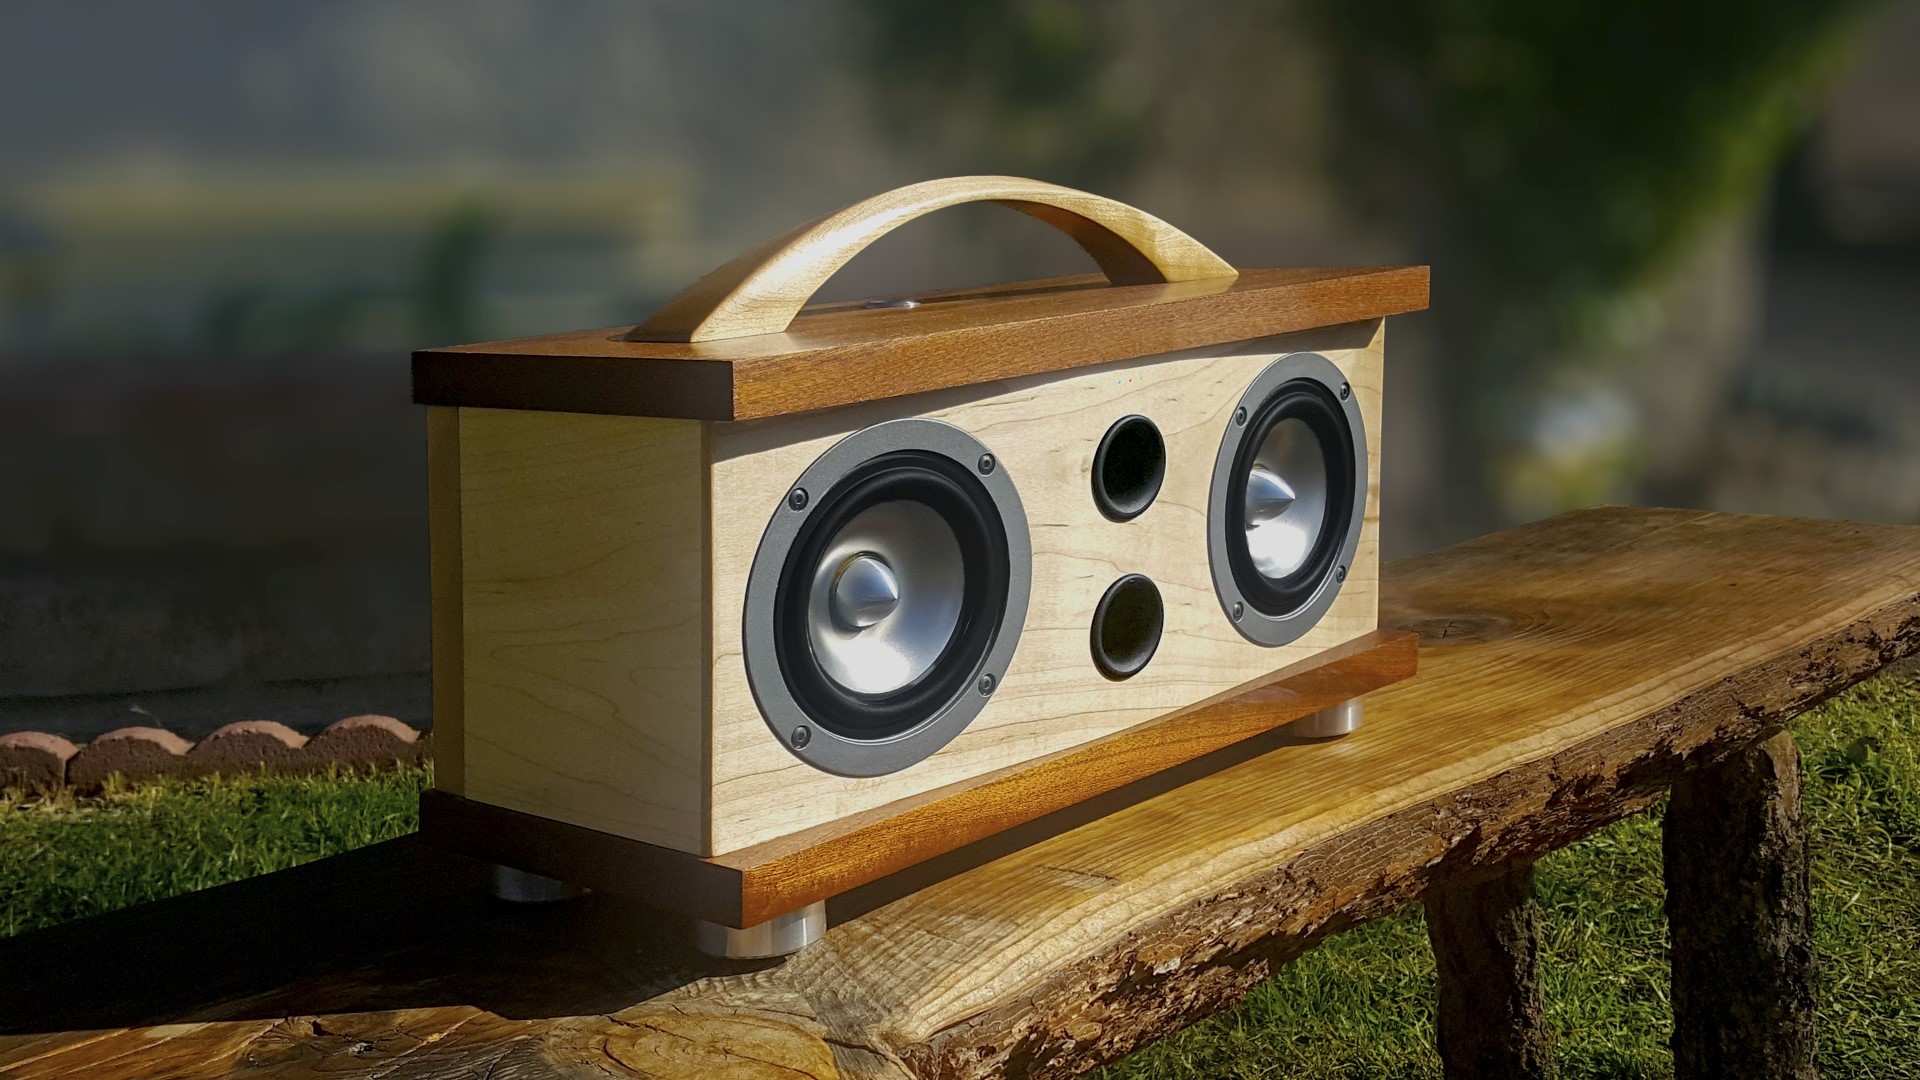
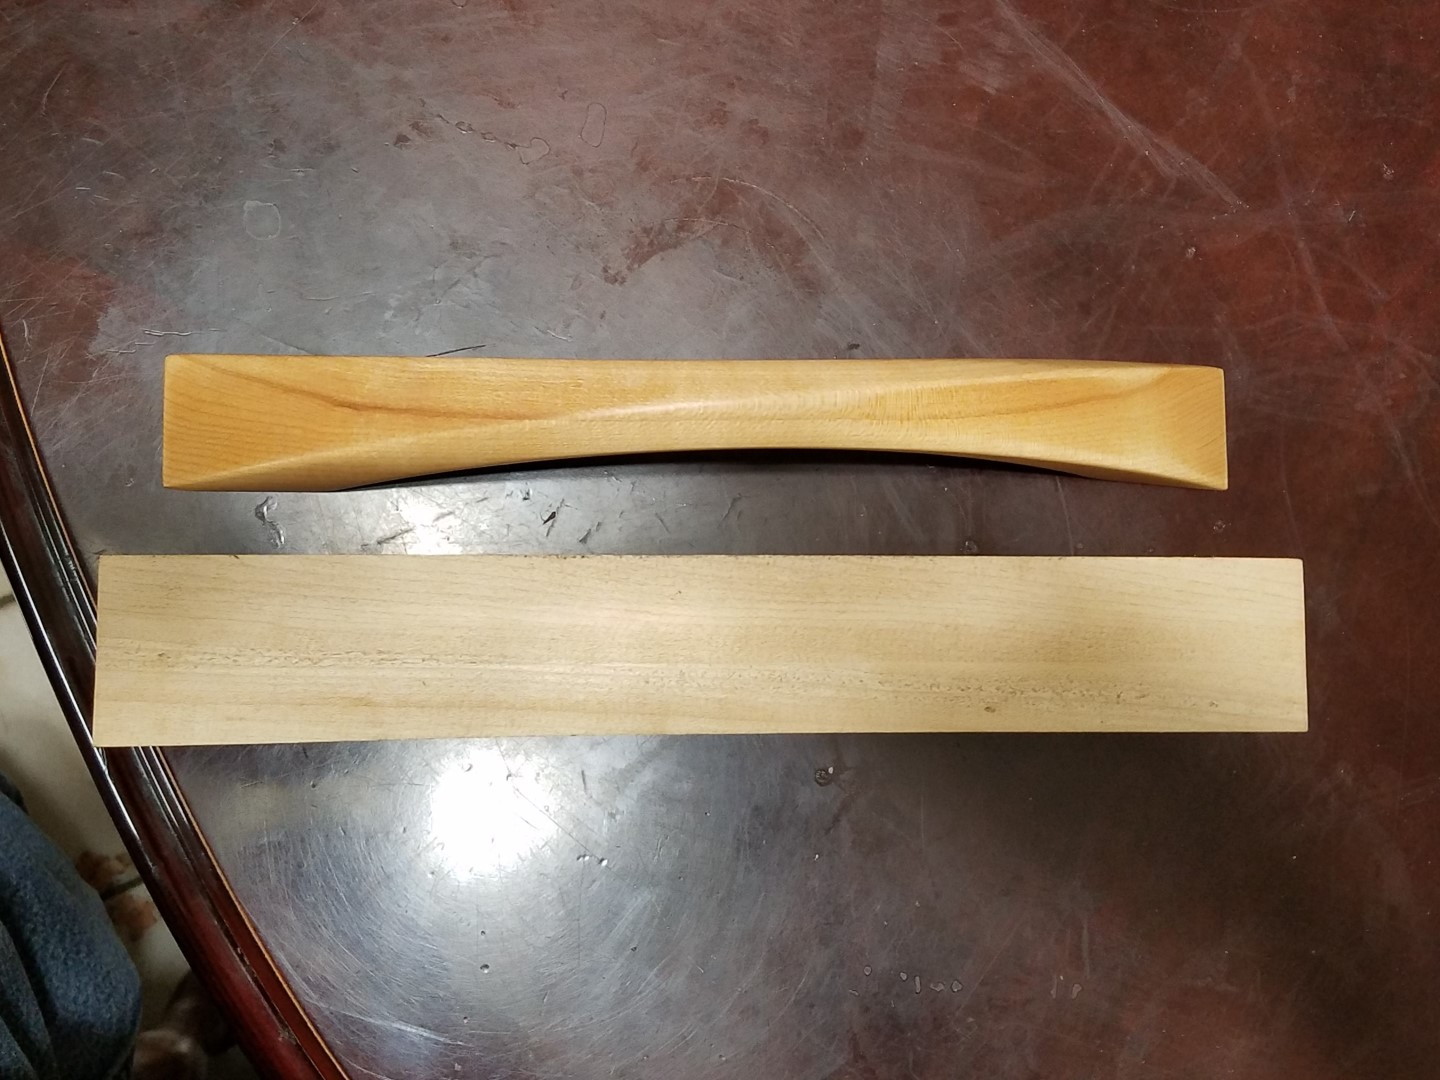
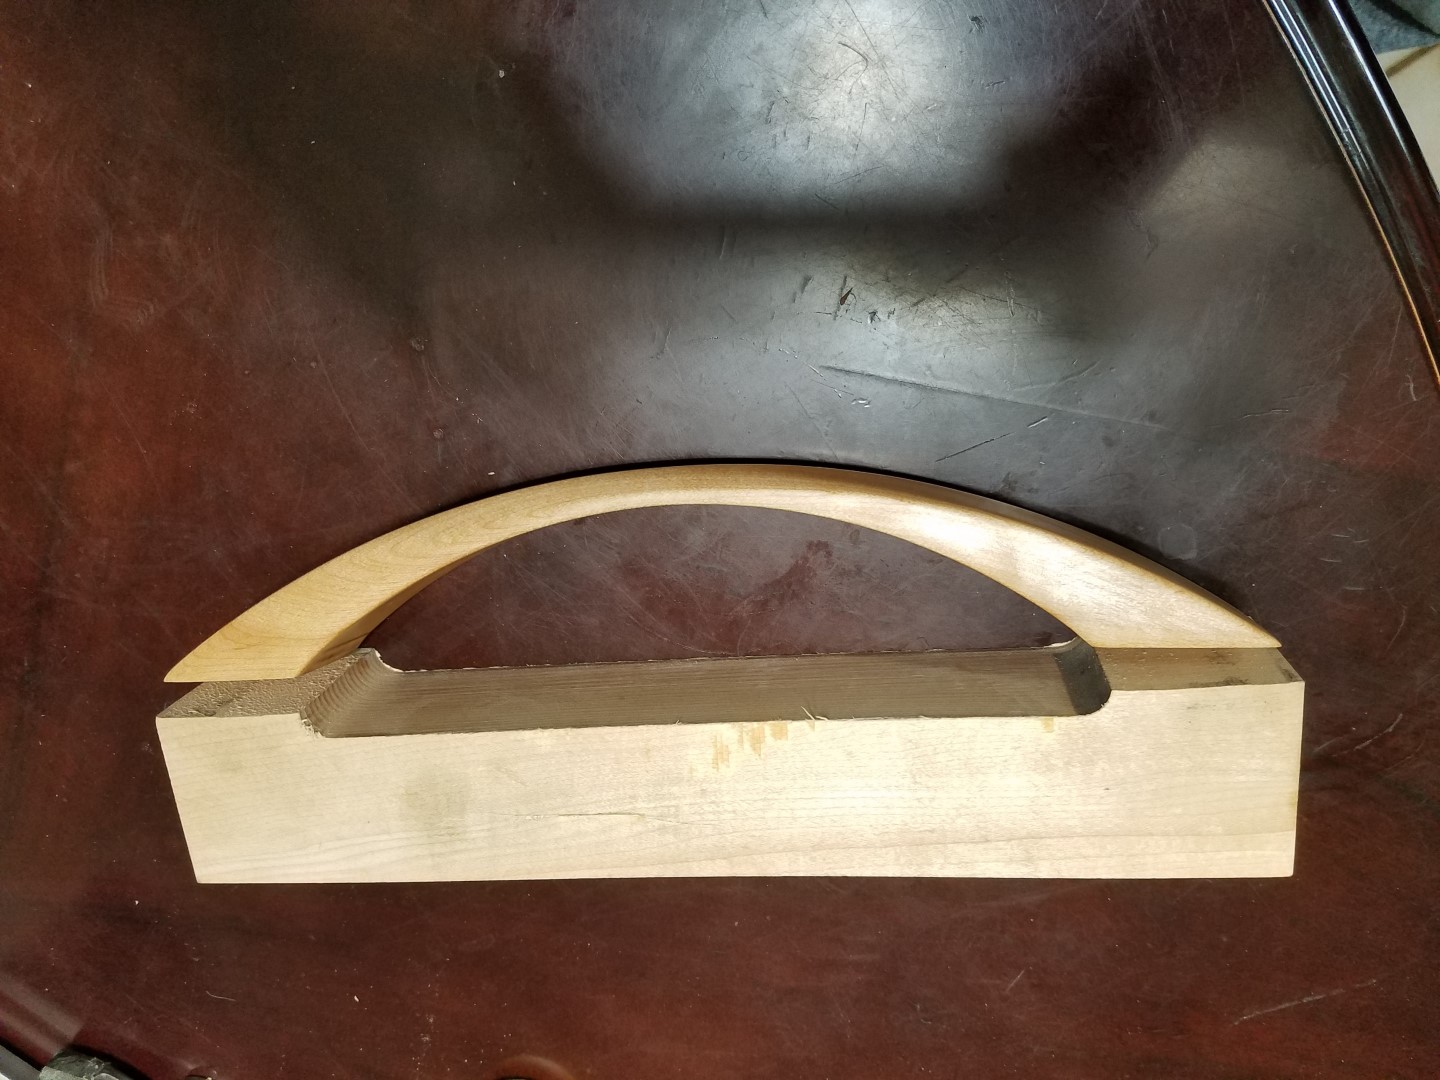
Enclosure Design:
First time building a speaker box. Originally I wanted to do a ammo box design, but changed my mind after I received speakers. I figured if I was going to put all that time into it, I would might as well make it appealing to the eye. Ended up using sapele for top and bottom, and maple for the sides, front and handle
Conclusion:
It was a fun project and I definitely will build more.
About the Designer:
My first time building a speaker box, but definitely not my last. Never had any experience in it at all. I didn’t realize how many variables were involved.
Project Parts List:
|
Part # |
Description |
Qty |
|
264-848 |
Tang Band W4-1337SD 4″ Titanium Driver |
2 |
|
260-470 |
Speaker Cabinet Port Tube 1″ ID x 4″ L Flared |
1 |
For a “first-time-build” this is not good; this is quite excellent. The natural wood handle is the icing on the cake. The balance and symmetry of design is spot on, as are the drivers you selected. I like the contrasting light wood sandwiched between the darker wood panels, something I like to do in my natural wood designs. I can’t overstate the elegance of the design lines the handle brings to the project.
I am glad you abandoned the ubiquitous ammo can idea for a design the requires intelligent thought (and yes, I have an ammo can planned in the distant future for a customer as “fill” work between jobs). The only suggestion I would have is to make the back panel such that is not visible when viewed from the side. I truly look forward to seeing what you come up with next. Again, excellent work!
Be well,
David Hall, Owner
The SounDesign, LLC
You’ve set the bar nice and high for your next project. Really like the mix of wood species chosen. Would love to see more about the tech side of your project. When I saw this post I was hoping for more detail about all those enclosure variables you mentioned, crossover specs/details, Bluetooth connectivity (i.e.: BT module via Arduino or Raspberry Pi, the code needed if any, power supply, etc.).
Seeing the pics just confirms why I truly dislike all the “store bought” portable Bluetooth speaker options on the market today. Inspiring. Nicely done!
Next step: add a contour circuit like in this W4-1137 design:
https://projectgallery.parts-express.com/speaker-projects/3cr-ti/
I don’t think i posted the internals of the box, but it is divided into 2. Each speaker is isolated with their corresponding port.
@David Hall, next box will not have the back cover end grain showing. After I cut everything I saw that it wasn’t too pleasant to look at; hind sight. But I learned a bit with this first time project and have ideas on how to improve V2 box.
@_rs In my excitement to post this up, i forgot to list some of the other components.
So here’s the quick rundown. Since the current version of KAB-250A doesn’t have a way to communicate the state of charge other then a green LED that dims as the voltage gets lower. I decided to make a better indicator. Using the Arduino, I wrote a sketch to do the following
1) Monitor if the unit is plugged into the wall outlet
if so display a purple ring around the power switch
Also monitor the current voltage, if it is above a certain voltage, flash green and purple to indicate it is fully charged
2) Monitor voltage and change LED colors accordingly
Green-Full
Yellow-Medium
Flashing Red-Low
3) Turns on USB charger. I didn’t want to use the USB KAB-INT charger that they sell because it doesn’t support QC. With QC you can charge your newer model phones/devices from 0 to 100% in about 1.25hrs vs the 3-4hrs.
With the 6 batteries on medium to low volume i can easily get over 16 hrs usage.
Here is an almost complete list of components I used:
1x Arduino V3.0 USB Nano ATmega328P 5V (Used to monitor voltage and light up a RGB on/off button to indicate fullly / medium/ low charge)
2x Optocoupler PC817C 2.54mm Pitch 4 Pins DIP-4 (isolate the input signal to arduino and control the MOSFETs)
2x FQP30N06L N channel MOSFET (Control power to Quick Charge and Power to arduino)
1x 22mm RGB switch button
1x 1k resistor (Voltage divider)
1x 10k resistor (Voltage divider)
1x Anker Quick Charge 3.0 39W Dual USB Car Charger. (Took the plastic casing apart and justused the 2 USB outlet/electronics for the back cover)
2x Tang band 4″ Titanium speakers
2x 1″x4″ tapered ports
2x Dayton Audio KAB-BE 18650 Battery Extension Board
1x Dayton Audio KAB-250A 2x50W (Bluetooth amp)
6x Samsung INR18650-25R Batteries
1x 19v Laptop 6amp charging/power supply
1x 5.5×2.5mm barrel female plug (Used for charger)
3x .03″ dia fiber optic cables (I ran the 3 LED status lights from KAB-250a to the front)
some misc. wiring, terminals, and some resistors for optocoupler.
Additional features coming soon:
Putting in the audio input jack. (Haven’t found a nice looking one yet)
Feature I was going to add but changed my mind on:
Wireless QC on the lid to wireless charge phones. Purchased the components and tested it out. Found out it wasn’t too efficient and also created a lot of heat.
Things I would do differently:
add a subwoofer
extend the side panel so you don’t see the end grain of the back panel
Next box (V2.0):
Larger box with 3way crossover (Mayber a larger version of the Sonos speaker) something slightly smaller then a 5 gallon home depot bucket.
David: thank you for posting the additional detail on your bill. Very much appreciated. I can also sympathize with the hardwork takes to find good looking switches and jacks (the actual components or dressing plates). PE offers a nice selection however, slightly lacking on the higher-end looking components.
Still wondering about your “add a sub woofer” comment. I would think with a bit more engineering of your ports (diameter, shape, length, tuning, etc.) you’d be able to get reasonable bass response from that nifty enclosure you built. Maybe a coaxial driver might work better?
Anyhow, thanks for sharing your project build. Great stuff.
I love this project. I actually have been designing a box with the same exact drivers. I have mine tuned to 71Hz. what is your box tuned to? Sorry if I missed it in your description? How is the bass response?
Chris, I’m a noobie to this scene and couldn’t answer your question. I don’ t have a way to measure/tune it. The volume is around .09 cubic feet per speaker. I used a 1″ dia port tube at 4″ and haven’t touched it. I also filled the interior with some polyester stuff animal fill from Walmart. The speakers are separated from each other by a baffle. The sound is lacking in the low end, needs a bit more bass. But I’m sure i can improve that with some tuning, which i wouldn’t know how to, lol. I can take additional pictures of interior but don’t know how I can add it to here. If anyone knows let me know and I’ll post interior pictures.
If I did my math correctly, you tuned the box to about 69Hz which is right at or slightly under the Fs of the driver. Good Job! I am tuning mine to 70Hz so we should be accomplishing the same thing.
How did you design the interior so that the ports are aligned vertically? The whole design looks great! Any interior shots/description would be greatly appreciated, trying to make something similar myself.
I will try to explain with a quick drawing below
Front view looking at the face. I have a “Z” divider that splits the box into two. Hope that makes sense.
_________________________________
| ____| |
|_____________|_________________|