
Bluetooth/AM/FM Art Deco Radio
Designer:
RobertSch
Project Category:
Home Electronics
Project Level:
Advanced
Project Time:
20+ Hours
Project Cost:
$500-$1,000
Project Description:
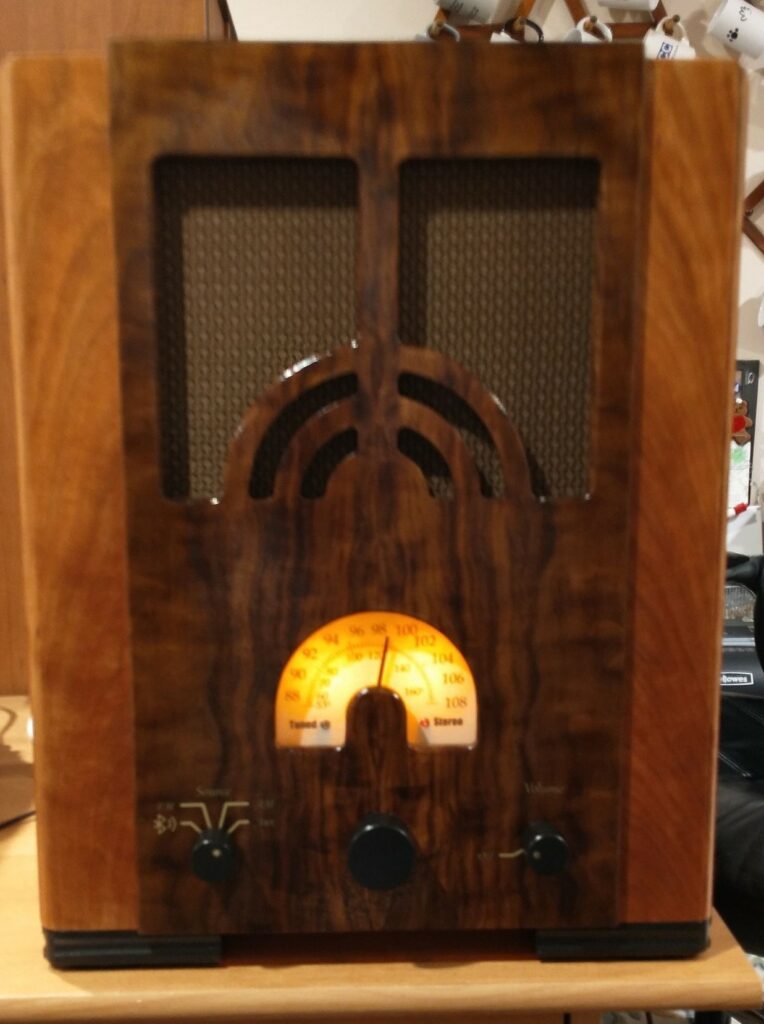
A modern take on a vintage looking radio
Design Goals:
To replicate the look of a 1930’s art deco radio with the sound and reliability of modern electronics. The result should provide Bluetooth, AM, and FM stereo radio capabilities as well as auxiliary audio inputs and outputs.
Driver Selection:
The design used a pair of the 4 Ohm Dayton Audio RS100-4 4″ Reference Full-Range Drivers. They were chosen as they provide good full range performance at their price point and, with their relatively small VAS, yielded an inner enclosure volume that fit well within the standard size range of tombstone radios. Furthermore, using a full range speaker eliminated the need for a space hungry crossover and would readily allow two to be placed within the constraints of the speaker opening fret work.
Made extensive use of REW, a calibrated microphone, and the DSP capabilities of the amplifier board to tune the speaker response as there was a higher than expected level of diffraction from the front panel and the fret work. ADI’s Superbass and SuperPhat algorithm’s really enhanced the performance once the response was corrected.
Enclosure Design:
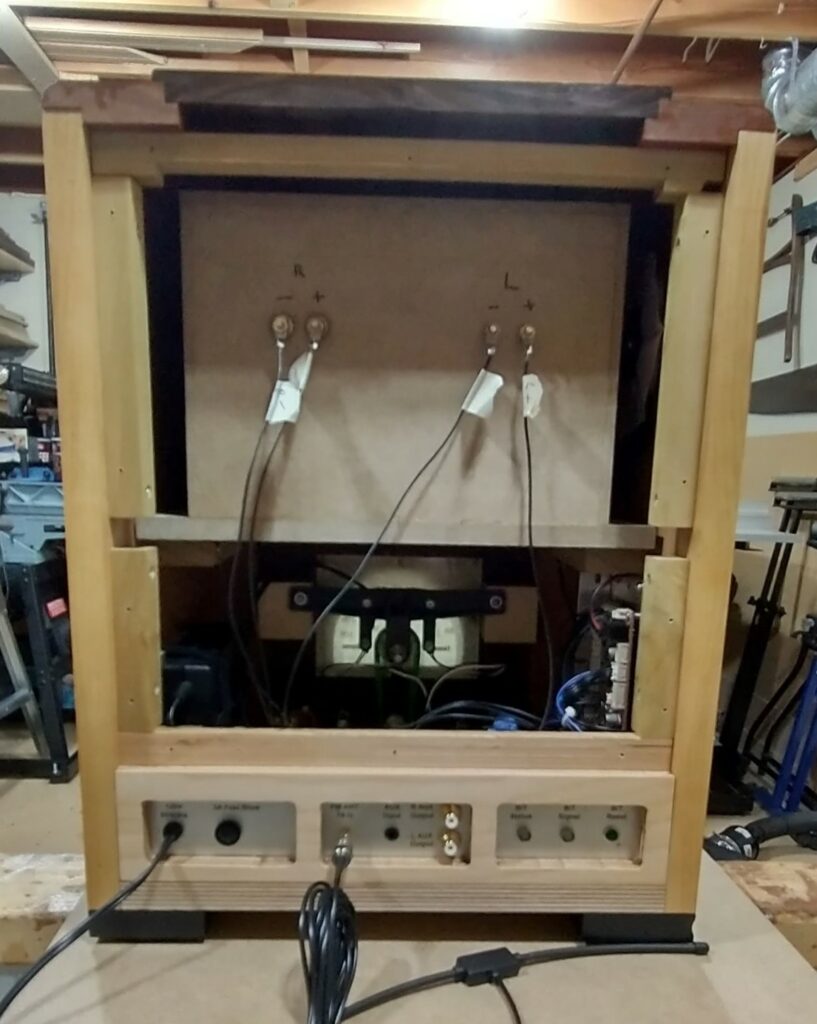
The enclosure actually consists of two designs; an inner cabinet for the drivers and an outer one for the esthetics.
The inner cabinet is Bass Box derived ported configuration that is configured to fit the opening fret work on the cabinet. It is made from 1/2″ mdf and lined with 3/8″ thick sound deadening felt. It is bolted to a pair of cleats inside the outer cabinet to facilitate placement and removal for servicing.
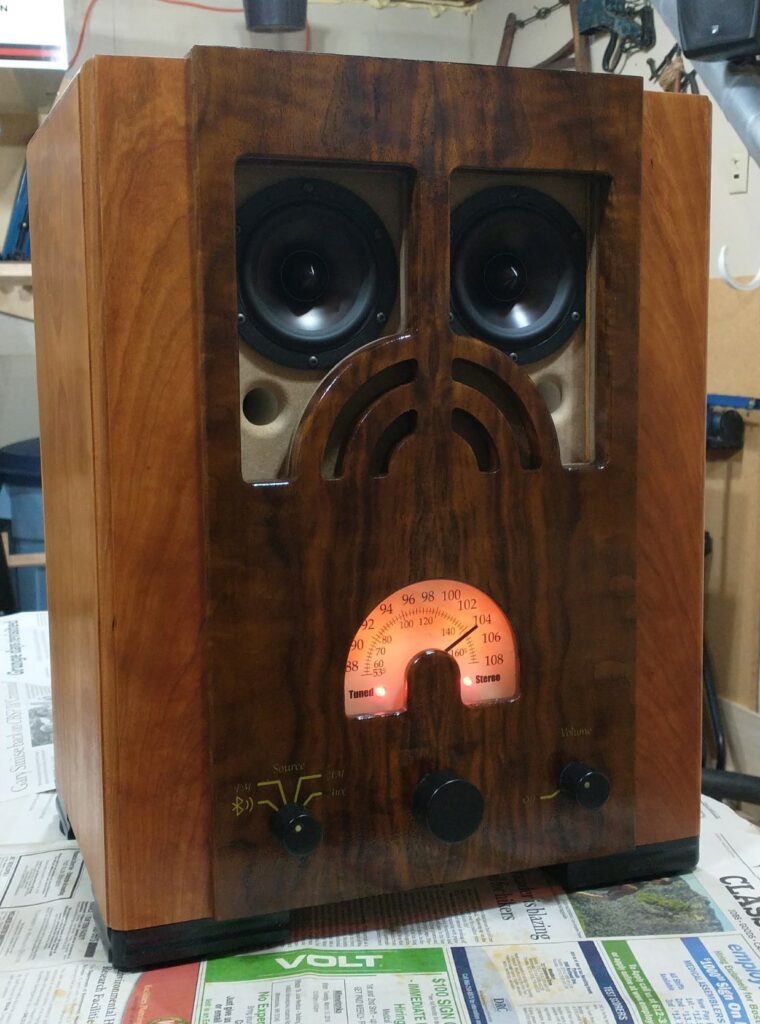
The outer enclosure is inspired by the combination of a Philips 343-A and a Philco 66B radio. The center wood is book matched walnut whereas the sides are cherry. The grain forms a waterfall from the top of the cabinet to the front face. The sides of the cabinet are made from cherry that was harvested from my own property for a true heirloom touch.
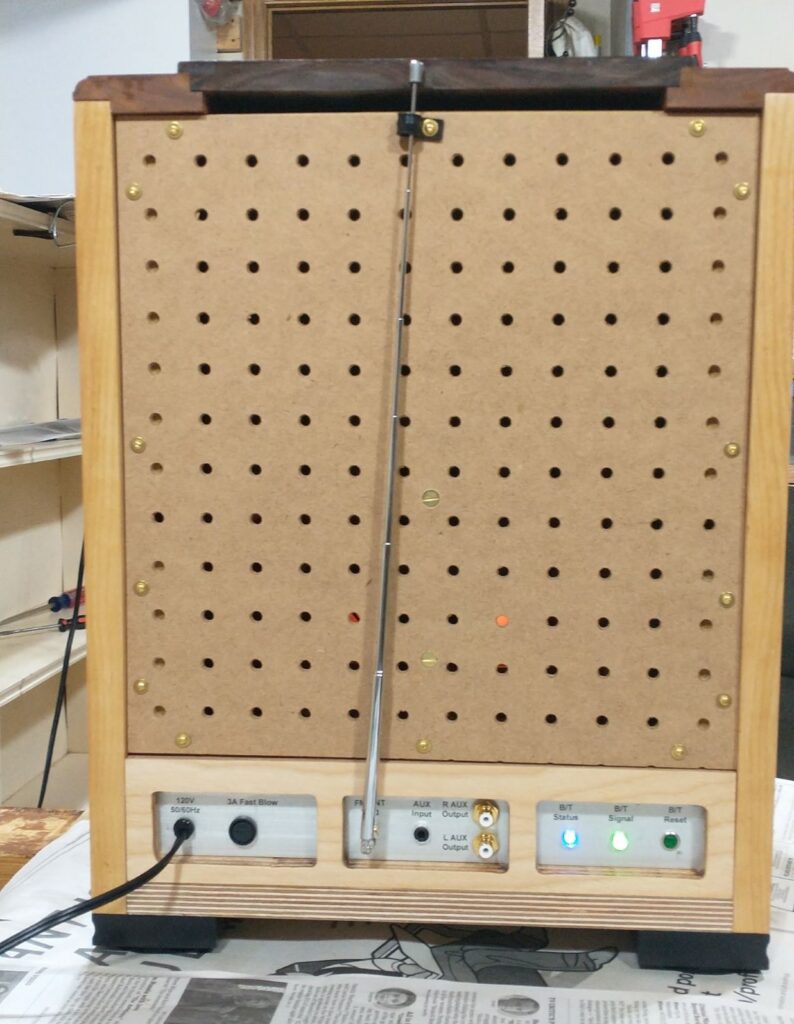
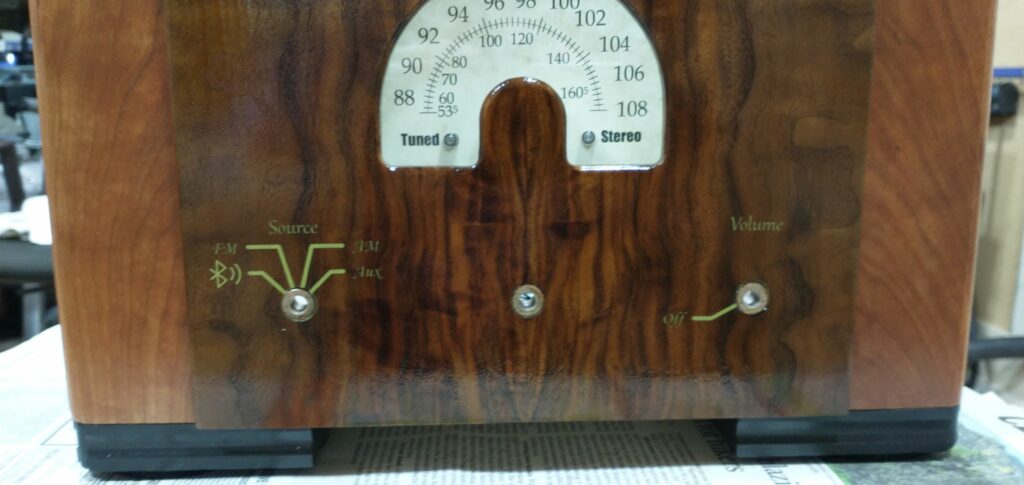
The front panel controls are mounted internally to 3D printed brackets and coupled to the knobs via aluminum rods that exit the cabinet through bronze bushings. The knobs were cut from blocks of maple using a hole saw. An aluminum bushing was glued to the inside and a set screw was threaded through it. The saw core was then cut loose from the block and the hole created by the saw’s arbor was capped over with a thin piece of wood. A short piece of 1/8″ brass rod was then glued into a hole in the smaller knobs to create a pointer indicator.
The back panel connections are mounted in a piece of aluminum that, in turn, mounts to a piece of plywood that forms the rear of the enclosure. The rear panel lettering was printed on an inkjet printer using special paper that would create a wet transfer decal. These decals were sealed onto the panel with a coat of clear polyurethane.
Crossover Design:
No crossover was used.
Tips & Tricks:
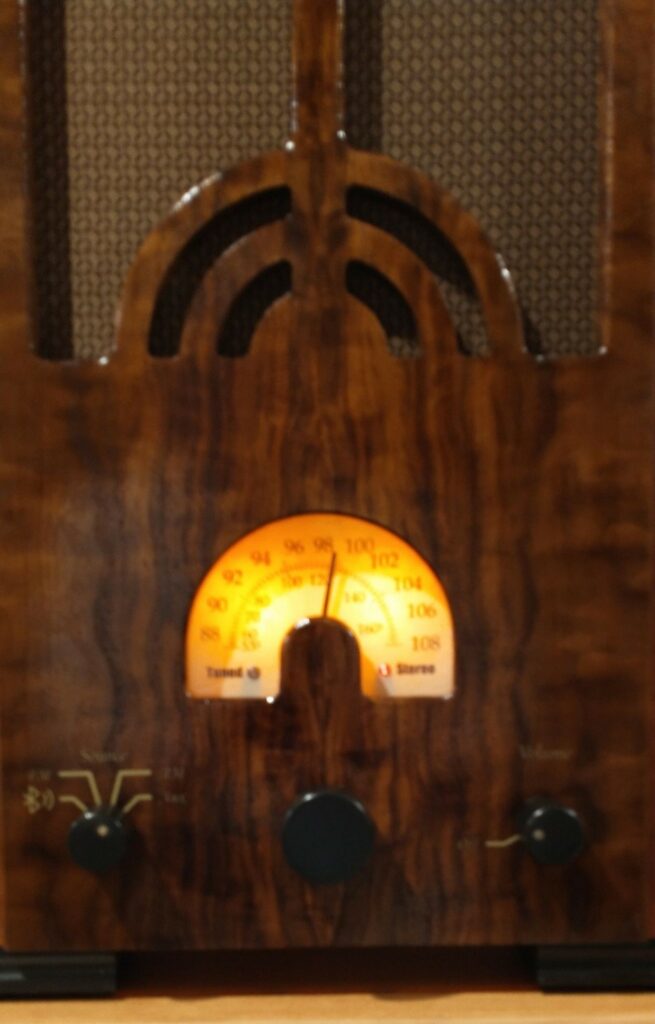
Use rice paper for the dial as it yields a vintage look and is translucent to light whereas other papers are not.
Dark decals work fine a light colored background, but tend to disappear on dark backgrounds. Find someone that has a printer that can lay down white behind your decal design to make it show.
Use a Harmon house curve to tune the speaker response as it yielded a more acceptable sound than a flat response did.
Use a second hand from a set of clock hands to create the dial pointer. Bore the hole to mount the second hand using a lathe to ensure it is centered in the rod from the drive pulley.
Conclusion:
The result of this effort was a radio that sounds good and that fits the bill of presenting an art deco appearance. It will be a great Christmas present for my daughter to go along with all of the other pieces of furniture that I have built for her.
About the Designer:
Growing up with an engineer father, a technician uncle, and a TV/Radio repair shop owning great uncle it is no surprise where I wound up. I recently retired after nearly 40 years in the semiconductor industry where I did R&D as an individual contributor and as an executive in many different application areas and roles.
Project Parts List:
| Part # | Description | Qty. |
| 120-195 | 19.5V DC 3.33A AC Power Supply Adapter | 1 |
| 295-378 | Dayton Audio RS100-4 4″ Reference Full-Range Driver | 2 |
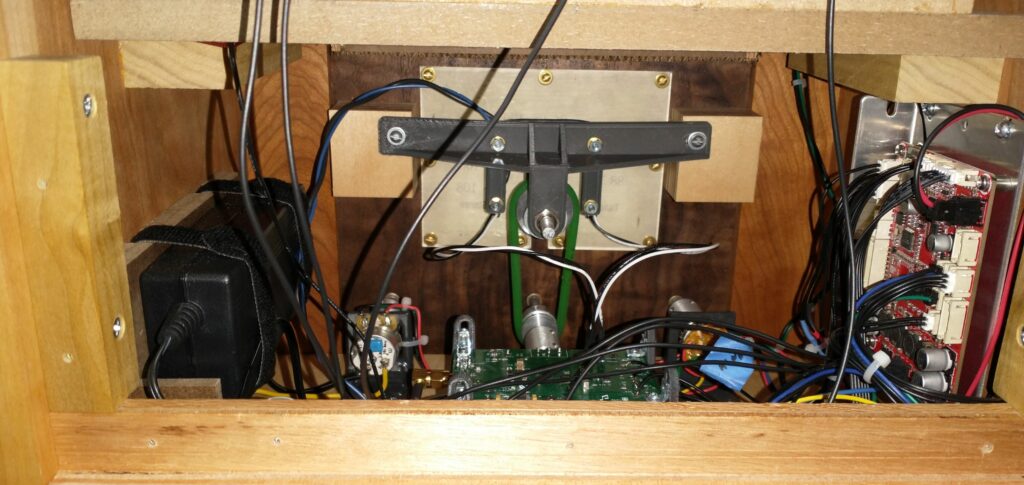
| 325-106 | KABD-230 2 x 30W Amplifier Board with Bluetooth and DSP | 1 |
| 325-114 | Dayton Audio KAB-AB L-type Aluminum Bracket for Bluetooth Amplifier Boards | 1 |
| 325-117 | KABD-SPF Function Cables for KABD Series | 1 |
| 325-139 | KPX In-Circuit Programmer USB | 1 |
| 230-332 | miniDSP UMIK-1 Measurement Microphone for DSP tuning | 1 |
| N/A | Custom source selection and AM/FM radio PCB based on the SiLabs/Skyworks Si4831 mechanically tuned radio chip | N/A |
I really like this project. I want to do the same thing, with the Cathedral style tabletop radio shape. This gives me a very good foundation to build on. Love the older aesthetic you accomplished with the modern amenities and hardware.
Thank you Jeff! Very kind of you to say!
Glad that you can get a good starting point to your own project. A couple of things that I overlooked mentioning in the original post were to use a spiderweb coil antenna for the AM band and to put shielding around the power supply. I 3D printed the form to wind the Litz wire for the antenna and you can find calculations for this by searching on-line. The power brick emits a great deal of EMI in the AM band that the antenna picked-up so I had to shield it after the fact and relocate the antenna from the back panel to the upper portion of the cabinet away from the power supply to minimize the interference.
Good luck with your project and I will look forward to seeing it posted here!