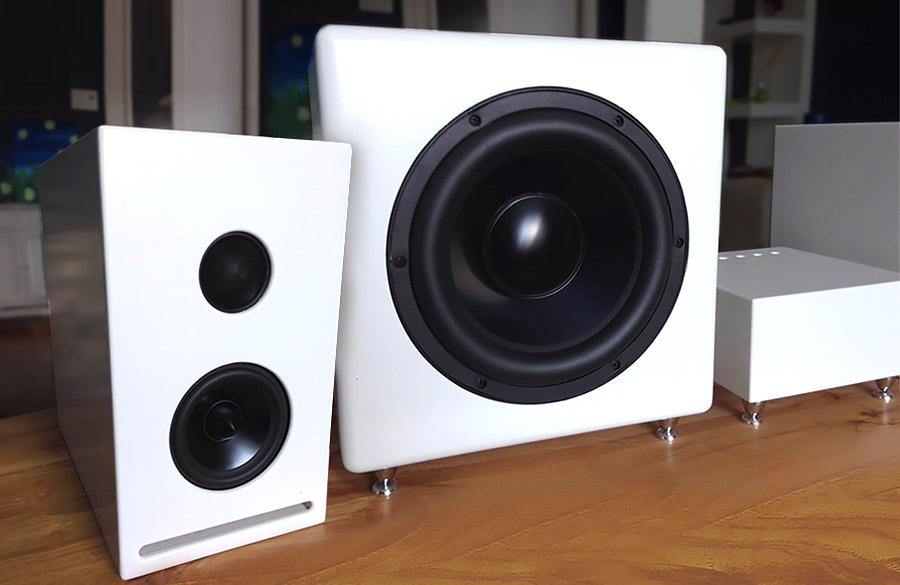
Dayton Reference Active System w/DSP
Designer: Michel Turcotte
Project Time: 20+ hours
Project Complexity: Hobbyist
Project Cost: $500-$1000
Concept
I was looking for an active system that could be placed on a wall shelf and connected to an Apple Airport Express for streaming music. Luckily, I had some small 2-way plate amplifiers lying around from a past project. The system had to be clean and modern looking to match my living room décor, be no more than 250mm (10”) deep and provide big sound from a compact package.
Driver Selection
Since I already had the plate amplifiers on hand, I needed some drivers that would work with the fixed 3500Hz crossover point of the amps and would work well in a small vented enclosure, while providing enough low end extension to be used without the subwoofer if desired.
I chose drivers from the Dayton Audio Reference series for their quality and price. The mid-woofer is the RS100-8, the tweeter is the RS28F-4 and the subwoofer is the RS210HF-4 that I purchased at the PE tent sale at MWAF 2012.
Amplifier Selection
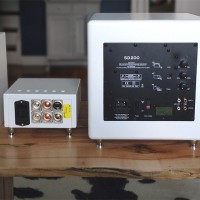
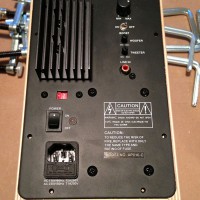
The 2-way full-range plate amplifiers used are very similar to the older Dayton Audio MCA2258 Bi-Amplifiers. My version (AP-016C) has a fixed 3500Hz 4th order crossover (24db/octave), quality polypropylene and polystyrene capacitors, gold plated RCA input jack and a 250Kva power transformer. THD is 0.03%, S/N Ratio is 90db and power output is 40W @ 8Ω for the woofer and 30W @ 4Ω for the tweeter.
The sub plate amp is the Yung SD200, a compact and powerful class D amplifier, providing 200W @ 4Ω to the subwoofer. The overall output of the sub/amp combo allows for extra headroom when using the DSP to extend the low end response, while still providing plenty of output when matched to the monitors.
Crossover / DSP
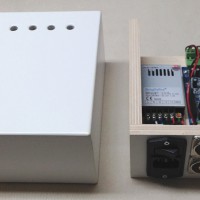
Since the plate amps have built-in electronic crossovers and the sub plate amp has its own as well, there was no need for any passive crossover design. I did want more control over the sound and integration with the sub so I opted to use a DSP unit, the miniDSP 2×4 balanced. The balanced version was chosen simply for the terminal inputs so it could be placed in a custom enclosure with rear panel connectors; it is run in single-ended mode.
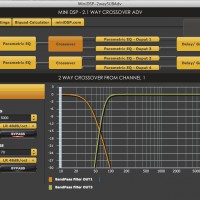
The miniDSP is running the 2.1 Advanced plug-in, providing the crossover between the sub and monitors. In this configuration, I am bypassing the crossover (and level control) of the sub plate amp. This allows for finer control of the frequency and level.
In order for the small mid-woofer to extend lower and provide more output with less distortion, the miniDSP provides a high pass filter on the monitor outputs to free the small 4” driver from bass duties below 70Hz.
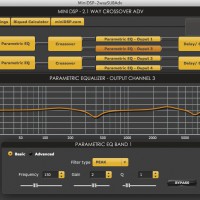
A few EQ filters were also used to correct some frequency response anomalies.
Enclosure Design / Assembly
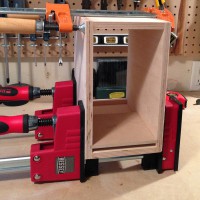
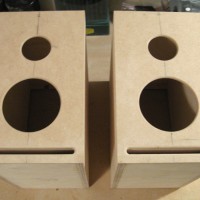
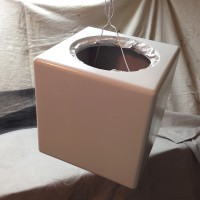
The monitor enclosures are fairly compact, measuring 245mm x 145mm x 235mm (H x W x D). The subwoofer enclosure is a 275mm cube. The miniDSP enclosure measures 86mm x 180mm x 180mm (H x W x D). Internal net volumes (Vb) are 4.2L for the monitors and 11L for the subwoofer. The completed monitors weigh in at 12.6 lbs. each and the subwoofer is 21 lbs.
The monitor cabinets are vented, using a single rectangular port, tuned to 70Hz. This provides an F3 of 65Hz. The subwoofer cabinet is sealed, providing an F3 of 50Hz. In room and with DSP, this extends flat to below 20Hz.
The monitor and miniDSP cabinets were constructed using 12mm Baltic birch plywood, while the subwoofer cabinet uses 19mm MDF with 2 layers of 12mm Baltic birch plywood for an effective thickness of 24mm on the front and rear baffles.
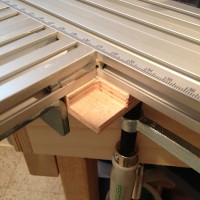
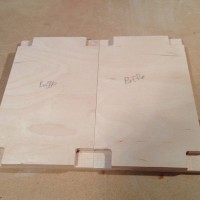
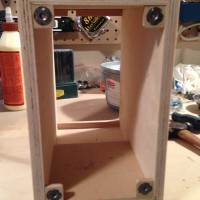
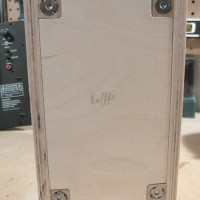
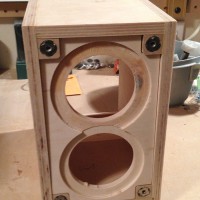
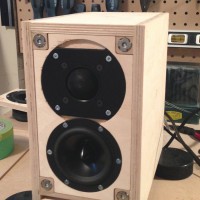
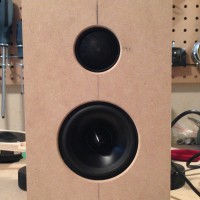
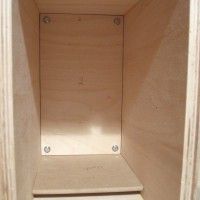
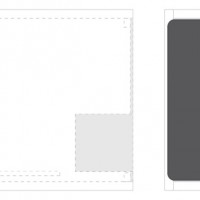
I wanted to hide the driver mounting hardware – this usually means securing the drivers to the backside of the front baffle, requiring a baffle thick enough to accept the screws, resulting in a large bevel on the front around the driver. To avoid this and keep the front as clean as possible, the drivers are flush mounted on an inner baffle, then fastened to 4 mounting tabs sitting behind a thin 3mm front panel. These mounting tabs nestle into recessed pockets on the driver baffle so the drivers lay flush with the backside of the front panel. The large amplifier opening at the back of the enclosure allows the driver baffle to be inserted from the back and fastened to the mounting tabs. The driver openings and port slot edges were then rounded.
To keep the driver spacing as close as possible, I used the optional truncated faceplate for the RS28F-4 tweeter. This also improves the appearance since the only part of the drivers that is visible is the cone and dome. They would look much further apart otherwise!
For a modern look, I chose a white paint finish on all cabinets. All edges were rounded and the grain filled and sanded smooth. I then applied a couple coats of primer, a couple coats of white latex and finally 3 coats of semi-gloss lacquer, with some sanding in between coats. These finishes were sprayed using a Fuji Systems HVLP spray gun.
Conclusion
I was pleasantly surprised by the big sound this little package delivers, sentiments echoed by the judges and fellow participants at MWAF 2014. While the monitors are limited in overall output, they are more than adequate for a living room system placed on a shelf for streaming music. I image they would also work quite well with a computer based audio system.
The Dayton Audio Reference series drivers provide a great price/performance ratio, delivering well balanced response and detail. The RS28F-4 is literally smooth as silk, the RS100-8 is small but mighty and the RSS210HF-4 is inspiring with its resolution, output and extension.
About The Designer
My interest in audio began in my early years but really took hold in high school with car audio and stage sound. I transitioned to home audio in my early 20s but it wasn’t until a few years ago that the DIY bug hit. My first two projects repurposed some subs and a component set from a previous SQ car system. The results had me wondering why I was spending so much money on high-end home audio gear! My love of woodworking and audio found their match.
I try to extend my knowledge and skills with every new project, whether that means using new components/materials, applying new design principles or improving the quality, finish and craftsmanship of my cabinets.

This is an amazing little package you have going on! A few more builds and I might be ready to attempt a project like this, until than, I’ll just be jealous! Thanks for sharing!
Isn’t RSS210HO-4 better suited for this 275 mm cube cabinet ?
Simply beautiful. Thank you for sharing. I like how you concealed the mounting hardware and I am curious; how did you fasten the outer baffle to the enclosure? Glue, pins? I would like to adapt your method for a project I am considering and wanted to know how you accomplished this. Thank you! -Aaron