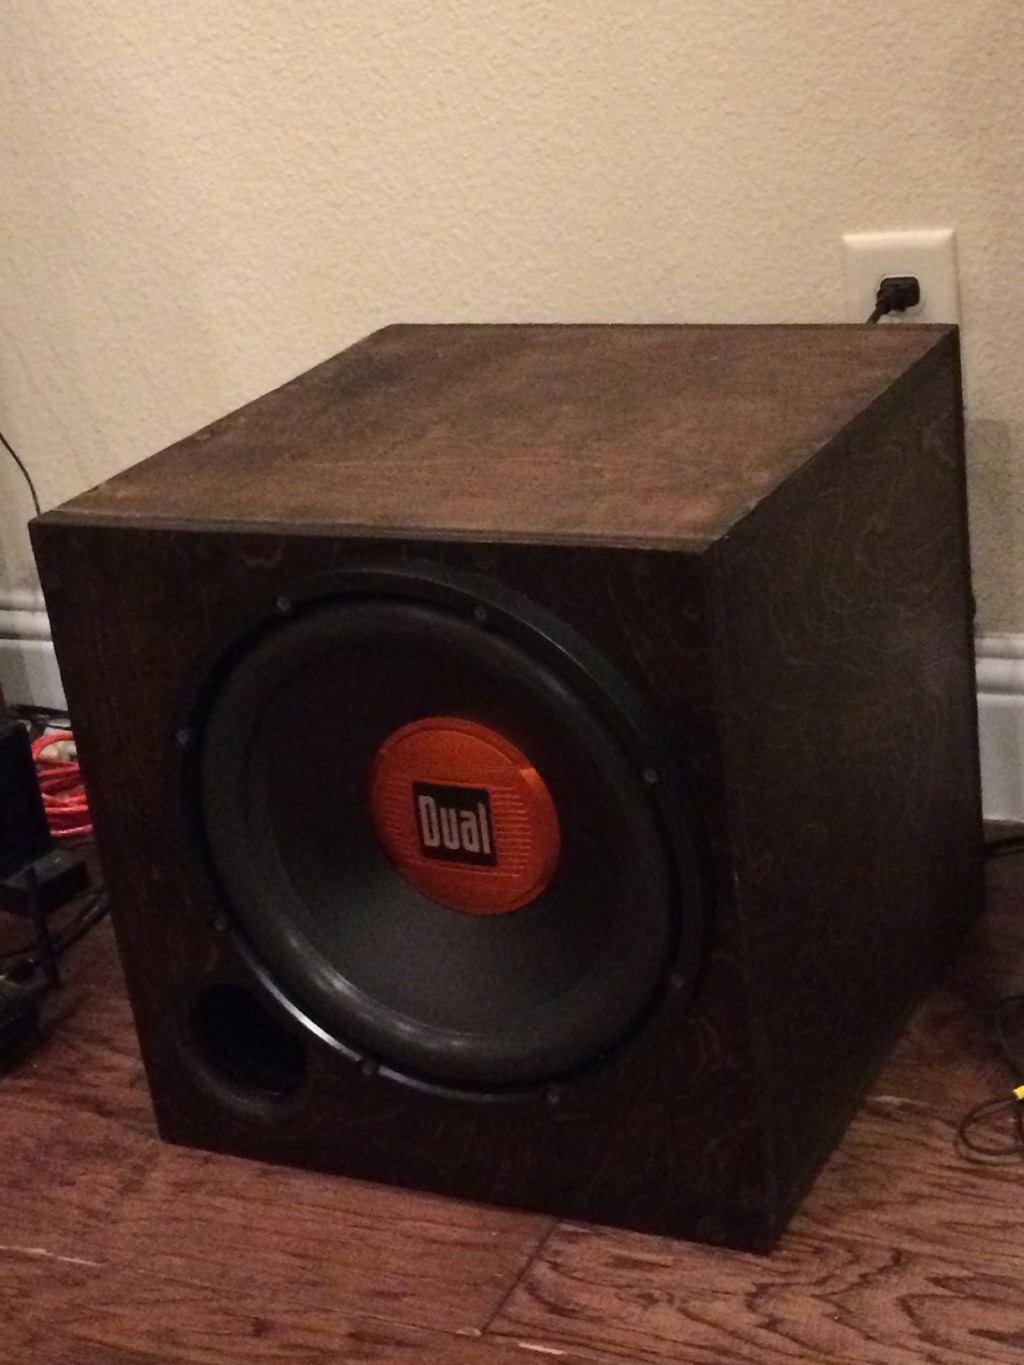
12 inch subwoofer tuned @ 30hz
Designer:
GregM
Project Category:
Subwoofers
Project Level:
Beginner
Project Time:
1-8 Hours
Project Cost:
$100 – $500
Project Description:
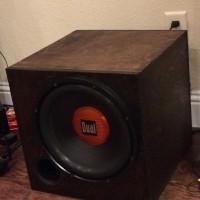
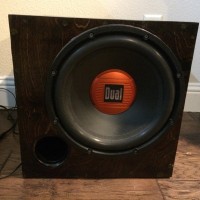
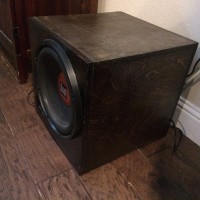
I wanted to give a little thump to my friends living room. He didn’t require/expect much, and didn’t want to pay a lot, so I figured this would get the job done. He wanted something that would be relatively small, and blend in with his dark wood furniture so his wife would be on board.
Design Goals:
I wanted to make it efficient as possible to get the most thump out of a meager amp (200 watts) and a lower end/budget subwoofer. I got the sub on sale, but paid full price for the amp (both from parts express). I decided to use Baltic Birch because it would take stain better, although there were some problems filling the holes and matching the staining of the saw dust/glue fill with the wood (I’ll discuss that later).
Driver Selection:
Dual DLS12 DLS Series 12″ Car Audio Subwoofer
Part # 267-5055 ($36.05)
Enclosure Design:
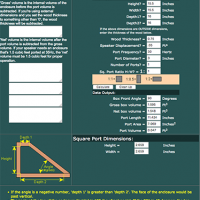
I designed the box using this website:
http://www.bcae1.com/spboxnew2.htm
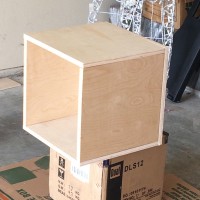
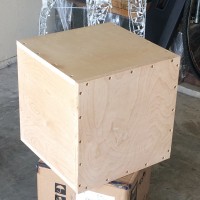
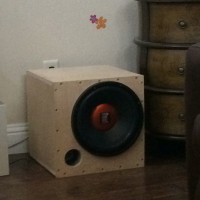
I will include a jpeg of the dimensions, and the port length for the tuning of 30hz. It includes the thickness of the wood, and the dimensions of each piece of wood for it to properly fit together. I sunk the screws a few mm in so I could fill the holes with a mix of saw dust and wood glue.
Enclosure Assembly:
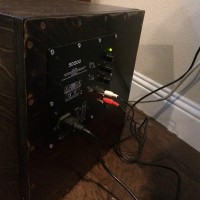
The above section, I think, properly describes the assembly. Here I will discuss the attachment of the port. I cut the dimensions of the front of the box to the size of the INSIDE dimension of the PVC. This is important. I took a small square that covers the diameter of the PVC and cut that to the OUTSIDE dimension of the PVC. I then glued the PVC flush with that piece…. then attached the square to the inside side of the front piece. This made it easier to attach, and made it look nice. Initially there was chuffing from the box. So I sanded the front piece so that it was wider on the outside. Pics will show you what I mean. This eliminated chuffing almost entirely (except for when a very loud part of a movie is on and it is turned up louder than I thought it was).
Crossover Design:
None
Tips & Tricks:
Sand out the opening of the port to stop the chuffing, and attach the port the way I explained, and it will be solid and easy to attach.
Conclusion:
After a few weeks of break-in and widening the opening of the port everyone is happy, and quite impressed with this subwoofer. It was cheap, looks decent, and sounds quite good.
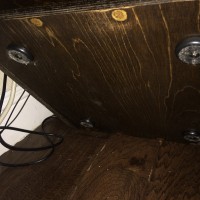
The glue and sawdust sections, when stained and finished, didn’t match up well with the stained and finished sections of the wood. Common problem that most people can’t really solve. I took the mixwax pen and dabbed those sections and it looked OK. The pics show what I mean. It wasn’t terrible and dark stain comes out better than light stain IMO. It’s a homemade project that took little time, everyone was ok with a few flaws.
All the home depot supplies and the parts express sub and amp together cost around 180-200 dollars.
About the Designer:
I’ve build a few small ported and sealed home subs. This was my largest build. I have designed many sealed custom designs for my cars through the years too. I still consider myself a beginner, but I take my time to research my amp/sub pairings, and make sure I build boxes the correct size. It’s a fun hobby, and very rewarding indeed.
Project Parts List:
|
Part # |
Description |
Qty |
|
267-5055 |
Dual DLS12 DLS Series 12″ Car Audio Subwoofer |
1 |
|
301-504 |
Yung SD200 200W Class D Subwoofer Plate Amplifier Module No Boost |
1 |
|
N/A |
2X4 pieces 3/4 Baltic Birch |
2 |
|
N/A |
1 foot 3 inch PVC |
1 |
|
N/A |
Wood glue |
1 |
|
N/A |
box 2 inch screws, hex end |
1 |
|
N/A |
package each of 200 and 400 grit sandpaper |
1 |
|
N/A |
small can each dark wood stain and semigloss coat/finish, minwax |
1 |
|
N/A |
package of 4 screw on rubber stoppers for the bottom |
1 |

+ There are no comments
Add yours