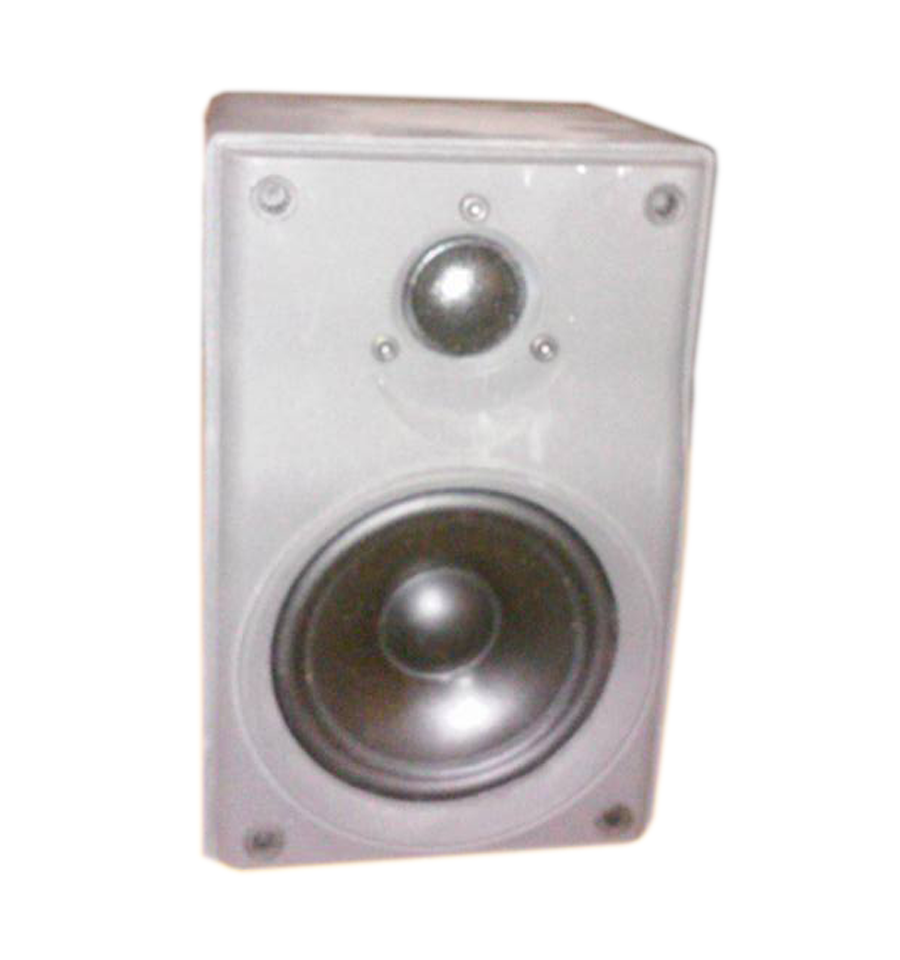
Optimus Pro-X7 Rebuild
Designer:
Chris N
Project Category:
Bookshelf Speakers
Project Level:
Beginner
Project Time:
1-8 Hours
Project Cost:
Under $100
Project Description:
This is a simple rebuild of the first pair of speakers I ever bought, the Optimus Pro-X7, which is basically the same as the Minimus 7.
Design Goals:
I set out to design a proper crossover for the stock speakers, to provide a smooth, even response.
Driver Selection:
299-279 Tymphany TPY04W08O001ES
The Tymphany is a nice buyout driver that PE sold a few years ago. I added a pair to my order for another project, knowing I would find a use for them. They have a nicely vented frame, and the shape and driver holes fit in place of the Pro-X7’s stock pincushion frame.
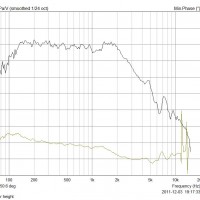
I retained the stock tweeter. Its measured performance was good.
Enclosure Design:
It’s the stock aluminum cabinet. One side of the cabinet is covered with a piece of foam from the factory. It has one, small diameter, vent. I left the vent open and did not change the length, as it modeled well with the Tymphany driver. If you play them at high levels with out a subwoofer, you may hear some chuffing from the vent, easily remedied by placing some polyfill in the vent.
Enclosure Assembly:
The cabinet is easy to disassemble. After removing the grill, remove the 4 rubber retainers that hold the grill on. Behind those are 4 screws. Remove them, and wiggle the baffle loose.
Crossover Design:
The drivers were measured in cabinet using ARTA, and I developed the crossover by applying crossover components to the drivers and measuring them individually, in contrast to my usual approach of using the driver files in PCD.
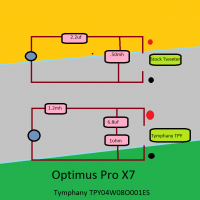
The crossover is a simple second order (electrical) with only 5 components. No padding of the tweeter was necessary. I used the .50mh coil that the speaker was born with. The woofer inductor was another buyout from Parts Express, and I unwound it to the desired value. A small gauge air core inductor of the same value will suffice, and not use up a lot of cabinet volume.
Feel free to experiment with different values for the woofer inductor and padding the tweeter. Rooms differ, and people’s taste varies.
Tips & Tricks:
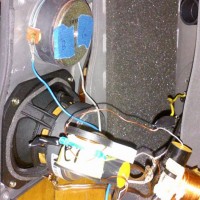
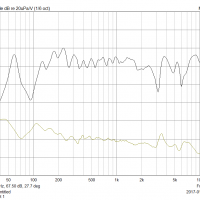
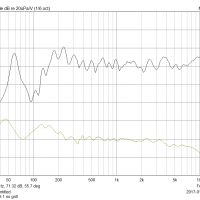
There’s not much room inside for the crossover. The stock inductor in mounted the speaker terminal, and you can leave it there if desired. I zip tied the components together and hung the from the port tube, making sure nothing could short out on the cabinet or drivers. The speakers do perform better with the grill removed, but it isn’t bad with them on. I’ve include both measurements in the images below.
Conclusion:
This project went together well. The sound isn’t harsh and doesn’t draw attention to itself. They don’t play the lowest bass, but they do play lower and much louder/cleaner than the HiVi B3 MTM’s they replaced. I enjoyed improving the speakers that I’ve spent so much time listening to.
About the Designer:
I’ve been modifying, designing, and disassembling speakers (and everything else) for as long as I can remember.

Nice project. Here’s an alternative with an available woofer. http://speakfreakmods.blogspot.com/