TriTrix MTM Tower Kit

Designer:
Brandon Brooks
Project Category:
Tower Speakers
Project Level:
Beginner
Project Time:
20+ Hours
Project Cost:
$500-$1,000
Project Description:
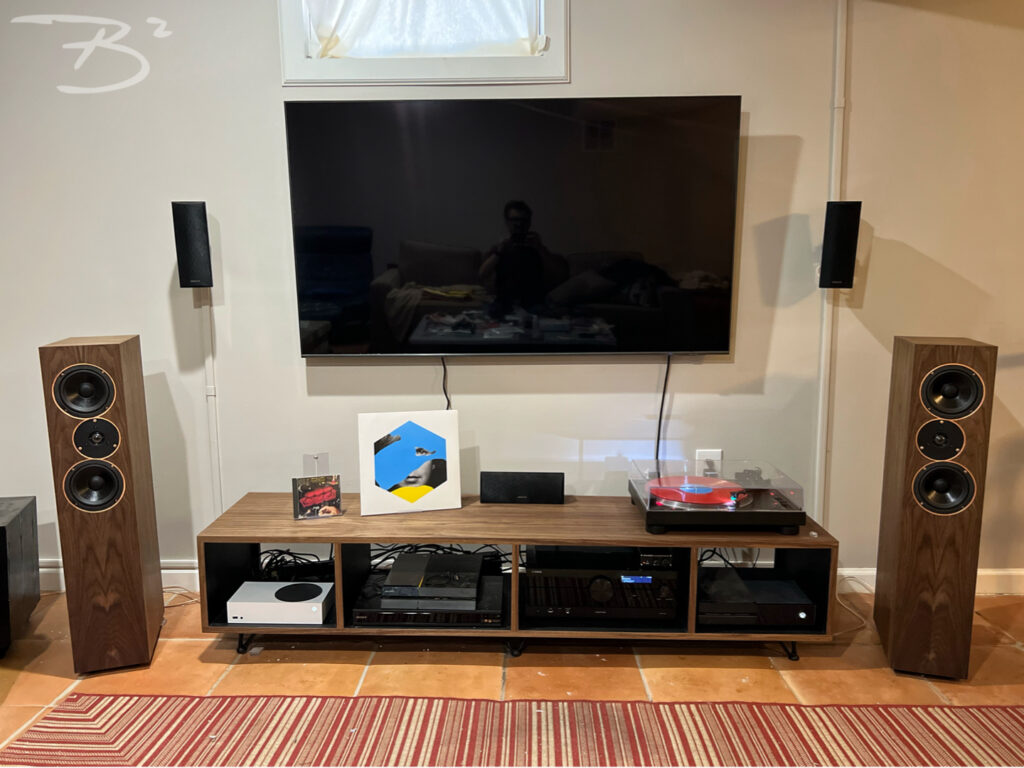
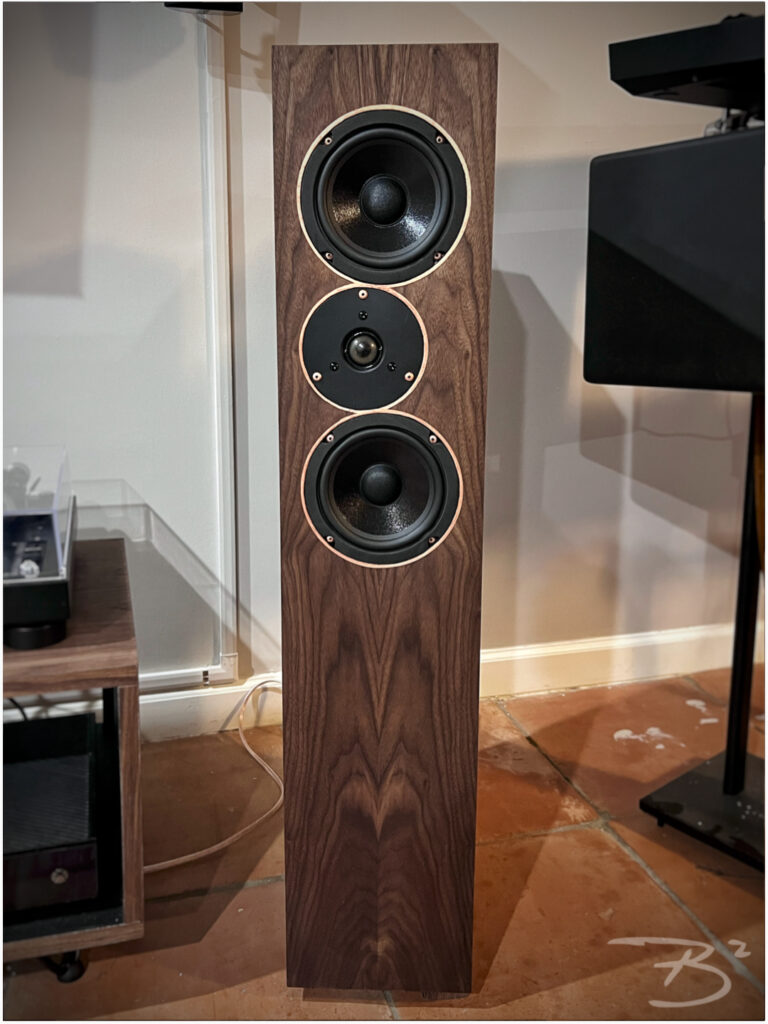
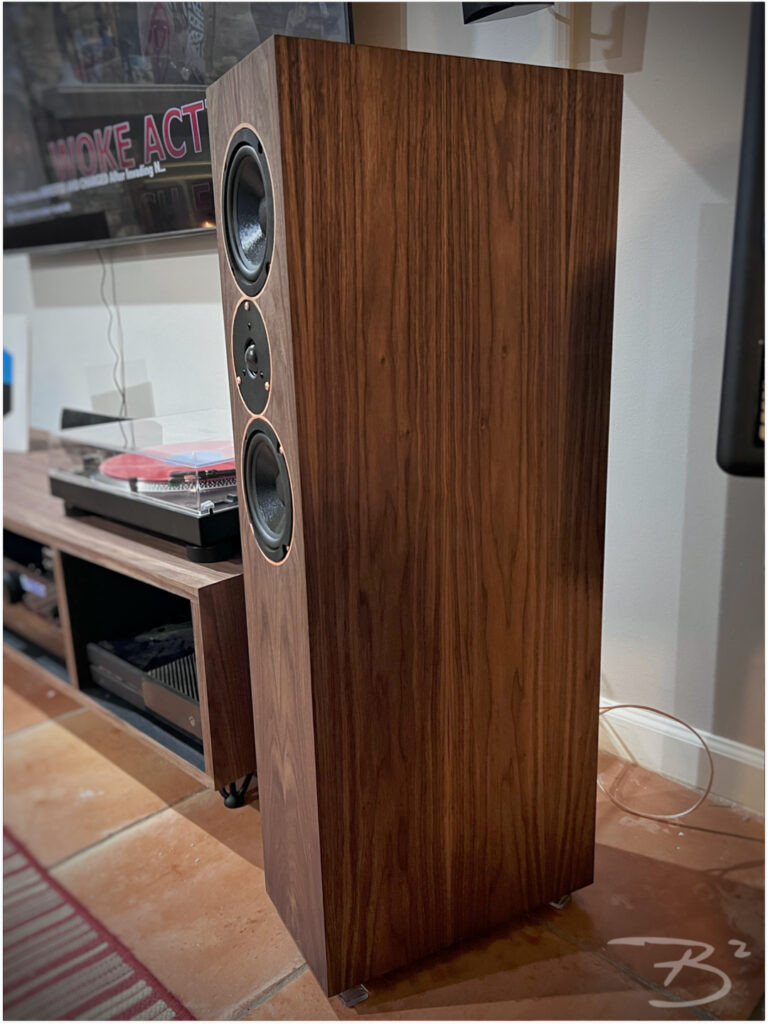
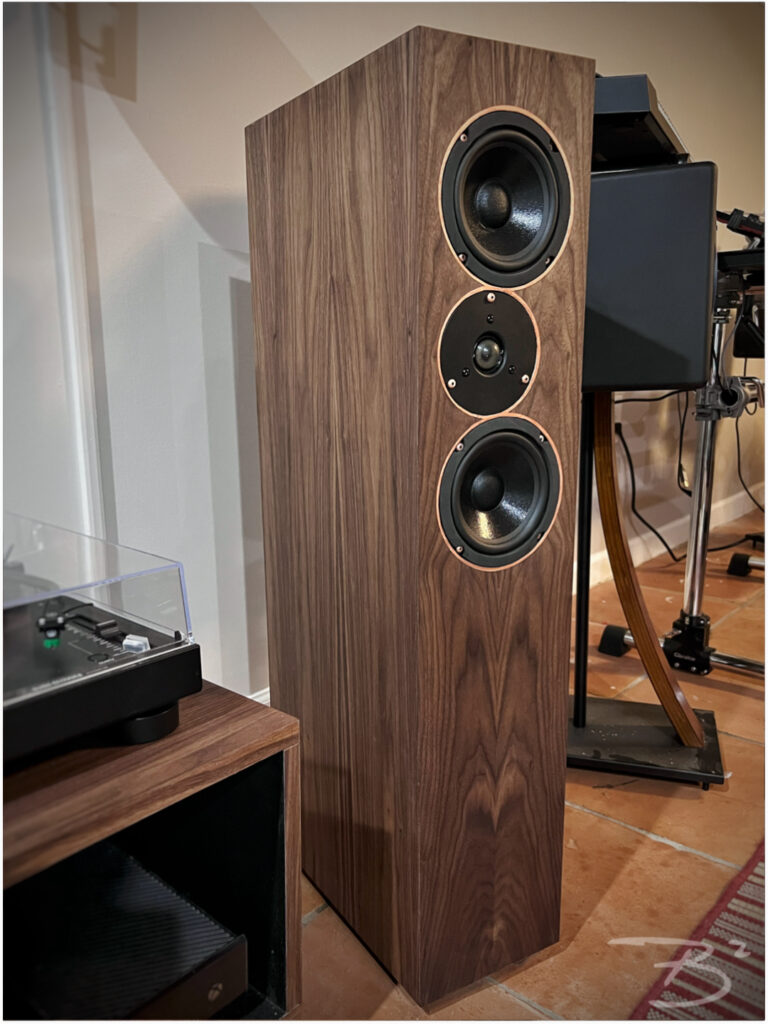
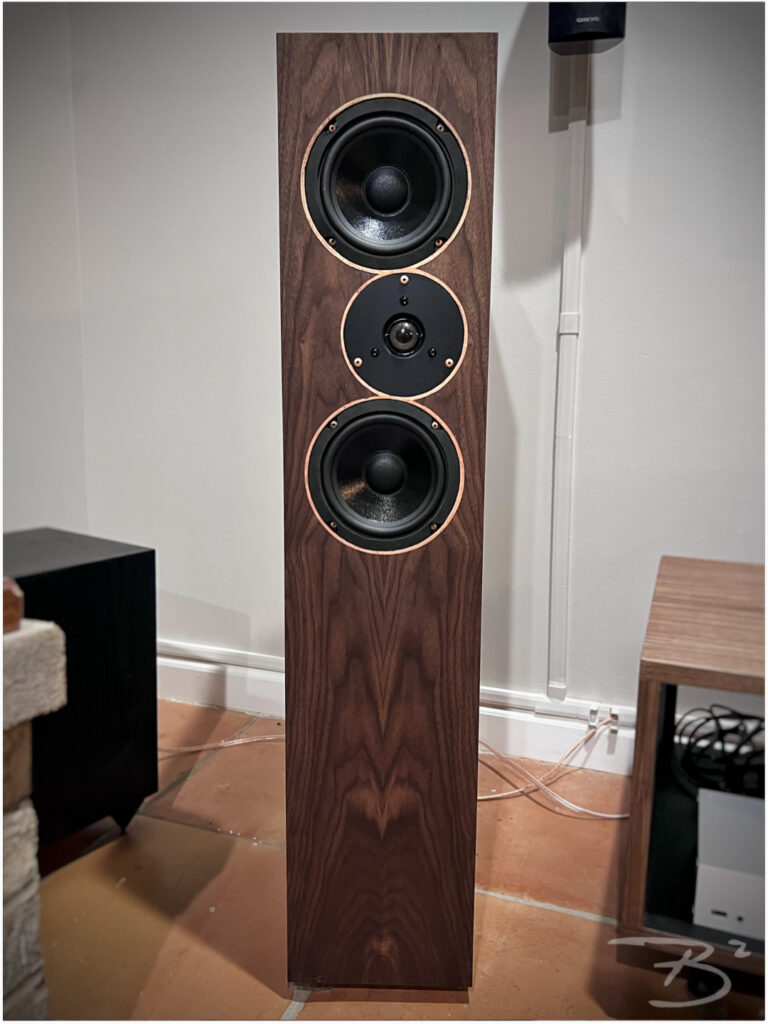
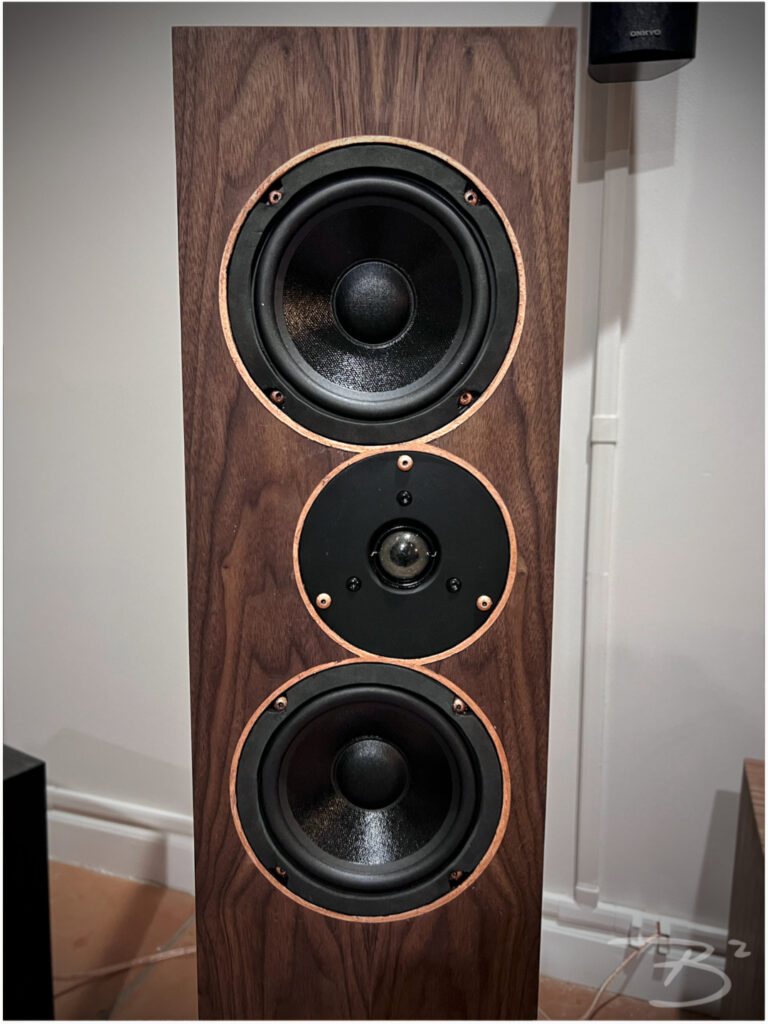
TriTrix MTM Tower Kit Build
Here are the final results of my first speaker build.
Design Goals:
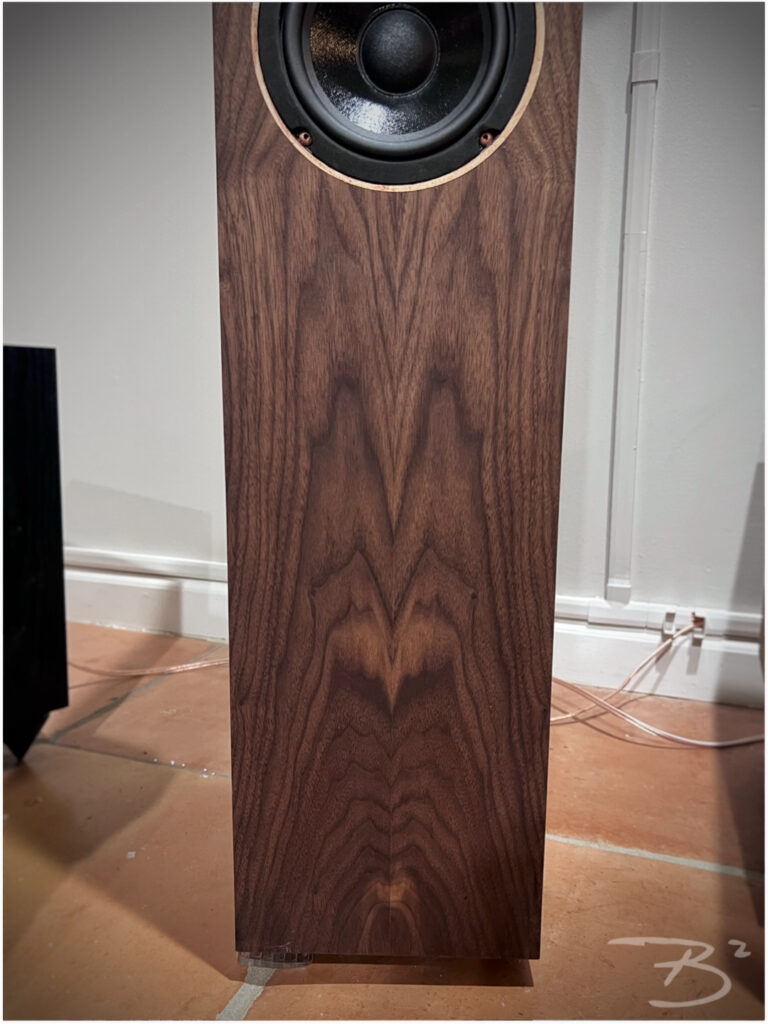
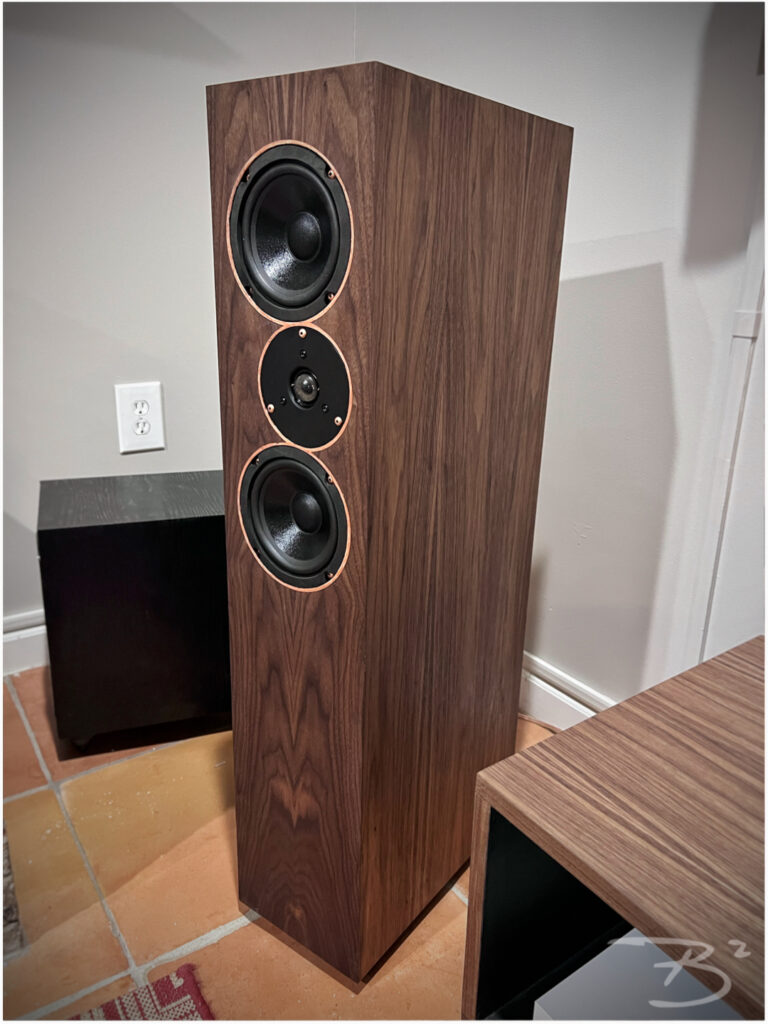
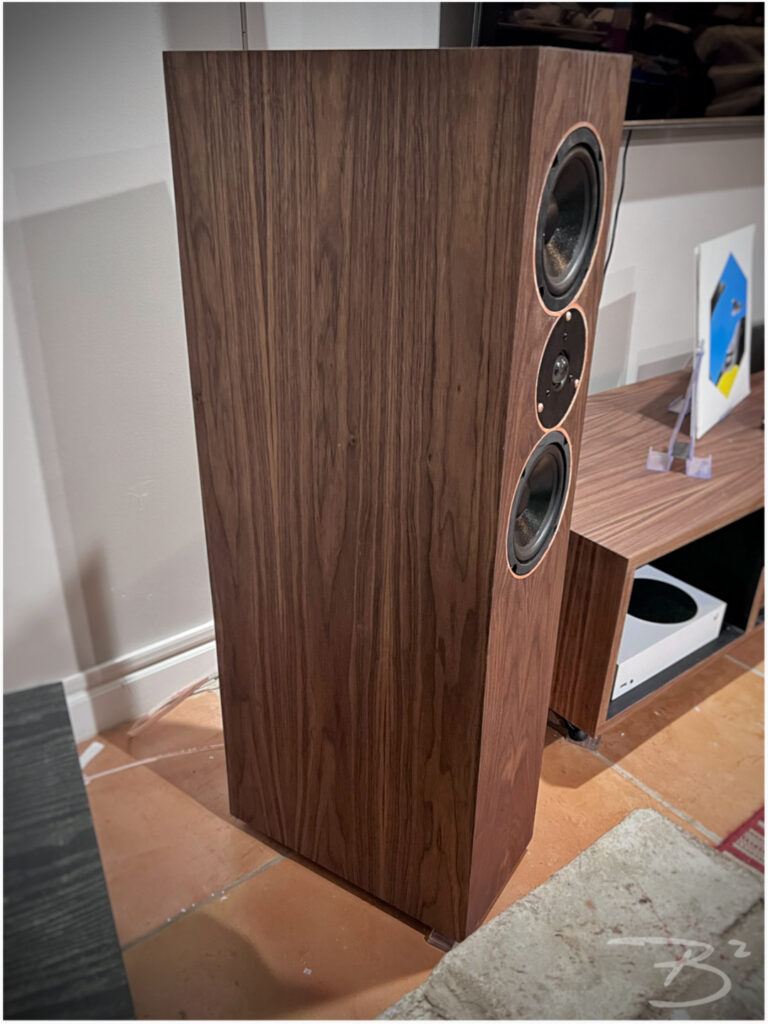
We are redoing our family area utilizing mid century modern style design and walnut with copper accents as an overall aesthetic.
I wanted the speakers to fit in but stand out in a subtle way.
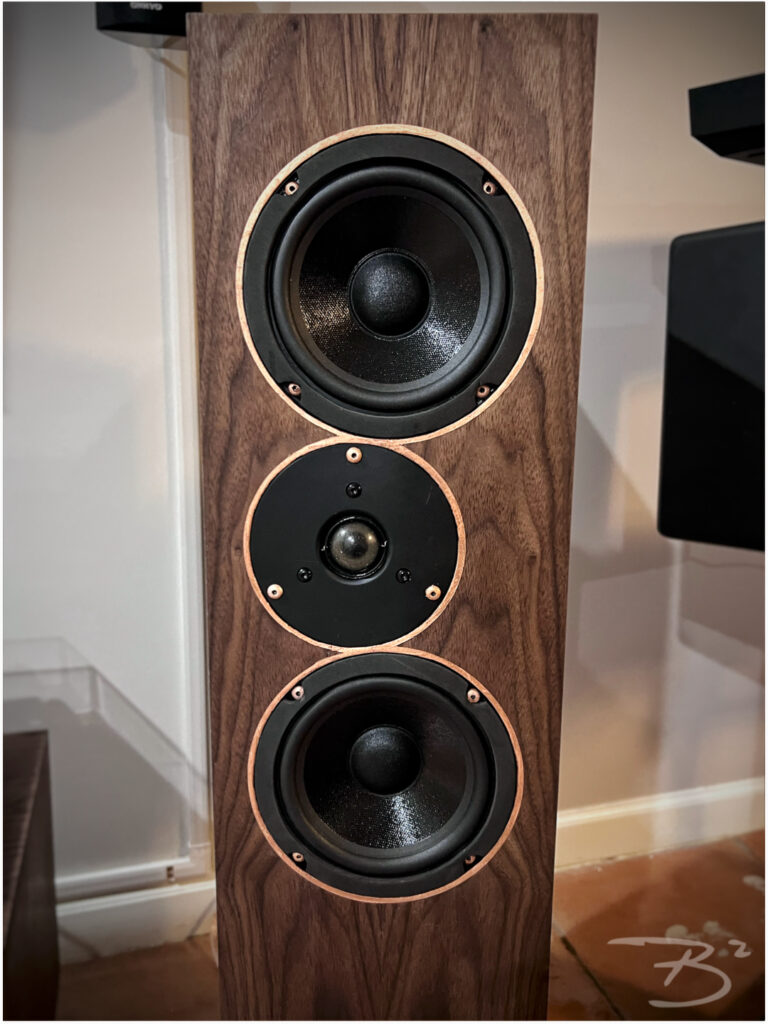
The idea was to incorporate the copper aspect using copper leaf to highlight the drivers and the screws as accent pieces.
I also lost my mind and built a matching entertainment console (shown in pics)
Driver Selection:
TriTrix Speaker Kit
Enclosure Design:
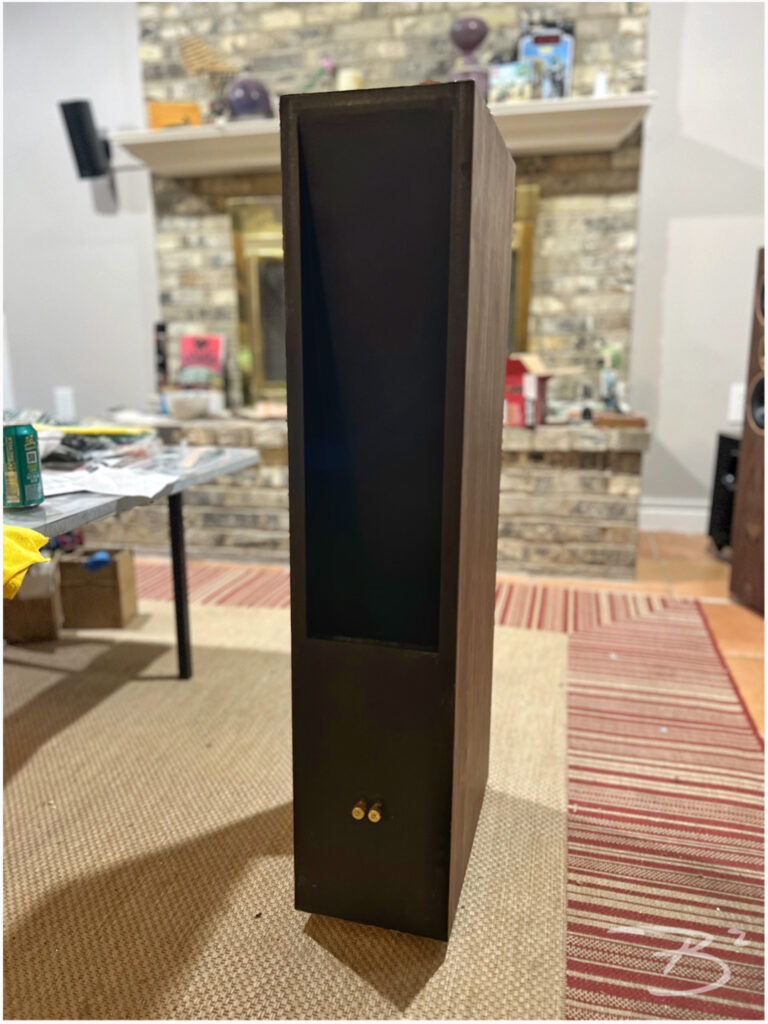
Stock TriTrix enclosure design
Crossover Design:
Included in kit.
Tips & Tricks:
N/A
Conclusion:
This Kit really does sound great. Was it less expensive than buying something similar that is already done…not if you don’t have all of the tools. Now I have a bunch of new tools too. ?
No regrets.
About the Designer:
I am a musician, percussion instructor and hand crafted pipe maker based in Kentucky.
Project Parts List:
| Part # | Description | Qty. |
| 300-702 | TriTrix MTM TL Tower Speaker Components and Cabinet Kit Pair | 1 |
| 091-1245 | Dayton Audio BPA-38G HD Binding Post Banana Jack Pair Gold | 2 |
| 260-540 | Parts Express Speaker Gasketing Tape 1/8″ x 3/8″ x 50 ft. Roll | 1 |
| 260-530 | Sonic Barrier 3/4″ 3-Layer Acoustic Sound Damping Material with PSA 18″ x 24″ | 3 |
| 240-717 | Dayton Audio DSS4-BK Black Speaker Spike Set 4 Pcs. | 2 |
| 260-2102 | ExoHyde Pro Grade Textured Protective Speaker Cabinet Coating Gallon – Black | 1 |
| 260-115 | foamPRO 4″ Textured Roller with Handle | 1 |
| 260-117 | foamPRO 4″ Textured Roller Refill 2 Pack | 1 |
Nice Job Brandon. Love the way it all looks together, I bet it sounds great.