End Table Subwoofer


Designer:
Bobby Kinstle
Project Category:
Subwoofers
Project Level:
Intermediate
Project Time:
8-20 Hours
Project Cost:
$100 – $500
Project Description:
Want more bass without a big ugly box in your room? Now you can have the deep bass that only comes from a big box, but also blends in with your furniture.
Design Goals:
The sub should not only look like the rest of the furniture in the room but also play very deep. However it should not play super loud as the kids are sleeping downstairs and the neighbors won’t appreciate it either.
Driver Selection:
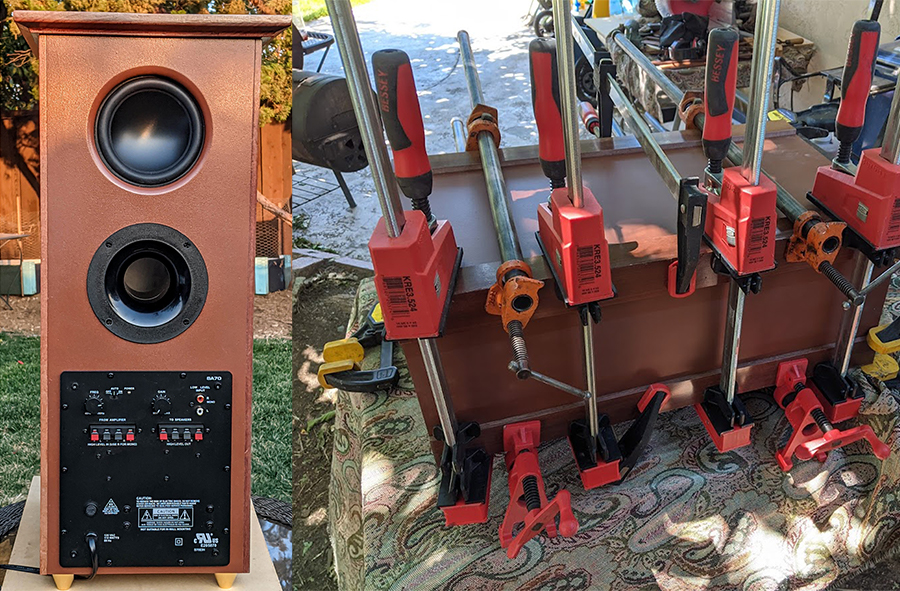
I used the Dayton ND140 because in simulation it was able to achieve VERY deep frequencies at moderate volume levels. If you don’t mind having a 1 cubic foot box, this driver can play down into the 30s. Note: I would not recommend doing this in a 2 way setup as the midrange performance goes out the window when you treat the driver like a sub.
Enclosure Design:
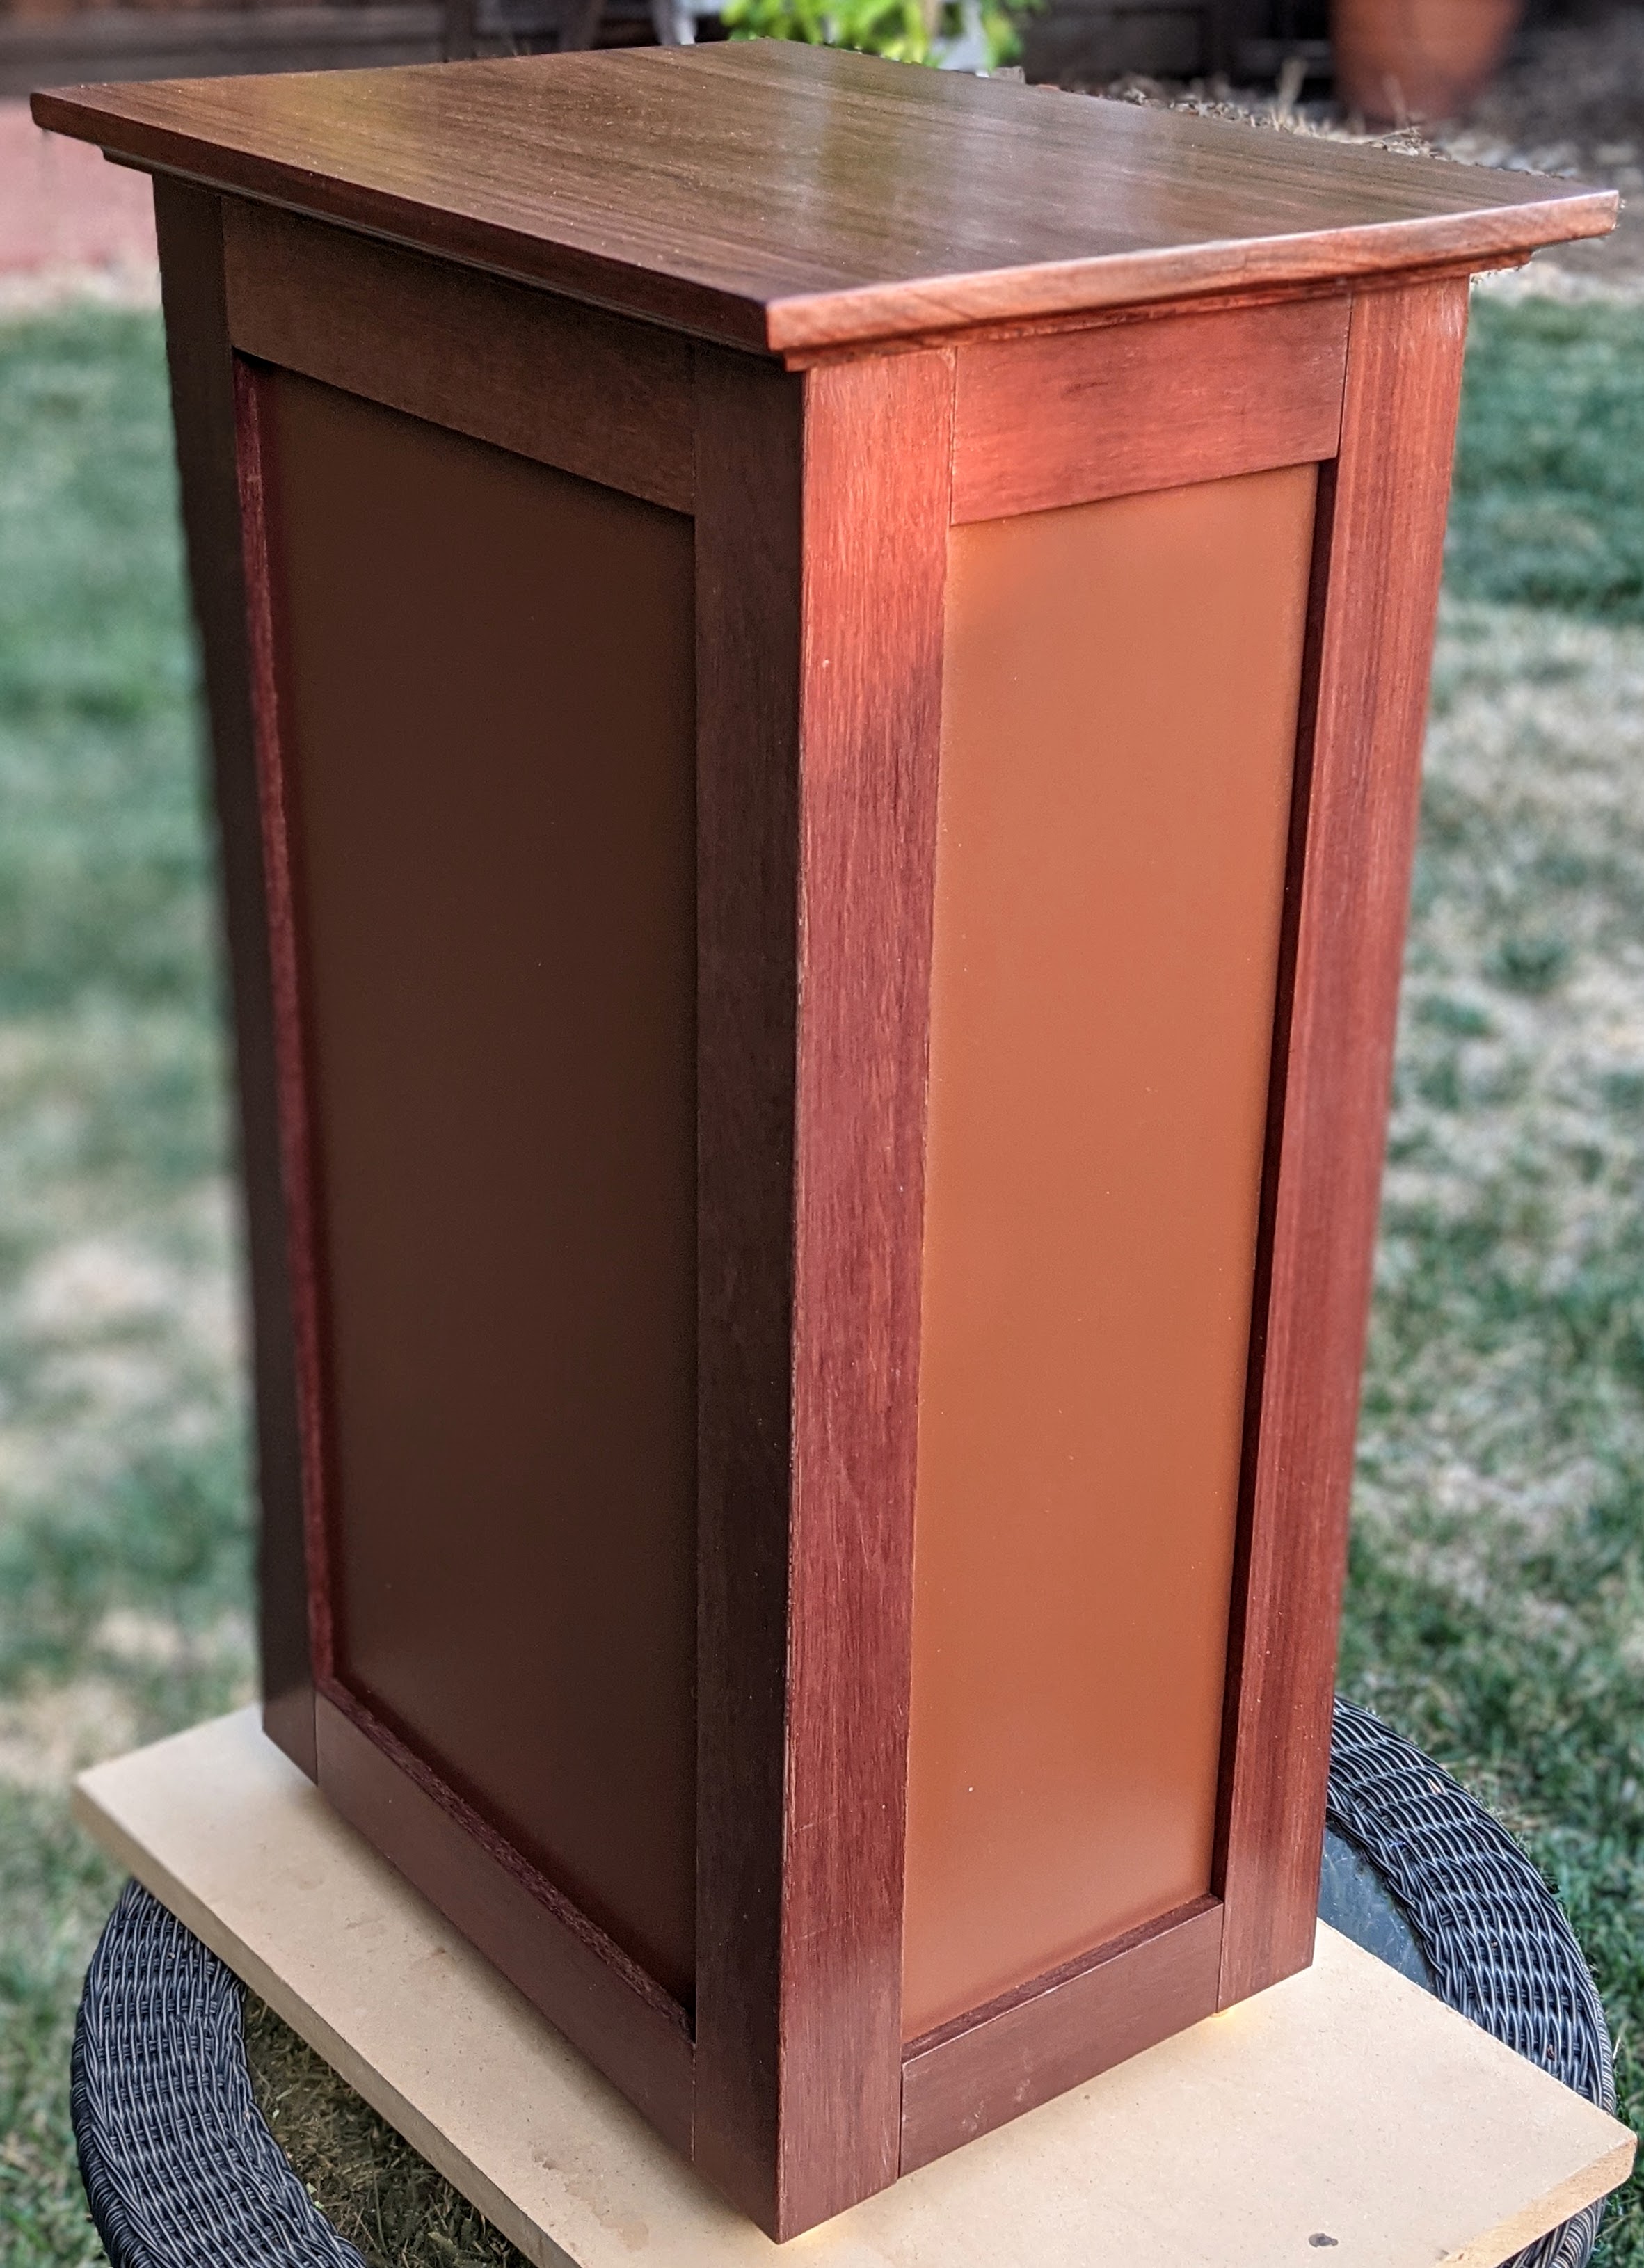
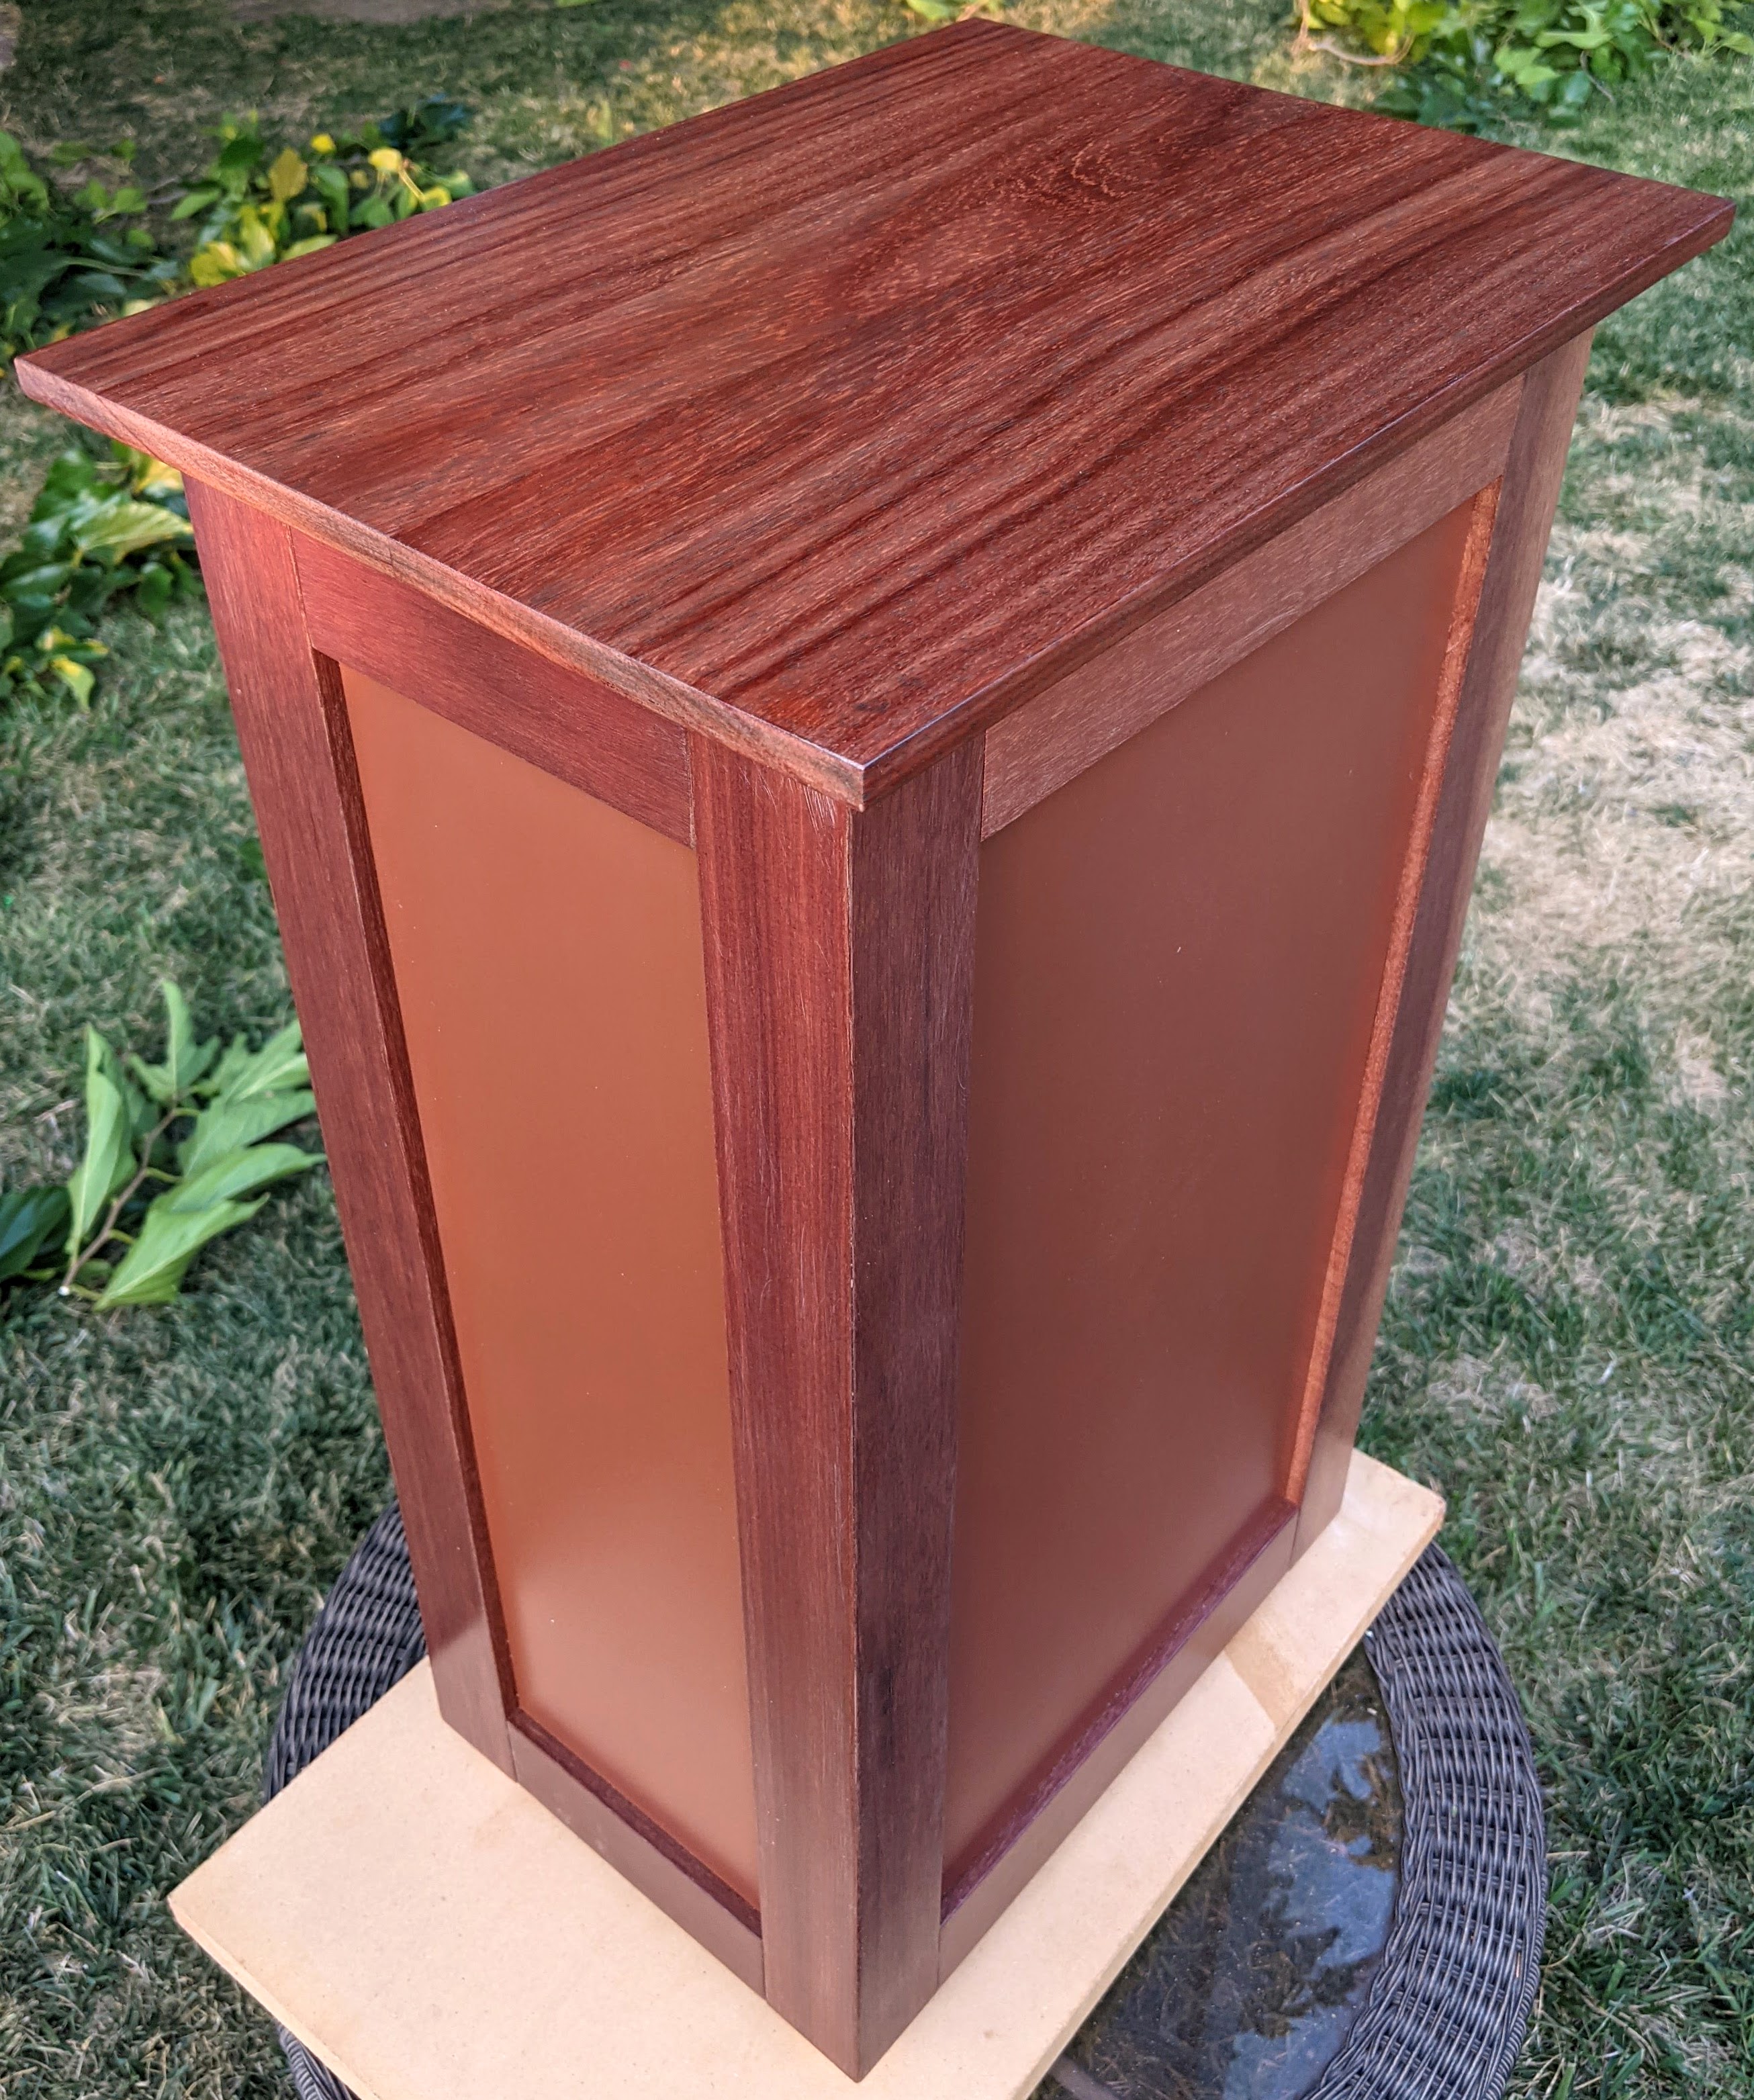
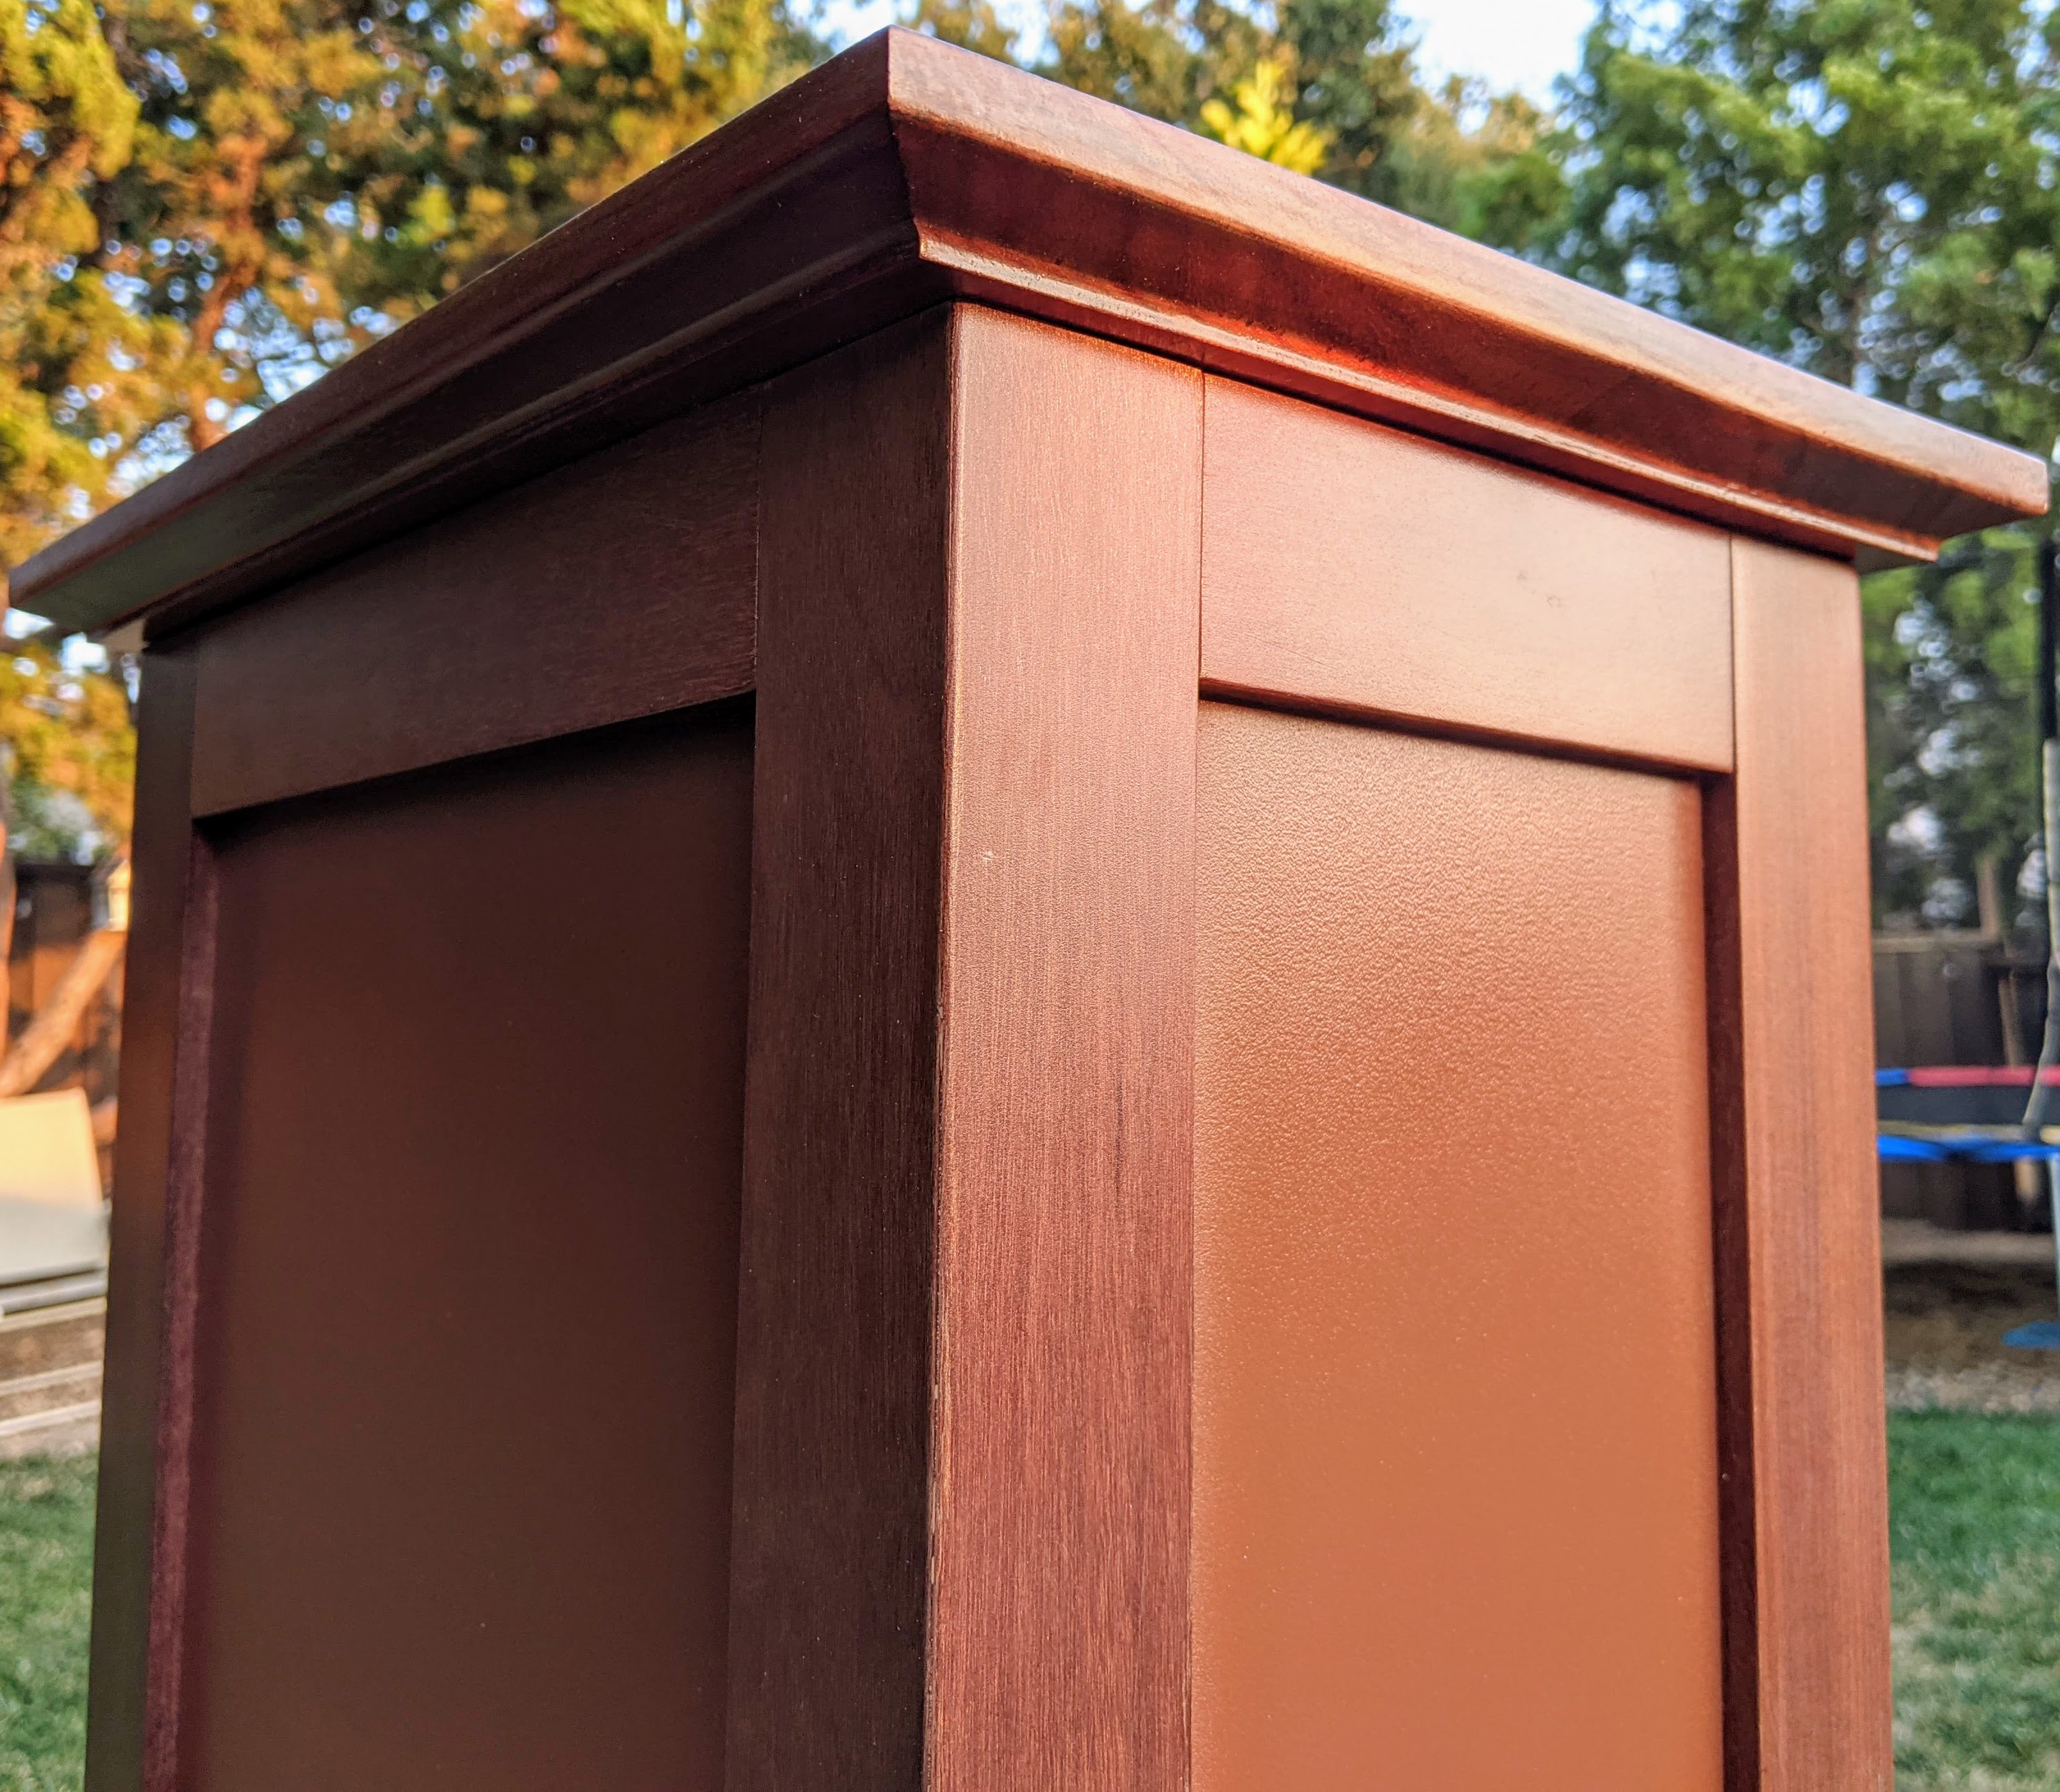
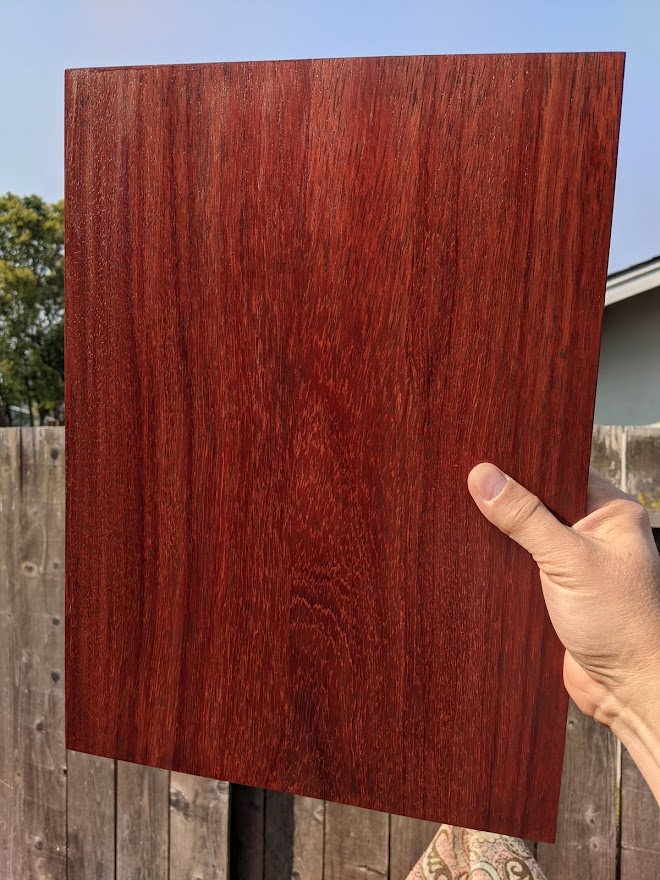
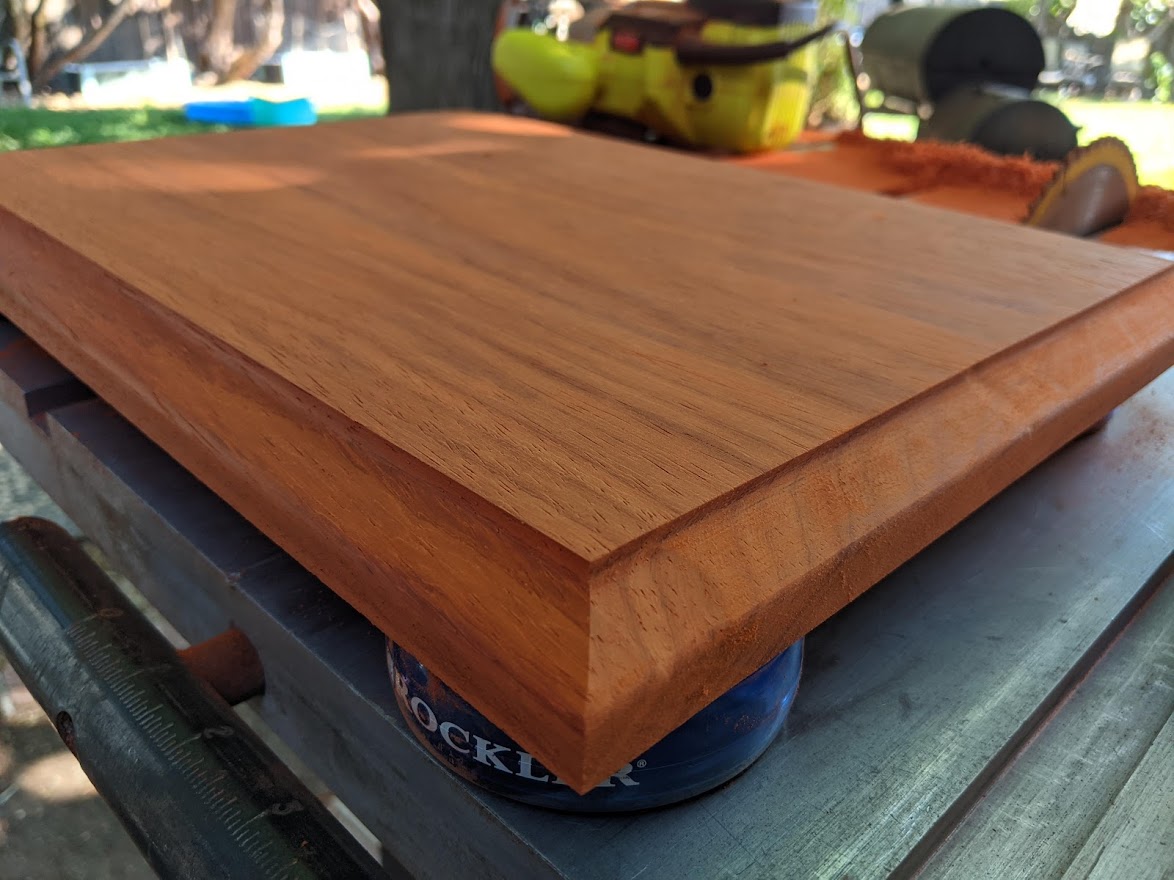
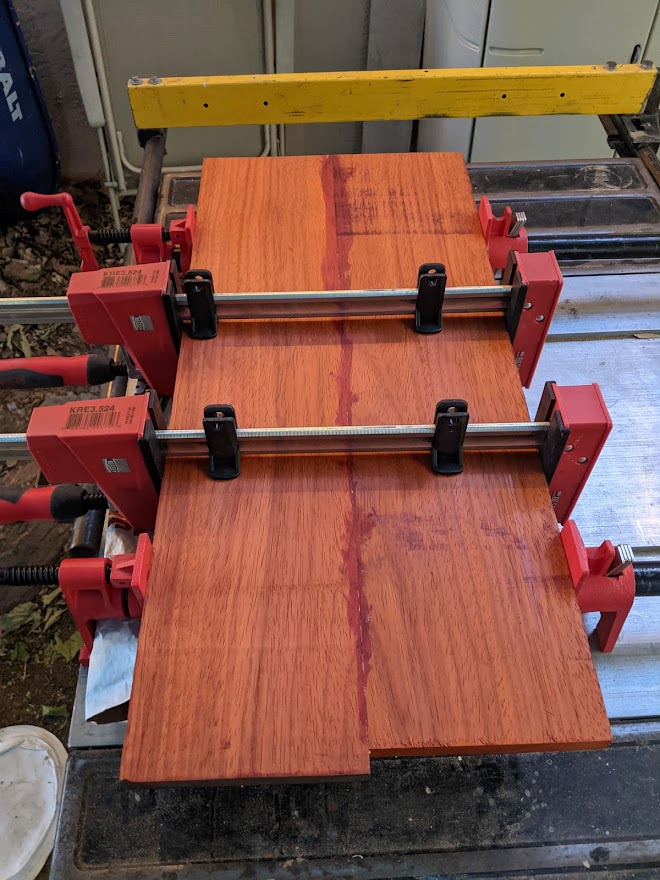
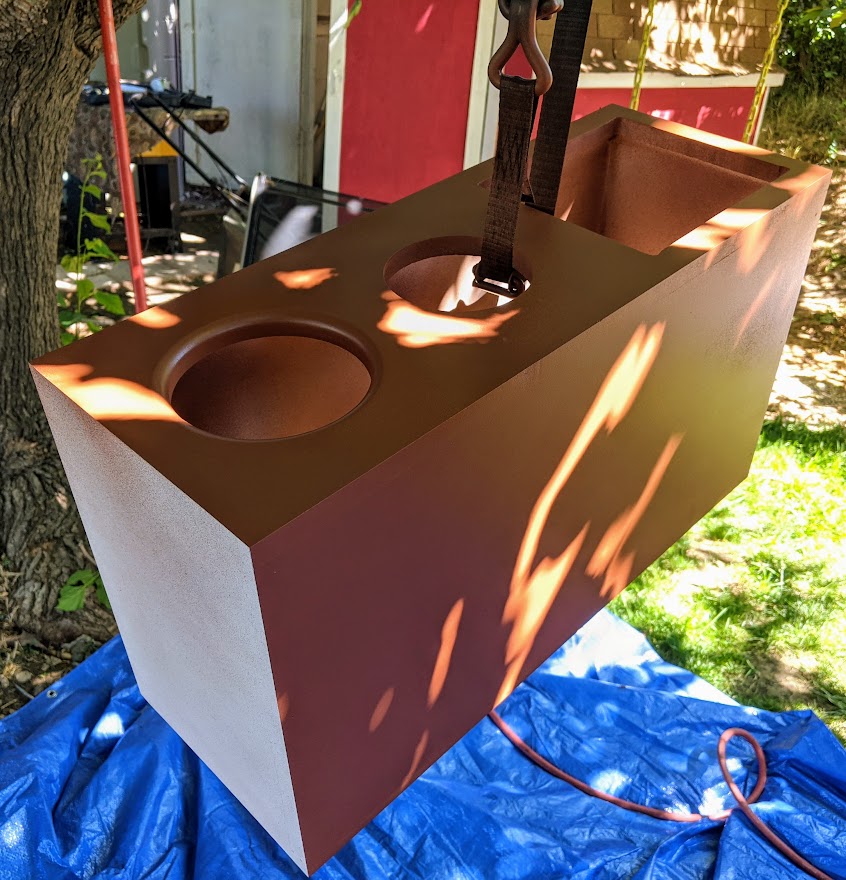
The enclosure is made of 5/8″ MDF and the strips are made of Brazilian Redwood. I wanted to use the same wood for the top but good luck getting lumber out of Brazil during the pandemic. Instead I used Padauk which normally has a powerfully orange color that people fight tooth and nail to preserve but ultimately turns a rich chocolatey brown. Instead of fighting it, I left the top out in the sun a few days and then clear coated it. Port is 2″ precision port with both flares installed and tuned to 35Hz.
Enclosure Assembly:
The MDF panels were joined in standard butt joints with glue and brad nails. The redwood strips conceal the joints. Inside the enclosure I have a lot randomly placed corner reinforcements and a cross brace. The wood top goes on top of the MDF box and is held in place with screws form the inside and sealed with silicone. The top is not a functional part of the enclosure as that would be too hard to make a good seal with the MDF. The bottom has 4 shiny gold spikes to help keep vibrations out of the floor. Lastly I added poly fill inside to keep the bass tight and clean.
The outside has 4 coats of paint on the MDF, then after attaching the strips 4 more coats of clear polyurathane
Crossover Design:
The plate amp has built in crossover controls.
Tips & Tricks:
1. Pre drill all the holes for screwing things into the back side of panels before you glue. It’s mighty hard to do that after assembly from the inside.
2. Buy all the lumber you will need at the start of the project
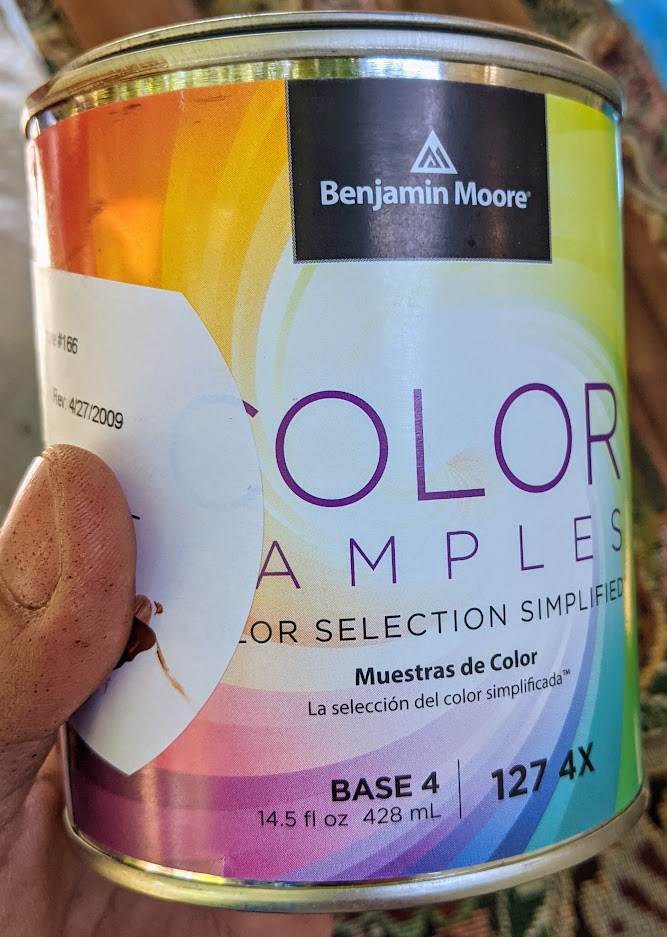
3. Hardware stores sell paint samples in just about any color. Great for when you only need a little paint. Sample paint has no sheen, but if you are going to clear coat anyway, who cares about the sheen.
4. HVLP sprayers are the best way to paint and clear without brush or roller marks.
5. Hanging your project from a strap allows you to paint all sides at once. Best to do it under a tarp to keep dust to a minimum.
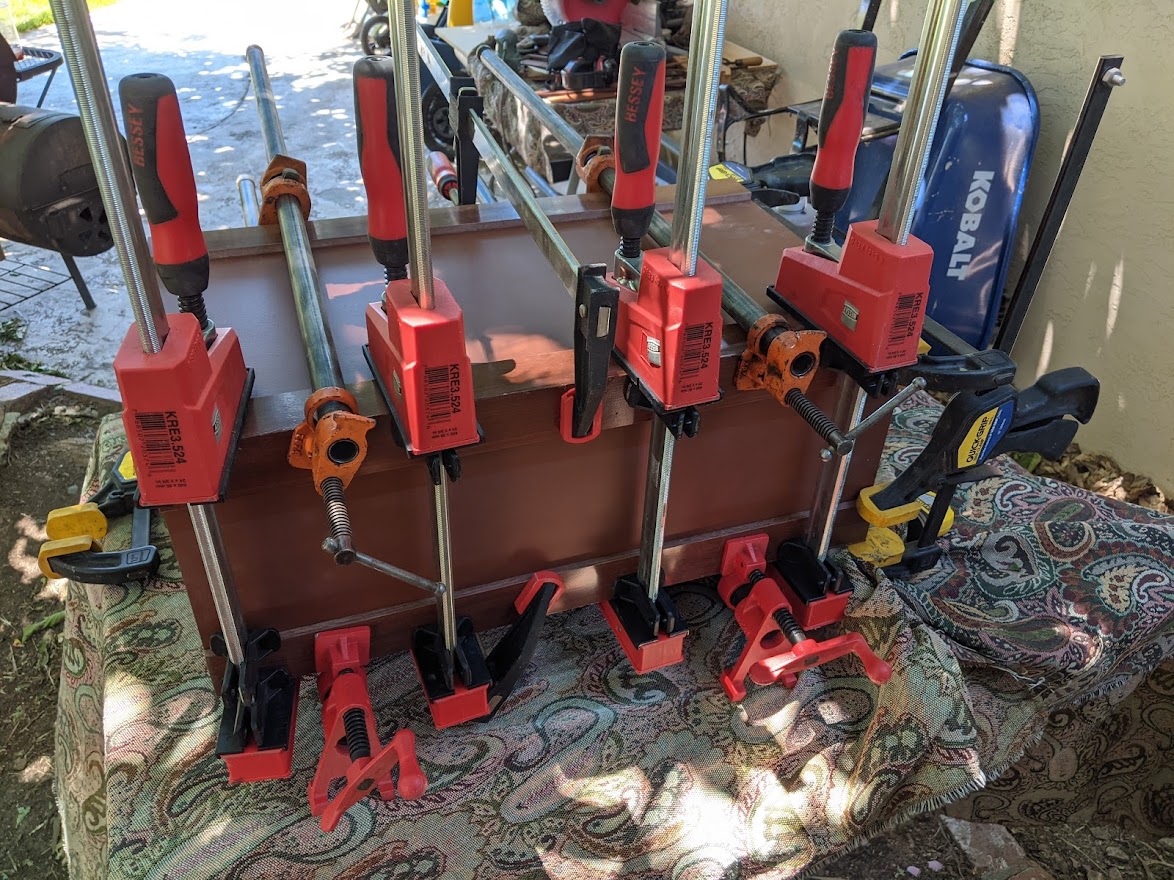
6. Clamps. Lots of clamps.
Conclusion:
I couldn’t be happier with how well this filled the need. It has an F3 of 32Hz! It won’t play home theater style explosions, but it’s highly musical and blends with the mains very seamlessly.
About the Designer:
I grew up in the Mojave Desert in a small community of scientists, craftsmen, and engineers. We were the kind of people who didn’t accept “it’s impossible” or “you can’t do that”. If I want something that doesn’t exist, I’ll just make one. Now I’m a thermal engineer in the computer industry and I currently hold 17 patents worldwide.
Project Parts List:
|
Part # |
Description |
Qty |
|
290-218 |
Dayton Audio ND140-8 5-1/4″ Aluminum Cone Midbass Neo Driver 8 Ohm |
1 |
|
300-784 |
Dayton Audio SA70 70W Subwoofer Plate Amplifier |
1 |
|
268-348 |
Precision Port 2″ Flared Speaker Cabinet Port Tube Kit |
1 |
|
240-718 |
Dayton Audio DSS4-G Gold Speaker Spike Set 4 Pcs. |
1 |
+ There are no comments
Add yours