Active Stage Montiors


Designer:
Simsimphony
Project Category:
Portable Speakers
Project Level:
Intermediate
Project Time:
20+ Hours
Project Cost:
$100 – $500
Project Description:
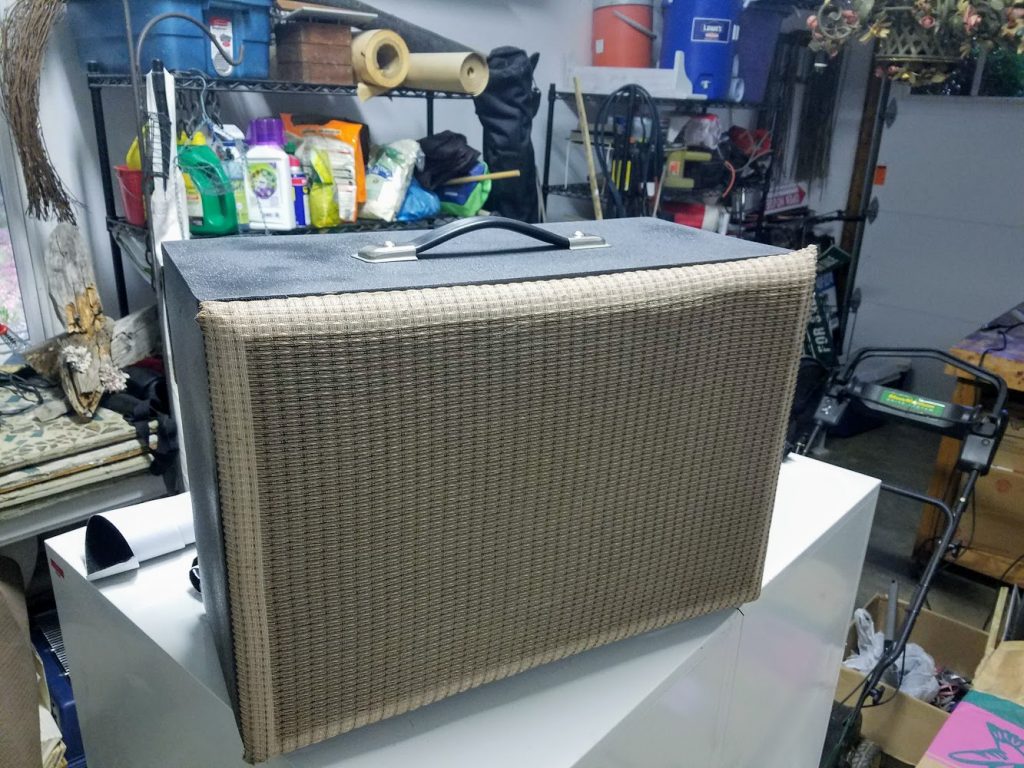
Renovate two old passive wedge monitors to active powered monitors. This would provide a stereo submix for guitar effects, but could be used for any power speaker application.
Design Goals:
Vision:
Having wanted to experiment with spatial audio for the guitar for years, and after the failed OSSIC 3D audio headphone project I thought …. well now what? I’d always wanted to play with guitar stereo imaging and when I saw Larry Carlton’s explanation of a stereo submix for guitar effects on stage, as an ex audio engineer, it made complete sense to me. I’d used this studio technique hundreds of times, and loved the idea running dry into my main amp and the microphone, feeding a left and right monitors pair with stereo FX . So these old wedges were dusted off, and the goal creep set in:
1. Guitar FX submix
2. Keyboard mix
3. Electronic Drum mix
Budget:
I’d looked at all the powered audio monitors specs and budgets. Yes, I want a Meyer Ultra X40, but decided on a budget of no more than $400.00, bring it well under a pair of good active stage grade monitors for my first build, as I’m was sure I’d likely blow something up.
Specifics:
Since it was a first-time project ‘audio’ build project, I wanted to revisit many things I’d learned but hadn’t applied into audio hardware design.
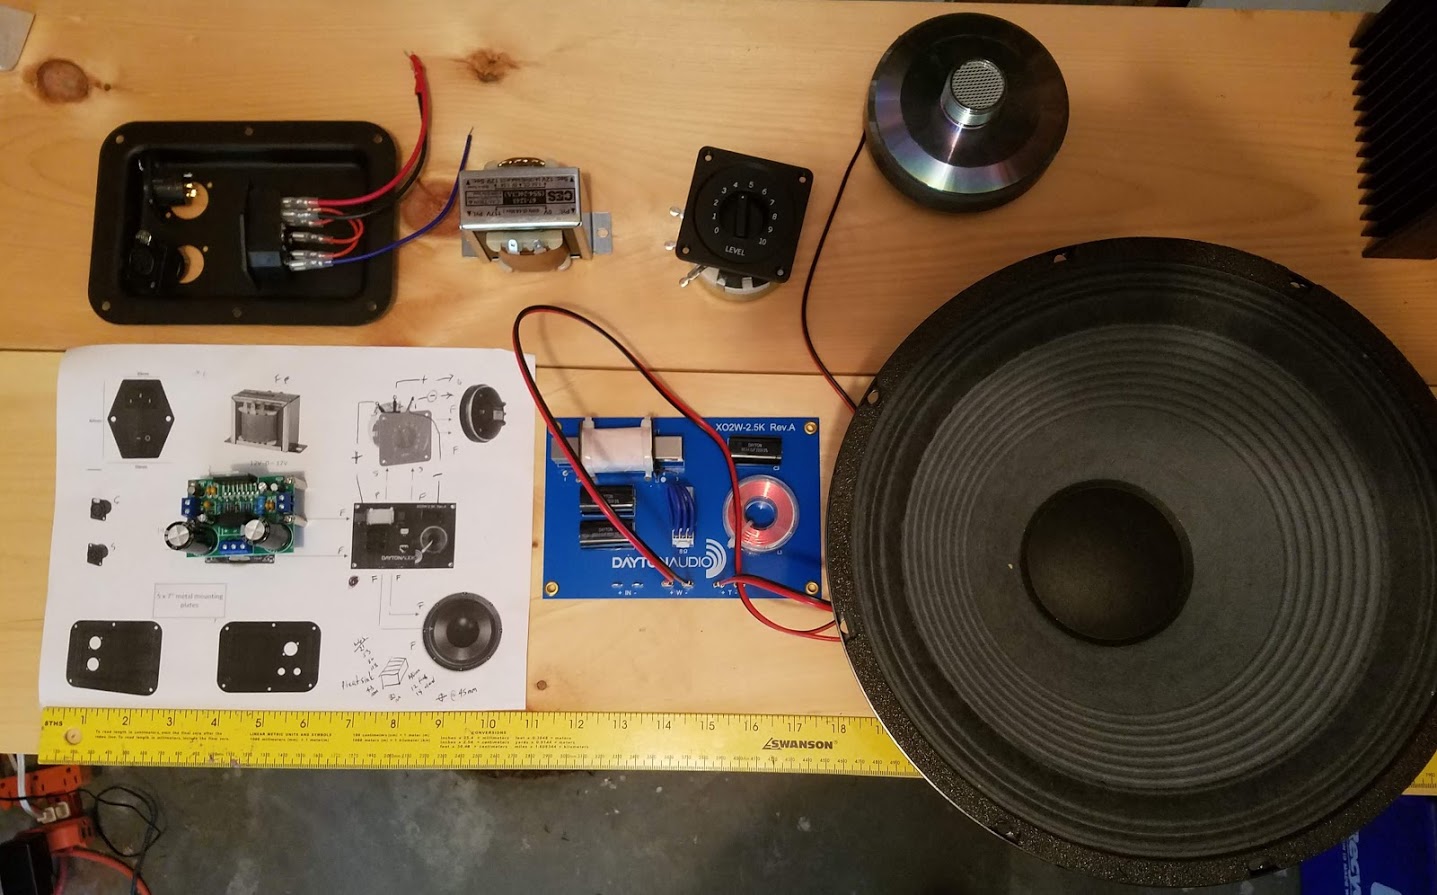
My friend had raved about D2 chip advances so I decided this would be a good place to start, as I had been reading about FRFR (Full Range, Flat Response ) amplification used in the multi-effects Modeling guitar tone world. In the end I decided on an ClassAB amp from STMicroelectronics for the smoothness, SN ratio and lack of distortion.
Driver Selection:
A 2-way system was renovated and after a friend a gave me a great deal on some Eminence Patriot Red White & Blues 12″ Guitar Speaker 120W 8 Ohm Part # 290-814, I paired these with a pair of JBL Selenium D220Ti 1″ Titanium Horn Driver 8 Ohm 1 264-270.
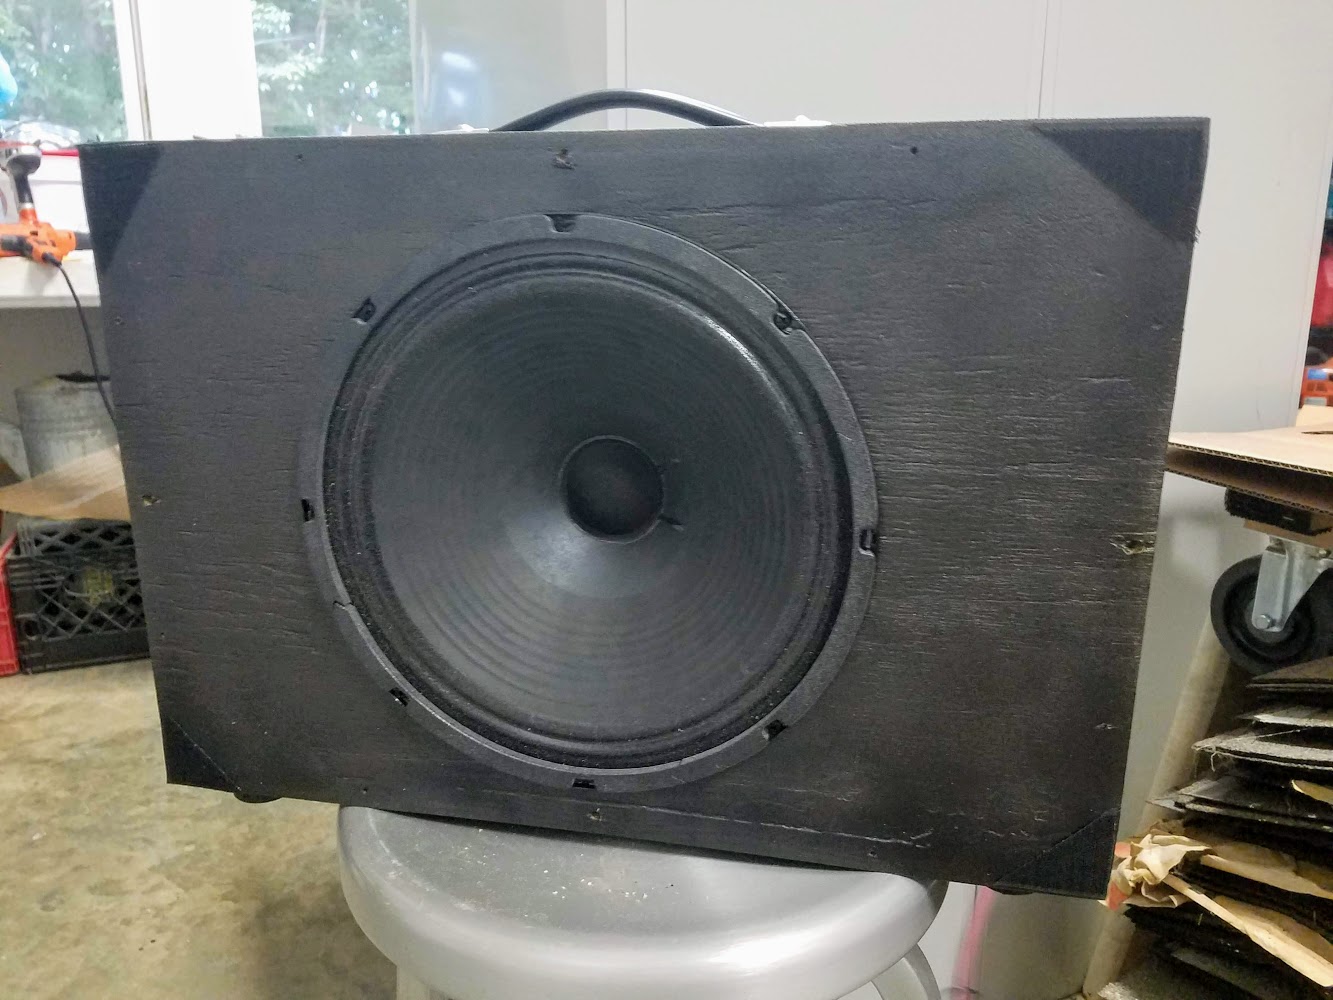
Enclosure Design:
The enclosure is a five (5) sided trapezoid dual-ported wedge.
21″ wide x 14″ tall x 17″ depth
4.5″ back
6.5″ base
6″ under return to face
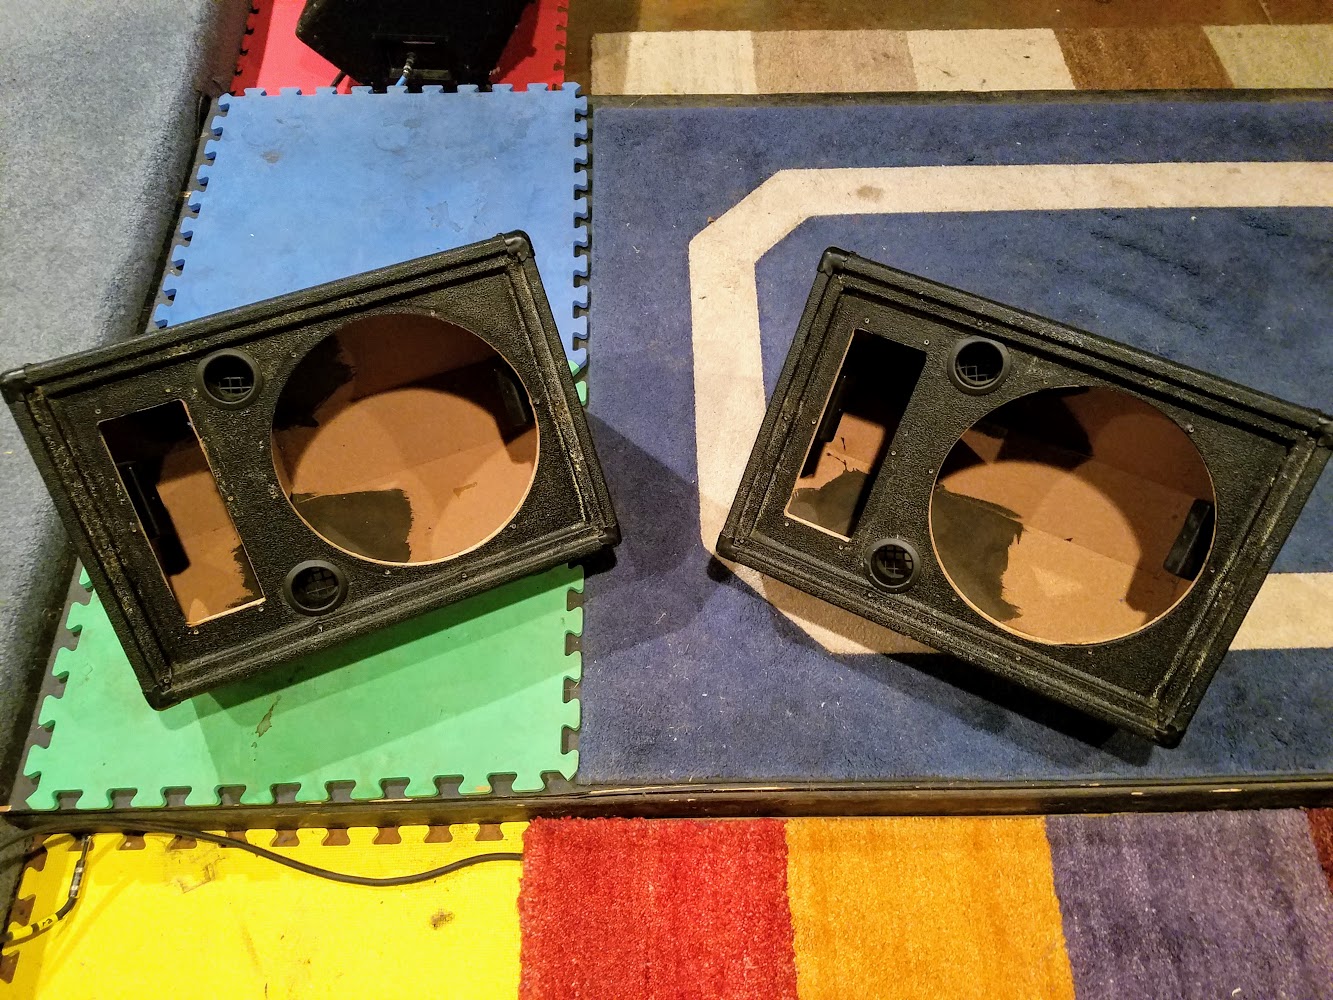
The enclosure was already cut, glued and covered with tolex, as it was a renovation, and this saved me a lot of time. I needed to add LPAD hole, an XLR mounting plate and cut an Electrical switch opening. I put rubber washers under the XLR mounting plate isolate it a bit. The LPAD sat in a hole which was previously cut. I needed a step down transformer with center tap for the amps power requirements and I screwed this to the inside nearest the power switch, but as far away from the crossover as possible; also I mounting on rubber washers.
Enclosure Assembly:
The enclosure was made of 1/2″ MDF product.
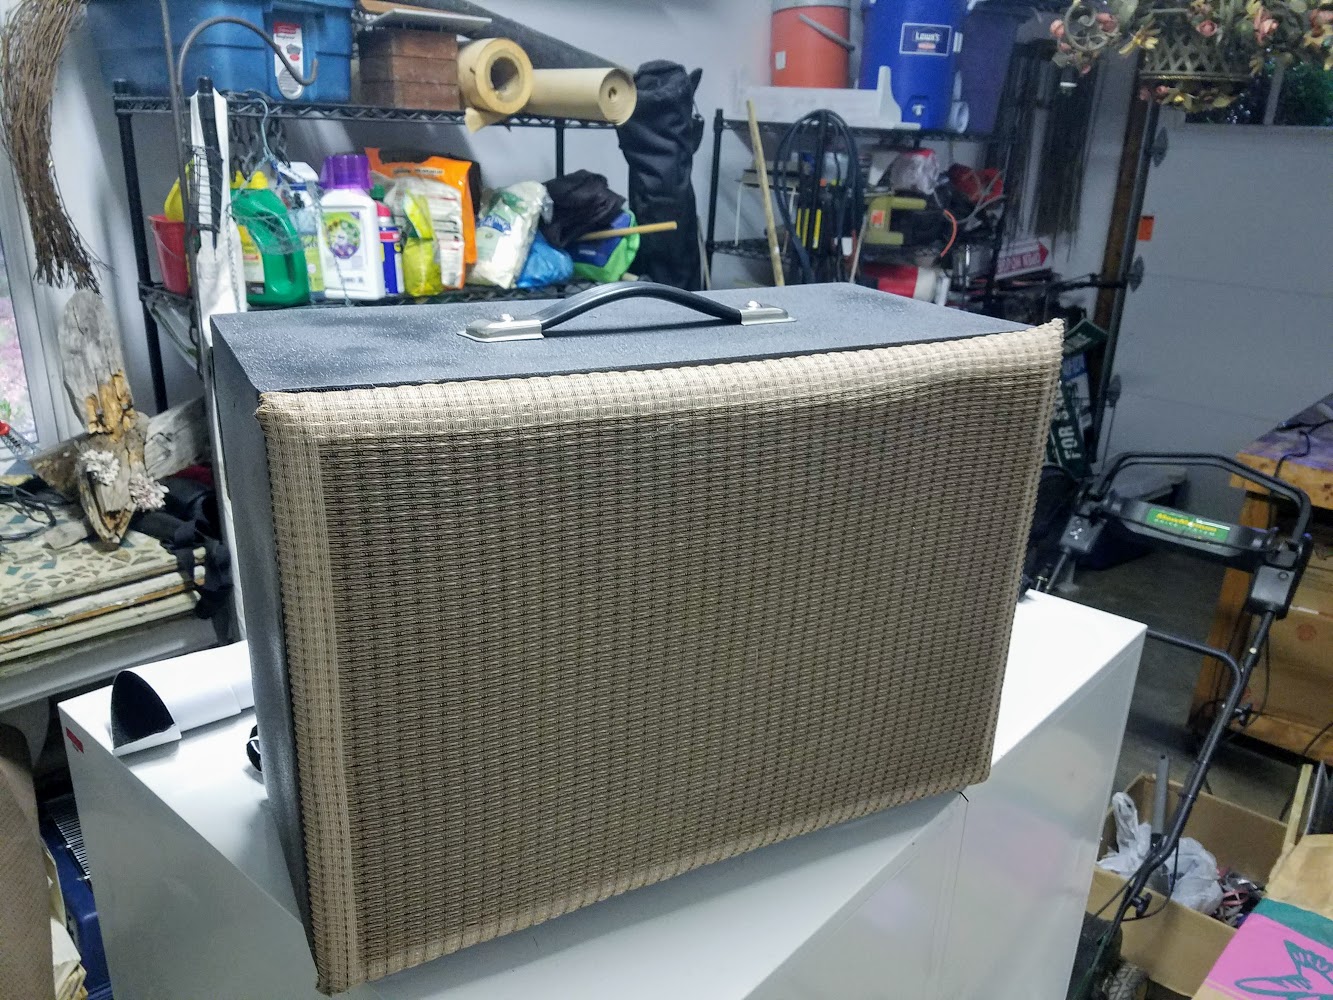
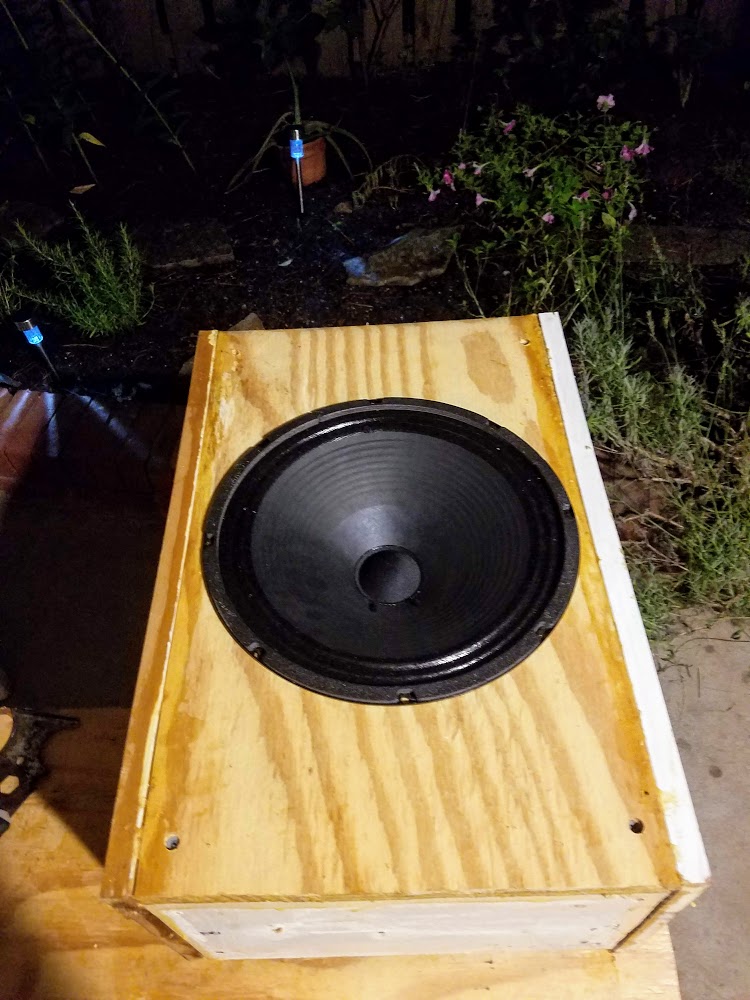
As it happens, I started in parallel another project (to get rid of some wood), where I had to build the enclosure assembly. It was pine for the top/bottom and sides and 1.2″ plywood for front and back, It was my first 1 way single 12″ Guitar cabinet; based on the golden triangle 21″ x 13″ X 9″. I discovered the excellent use of vinyl 3/4″ trim for the mesh grill. After butchering some poplar 1/2″, It doesn’t split, very easy to hand-cut and sand into the form desired and holds 3M VBR double-sided tape for affixing the grill mesh beautifully. After filling the plywood painted the cabinet with a Rustoleum then light sanded it off as I wasn’t happy with it. Then applied a Krylon truck bed rubberized black paint. A professional cabinet builder told me about that and filling and sanding with Bondo (which another cabinet make relayed). Those were massive great tips!
Crossover Design:
After looking at few projects and models I went with a moderate price Dayton crossover from, though the Eminence ones were tempting.
Tips & Tricks:
1.)Before you buy your heatsinks off Ebay or Wish make sure you know the dimensions of what you need to buy. I bought 2 heat sinks at $11.00. It turned out that is enough for eight, yes 8, amp chips based on the heat dissipation I later found out about.
2) I performed signal tests on the a) with all components laid out on the bench b) then when partially laid into the cabinet (after much tinning and soldering) and 3) inside before screwing everything down.
3) Make sure to let everything run for at least 1 hr with no audio, then 1 hour with audio. You should be able to grab the heatsink and hopefully won’t hear any hum or noise.
4) Try to perform the soldering and initial signal tests in a climate-controlled setting. It was 95 degrees in my shed and I moved inside for this part.
5) Use Fasten signal connectors and grounding ring connectors to speed testing and grounding. It saved me so much time.
Conclusion:
It was a lot of fun and my cost overrun was only $30.00. I learned a lot and now have really caught the bug and look forward to my next project.
About the Designer:
Simsimphony is an ex audio engineer and interactive designer currently working with the Internet of Things (IOT). These were his first circuits.
Project Parts List:
|
Part # |
Description |
Qty |
|
264-270 |
Selenium D220Ti 1″ Titanium Horn Driver 8 Ohm 1-3/8″-18 |
2 |
|
290-660 |
Eminence PX-LPAD Crossover L-Pad Attenuator |
2 |
|
092-037 |
Neutrik NC3FD-L-B-1 “D” Series Panel Mount XLR Connector Female Black |
2 |
|
092-035 |
Neutrik NC3MD-L-B-1 “D” Series Panel Mount XLR Connector Male Black |
2 |
|
299-2365 |
Metal Speaker Terminal Plate for One Neutrik D & Two 1/4″ Black 5″ x 7-1/16″ |
2 |
|
262-002 |
Penn-Elcom D023K Dish Two Neutrik D Black 5″ x 7″ |
2 |
|
120-210 |
Parts Express 24V CT 3A Power Transformer (12V-0-12V) |
2 |
|
360-376 |
Clear Hot Glue Stick 10″ |
1 |
|
360-378 |
Hot Melt Trigger Glue Gun |
1 |
|
260-142 |
Dayton Audio XO2W-2.5K 2-Way Speaker Crossover 2,500 Hz |
2 |
|
292-444 |
GRS PZ1025 2″ x 6″ Piezo Horn Mid/Tweeter Similar to KSN1025 |
2 |
|
262-311 |
Penn-Elcom H1013 Strap Handle 7.75″ x 1.08″ |
2 |
+ There are no comments
Add yours