Walnut Bluetooth Speaker


Designer:
Jeryl Wadel
Project Category:
Portable Speakers
Project Level:
Intermediate
Project Time:
8-20 Hours
Project Cost:
$100 – $500
Project Description:
Bluetooth Battery Powered Speaker
Design Goals:
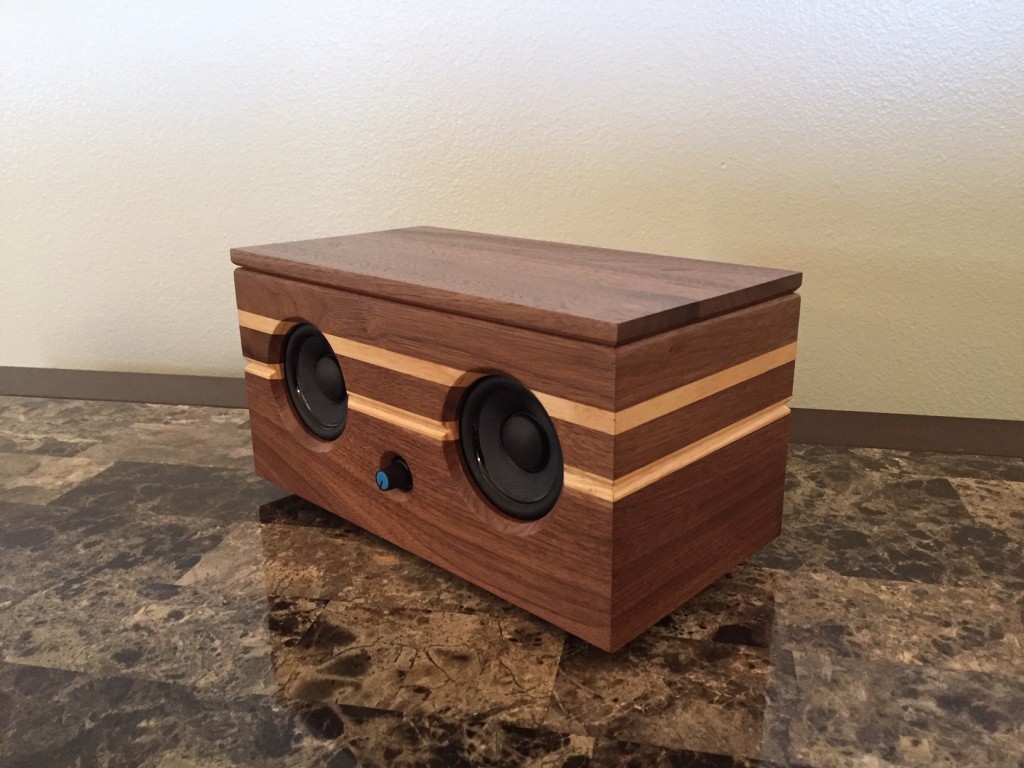
I made this as a gift for my friend. I wanted clear sound in a small enclosure. Wireless and portable was also desired.
Driver Selection:
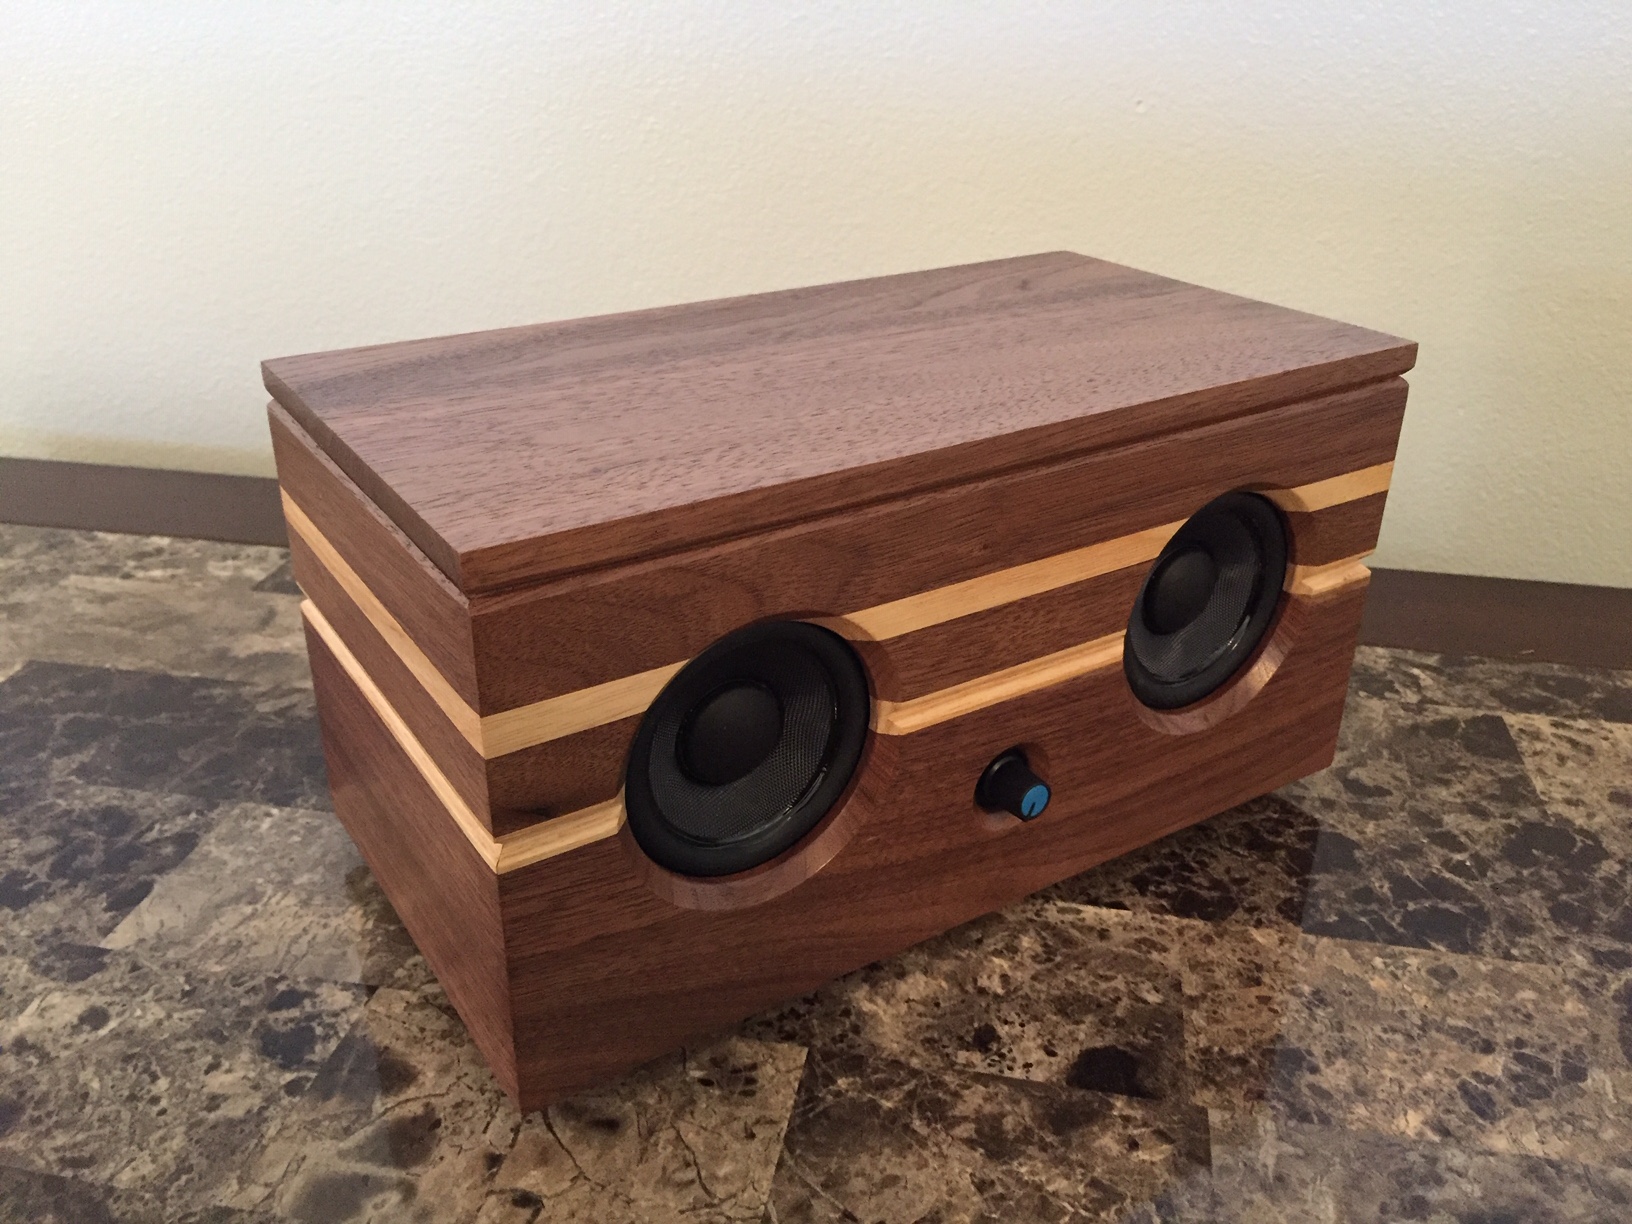
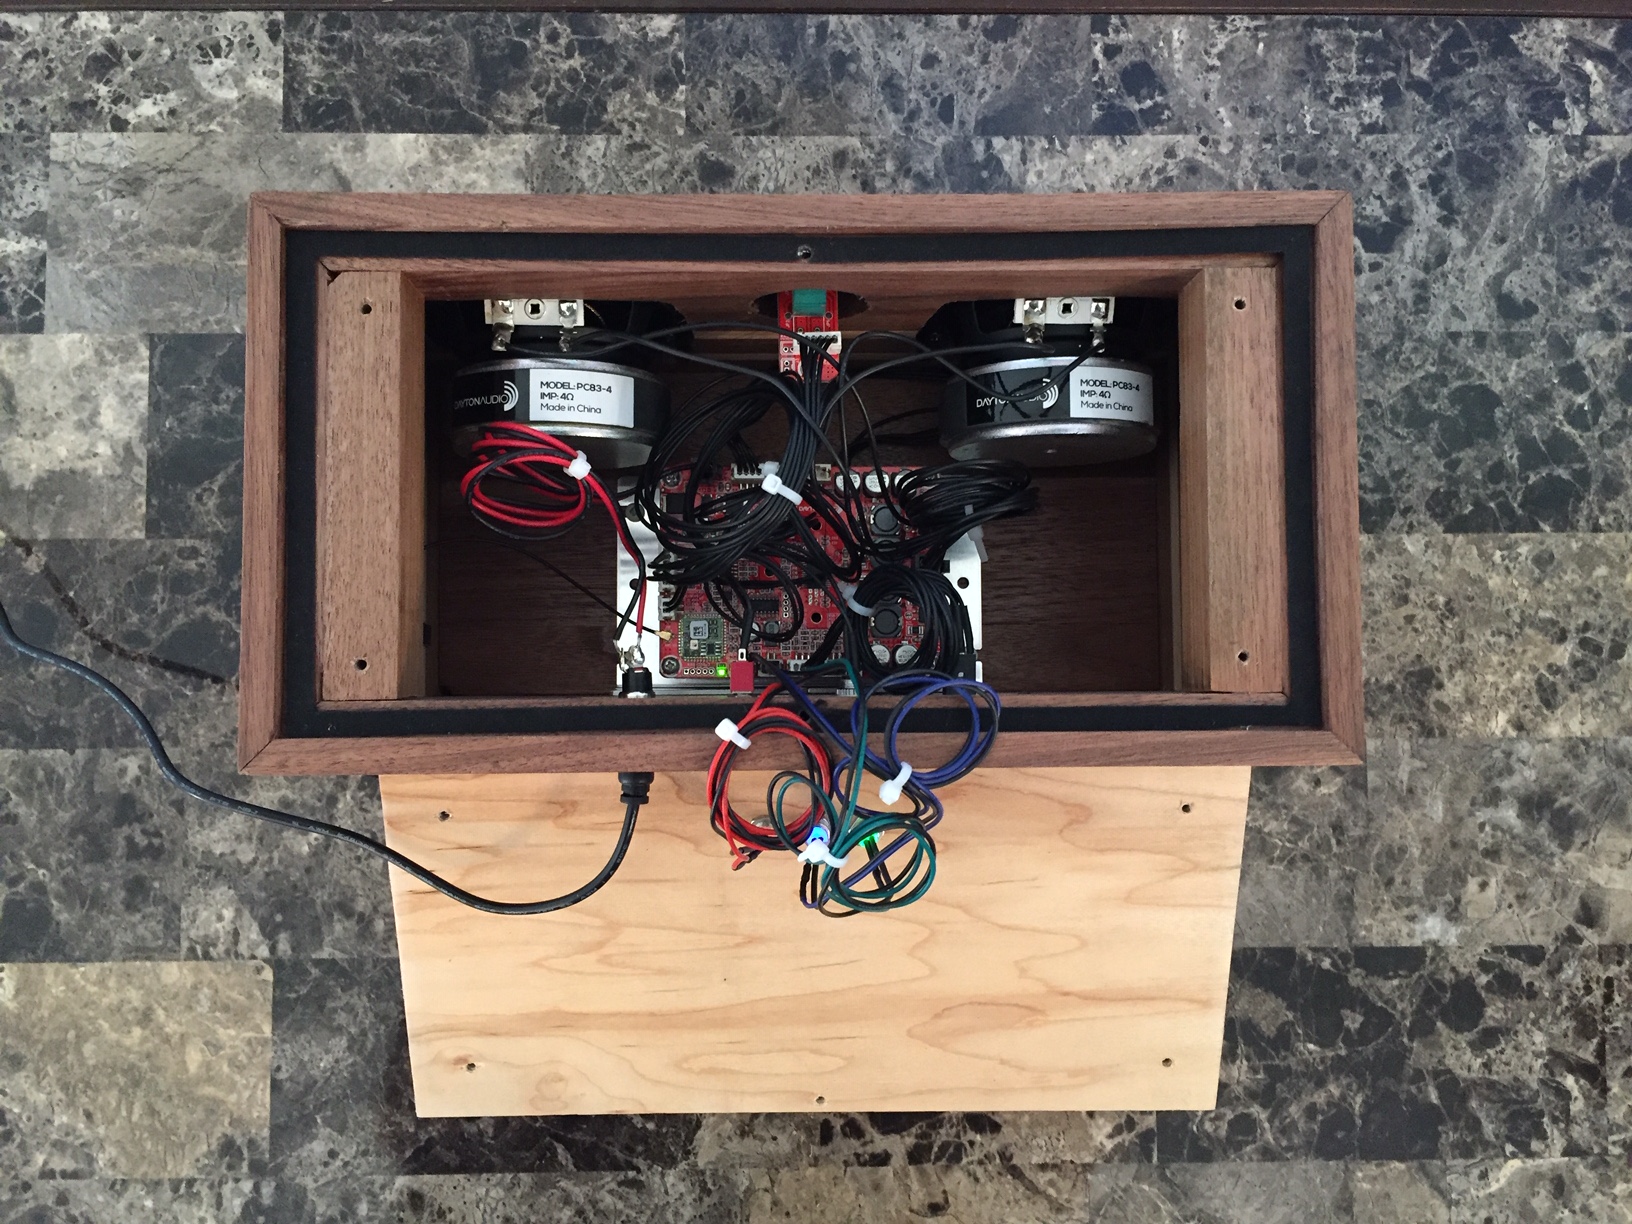
I selected the Dayton Audio PC83-4 3″ Full-Range Poly Cone drivers based on the reviews and price which fit my budget. Part #295-154
Enclosure Design:
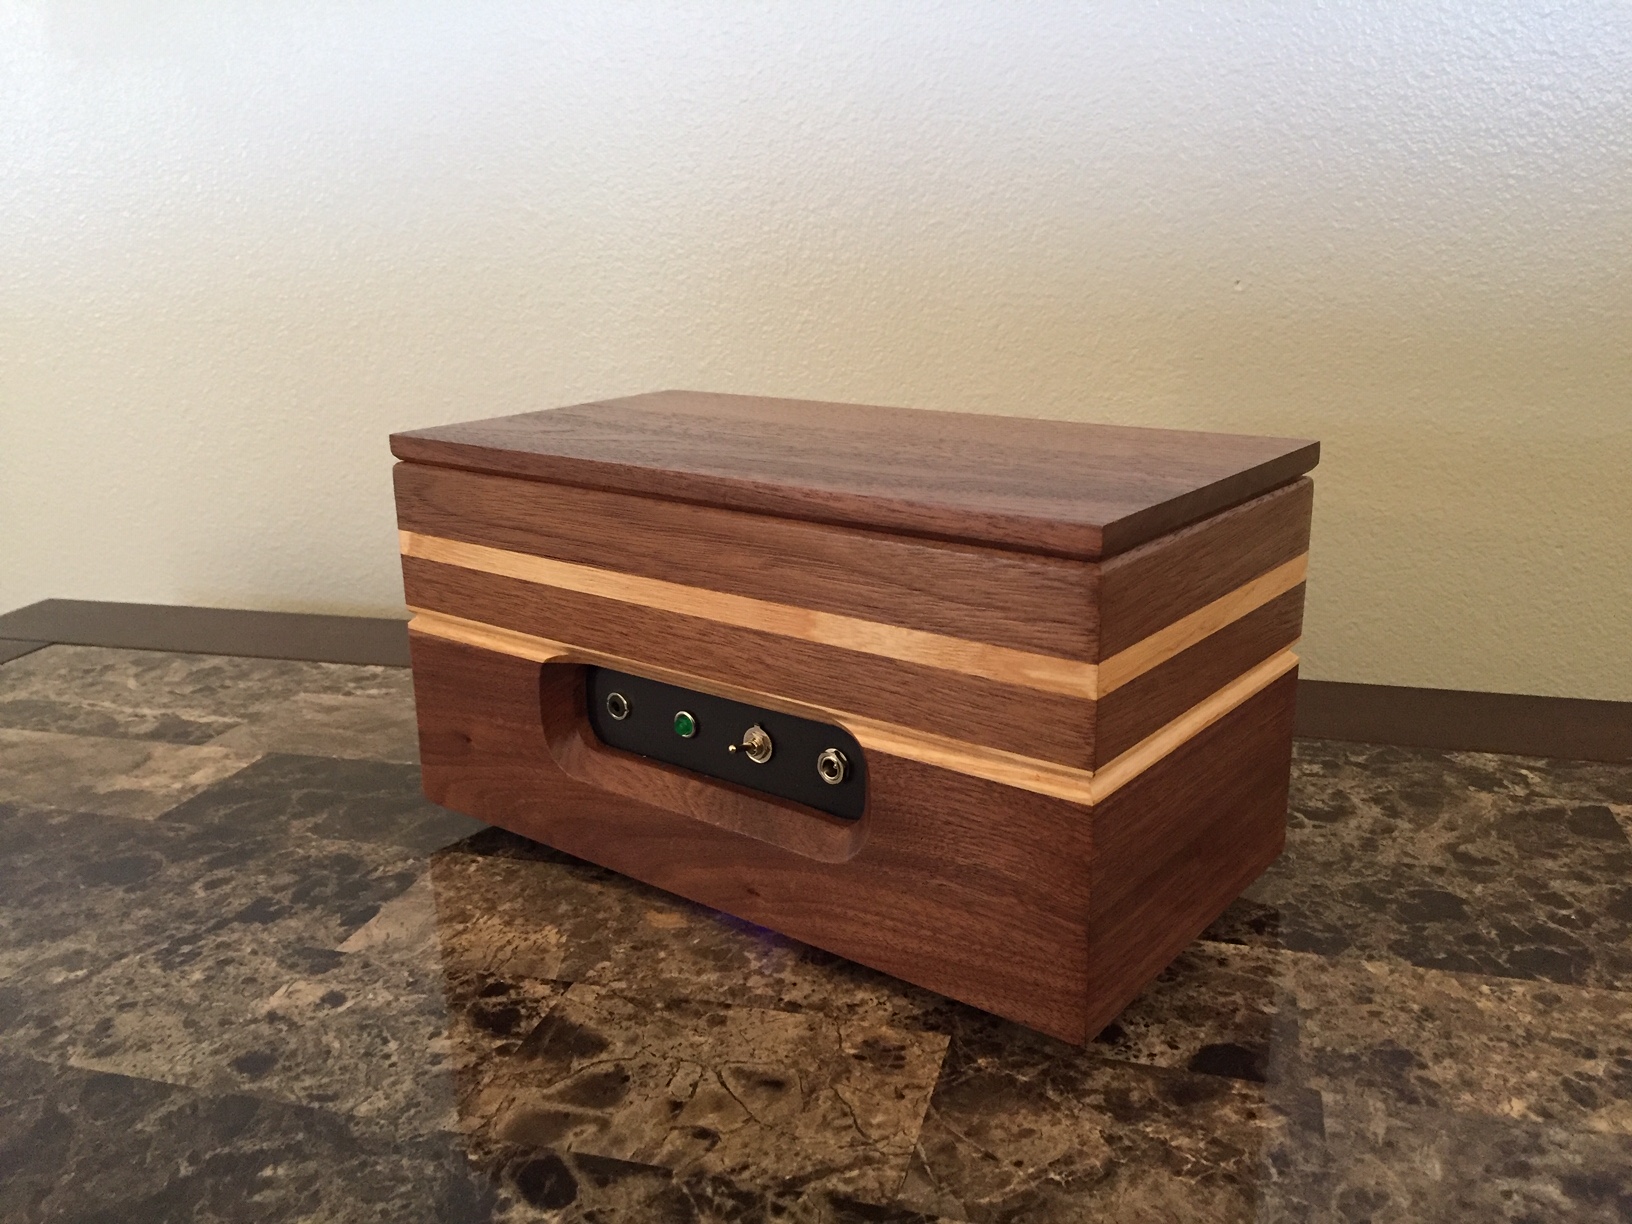
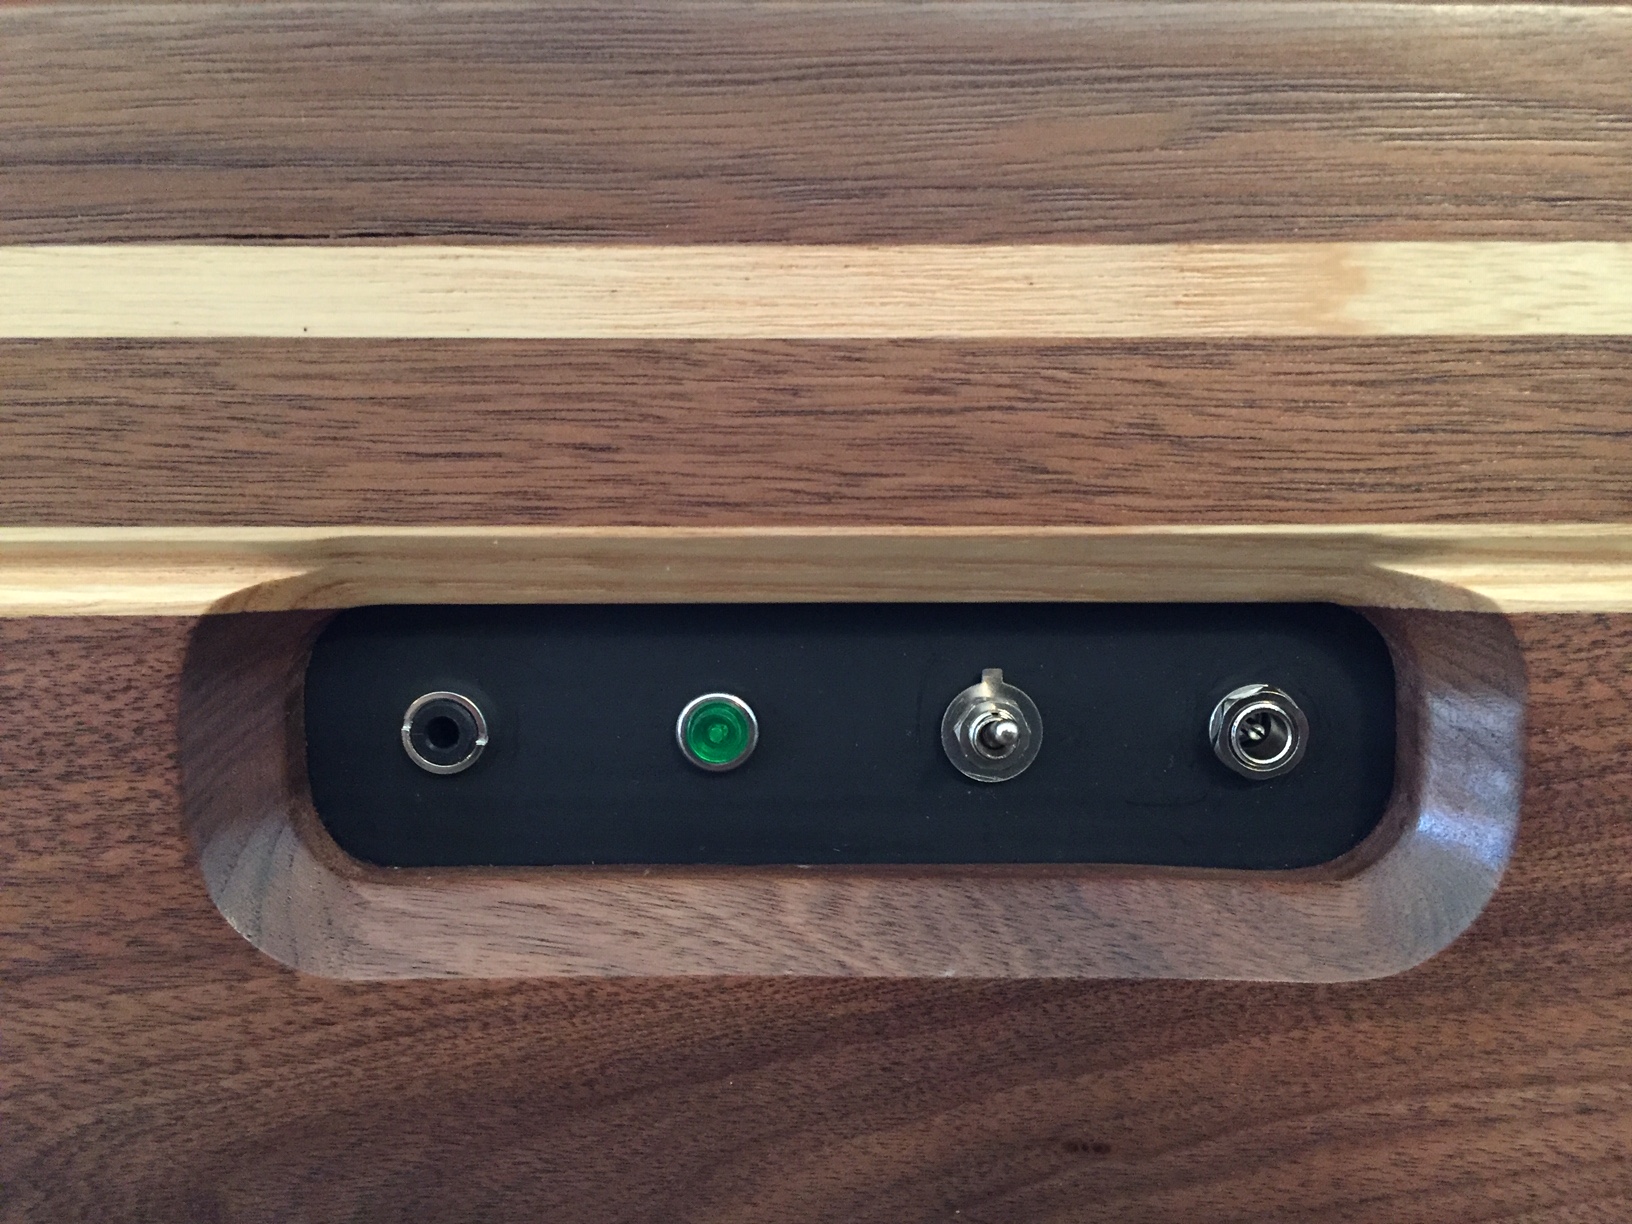
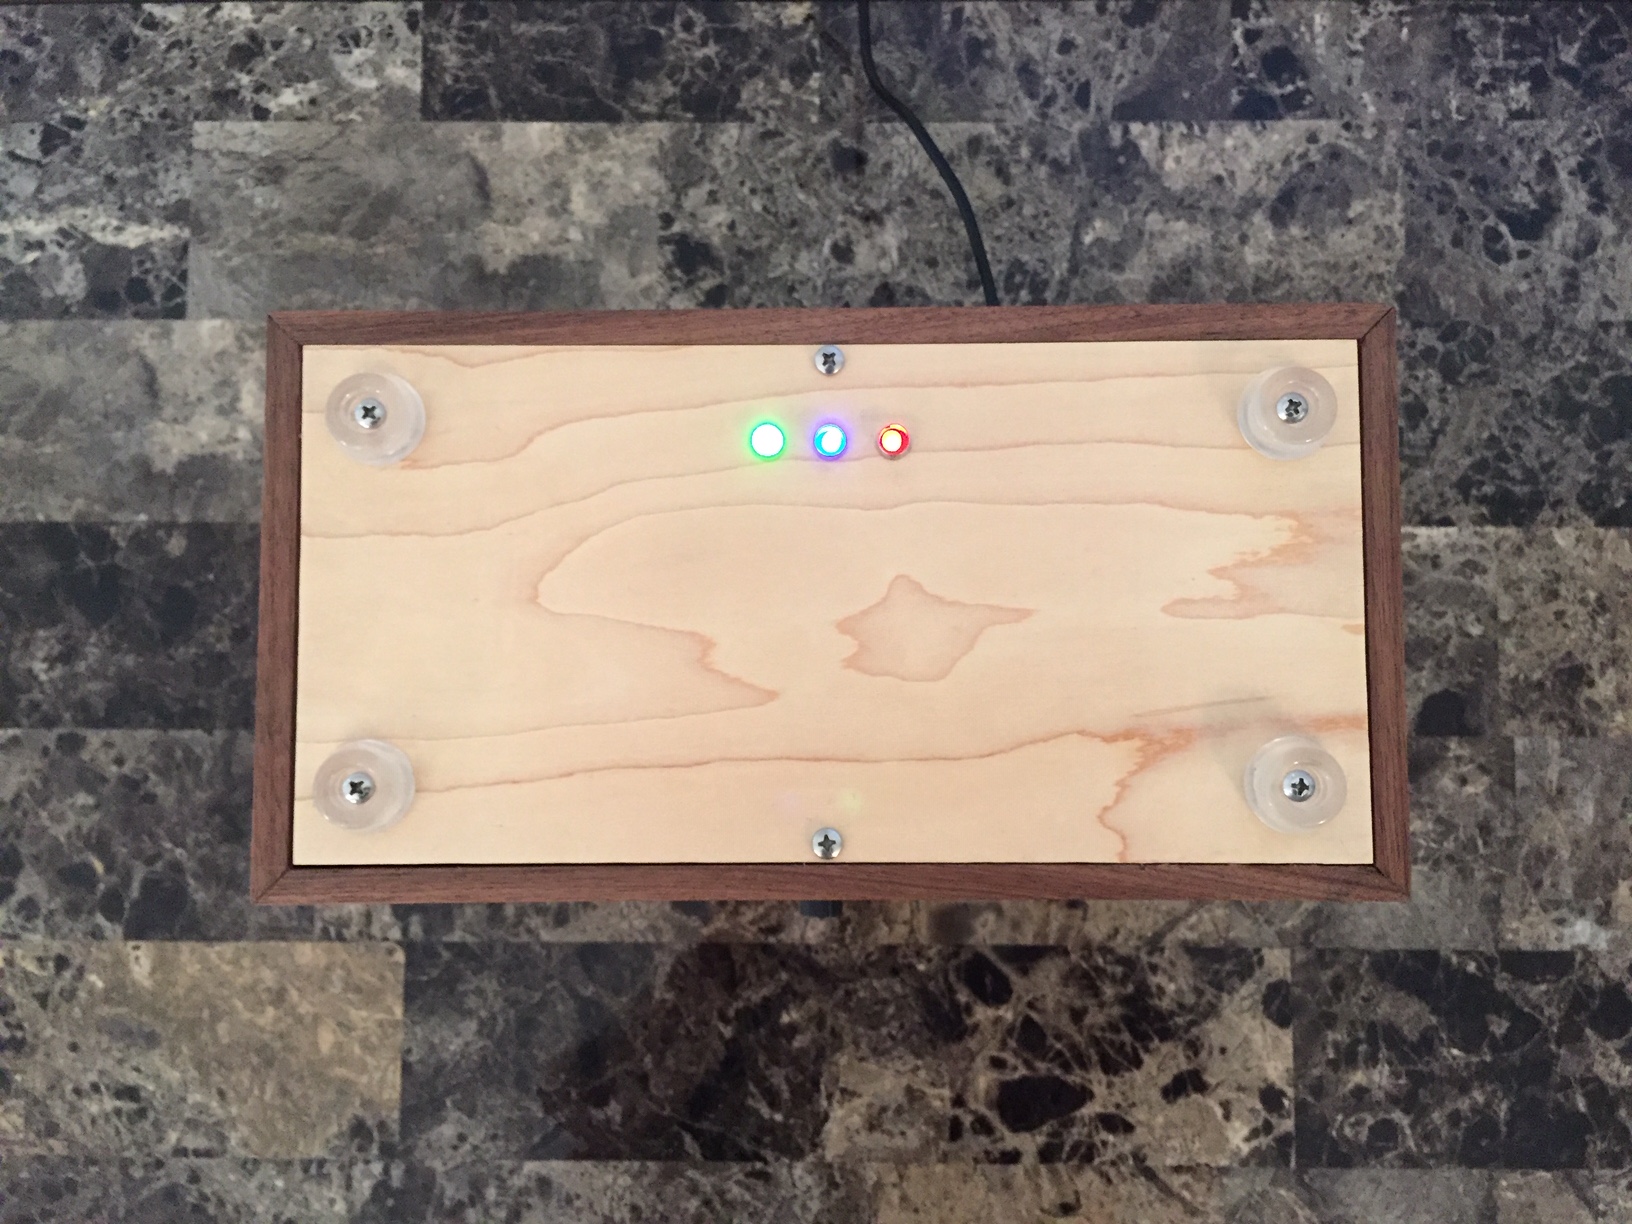
The enclosure is self designed and made of dark walnut with strips of ash wood. I mitered all side corners. The top is 3/4″ thick and rabbited to lower it 3/8″ inside the side. The bottom is 1/4″ plywood. It is 11.5 inches wide, 6 inches deep and 6 inches high. The AUX-in, on/off switch, DC power jack, and Bluetooth switch are mounted on a 1/16″ plastic plate. I dropped the LED lights through the bottom as I did not really want them on the face.
Enclosure Assembly:
Glued, with a screwed on bottom for internal access. I also put felt padding around the speakers and all other cutout to seal it in.
Conclusion:
This was my first speaker project. It was a fun project and turned out better than I expected as I had no experience with speakers before.
About the Designer:
I have worked with wood for 20 years and enjoy challenging myself with new projects.
Project Parts List:
|
Part # |
Description |
Qty |
|
300-7302 |
Portable 60 Watt Battery Powered Bluetooth Speaker Package with 3″ Full-Range Drivers |
1 |
Simple project with beautiful execution! Love the look of the enclosure. How did you cut out the section for the aux, power, etc? I tried something like this before by using a jig saw and then chamfered the edges, but it failed miserably. The jig saw did a terrible job.
How did you cut the section for the controls? I tried something similar using a jigsaw and then rounding over the edges, but the jigsaw didn’t cut a clean “oval” since I was doing it free hand.
Nick, I’m sorry I didn’t reply earlier. As I recall I drew the basic layout of the cutout on the board where I wanted it. The I drilled 4 holes the diameter I want the corners to be at each corner of the cutout. Then I set up a fence on my router table and cut the straight side with the router. Hope this helps.
That looks superb.