Passive sound bar
Designer:
Addy
Project Category:
Home Theater
Project Level:
Beginner
Project Time:
8-20 Hours
Project Cost:
$100 – $500
Project Description:
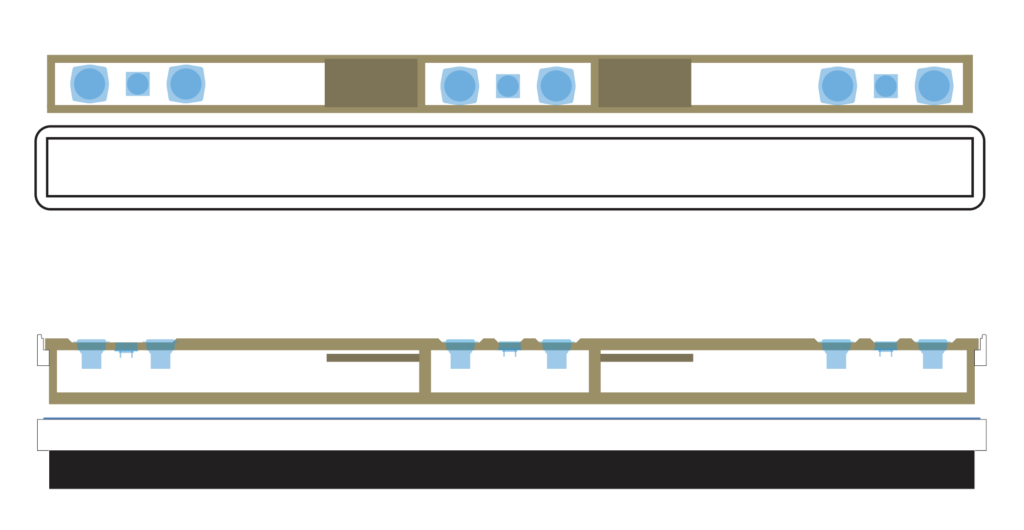
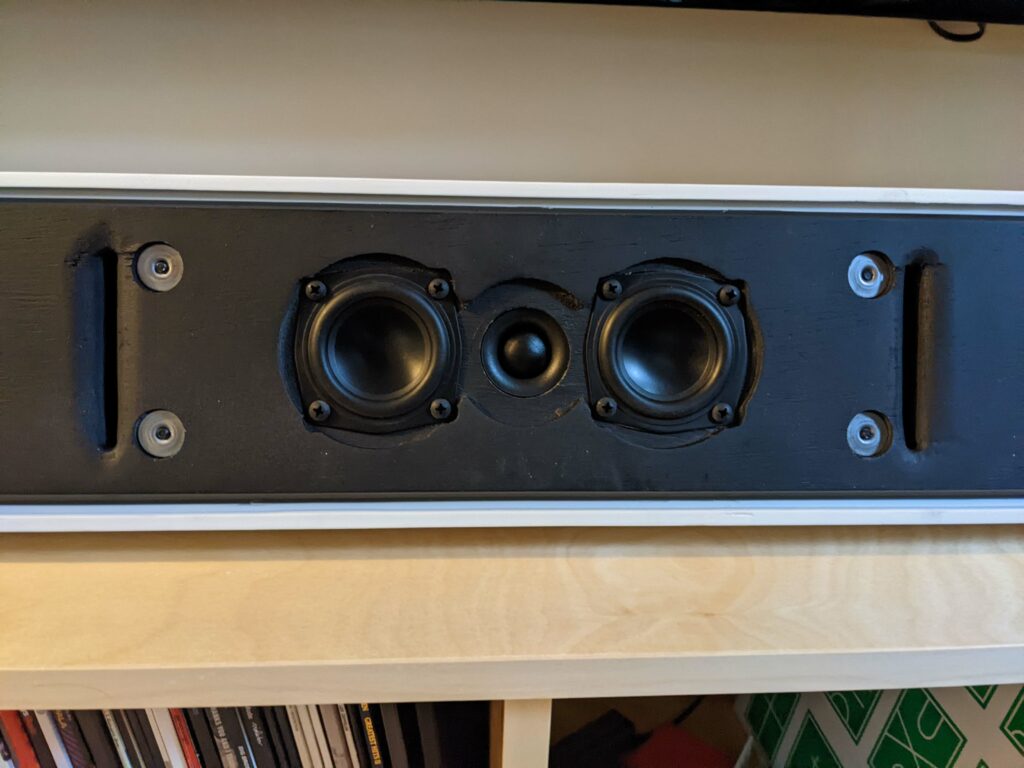
Simple and minimal passive sound bar with 3 MTM channels. Left and right channels are ported while center channel is sealed.
Project cost: around $320. I’ve had most of the parts pre-COVID, so I paid around $250.
Design Goals:
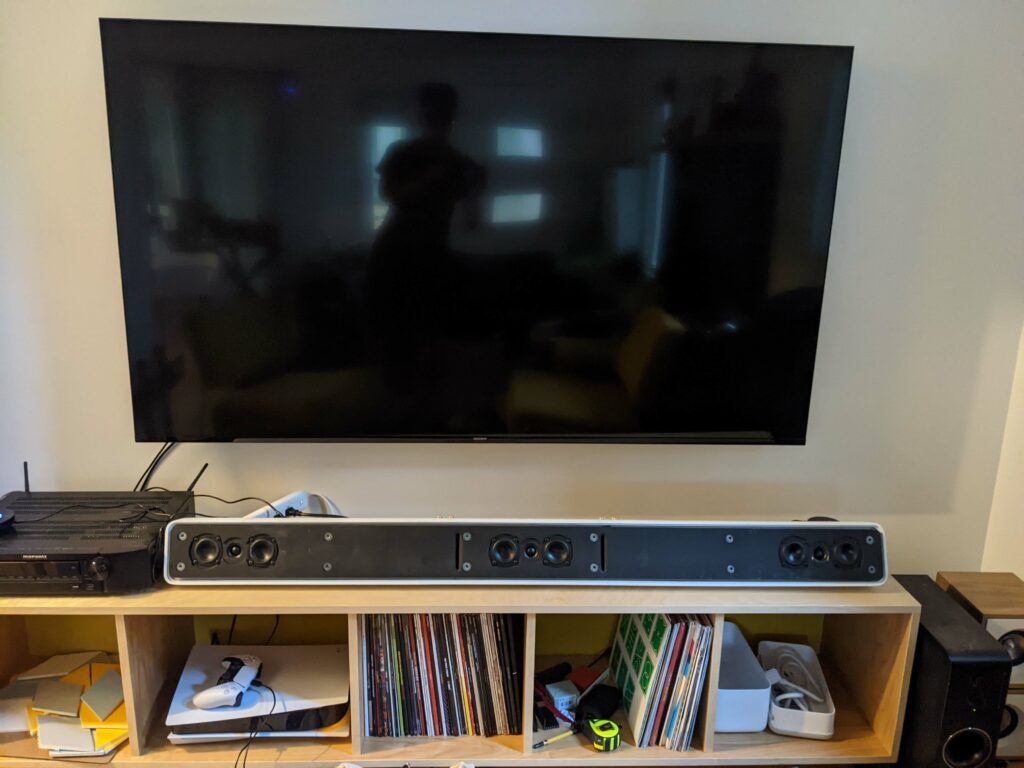
In order to achieve a minimalist home theater setup, I opted not to have a a bunch of speakers everywhere. However, any decent-sounding sound bars would cost upwards of $2000 and up. Also, with a 75″ TV, I wanted a wider soundstage, so I decided to build one at 60″ wide.
Since I already have a Marantz 7.1 AV receiver and subwoofer, it made sense to build one a 3-channels.
Most sound bars prioritize function vs form. I wanted the best of both worlds, so I wanted to go beyond just a black rectangle. I’ve seen a lot of DIY builds using wood, which are all amazing-looking, but my goal was to go ultra-modern.
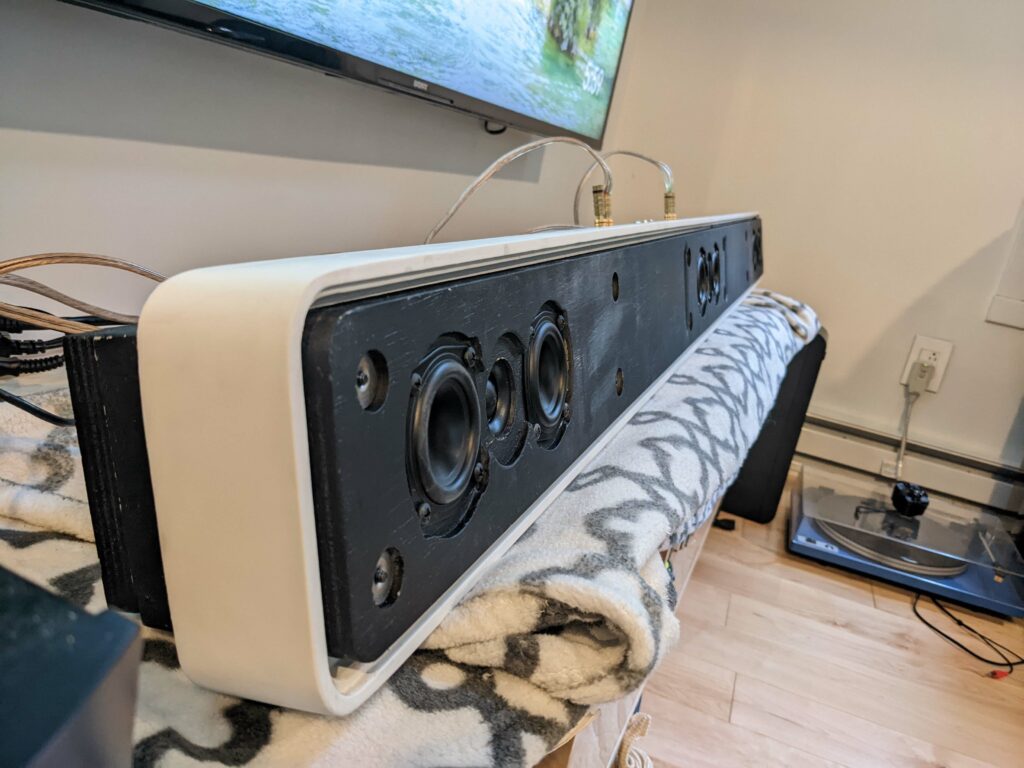
I was inspired by the look of the Beosound Stage sound bar, with the soft corners, and narrow-depth bezel.
Using 3 pairs of ND65-8, there was no way I could make a DIY version that could output decent bass AND make it compact. The solution was to use a bit of optical illusion, and have the bezel appear small, yet contrasting against the rest of the enclosure, which has the bulk of the volume.
Yes, ND65s are full range, so why use an MTM configuration? It’s a great driver, but I really feel it lacks brightness, so I supplemented it with a tweeter.
Driver Selection:
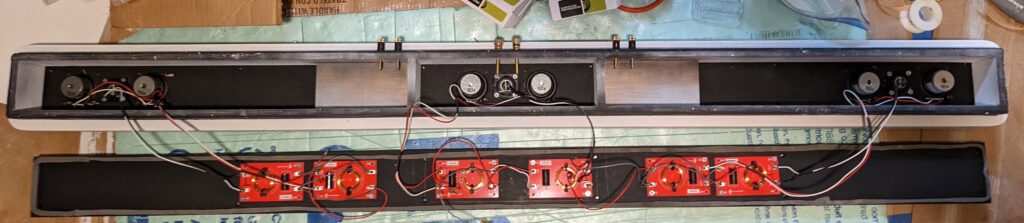
ND65-8 Full range drivers x6
ND20FB4 Tweeters x3
Enclosure Design:
I used 100% plywood, with a lot of wood filler, but in retrospect, MDF would’ve been a much better choice since it’s dimensionally stable.
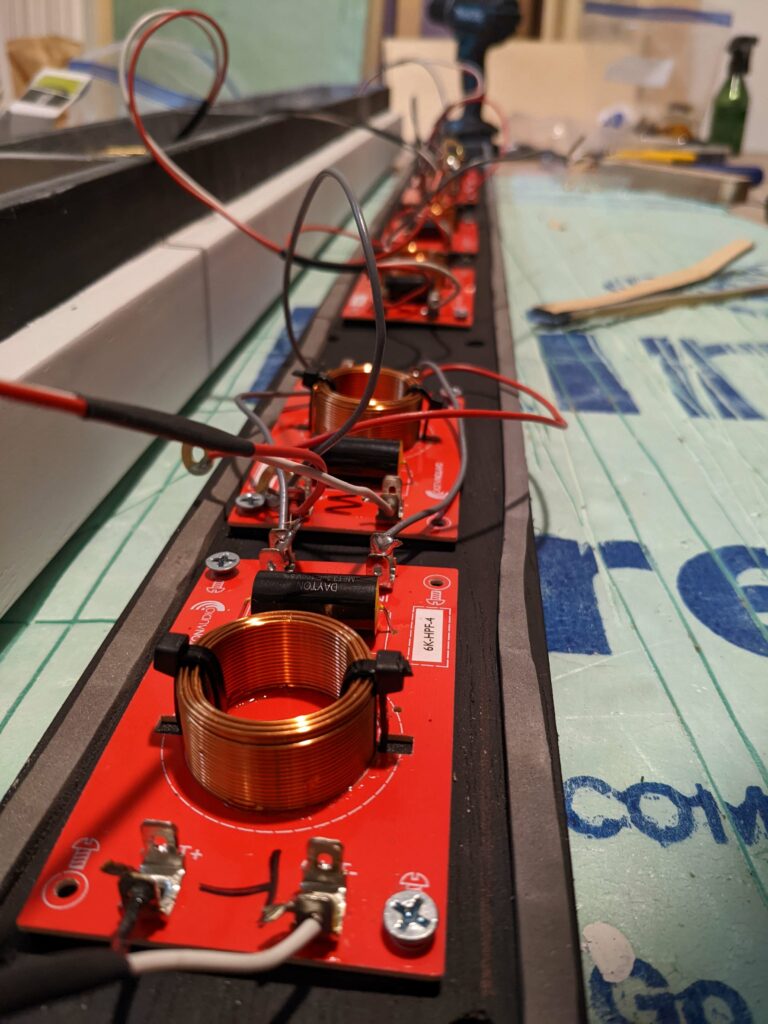
Crossover Design:
Since the ND65 can handle the heavy-lifting of most of the frequency spectrum, I chose to cross it higher at 6k, to save on Xover; going lower would drive up the cost of inductors.
I used 3 pairs of high pass + low pass boards crossed at 6k.
Tips & Tricks:
N/A
Conclusion:
I’ve used the ND65 drivers in the past in a mini boombox, but using two of these with a tweeter with a port really made this shine. All things considered, I am very happy with the way this turned out. As mentioned earlier, MDF instead of plywood would’ve looked a little cleaner, and less warping.
About the Designer:
I’m just a tinkerer, and started my first build with a boombox enclosure for an old pair of Polk T15, some Tolex, and a Lepai amp.
I’ve since been a lot more ambitious with different designs over the years, and finally built this sound bar to match the living room aesthetics, TV size, and to fill the room with good sound that I would never achieve with a sub-$500 store-bought version.
Project Parts List:
| Part # | Description | Qty |
| 290-206 275-035 260-1946 260-1948 091-1245 091-1250 | Dayton Audio ND65-8 2-1/2″ Aluminum Cone Full-Range Neo Driver 8 Ohm Dayton Audio ND20FB-4 Rear-Mount 3/4″ Soft Dome Neodymium Tweeter Dayton Audio 6k-HPF-4 High Pass Speaker Crossover 6,000 Hz 12 dB/Octave Dayton Audio 6k-LPF-4 Low Pass Speaker Crossover 6,000 Hz 12 dB/Octave Dayton Audio BPA-38G HD Binding Post Banana Jack Pair Gold Parts Express Binding Post Banana Jack with 1″ Thread 2 Pair Black Gold | 6 3 3 3 1 2 |
+ There are no comments
Add yours