
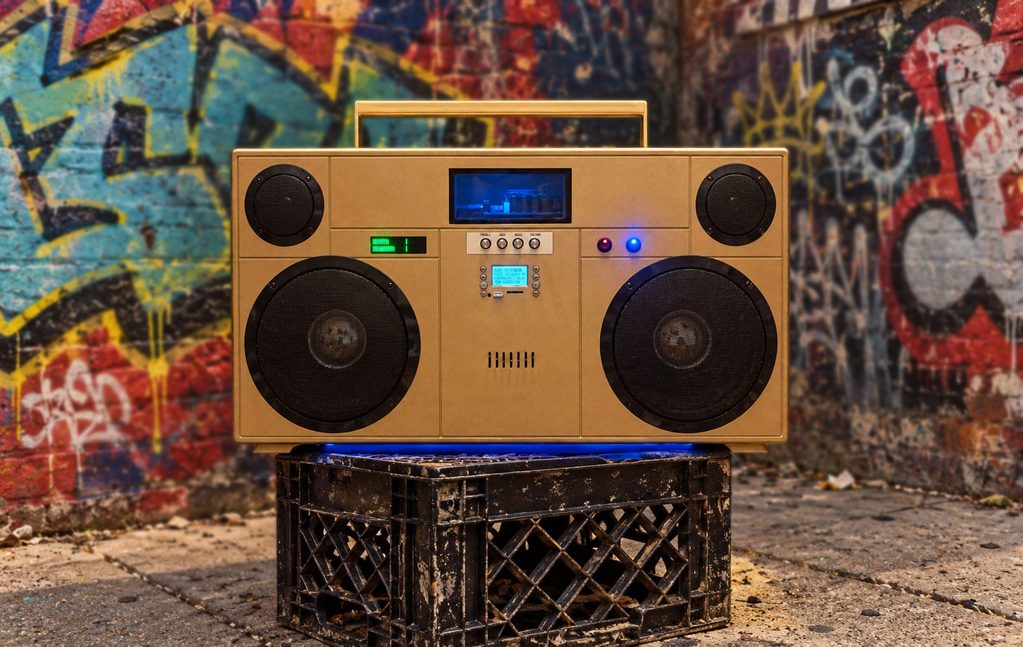
Retro Style Boombox
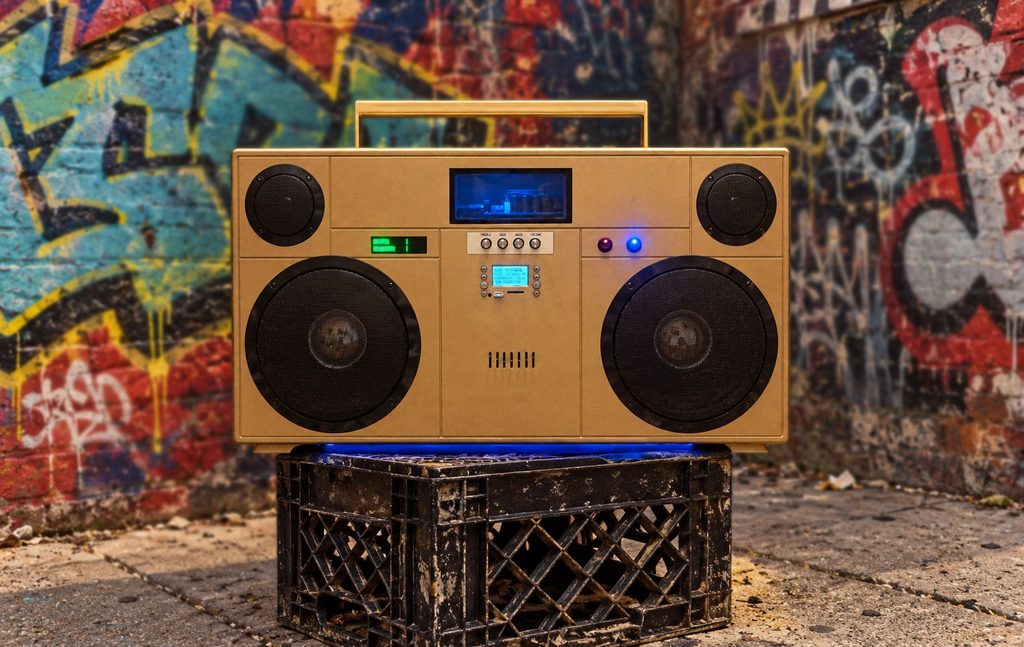
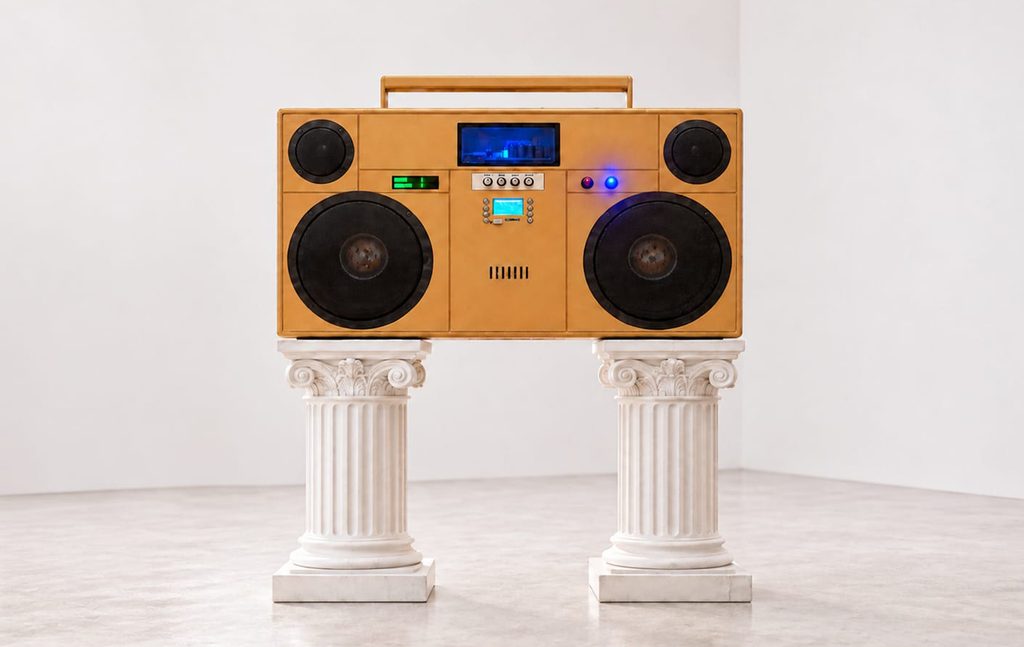

Retro Style Boombox design by, Randy McManus
“My name is Randy McManus, I am not a carpenter, I’m not an expert painter, or sound engineer, but I have skills in all areas and I have a good eye and even better ear. Humbly, I say this and am grateful to be able to take a thought and bring it into reality. This is the second one I built and have completed 9 to this date.“
Project Level: Advanced
Project Time: 30+ days
Project Cost: $800
Project Description: Vintage boombox with new technology.
Design Goals: I wanted to build a vintage looking boombox with folding handle, that’s actually powerful, loud, has deep bass and crisp highs.
Driver Selection: GRS 10PR-8 10″ Poly Cone Rubber Surround Woofer – GRS Part # 292-421 – Model: 10PR-8
Enclosure Design: Modeled after a retro boombox from the 70’s and 80’s.
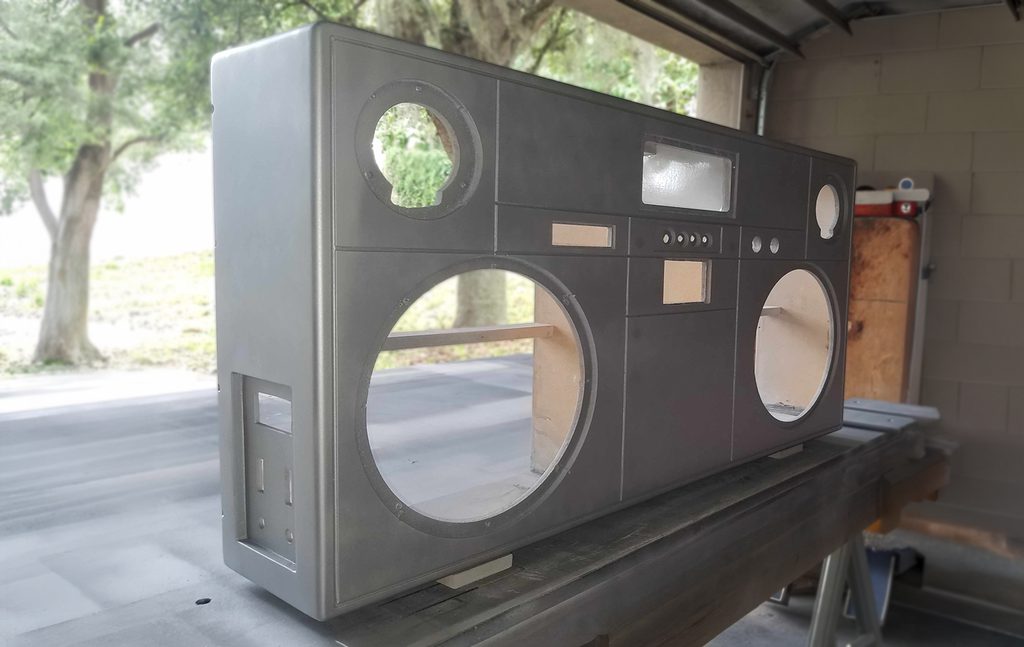
Enclosure Assembly: ¼” MDF, glued, clamped and screws to keep parts secure from vibration.
| Part # | Description |
| 292-421 | GRS 10PR-8 10″ Poly Cone Rubber Surround Woofer |
| 275-075 | Dayton Audio DC28FS-8 1-1/8″ Silk Dome Shielded Tweeter |
| 320-329 | WONDOM T-AMP 2 x 200Watt Class D Audio Amplifier Board |
| 320-347 | 5 VDC Bluetooth 4.2 FM Radio MP3 WAV FLAC Audio Preamp Board with Remote |
| 257-032 | Dayton Audio 0.40mH 20 AWG Air Core Inductor Crossover Coil |
| 027-558 | Solen 6.2uF 400V Polypropylene Capacitor |
Conclusion: I drew the project up on paper, planned all the wiring, speaker, grill, mp3 player placement, and made the vision come to life. I did all of it with a circular saw, router, jigs, drill, orbital sander and elbow grease. Paint was done after sanding, sealing the MDF with lacquer. I used Bondo to fill any raw edges, screw holes and to build the mp3 player flush in the front. It runs on a 36v 15 Amp hour lithium ion battery that lasts about 30 days in between charges. I know now this was overkill and for weight sake, I went to a 5 Amp hour battery and it still runs about 3 weeks.
Tips & Tricks: Work on each step with patience and in the moment. Don’t get ahead of yourself. We tend to rush or compromise quality in order to finish the project, but when we do that any flaws that we could have fixed easily at the time become an eyesore that you’ll see every time you look at it. Paint doesn’t cover flaws it only exaggerates them.
+ There are no comments
Add yours