
The Eyes Of God
![]()
![]()
Designer:![]()
Marble Acoustics
Project Category:
Loudspeakers/Cabinets
Project Level
Intermediate
Project Time:
20+ Hours
Project Cost:
Over $1,000
Project Description:
Loudspeakers/Cabinets
Design Goals:
I wanted something that would act as a passive studio monitor without a sub. That means as close to full-range 20hz-20khz response as possible with high sensitivity and dynamics. I’m not afraid to spend the $1,000 it takes on this project to get the best sounding results. I am also willing to put in the elbow grease it takes to make sure they look great on the outside and inside, and everything is damped well. What I will not do is design my own crossover or do any soldering. It adds more elements, time and thinking into the project and away from the things I’m already good at. One of my goals is for this to get done in a reasonable time and not drag on forever. These need to be heard and used!
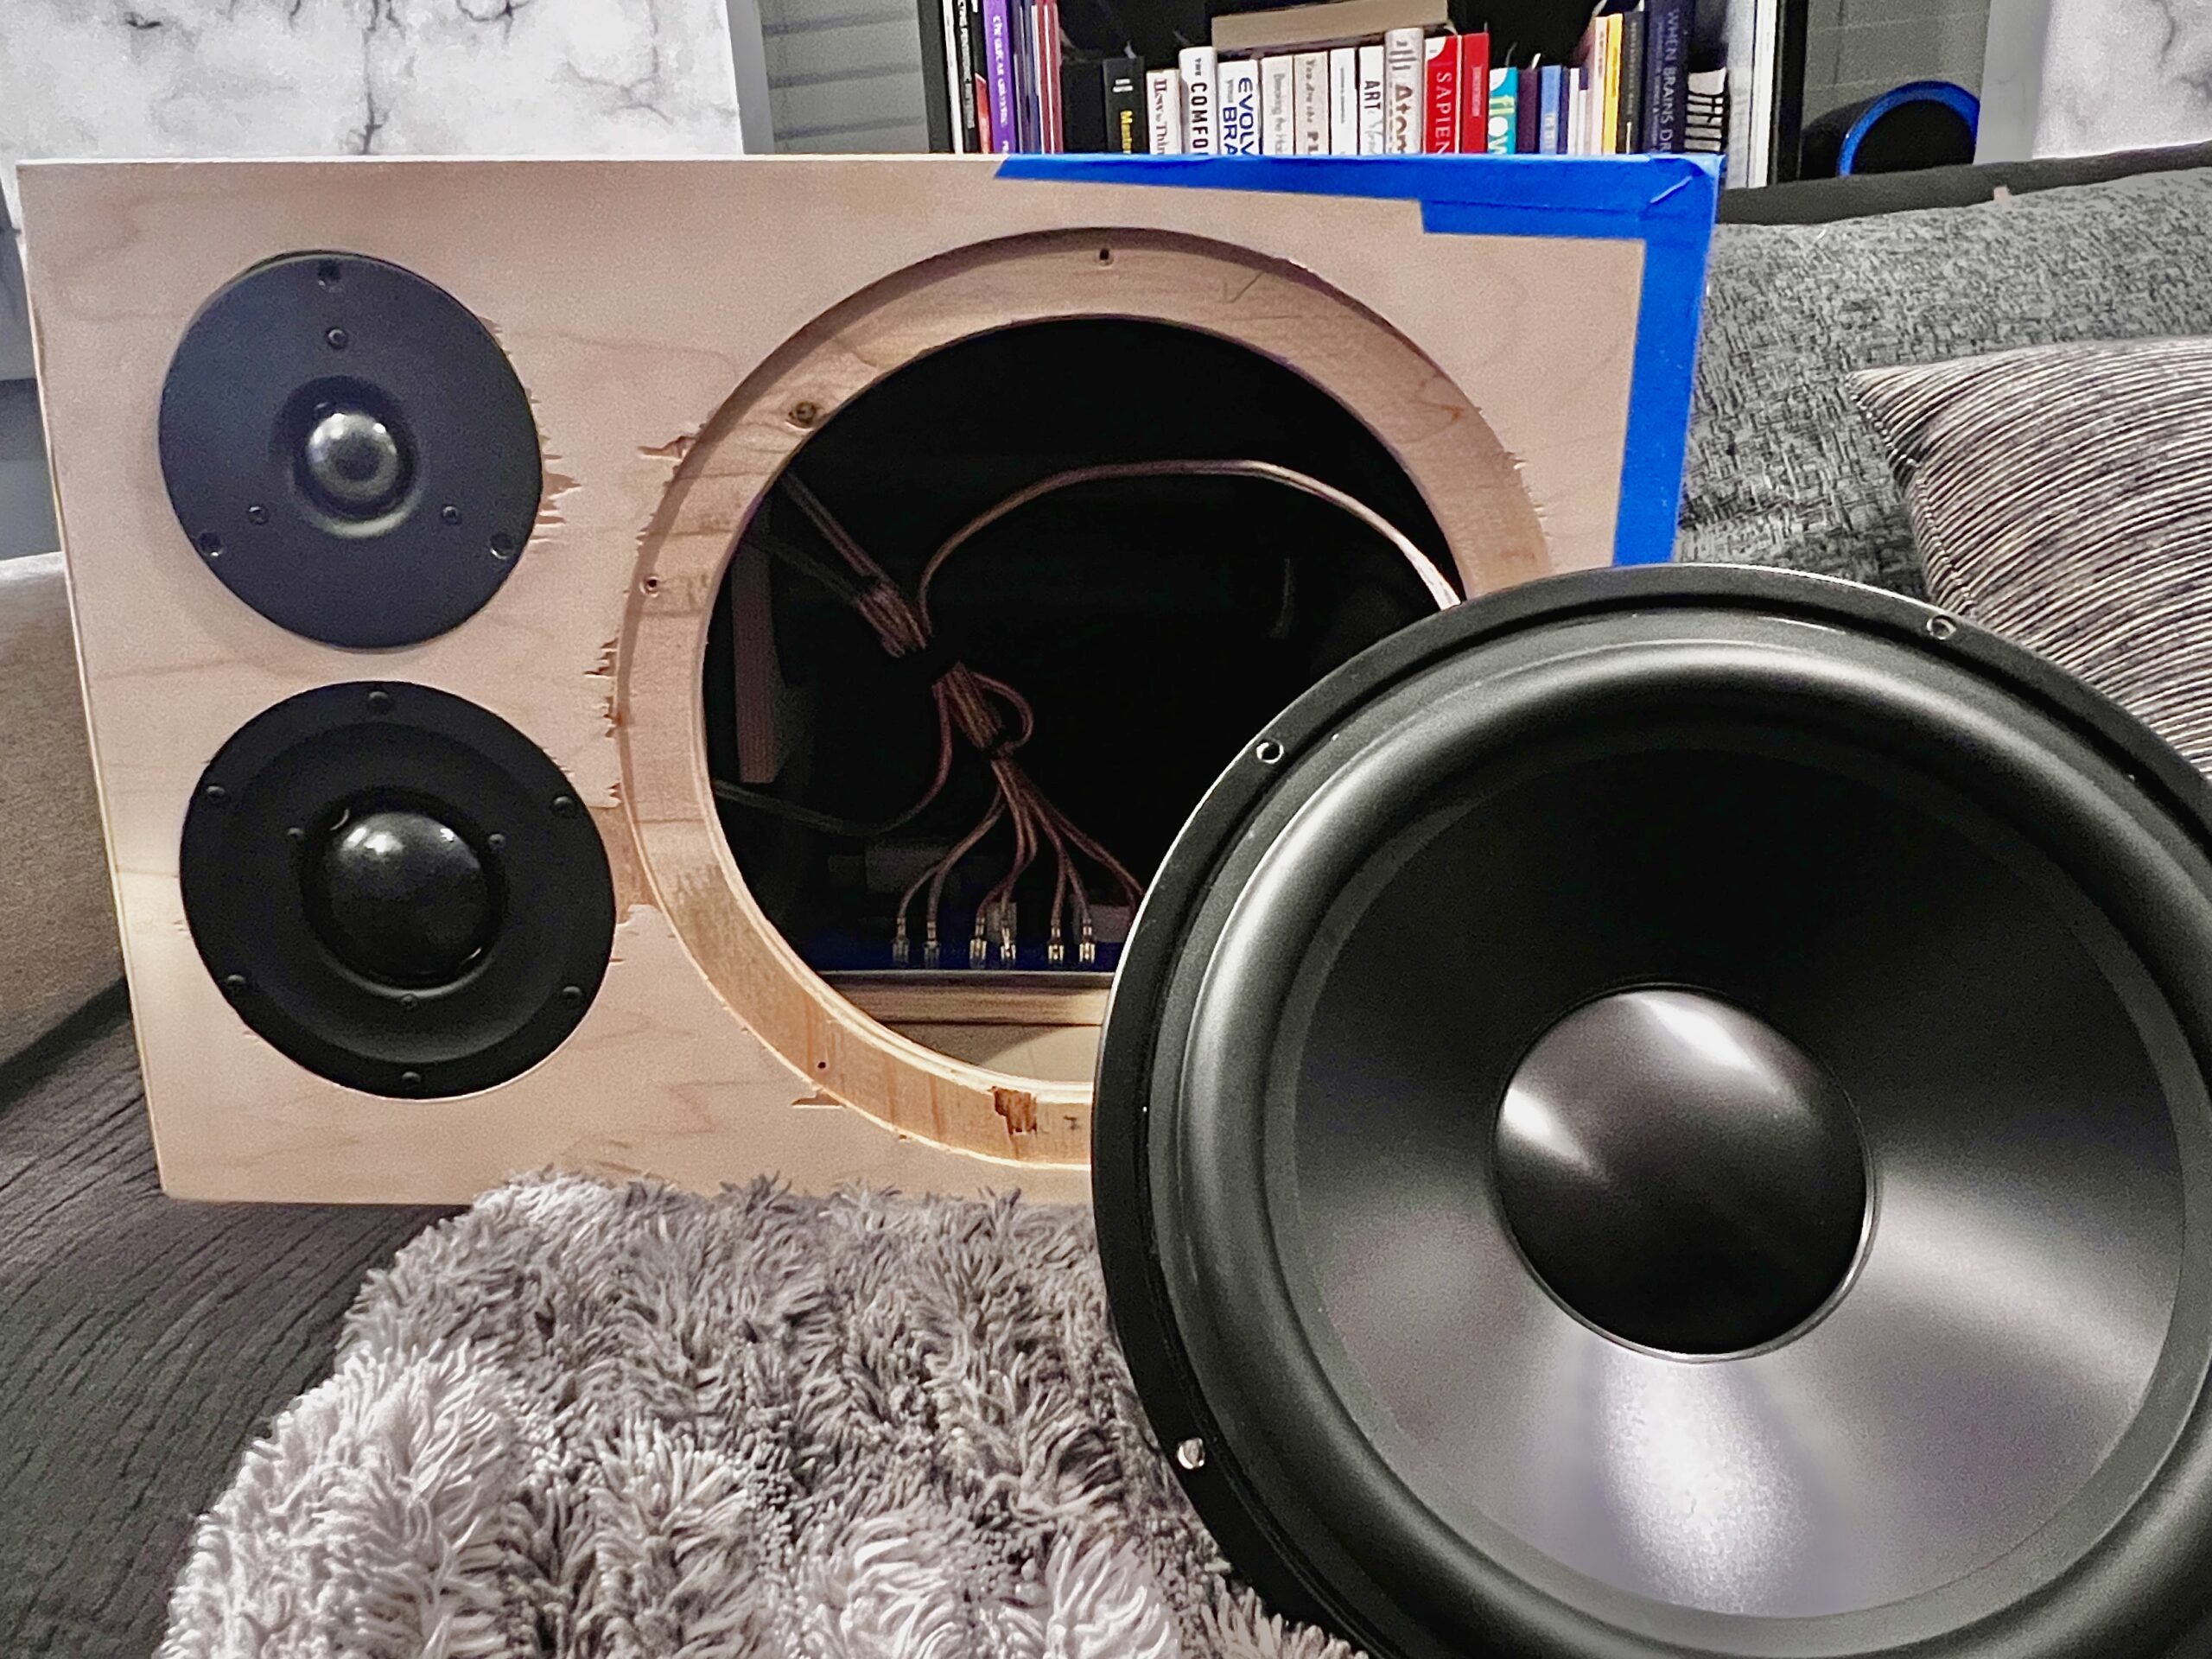
Driver Selection:
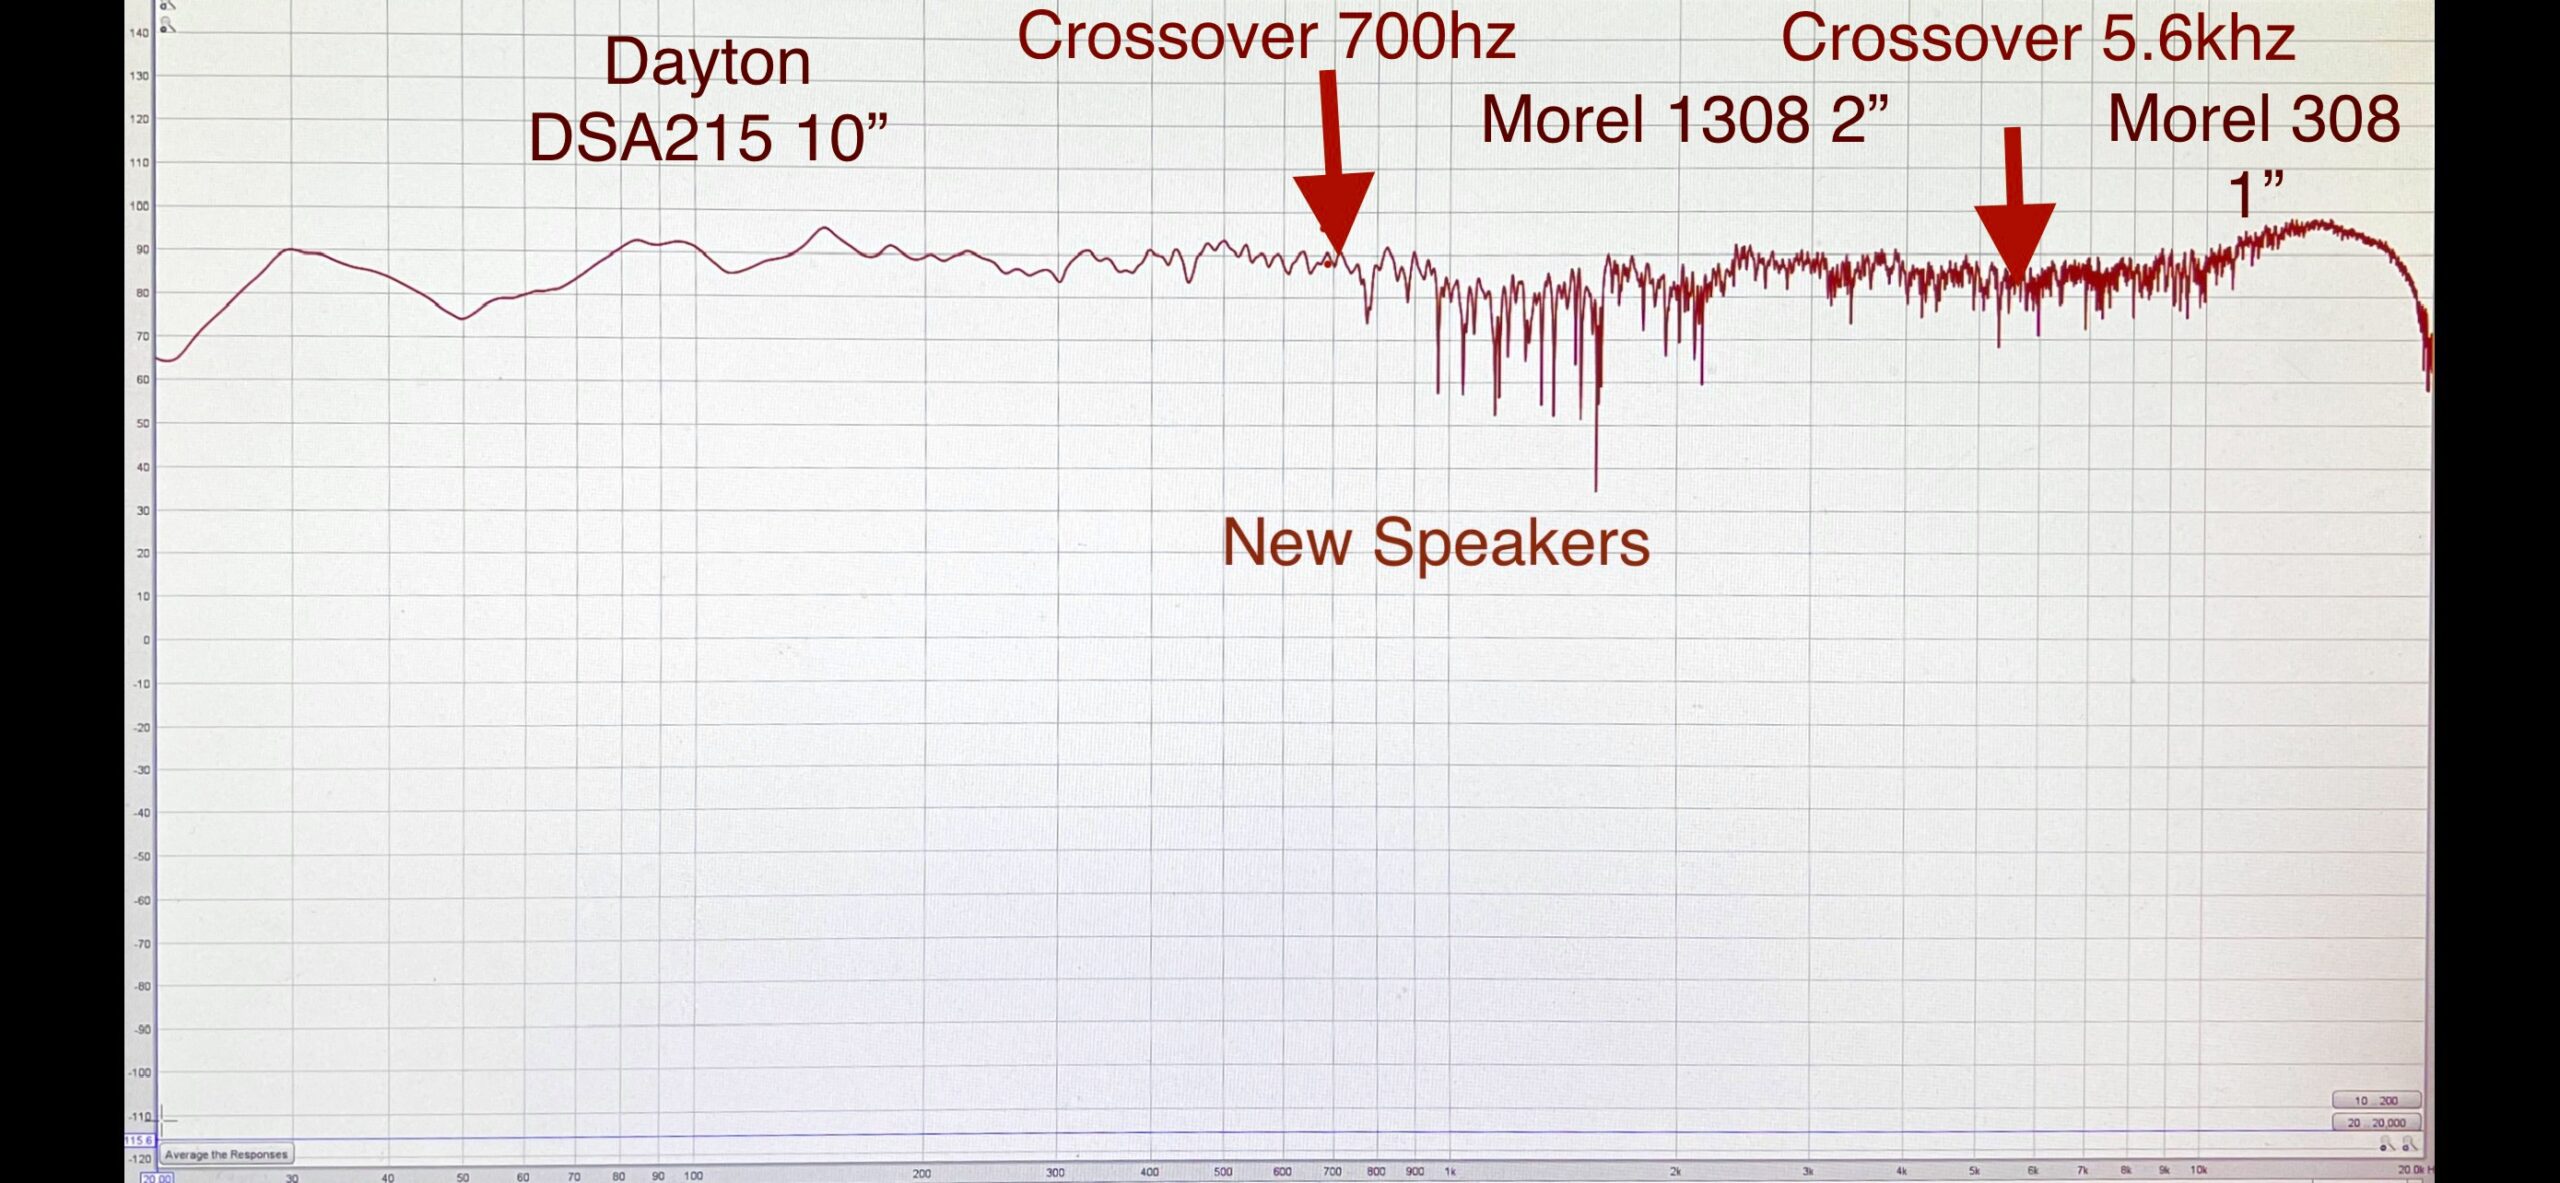
This part definitely took the longest as it influences every decision down the line from there. If I want full range, then I know bigger drivers may be involved. I settled on the Dayton Designer Series 10” aluminum cone woofer as it had the best frequency response and sensitivity I’ve seen on any driver in a comparable range. That, and I love the beautiful shiny dome look. The best drivers I felt were suitable for the mids and highs in this build were all from Morel. I chose the Morel EM1308 Midrange and the Morel CAT 308, as they make a seamless pair with my crossover and other drivers. I feel lucky and proud that these are some of the best looking as well as sounding (well, looking at graphs) that I could find. If I could change one thing, the CAT 308 tweeter should have a disclaimer that its older brother, the superior CAT408 is TWO DOLLARS more expensive… Yeah, I still don’t know how I missed that one. Either way I don’t care what I’m missing since these speakers sound absolutely perfect.
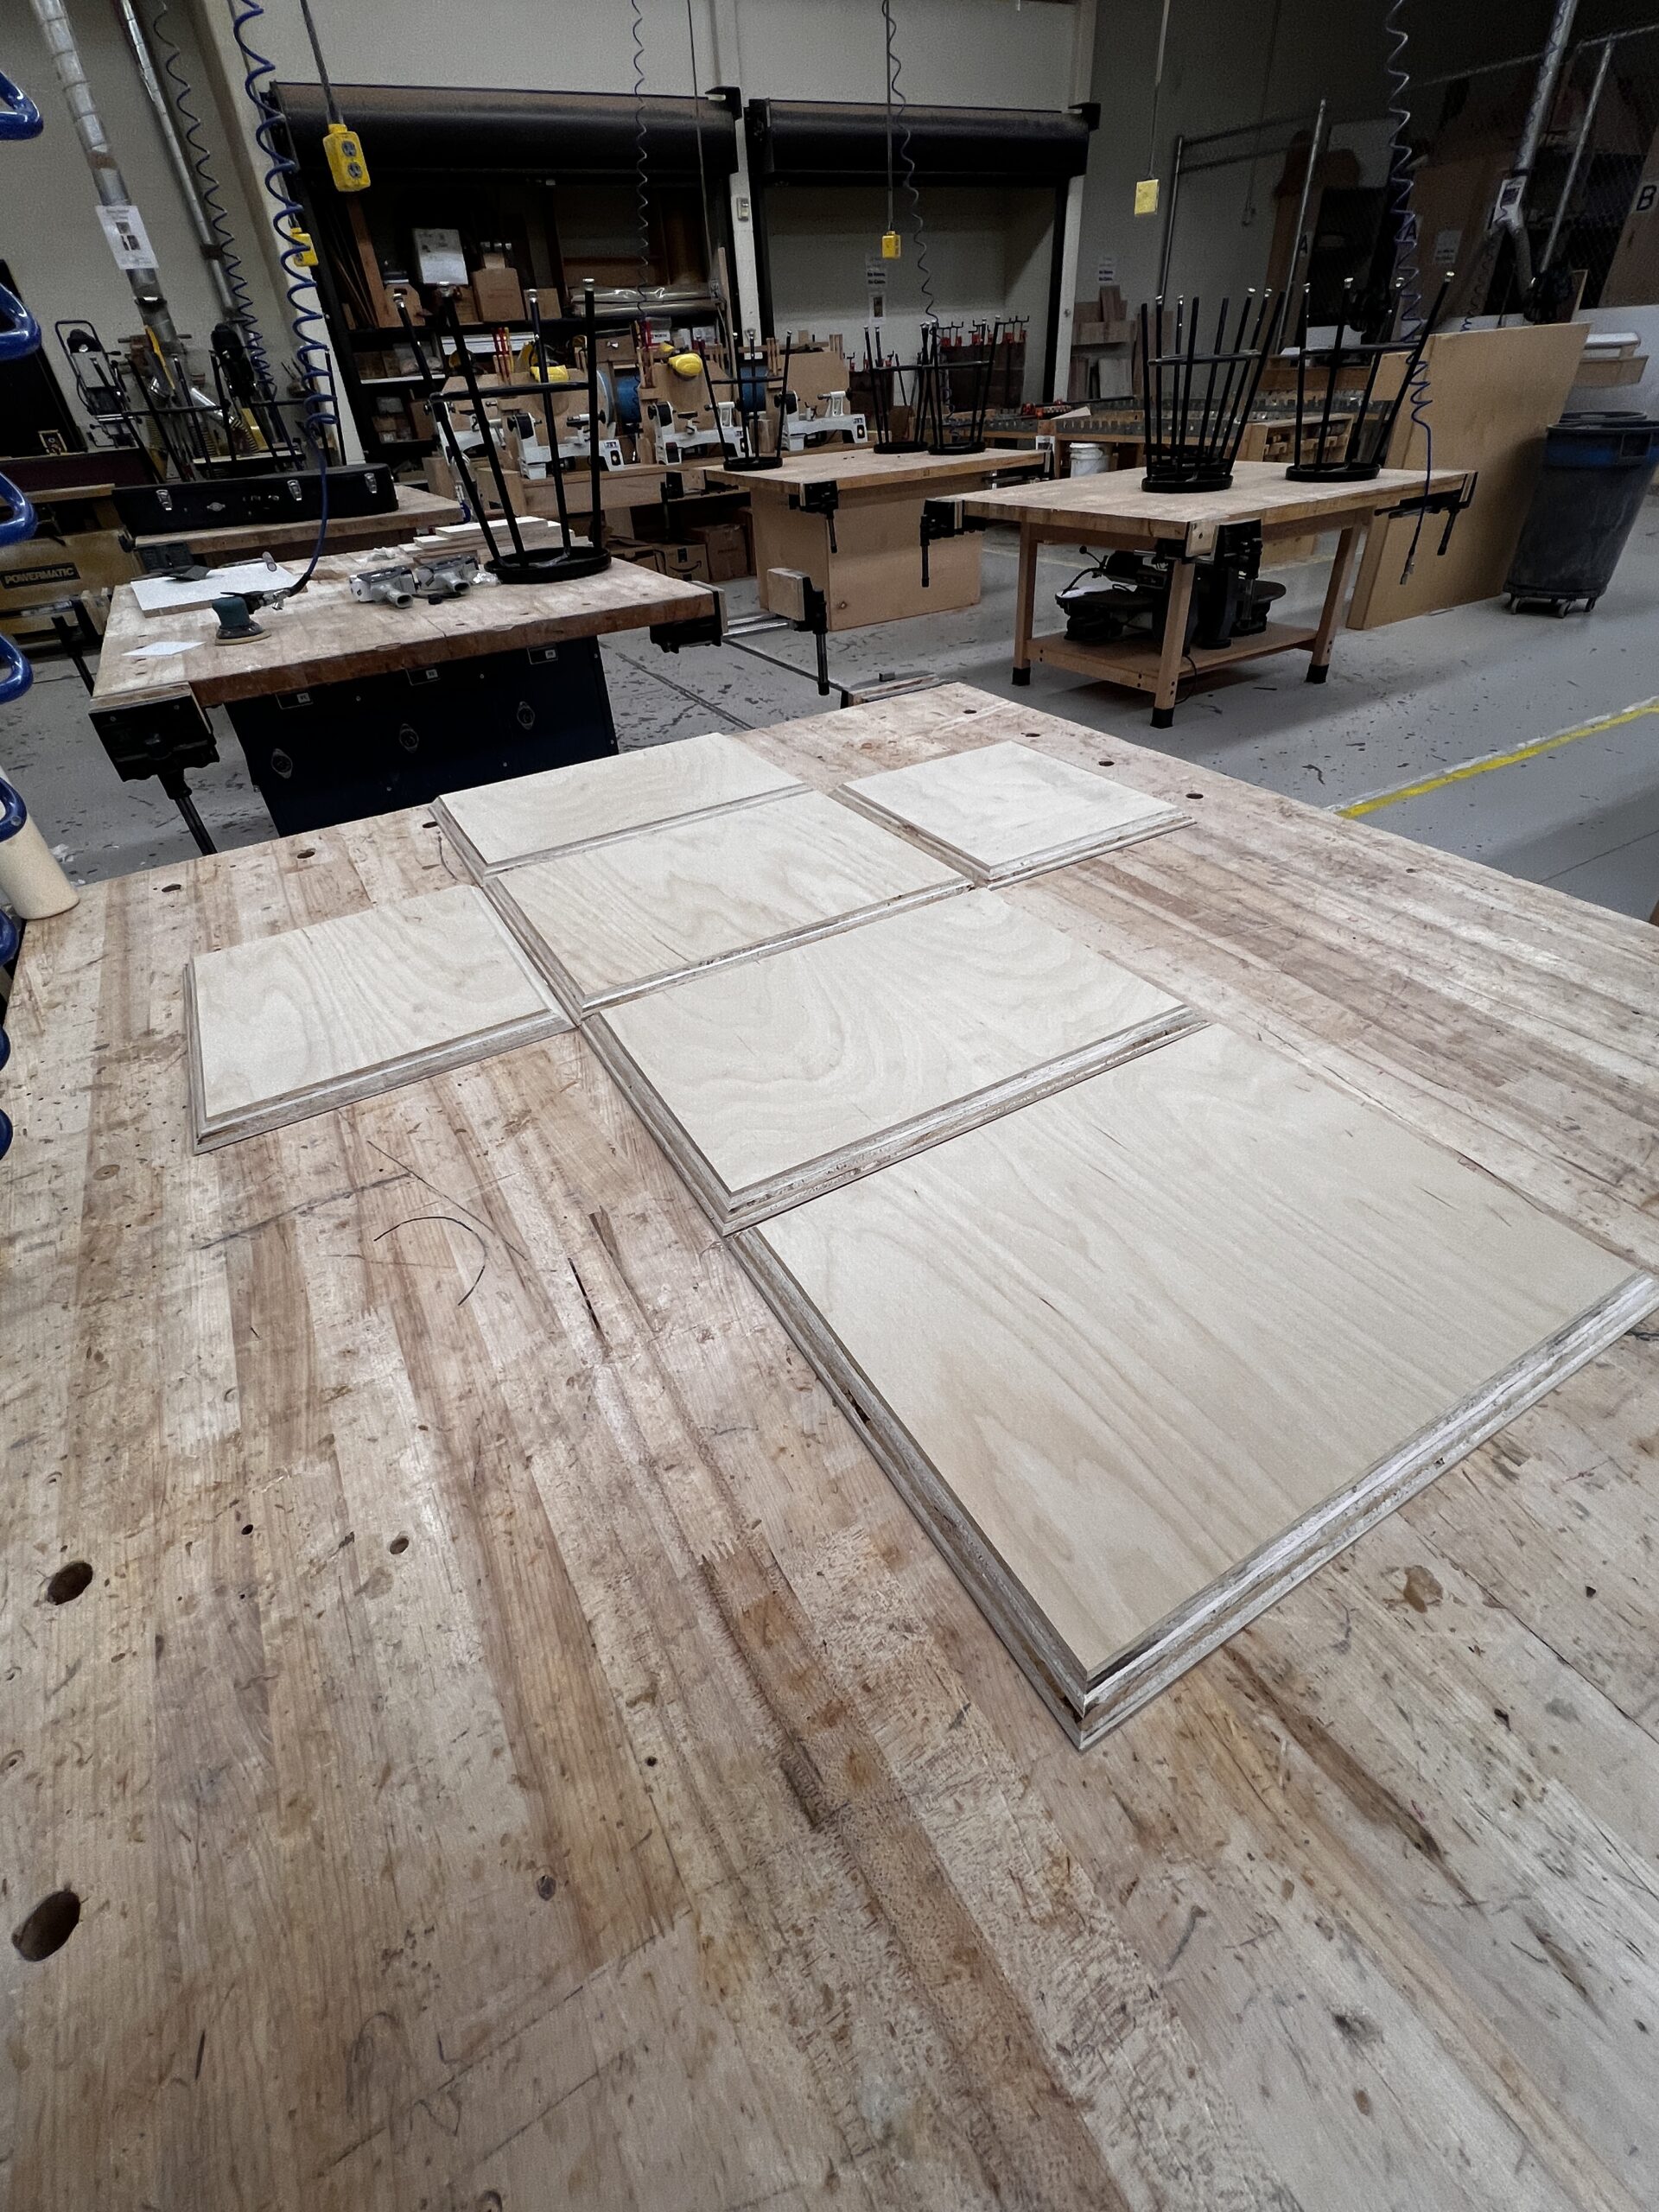
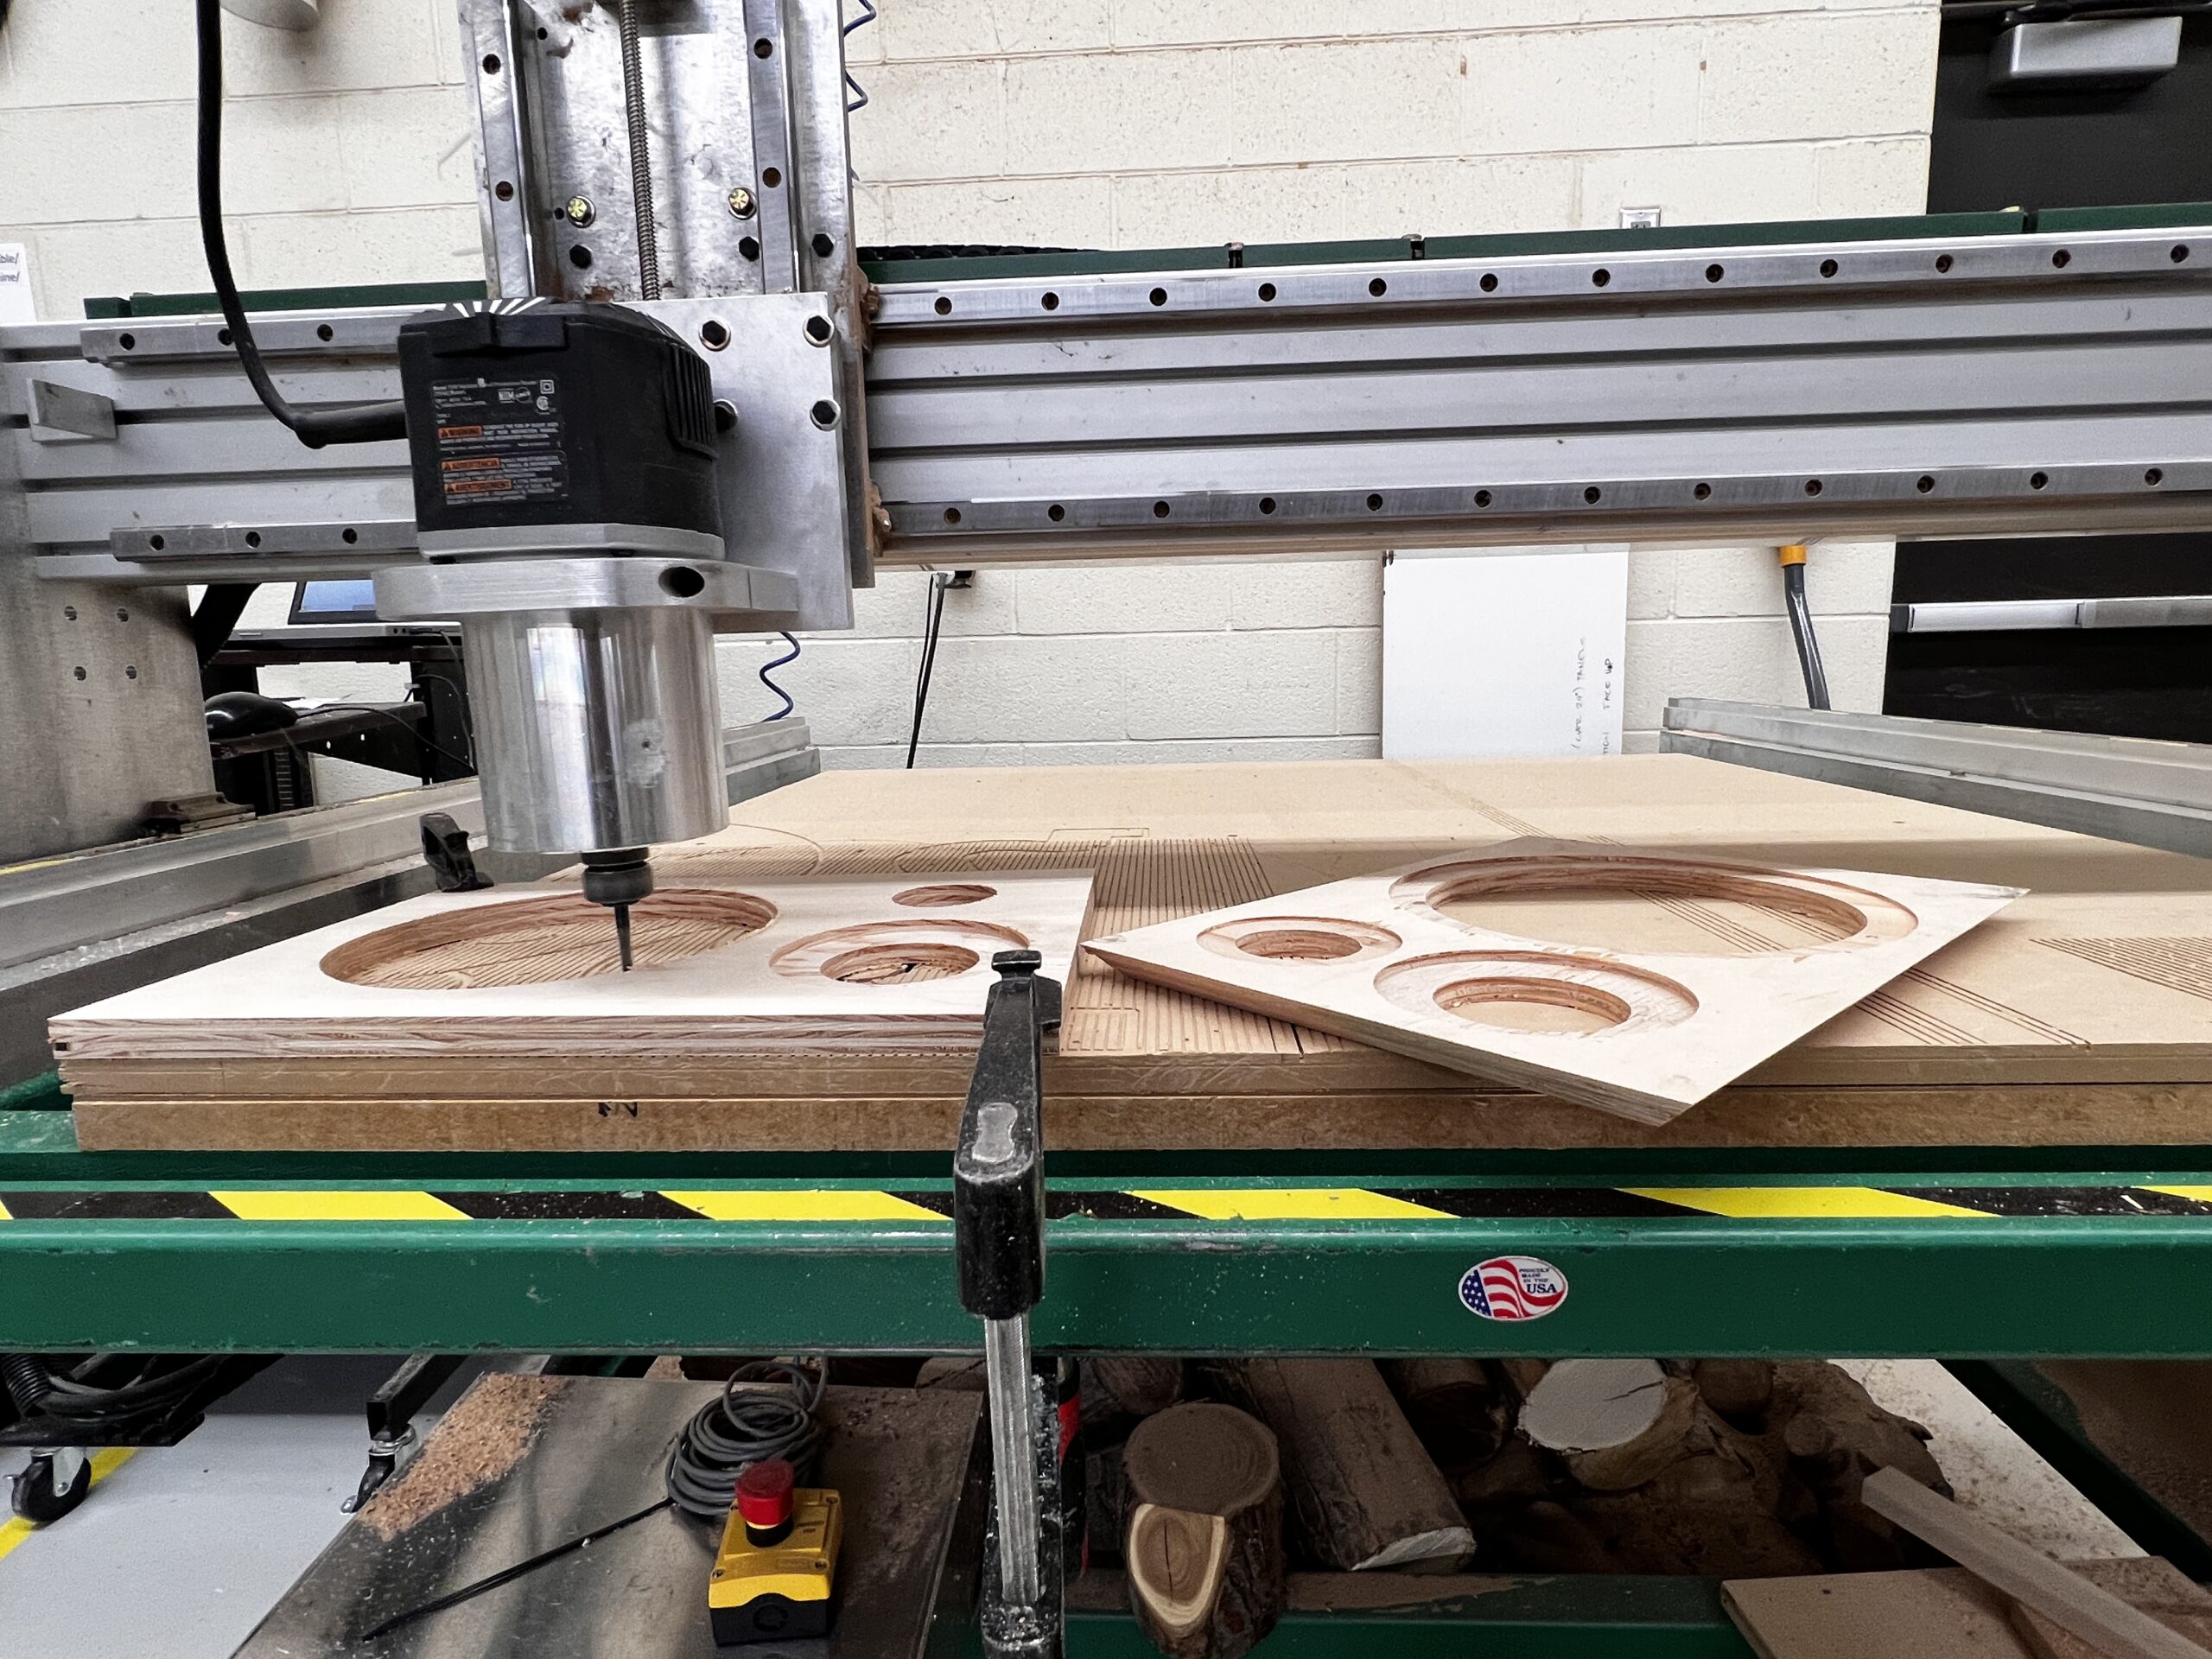
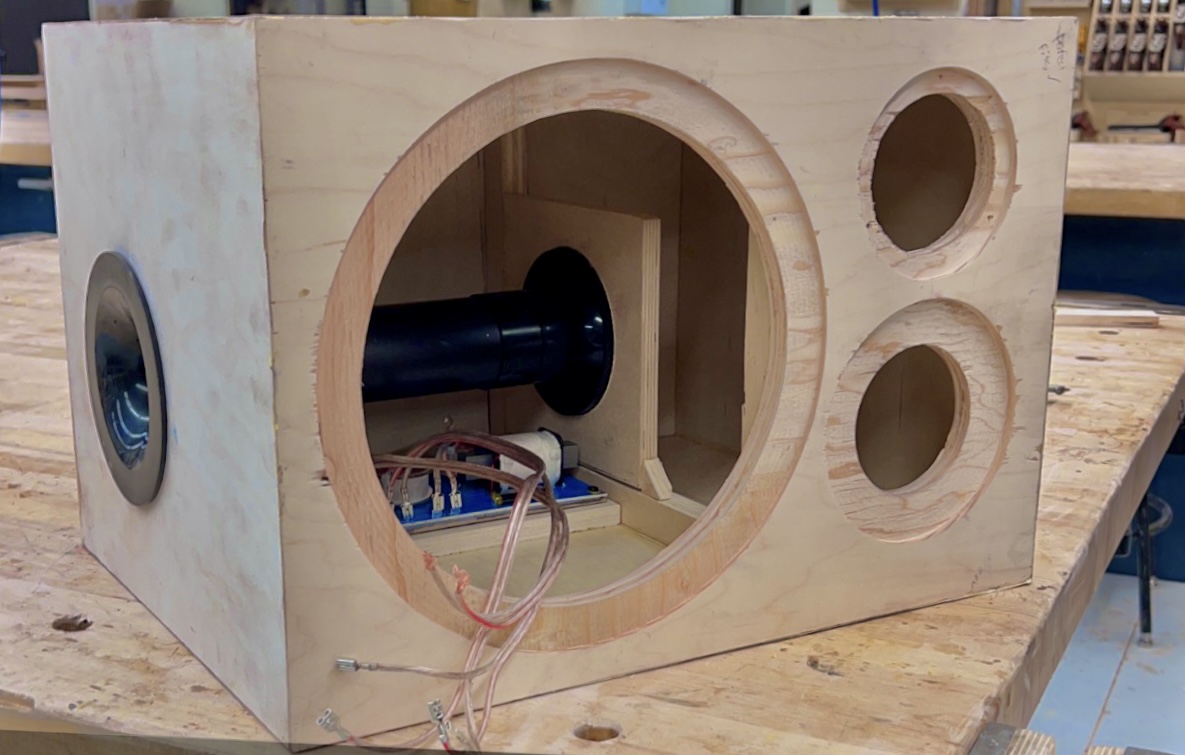
Enclosure Design
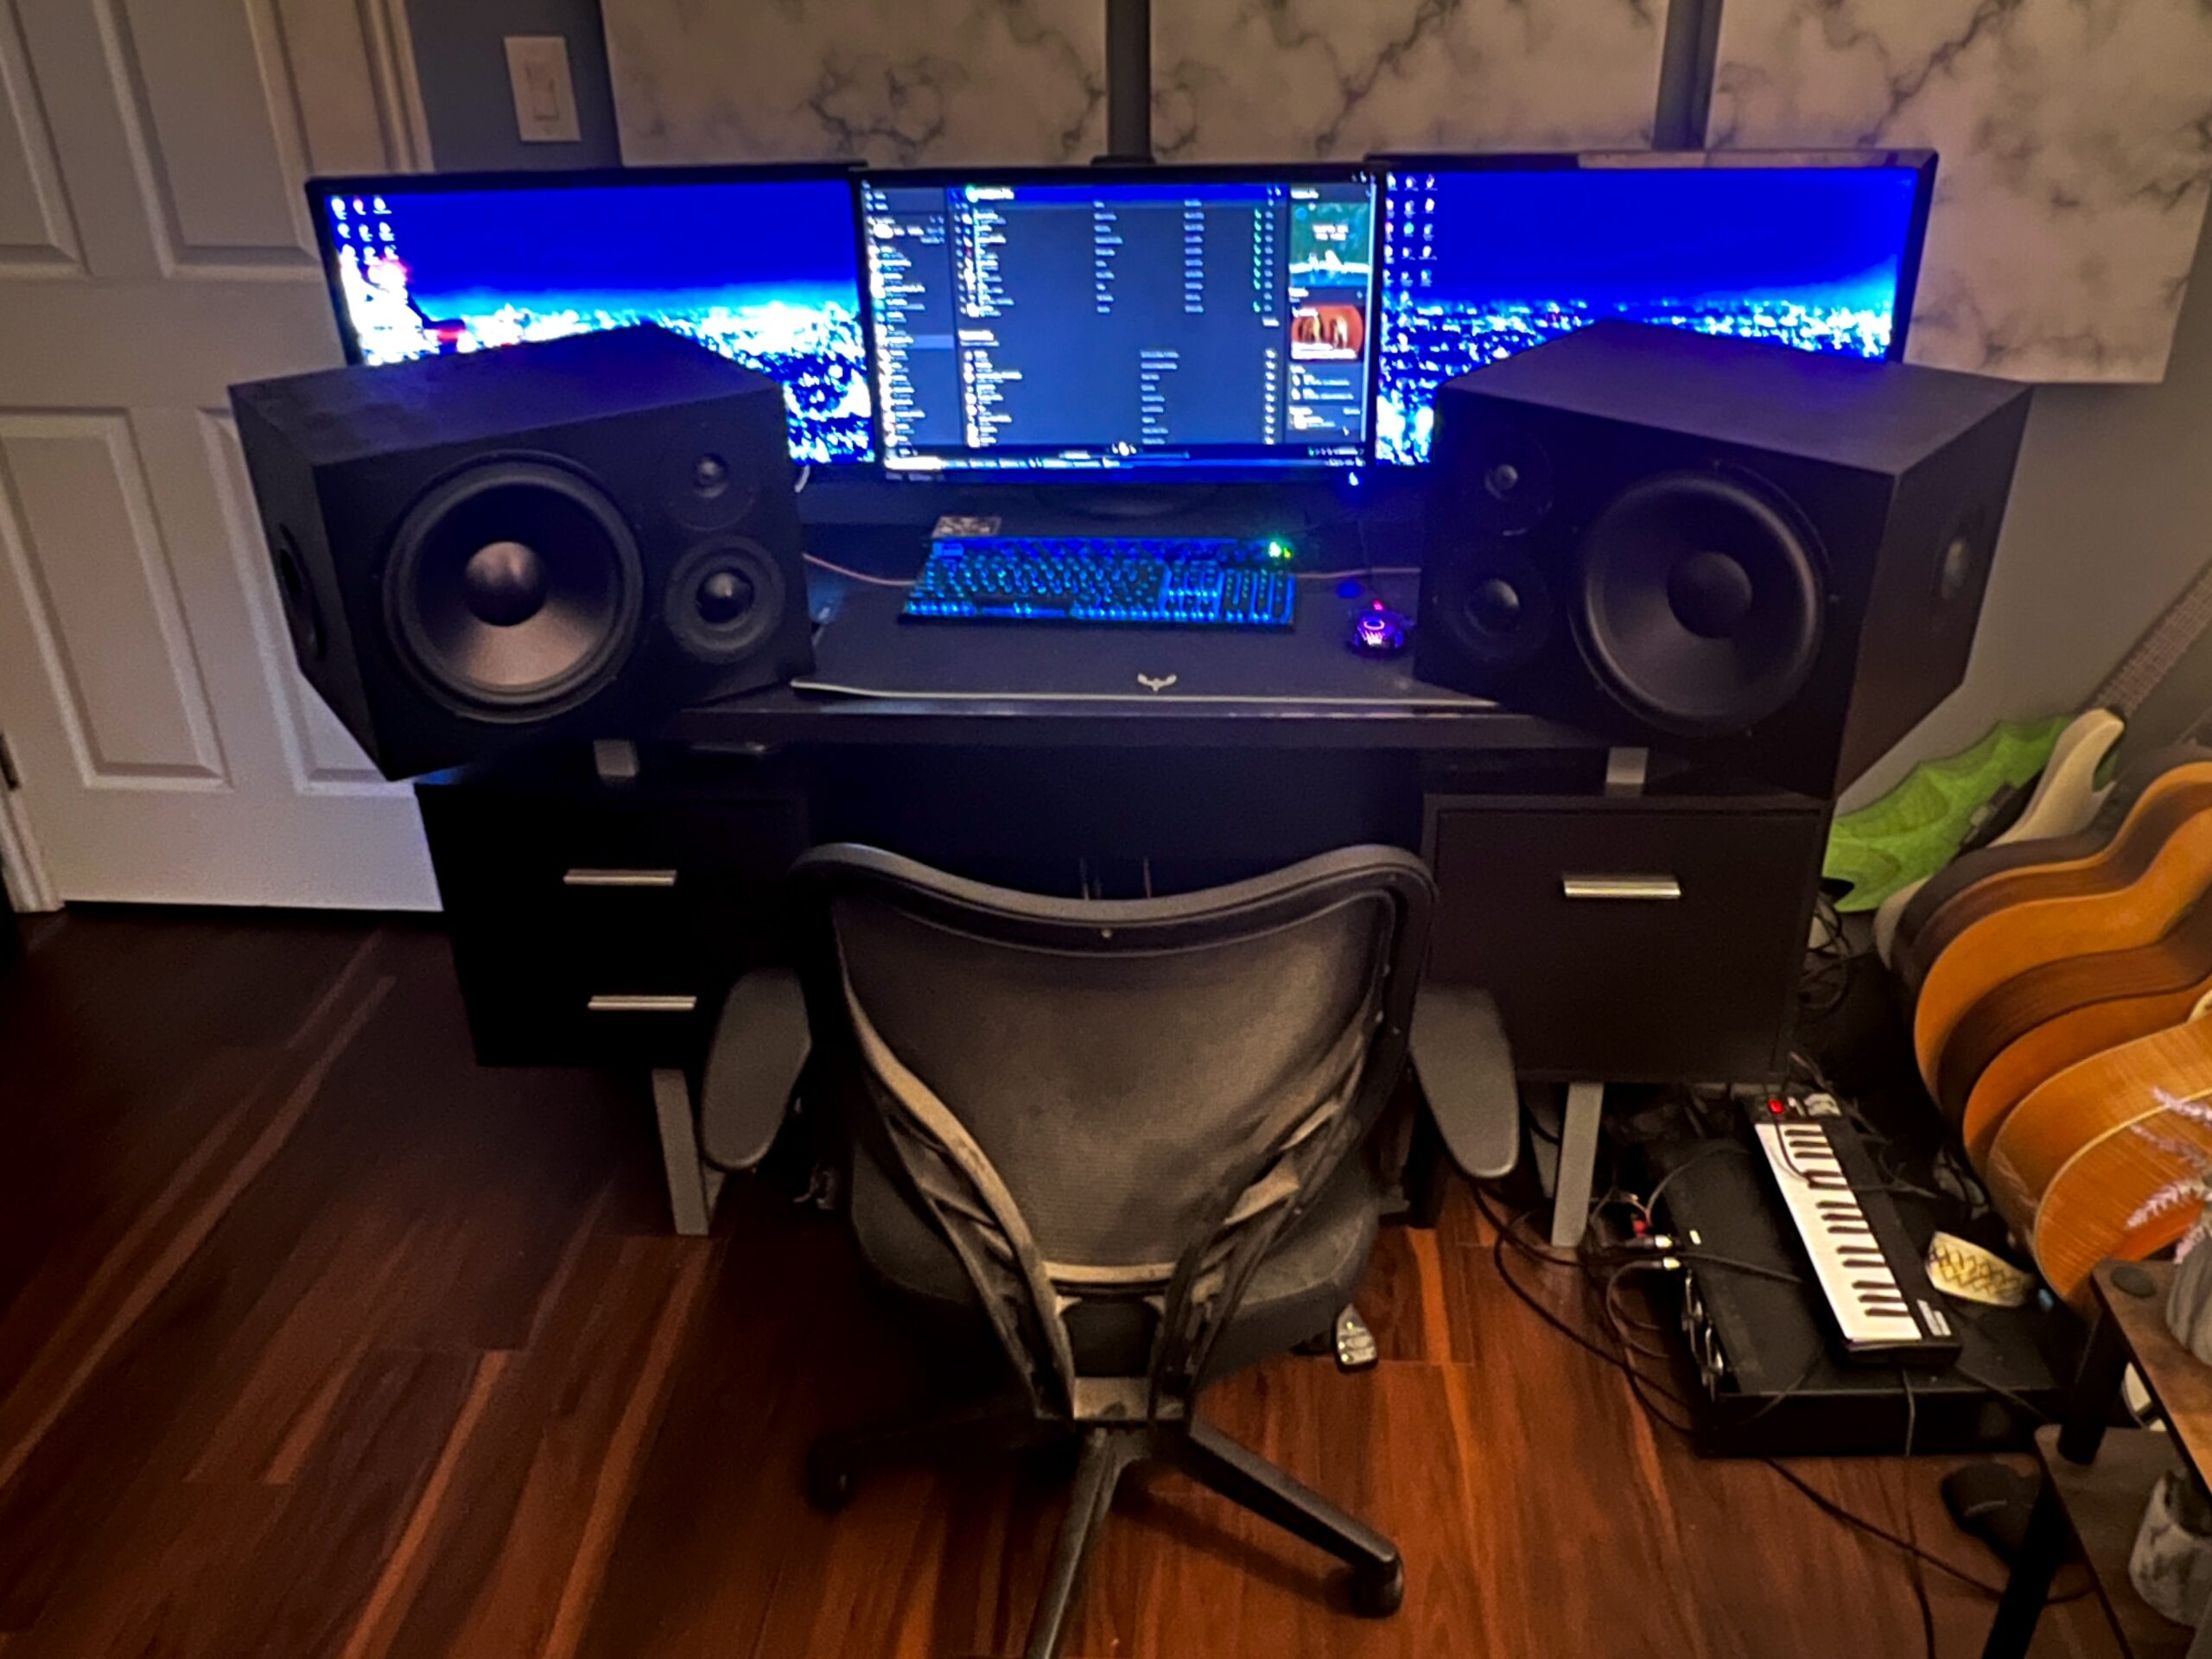
My speakers are heavily inspired by the lovely ATC SCM25A speakers. The box is made from Plywood (not baltic birch) and is also braced between the mid/tweeter and the woofer, where it also holds the tuning port and crossover board. I wanted something big and deep and well damped, and figured this would help the most in reducing bad resonances and provide the clearest sound. The box is sits on its side, measuring at 17.5”W x 12”H x 13.5”D. It’s tuned to 29hz and it weighs probably 30-40lbs, and it is a beast!
Crossover Design:
I had zero interest in making a crossover from scratch, and I knew it was going to be the one thing holding me back from making something truly great. I had heard dissenting opinions left and right about how pre-assembled crossovers are junk and they will never be good with a custom project. What nonsense that was! I used the Dayton Audio XO3W-700/5.6K 3-Way Speaker Crossover and it blew my expectations away. My driver choice is well suited for this crossover but the results are ridiculous! Just look at the included graphs. The crossover blends seamlessly and the flattest parts on my graph are around where the drivers cross. This made me so happy. I hope anyone who’s on the fence about making a crossover vs. buying one that’s assembled will read this and gain the confidence to make great projects with them. If it’s gonna save you months of procrastinating a huge headache, streamline the process by designing with one of these in mind! As soon as it came in the mail I plugged in the speakers, no solder necessary, and immediately knew everything was working as intended. What a relief!
Tips & Tricks:
For those of you who want to streamline a first-time build process, or make headache-free speakers that can compete with the best of them* Here’s what I got. Start with the goals, for example, mine are loud, full range 20Hz-20Khz without needing a sub. Great separation between drivers and a large nearfield sweetspot. That’s a pretty good start. Then look at every part you can find on the site, starting with Dayton. Seriously, they have everything you need and more. If you want more expensive options I recommend Morel for mids and tweeters. They have a lot of drivers that fall in line with my goals. Then look at the various parameters, especially Ohms, Sensitivity Db, and pay close attention to how the frequency response graph of each speaker driver behaves in relation to the others. Pay even closer attention to the behavior of each graph at your intended crossover point, as you can select drivers to compensate for other decisions in regards to drivers or crossover points. Pick one of Dayton’s pre-assembled crossover boards and terminate some speaker wires to connect it to your drivers. Once you have all the drivers in hand, make enclosures for them. The size and shape is best determined on WINisd, a great free software where you can load up the parameters listed in the specs of the speaker driver, and the software will help you determine the bass response and how to tune the box based on the given size of the box, tuning size and length, etc. Install the port (optional), the binding posts, connect to an amp and crank it up… Additionally, if you want to check the response and behavior of your system, order a MiniDSP UMIK-1 and install Room EQ Wizard (REW) software. You can quickly see how close your speakers are to reproducing sound perfectly. I hope this helps you get started.
Conclusion:
Making speakers is one of those things you do because you feel like you have to. And it’s because at the end of the long and arduous rainbow, you come upon a fruit that would put the apple in the garden of Eden to shame. It’s entirely possible to make your dream projects, all the way up to mastering speakers like these and an intermediate builder like me, through awesome companies like Dayton, Morel, and of course, Parts-Express. A few months ago I would have thought the sound I’m hearing now is unachievable without spending exorbitant amounts of money. And then trying to make the fit and finish of everything how you expect is another ordeal entirely. I never intended to make a speaker that could blow my expectations away like this. I know most of the people reading this are capable of the same. The total project cost was just barely over $1000, and it sounds on par with barefoot, kef, and other big name brands I used to hear when working in top-level AV. If you are on the fence about building some speakers like that, go for it. You’ll never regret it.
About the Designer:
My name is Shane Bronson, I am 25 years old. I have been playing various instruments including guitar, drums and bass for a decade now. I have also been actively producing music for myself and others for around the same amount of time, as well as mixing, mastering, and a great love for acoustics and design. My soul has been sold to the pursuit of sound and music, and I love coming up with new ideas to upgrade systems and create new ones. I think that people are the only thing that matters to us at the end of the day. So I might as well spend all day working hard, so I can have awesome experiences with people around me and I can open their eyes to new sounds and better conversations.
Project Parts List:
| Part# | Description | Qty. |
| 295-532 | Dayton DSA270-8 10” Designer Series Aluminum Cone Woofer | 2 |
| 287-030 | Morel EM1308 2-⅛” Dome Midrange | 2 |
| 277-082 | Morel CAT 308 1-⅛” Soft Dome Tweeter | 2 |
| 260-156 | Dayton Audio XO3W-700/5.6K 3-Way Speaker Crossover 700/5,600 Hz | 2 |
| 268-348 | Precision Port 2” Flared Speaker Cabinet Port Tube Kit | 2 |
| 091-1245 | Dayton Audio BPA-38G HD Binding Post Banana Jack Pair Gold | 2 |
Very impressive! You will go far in your chosen field.