Act 1

Designer:
Neil Davis
Project Category:
Subwoofers
Project Level:
Beginner
Project Time:
1-8 Hours
Project Cost:
$100 – $500
Project Description:
Act 1 is the first in a series of designs that will result in a compact yet potent wireless 2.1 system that can be used for computers, TV’s and other entertainment equipment. This Act 1 project will evolve from a basic subwoofer to a DSP-based subwoofer (Act 2), to a 2.1 system (Act 3) to a wireless active speaker (Act 4). The final product will be similar, but hopefully better than the large Sonos Play speaker. So, I like to think of this overall project as a Play with 4 Acts.
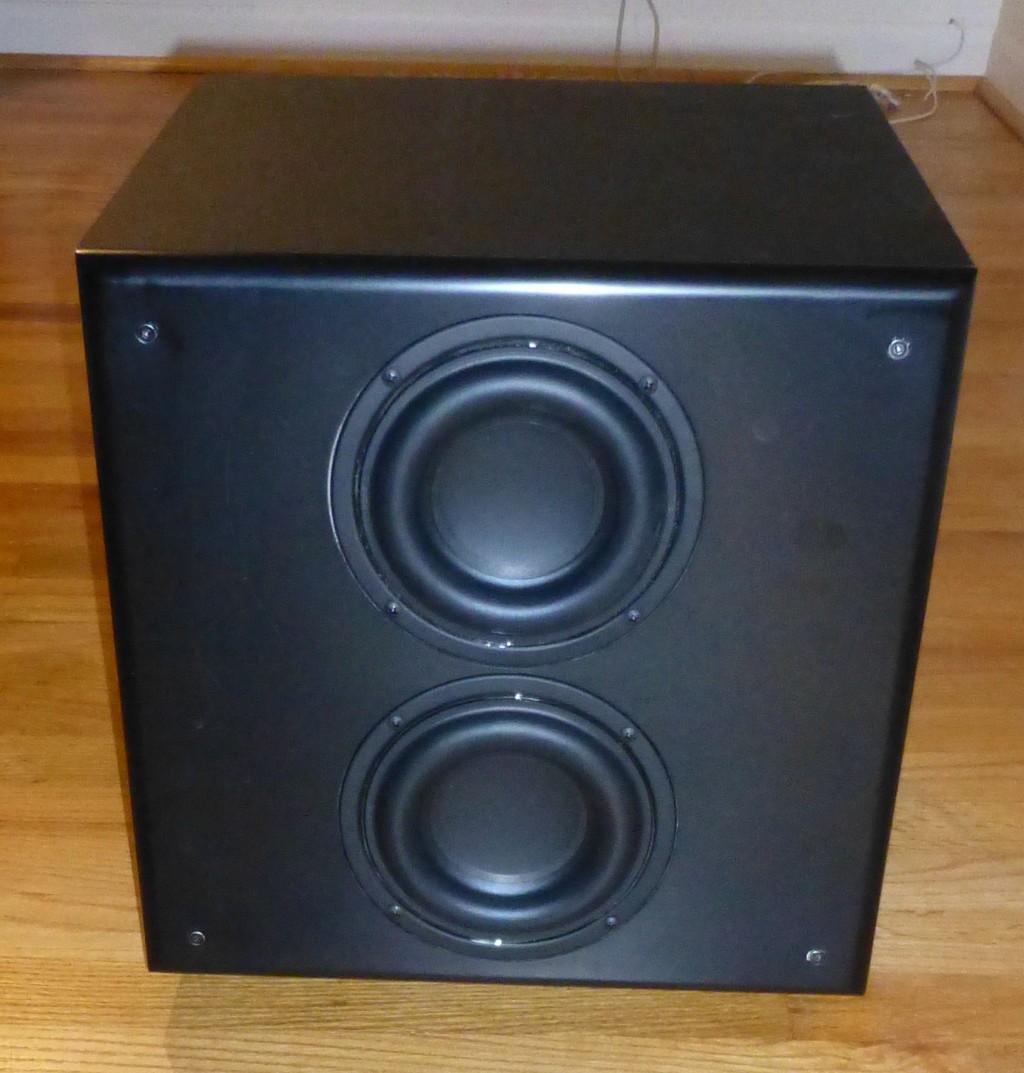
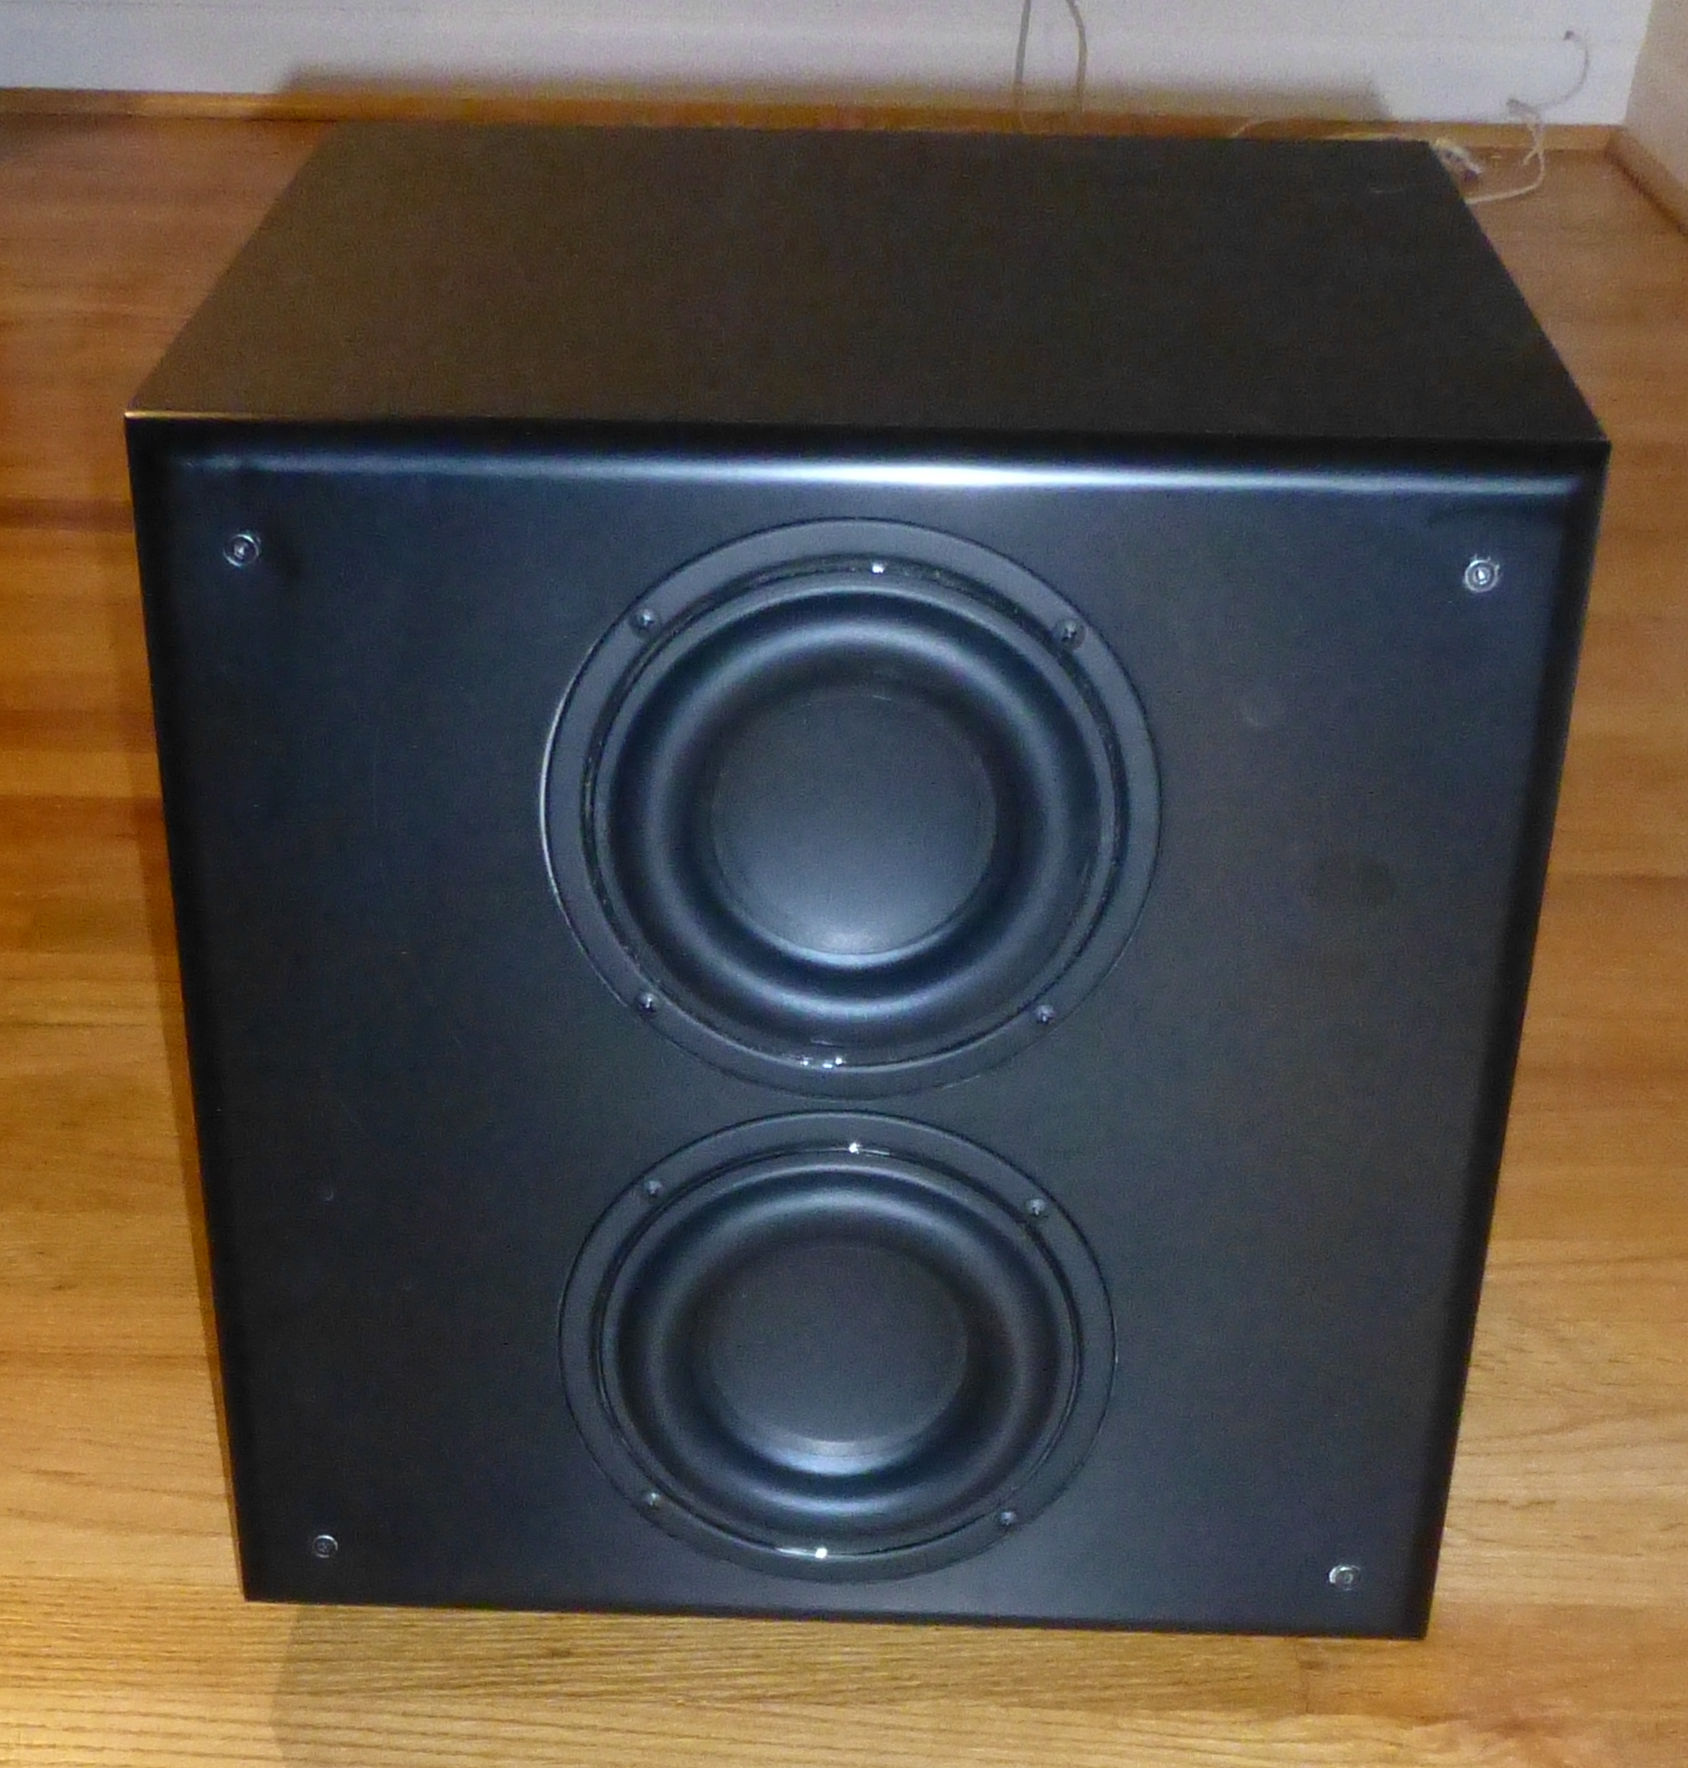
The Act 1 subwoofer will use two 5-1/4” Tang Bang W5-1138SMF woofers in a Dayton Audio B-REX removable/replaceable baffle enclosure. These boxes are somewhat larger than I needed and a bit more expensive than a “basic box”. However, this box will undergo extensive changes throughout this project, and the replaceable baffles will allow me to quickly try out different variations of amplifiers and drivers. There is a companion project (Chatoya) that uses a solid hardwood enclosure and a passive radiator that will allow comparing results of different bass extension or enhancement approaches.
Design Goals:
The primary goal of Act 1 is to evaluate the design of a small sealed subwoofer with a conventional subwoofer amp that provides bass boost. I wanted to compare this design to a similar version using a passive radiator and another with DSP. These variations needed to use the same driver to allow a “fair” comparison of the cabinet and electronics, so all of the variants use the Tang-Band W5 driver.
Driver Selection:
The Tang Bang 5-1/4” subwoofer is one of the few small drivers with a large enough excursion to work well as a subwoofer. This driver is available with either a neodymium magnet (PE 264-831) or a ferrite magnet (PE 264-917). Since weight is not a concern for this design, we went with the lower cost ferrite version.
Enclosure Design:
Since I needed different back panels to test out these variations, the Dayton 302-836 1.0 cu. ft. enclosure is ideal for this application. The Dayton enclosure uses a recessed back panel with 8 machine screws for securing an MDF back panel. I also ordered some aluminum plates cut to size at Online Metals that I could use as alternative back panel. The aluminum plate will serve as a heat sink and a chassis for the amplifiers that get added in later modifications. The 1.0 cu. ft. volume is higher than what I wanted, but it’s the smallest of the B-REX series and I knew that I could always throw a brick or two inside if I wanted to test the design with a lesser volume. Since this is a speaker that will be subject to many changes and scratches and dings are likely, I went with a basic black vinyl version of the Dayton Audio enclosure: the SWC1-VI (302-836).
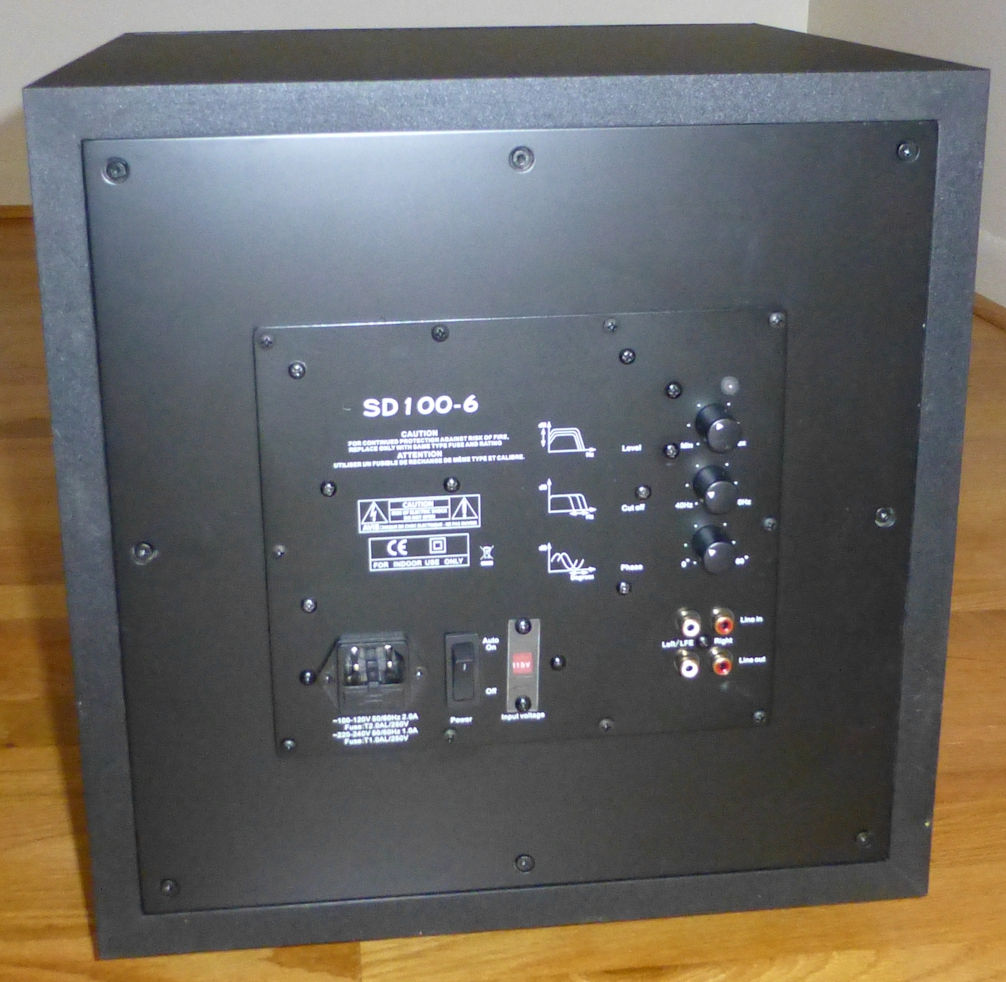
The plate amp is the Yung SD100. The Yung amp comes in two versions, one with 6db boost at 45Hz (PE 301-502) and one without the boost (PE 301-500). The Yung amplifier is somewhat unique in that the preamp section is much more complex than most subwoofer plate amps. It’s also easy to get to the circuitry, as there is no cover and both the front and back of the circuit board are exposed. It provides a high pass filter centered at 30Hz with a Q of 1.2 and a peaking filter centered at 46Hz with a Q of 2 and a Gain of 1.26. In order to decide between the boosted or non-boosted version of the amps. I modeled the response using PSD-Lite.
PSD-Lite is a full-featured loudspeaker modeling program, including crossover, baffle diffraction and box models, but to model the subwoofer response you only need to use the “Box” and “Amplifier” modules. The box model part of the program uses the same Benson model as Jeff Bagby’s spreadsheet program, Woofer Box and Circuit Designer (WBCD). In fact, this part of PSD-Lite was mostly written about 10 years ago, as an effort to convert Jeff’s spreadsheet into a .NET program. The PSD-Lite amplifier module was recently updated to model the Multifunction Bandpass Filter in the Yung SDXXX amps.
I modeled the drivers and enclosure for both the boosted version and non-boosted versions, and the results are shown in the accompanying chart. The boosted version of the amp gives much better bass extension (F3 = 35Hz vs 60Hz for the non-boosted version) and does not result in excessive cone excursion for the 100W amplifier. The boosted version results in a mild 3 to 4 dB peak around 50Hz. The boost frequency of 46Hz would probably work better for a smaller enclosure, but still, the F3 of 35Hz is impressive and the boosted response is usable.
It turns out that we can get a bit more bass extension without any peaking by modifying the filters in the SD100. However, doing that will void your warranty and you need the right soldering equipment and have the right experience to ensure success. For those who are daring enough to attempt these warranty-voiding modifications, there is an article at this website that describes how to determine the optimum filter values and how to change the components to achieve that response: http://www.audiodevelopers.com/yung-sd100-plate-amp-modifications/.
By using the bass boost optimizer feature in PSD-Lite, I got a somewhat lower F3 of 30Hz at 96dB with an F10 of 23Hz. Not bad for a pair of 5-1/4 drivers in a sealed cabinet! This extended response can be achieved by changing just 4 through-hole capacitors. I could get a lower and flatter response by allowing the optimizer to change the resistor values, but these are SMD resistors and are a bit more difficult to swap out. So, I went with the capacitor-only modification. PSD-Lite has a design comparison feature where you can see the results of up to 3 different designs. The accompanying chart is a screen capture of the design comparison window, which shows the boosted, non-boosted and modified amp results.
Enclosure Assembly:
The SWC B-REX cabinets are pre-assembled and easy to use. I went ahead and countersunk the drivers, even though diffraction issues are minimal in a subwoofer. I cut the opening in the back for the amplifier and wired the drivers in series. This results in an 8-ohm load impedance. However, the amplifiers use a reasonably high supply voltage (plus and minus 53V), so total output with this 8-ohm load should still be in the 100W range. BTW, that’s another good reason for using the Yung amps—the output is not as dependent on load impedance as other amps.
Crossover Design:
The subwoofer uses the Yung SD100 amp to provide a variable low-pass filter for integration with the other speakers in the system. I’ll show the integration with the other drivers in a later article.
Tips & Tricks:
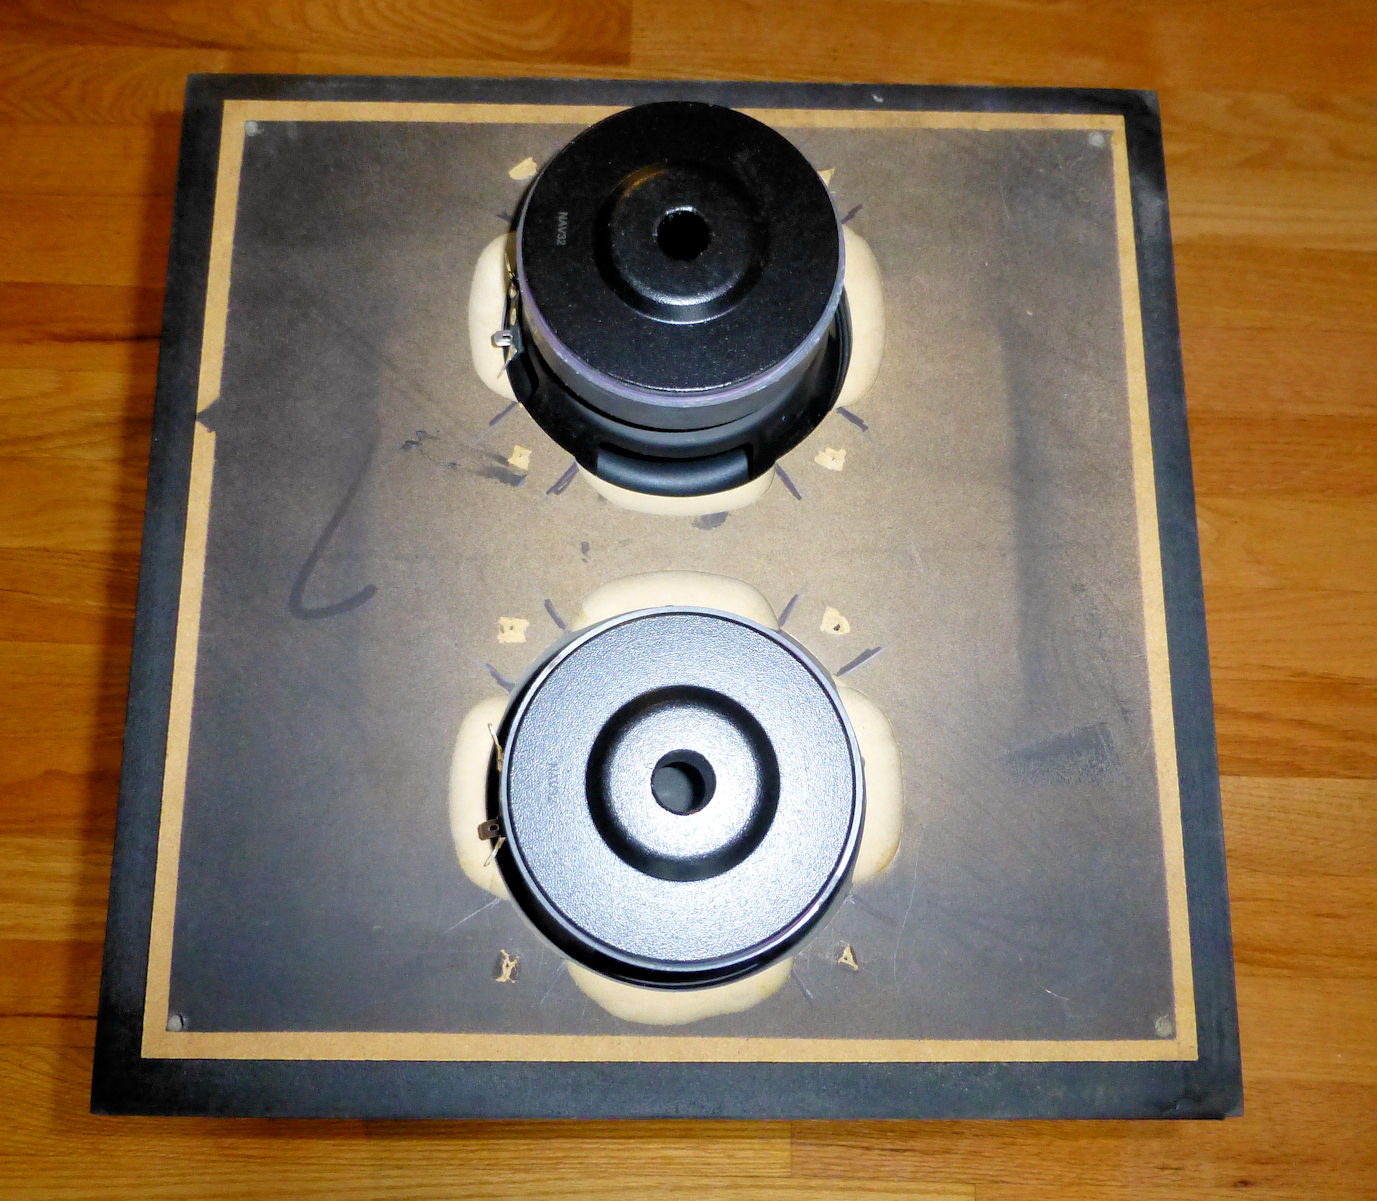
The front baffle is a full 1” thick, which can result in constricted airflow from the back of the driver between the baffle and driver basket. It’s worthwhile routing out some of the material between mounting holes to better better airflow, as shown in the second picture (“scalloped”).
Conclusion:
All 3 key components—the TB W5 subwoofer, the Yung SD100 amp, and the B-REX cabinet worked out well for this first step toward a wireless 2.1 system. I’ve got a nice test bed with good bass performance, with an exchangeable rear panel for the next step in this extended project. Also, I’ve now got some nice software modeling tools for working with the SD100 amplifier, which will also be used in the next few projects.
About the Designer:
Neil is a member of the PE speaker builder design team (SBDT).
Project Parts List
|
Part # |
Description |
Qty |
|
302-836 |
Dayton Audio SWC1-BK 1.0 cu. ft. Subwoofer Cabinet Gloss Black |
1 |
|
264-917 |
Tang Band W5-1138SMF 5-1/4″ Paper Cone Subwoofer Speaker |
1 |
|
301-502 |
Yung SD100-6 100W Class D Subwoofer Plate Amplifier Module with 6 dB at 45 Hz |
1 |
+ There are no comments
Add yours