AviaTrix Speaker Build

Designer:
4thStreet
Project Category:
Tower Speakers
Project Level:
Intermediate
Project Time:
1-8 Hours
Project Cost:
$500 – $1,000
Project Description:
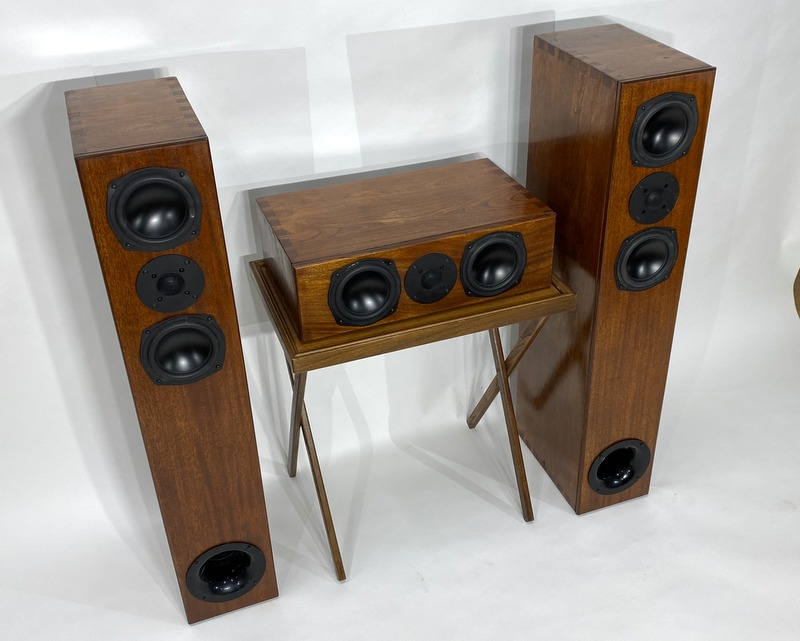
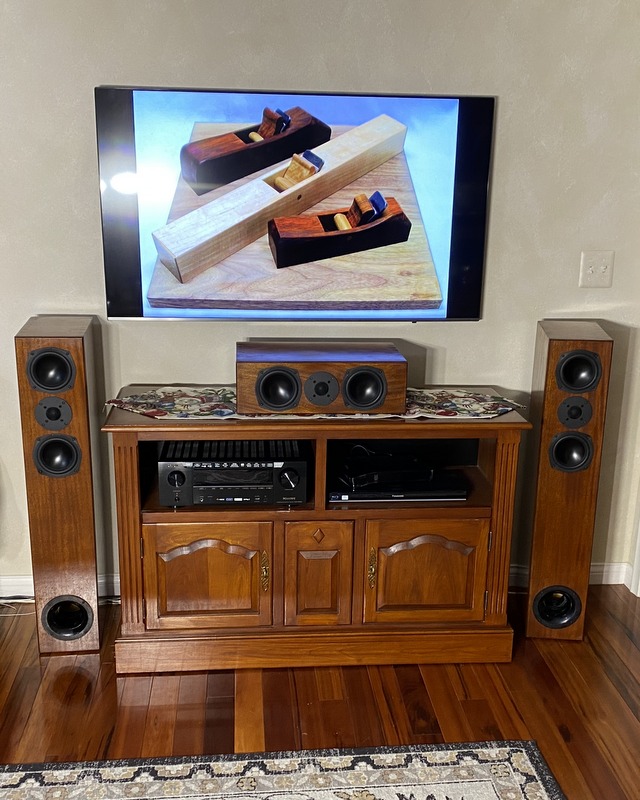
Front channel tower and center channel speaker build using the AvaiTrix kit. Total build time was about 35-40 hours with more than 90% spent on the enclosure build.
Design Goals:
The primary goal was to improve the clarity and quality of sound for my home theater. Previously using lower-end commercial speakers with 2-1/2″ speakers. Enclosure also had to match the custom component cabinet I built in the style of the other furniture in the room.
Driver Selection:
Selected the AvaiTrix speaker kit (Part # 300-7041) for both the front speakers and center channel. Size, quality. and price match the requirements for the room.
Enclosure Design:
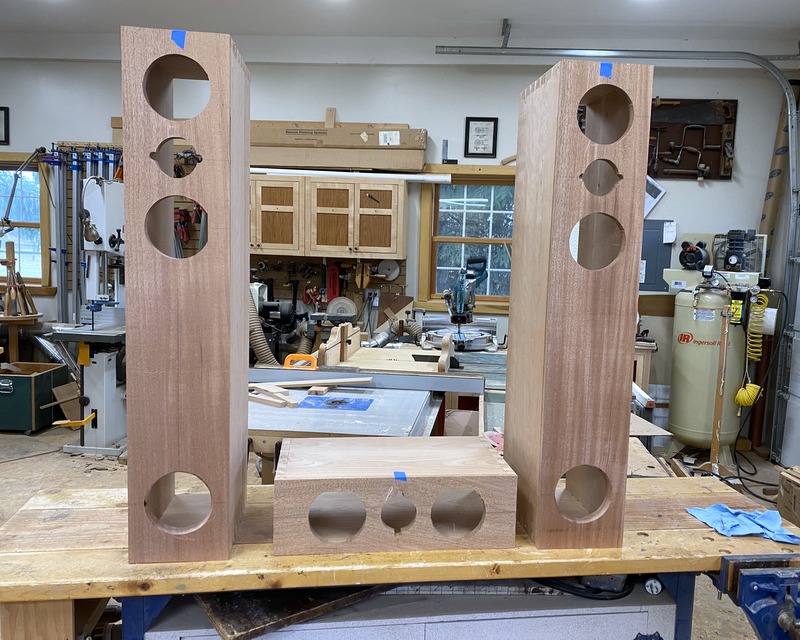
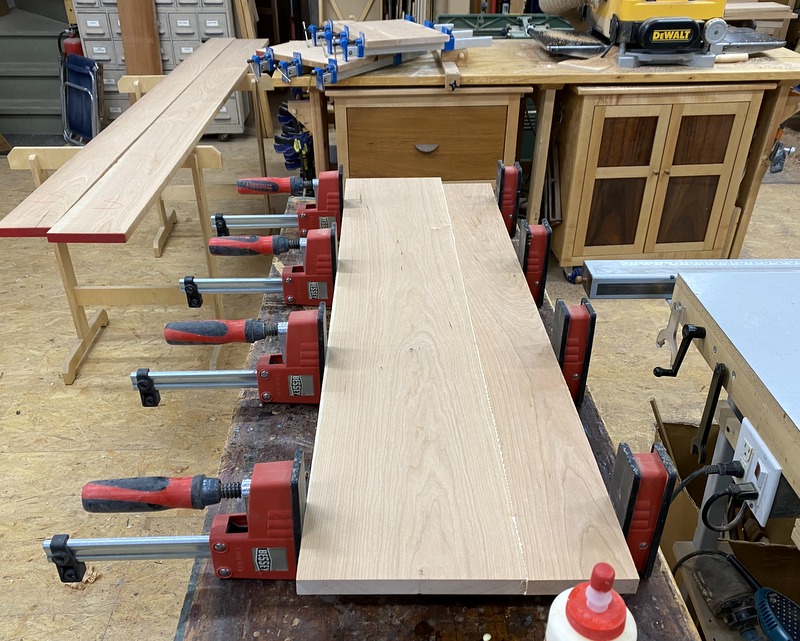
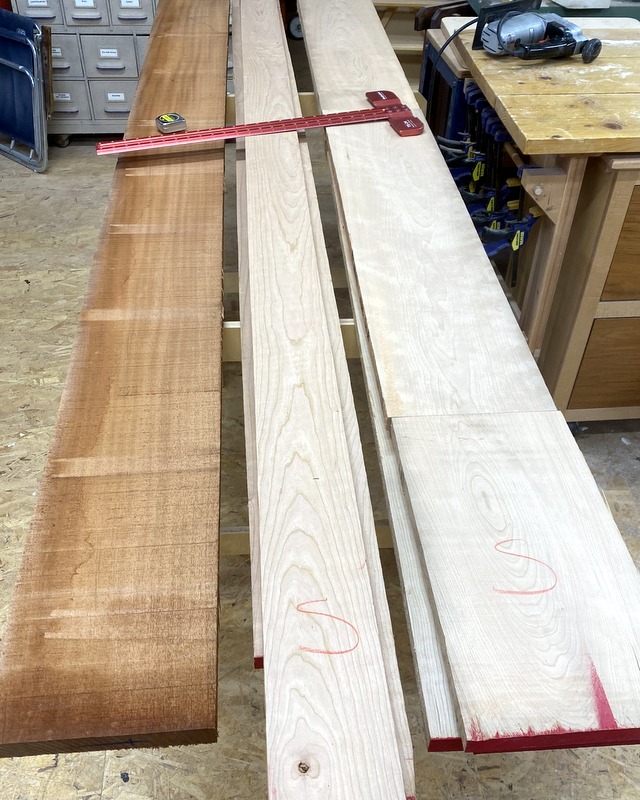
The enclosures are all 3/4″ solid wood construction on 5 sides. I used Black Cherry for the four sides. I used African Mahogany for the face. The removable backs are Baltic Birch ply. The center channel follows the recommended size. The design plans call for 44″ high towers which is too tall for my installation. I made the towers 40″ tall and added depth to the enclosure to compensate for loss of volume. I ended up just less than 4% smaller volume than the plan.
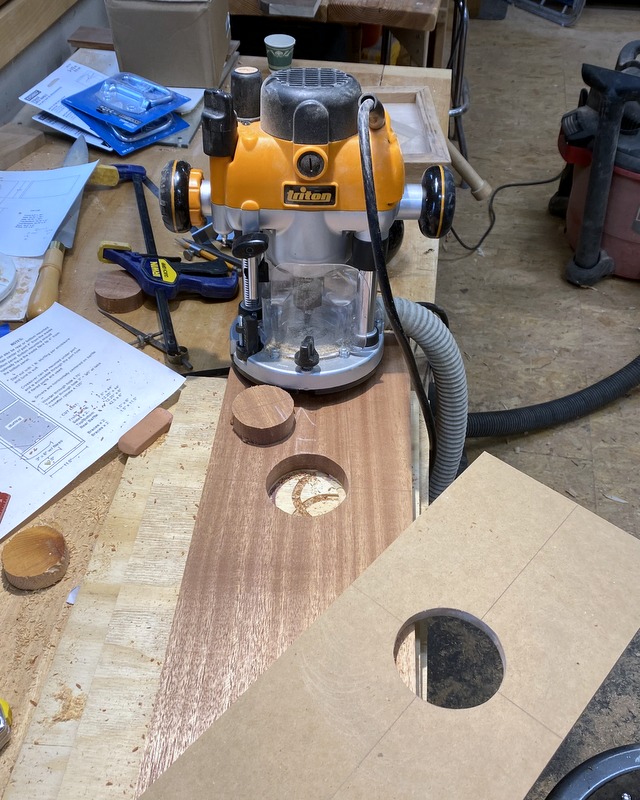
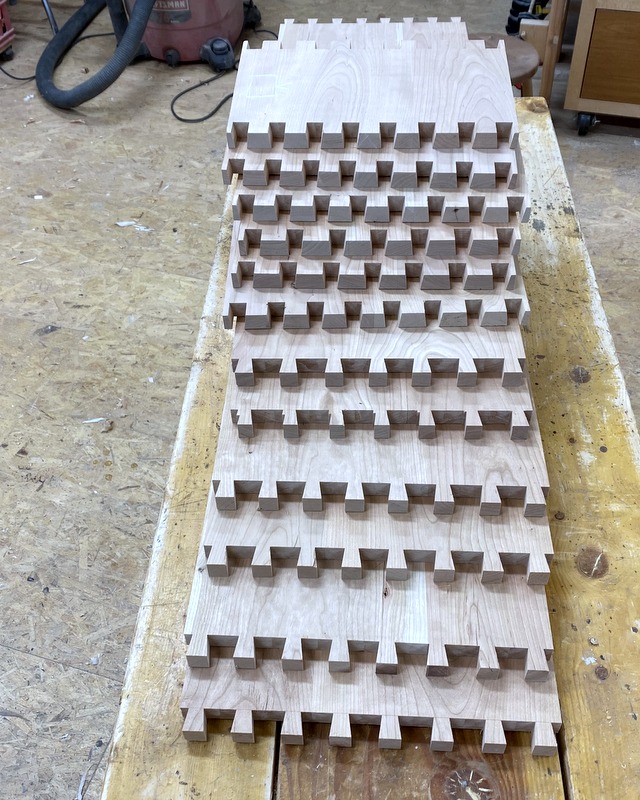
Enclosure Assembly:
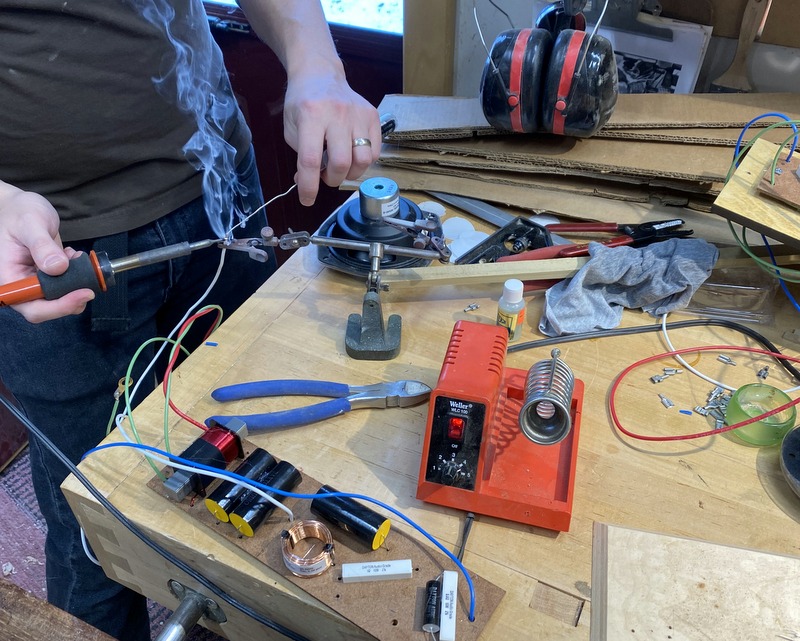
The enclosures cases are all through dovetailed. The solid wood construction yield a very rigid structure. The face is glued into a rabbet on the case. The backs also fit into a rabbet in the case but are screwed in place for service. All inside enclosure joints are sealed in silicon. The crossovers are mounted on the back panels. The enclosures were stuffed and the backs applied. Then the speakers wires attached and mounted from the front. Prior to speaker assembly the enclosures were finished. Finish schedule was sand to 320, water to raise the grain,re sand, yellow dye, pecan gel stain, french polish with 1-1/4# cut garnet shellac.
Crossover Design:
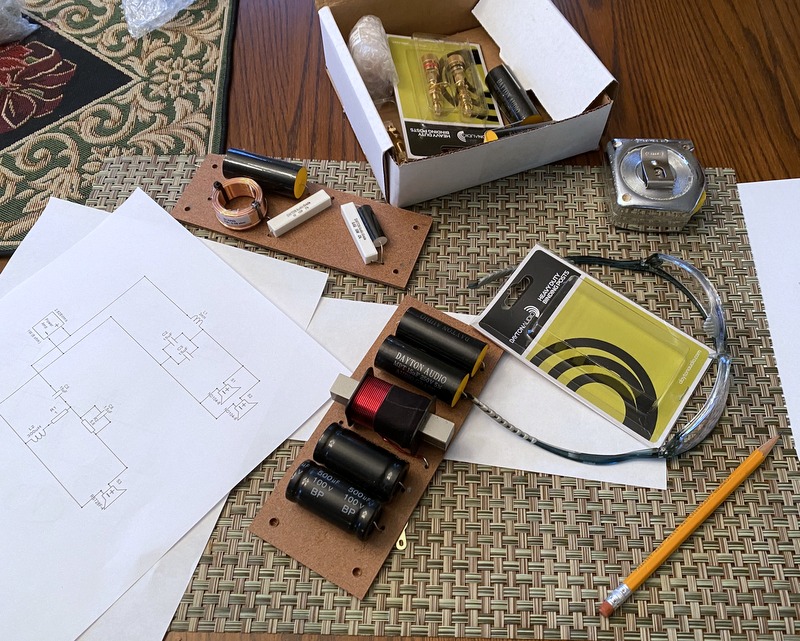
The crossovers directly followed the plan from the speaker kits. Careful layout yielded a compact board that allowed for mounting on the enclosure backs.
Tips & Tricks:
Have been living with crappy speakers for too long – Do it.
This was not a difficult case build but I have a fully outfitted woodworking shop. For the more novice builder I would recommend building a butted case, filling gaps with filler and painting the cases.
Conclusion:
Huge improvement in sound quality. The speaker selection and enclosure build execution met the project requirements. Clarity at the high end is outstanding and can exceed normal volumes without distortion.
About the Designer:
I am a hobby but serious furniture maker. This project is as much a woodworking project as electronic. My son is the main audiophile in the family and led the build on the crossover portion
Project Parts List:
|
Part # |
Description |
Qty |
|
300-7041 |
AviaTrix-RST MTM Components Only Speaker |
1 |
Why the solid wood? Seems a bit much for a speaker. Plywood is said to dampen better. Great looking though.
For the center speaker, did you just buy the extra three components and crossover separately.
The cabinets look really good , very nice job ! hope they sound as good as they look !