Beta Boxes
Designer:
4-Matdesign
Project Category:
Bookshelf Speakers
Project Level:
Beginner
Project Time:
8-20 Hours
Project Cost:
$100 – $500
Project Description:
The goal was to learn how build speakers and at the same time upgrade to match a 35w 1976 sony receiver.
Design Goals:
Create a clean speaker box using the minimum of materials and enclosure size with materials and tools available at the time. This was a budget concern.
Driver Selection:
BR-1
Enclosure Design:
Based on kit specification volumes. (+/- 2%)
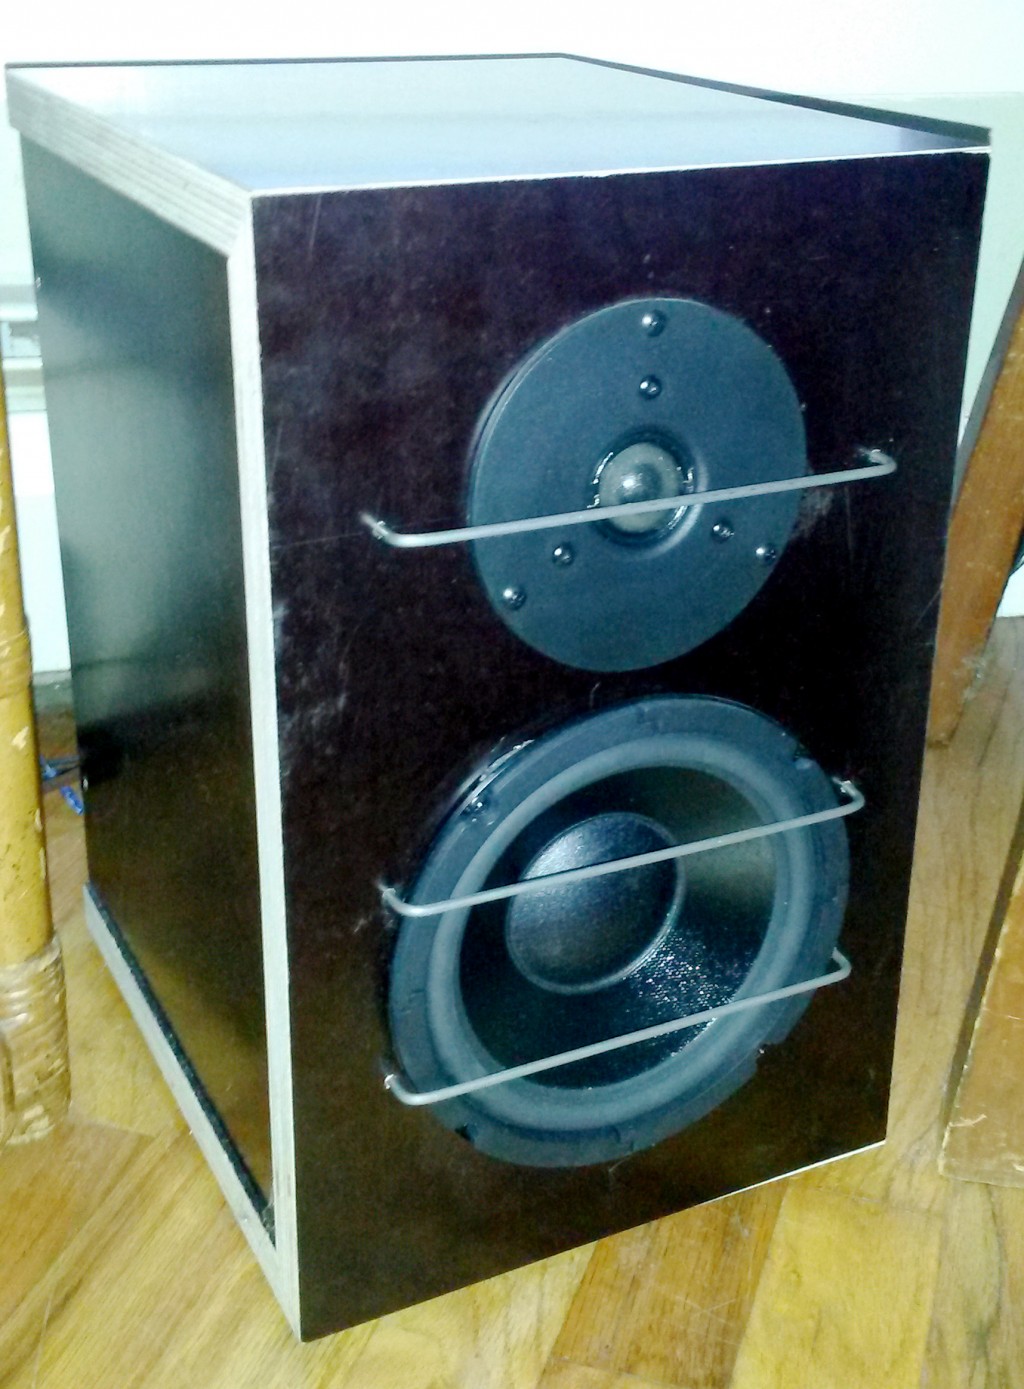
Enclosure Assembly:
3/4″ “Beta” plywood panels. This 17 ply High Density Overlay panels is used in concrete forms and road signs. The box is fastened using a hybrid Kreg pocket/countersink screw method. Interior seams are caulked with 100% silicon.
Crossover Design:
BR-1
Conclusion:
These speakers sound clear and as loud as my 1976 receiver will give it. No static or vibrations. A little soft on the bass at low volume, but great for TV listening. then put the turntable on with high volume and it evens out.
About the Designer:
Architect with a resurfaced passion for the combination of great sound and design.
Project Parts List:
|
Part # |
Description |
Qty |
|
300-641 |
BR-1 Kit Components |
1 |
|
260-470 |
Speaker Cabinet Port Tube 1″ ID x 4″ L Flared |
1 |
I love these two BR-1 kits especially the kit that includes the cabinet, and would recommend either for small rooms. However, I dispute the claim “Once you’ve completed this speaker project you will have learned the basics of speaker design”. Two of the things that concern me when changing vent dimensions are cone displacement and vent air velocity. The included tutorial does not raise these issues. I believe these concepts are basic. Here lies a perfect example. This architect and beginner speaker builder has altered the design by changing the vent. Design challenges include keeping within excursion limits of the driver, and keeping vent air velocities low enough to avoid turbulence.
The kits advertising claims, “We’ve included a tutorial that thoroughly explains the theory and design process, making this kit perfect for educational programs”. However, not discussed in the tutorial are the reasons to, offset and flush mount the drivers, and round the edges of the enclosures. Diffraction can have a very significant effect on fidelity. This elegant design employs these tweaks for this reason. The “components” kit accommodates builders who want to use their own unique enclosures, but buyers should be aware of compromising the design. Aside from this, I recommend these kits, as an entry-level speaker.
Hi
thank you for the constructive criticism. Did not have the router I needed at the time to inset the drivers. Was going to modify it at a later time…one year later…they sound great to me but i’m sure can sound better. Used the 1×4″ ports they recommended. Does rounding the edges of the exterior box face make a noticeable difference. can put a 1/2″ radius pretty easy…again thanks…planning on building another set this month. Any thoughts on the case material: 3/4″ phenolic plywood. Its 17 ply but has a very hard reflective inner surface?
Also switched to a Yamaha 760A preamplifier at 80w 8 ohm. Seems to allow for fuller low end and to the top with no distortion.