C-Note Bookshelf Speakers


Designer:
Ryan Clark
Project Category:
Bookshelf Speakers
Project Level:
Intermediate
Project Time:
1-8 Hours
Project Cost:
$100 – $500
Project Description:
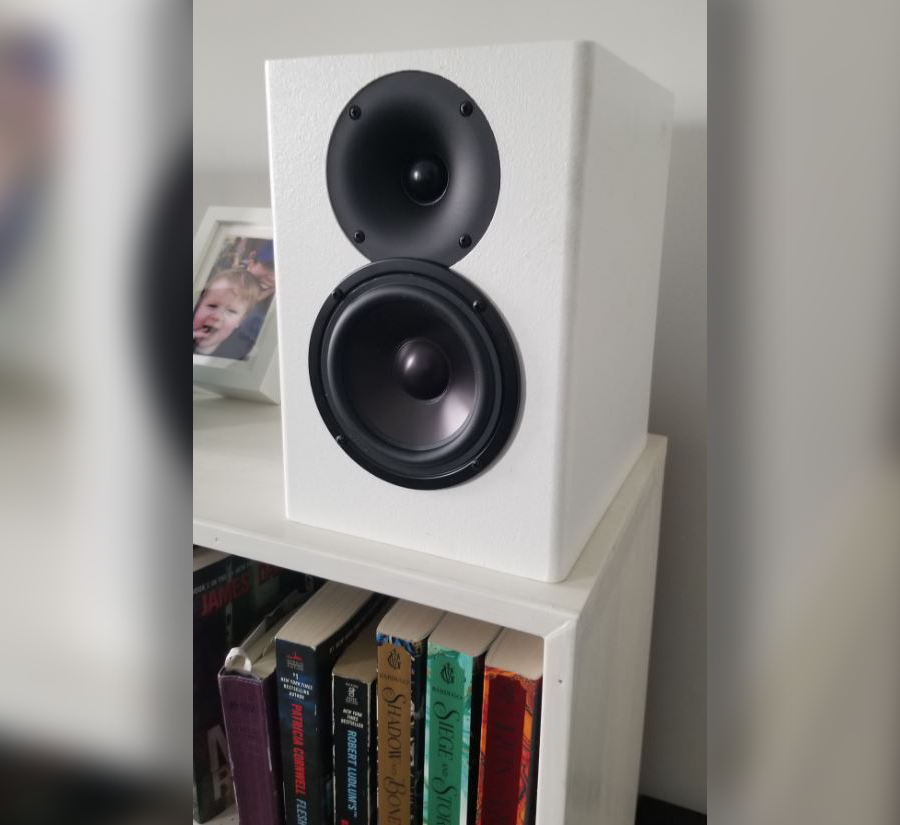
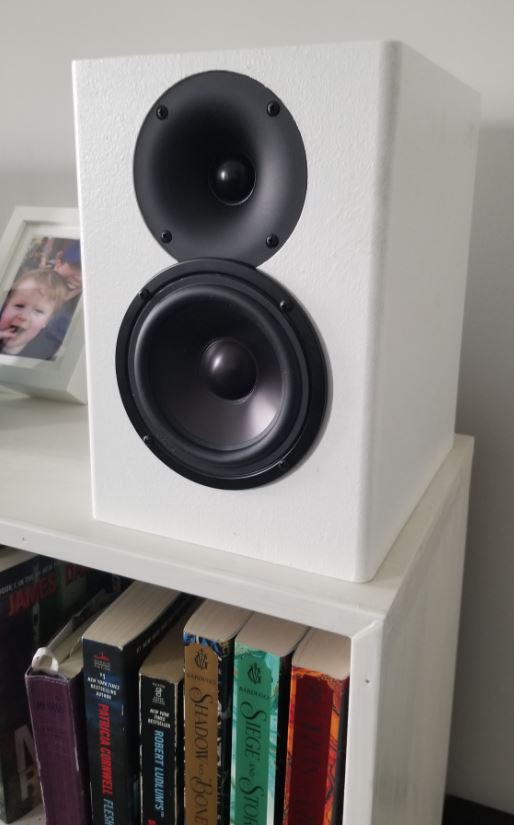
I had a little play money and decided to give this kit a try based on great reviews. They are replacing some Polk T15 speakers, powered by a Yamaha R-N303 receiver.
Design Goals:
Just wanted great sounding bookshelf speakers for my bedroom for music. Wasn’t up for an extravagant finishing project so I just painted them white to match the bookshelves they sit on.
Driver Selection:
Kit –
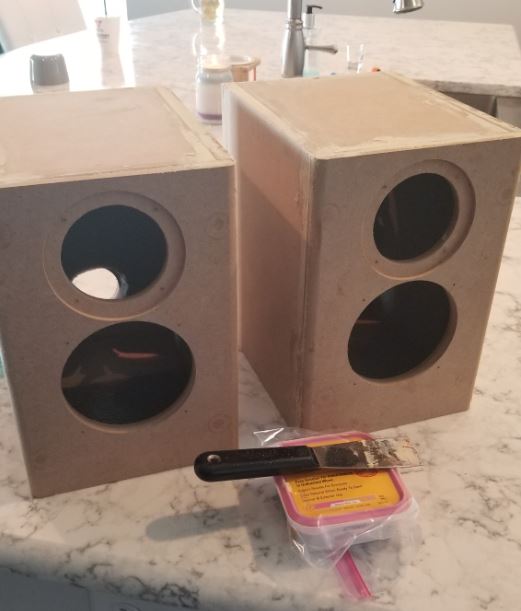
Enclosure Design:
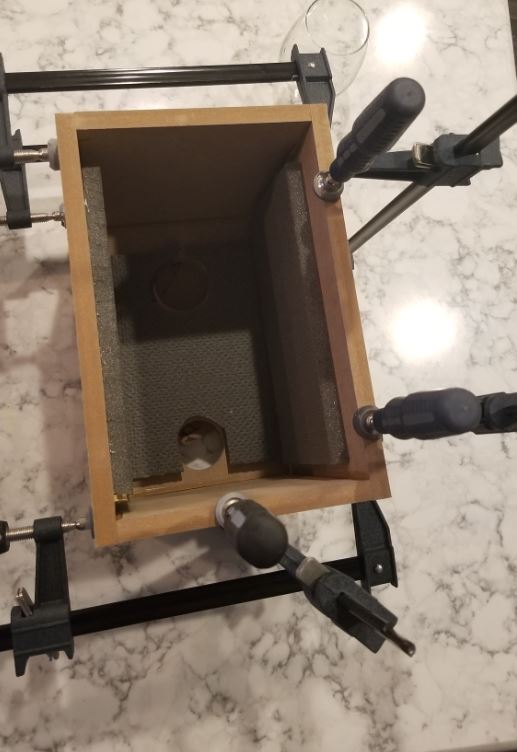
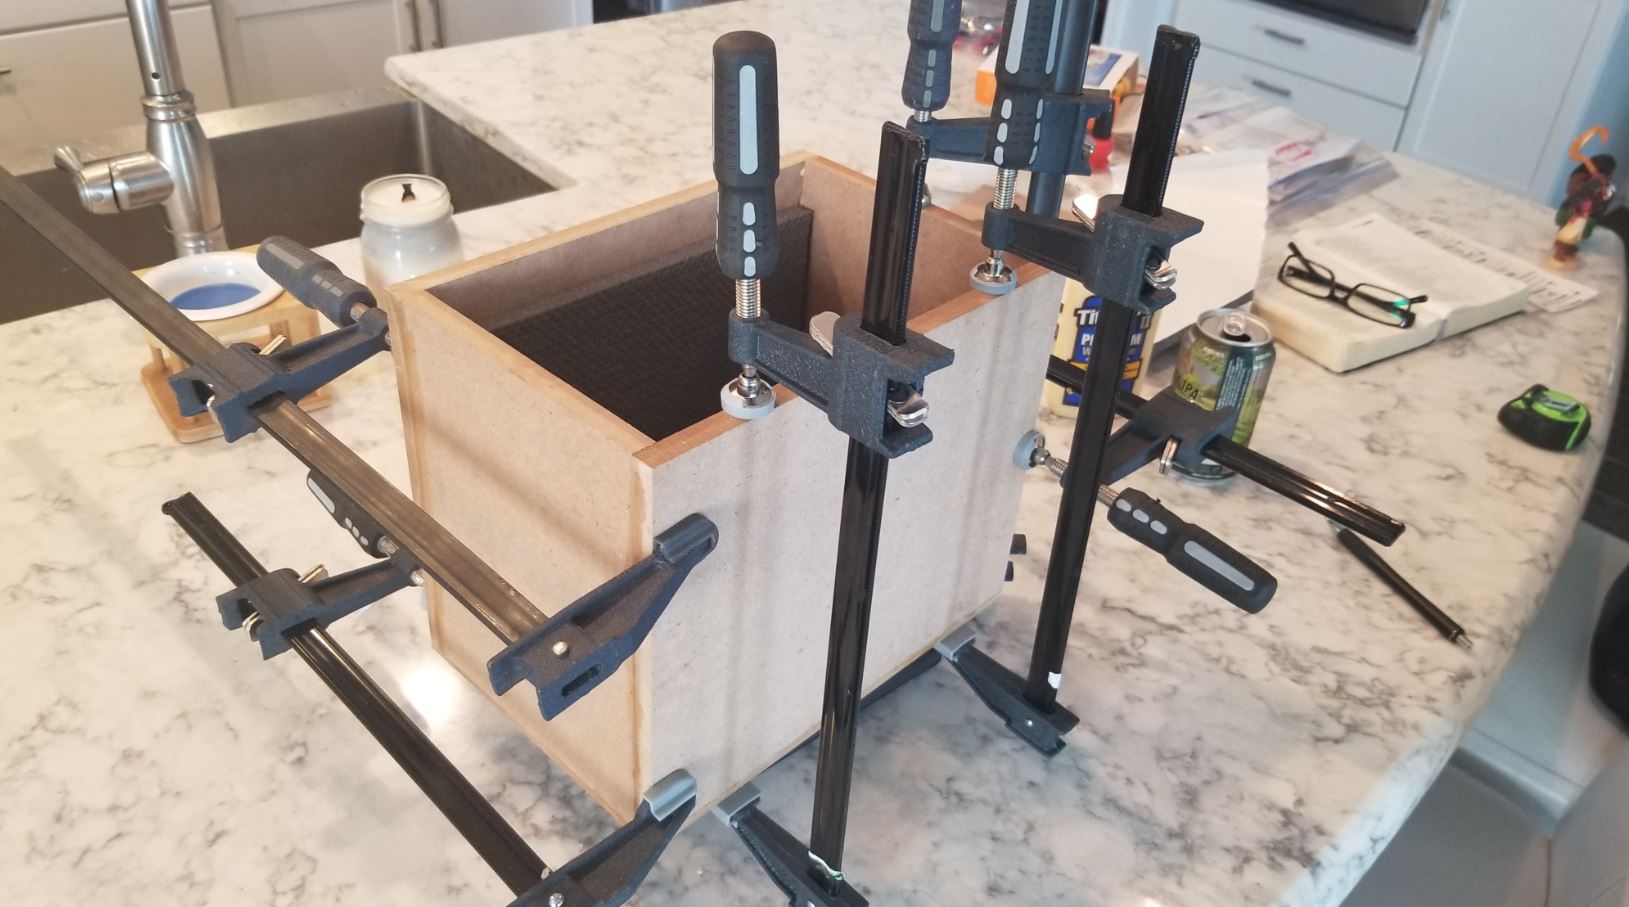
Prefab enclosure. I did use 1 sheet of ½” sonic barrier dampening which covered most of inside.
Enclosure Assembly:
Follow instructional video. Works perfectly.
Crossover Design:
One part of the instructional video I didn’t follow was using Gorilla glue to glob the crossover to the inside of the cabinet. What if I mis-wired it? I would be screwed trying to remove it to fix. Instead I used a pair of 3.5” x 5” perforated crossover boards ($4), secured the component with hot glue then zip tied some corrugated to the back. If I do another one of these kits, I will probably purchase the PC board for it you can buy on eBay. Also, in retrospect, I should have made one of the inductors vertical to avoid an electromagnetic interference, but I think they are close to 2 inches apart.
Tips & Tricks:
Make sure to consider the following items not including in the kit:
• Screws
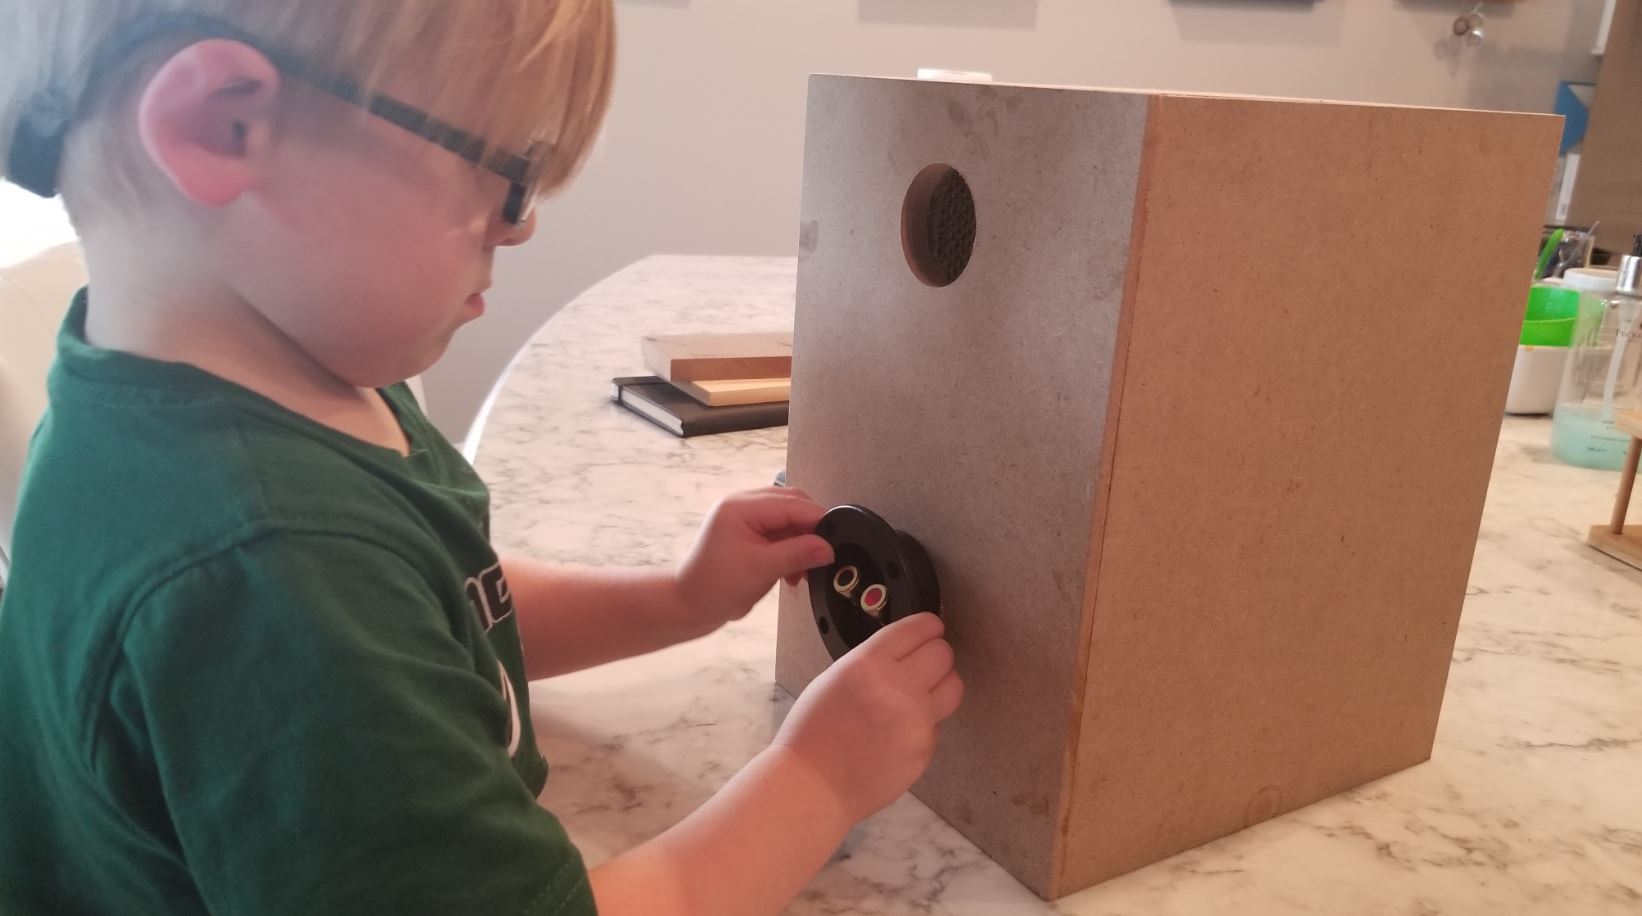
• Terminals
• Crossover board (optional)
• Sonic barrier dampening (optional)
• Poly-fill / acousta-stuff
• Female connectors (0.205” and 0.110”) – way cheaper to get these on PE
Clamps – you will need at a minimum four 12” clamps. 6-8 is idea. You can get 12” screw clamps at Harbor Freight for $4 each. They should last you 100 years so a worthwhile investment.
Don’t fiddle to much with the crossover component leads. I bent one too many times laying out the crossover and it broke making it a tight reach to the next component.
Follow the enclosure gluing instructions.
I recommend dampening material for the inside walls, especially considering the ½” thickness. Because these speakers are so small, you will want to add this before gluing on the baffle as the woofer opening isn’t large enough to work through
I taped off the cabinet openings before doing the sanding to keep dust out of the cabinet.
Mark and drill the pilot holes prior to gluing all the panels on. This way you won’t have MDF dust in your speaker. Also, if you have a drill press you can get your pilot holes perfectly straight.
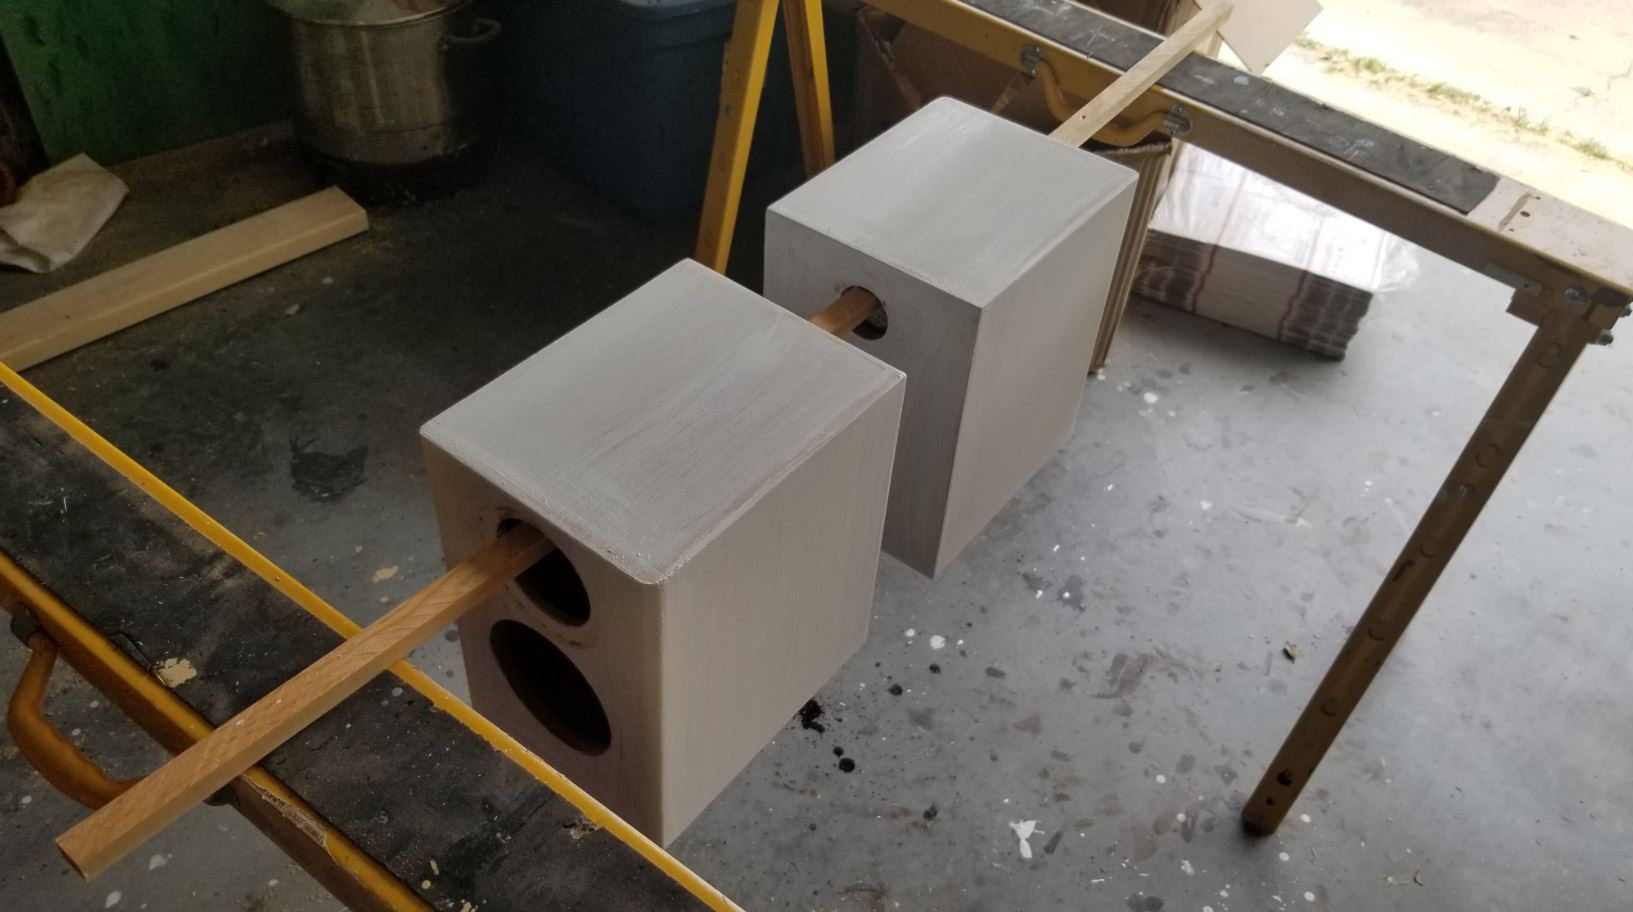
Finishing process:
1. after gluing added some wood filler to cover minor gaps
2. used palm sander with 80 grit, then 180
3. applied 1 coat of Kiltz primer
4. Hand sanded a little with 180
5. Applied 1 coat of interior latex paint
6. Stuffed with poly fill
7. Mounted components
8. Done!
Conclusion:
100% satisfied with this kit. I am blown away by how great it sounds. It was a fun and non-frustrating project. I would absolutely consider buying another kit for a gift or surround sound speakers. If I do another set, I will probably attempt a veneer or wrap the perimeter with 3/8” oak or something.
About the Designer:
I have been a want-a-be audiophile since I was a young teenager. I am just a guy that loves music (listening and making), movies, and building things out of wood. I still have my Infinity SM-62’s I bought out of a Crutchfield catalog in the early 90’s (at ~14 years old).
Project Parts List:
Very astute about the coils and one needing to be vertical, especially if they are only 2″ apart. (I have noticed that the air core coils have a much larger surrounding field than those with an iron core.) Nice job on the build and those look totally professional!