
Clam Snail Egg

Designer:
Clay
Project Category:
Bookshelf Speakers
Project Level:
Advanced
Project Time:
20+ Hours
Project Cost:
$100 – $500
Project Description:
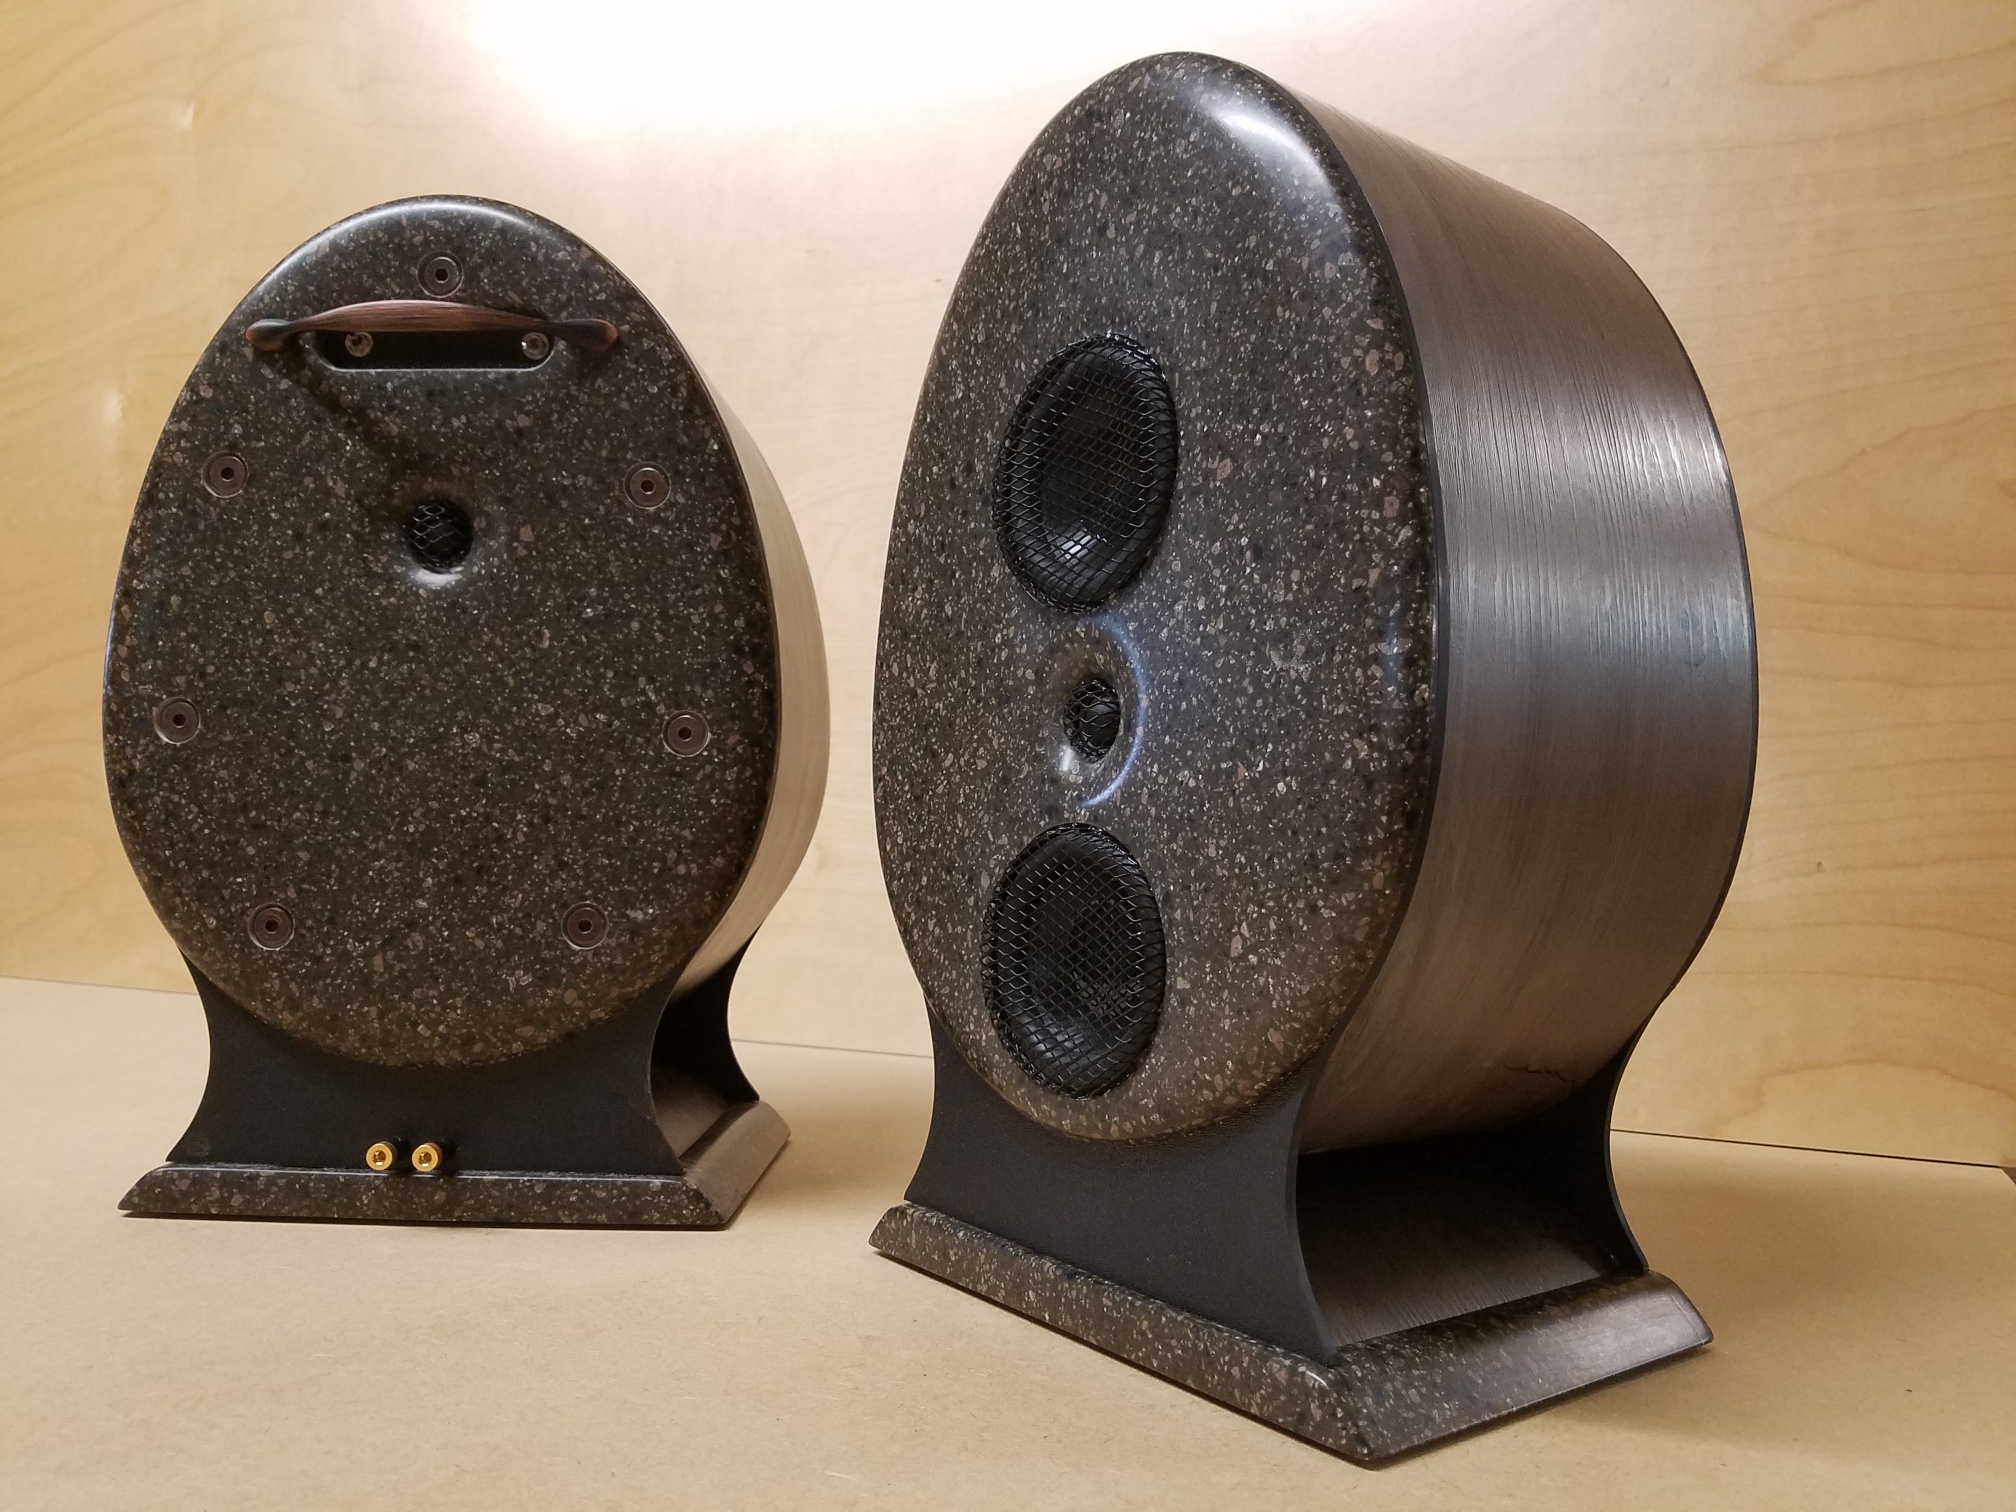
Egg shaped speaker called the Clam Snail Egg MTM+RT
Design Goals:
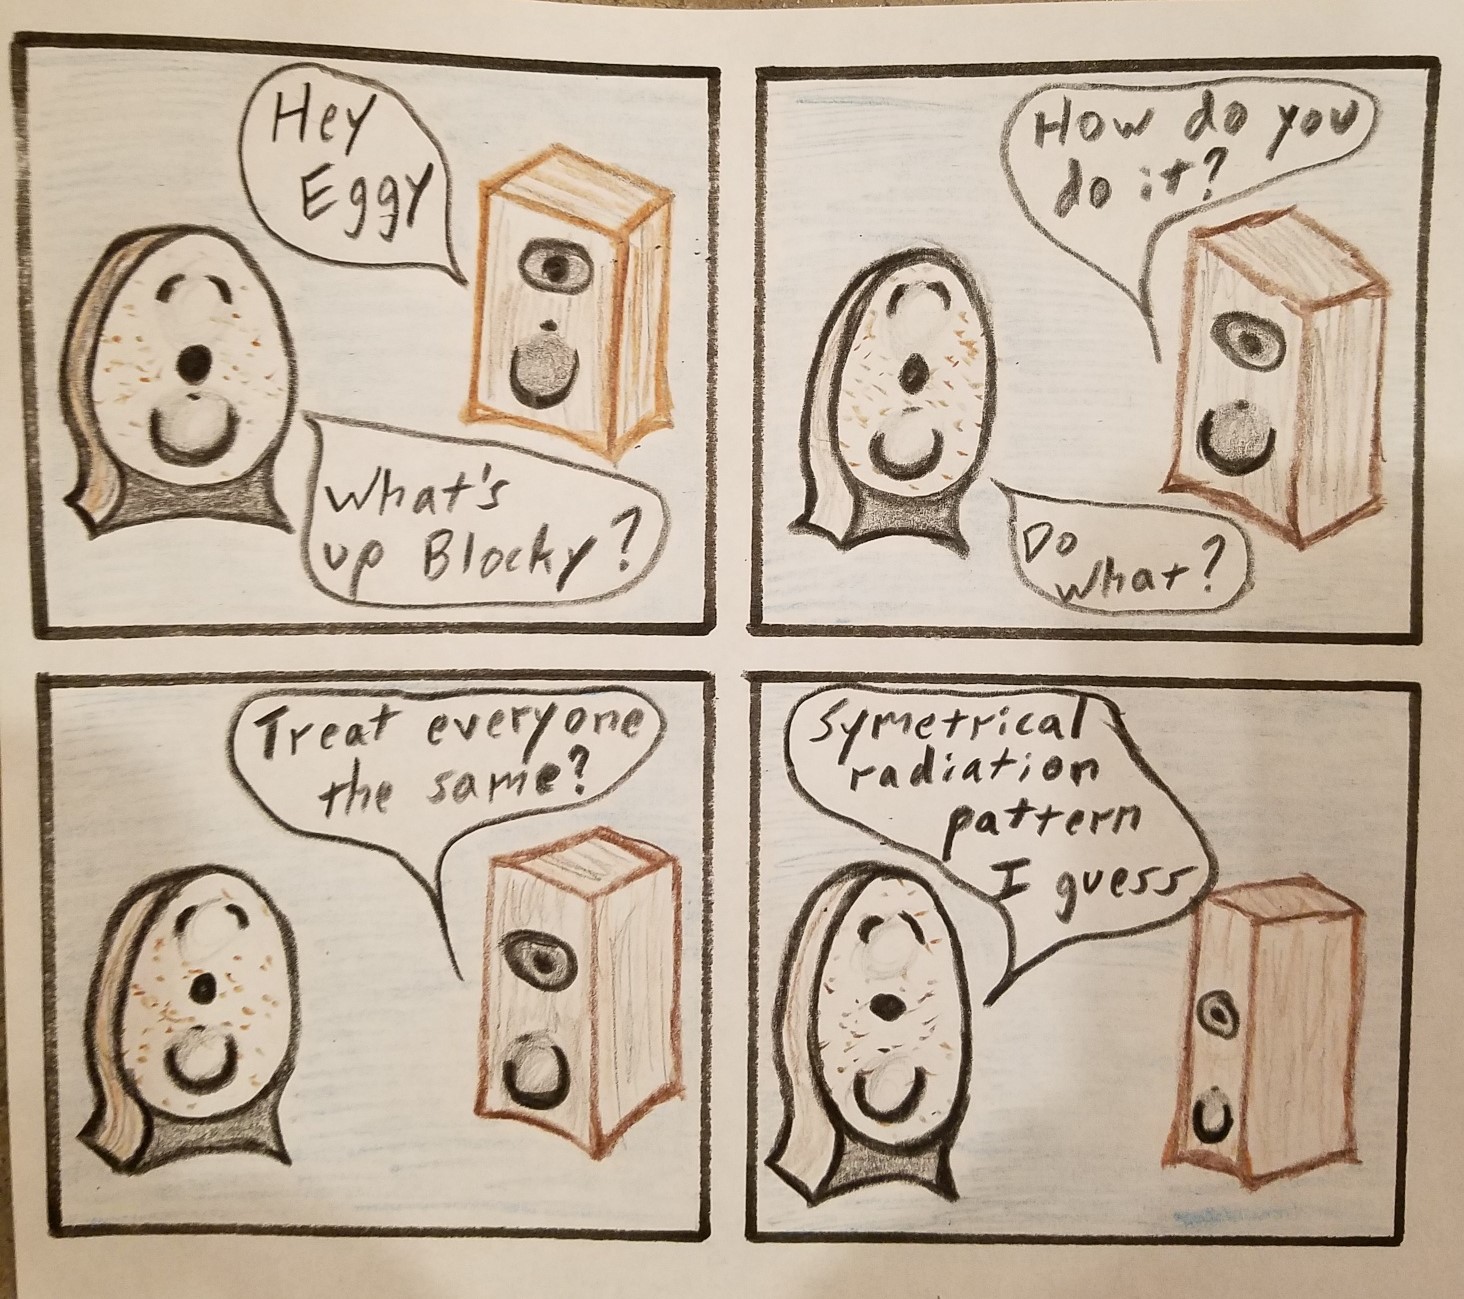
I wanted to build a new version of egg speakers like the ones that I published in “Speaker Builder Magazine,” issue 3, 1986 called the un-boxed egg. I wanted it to provide a symmetrical radiation pattern by using an MTM arrangement and good low-end extension by incorporating my internal spiral transmission line. Also, I decided to add a rear facing tweeter in order to qualify for InDIYana speaker design competition requirements.
Driver Selection:
I had some awesome little ND105-4 woofers (Part # 290-212) on my shelf so I purchased some OX20SC02-04 tweeters (Part # 264-1528) to go with them.
Enclosure Design:
After attending several speaker competitions, I often noticed that exposed fasteners on the front baffle were not pleasing to the eye. So I came up with a clam shell construction method using long bolts made from 1/4″ all-thread and barrel nuts used for Knock down furniture. I like speakers with handles, so I added a rear drawer pull in front of the switch area recess.
Enclosure Assembly:
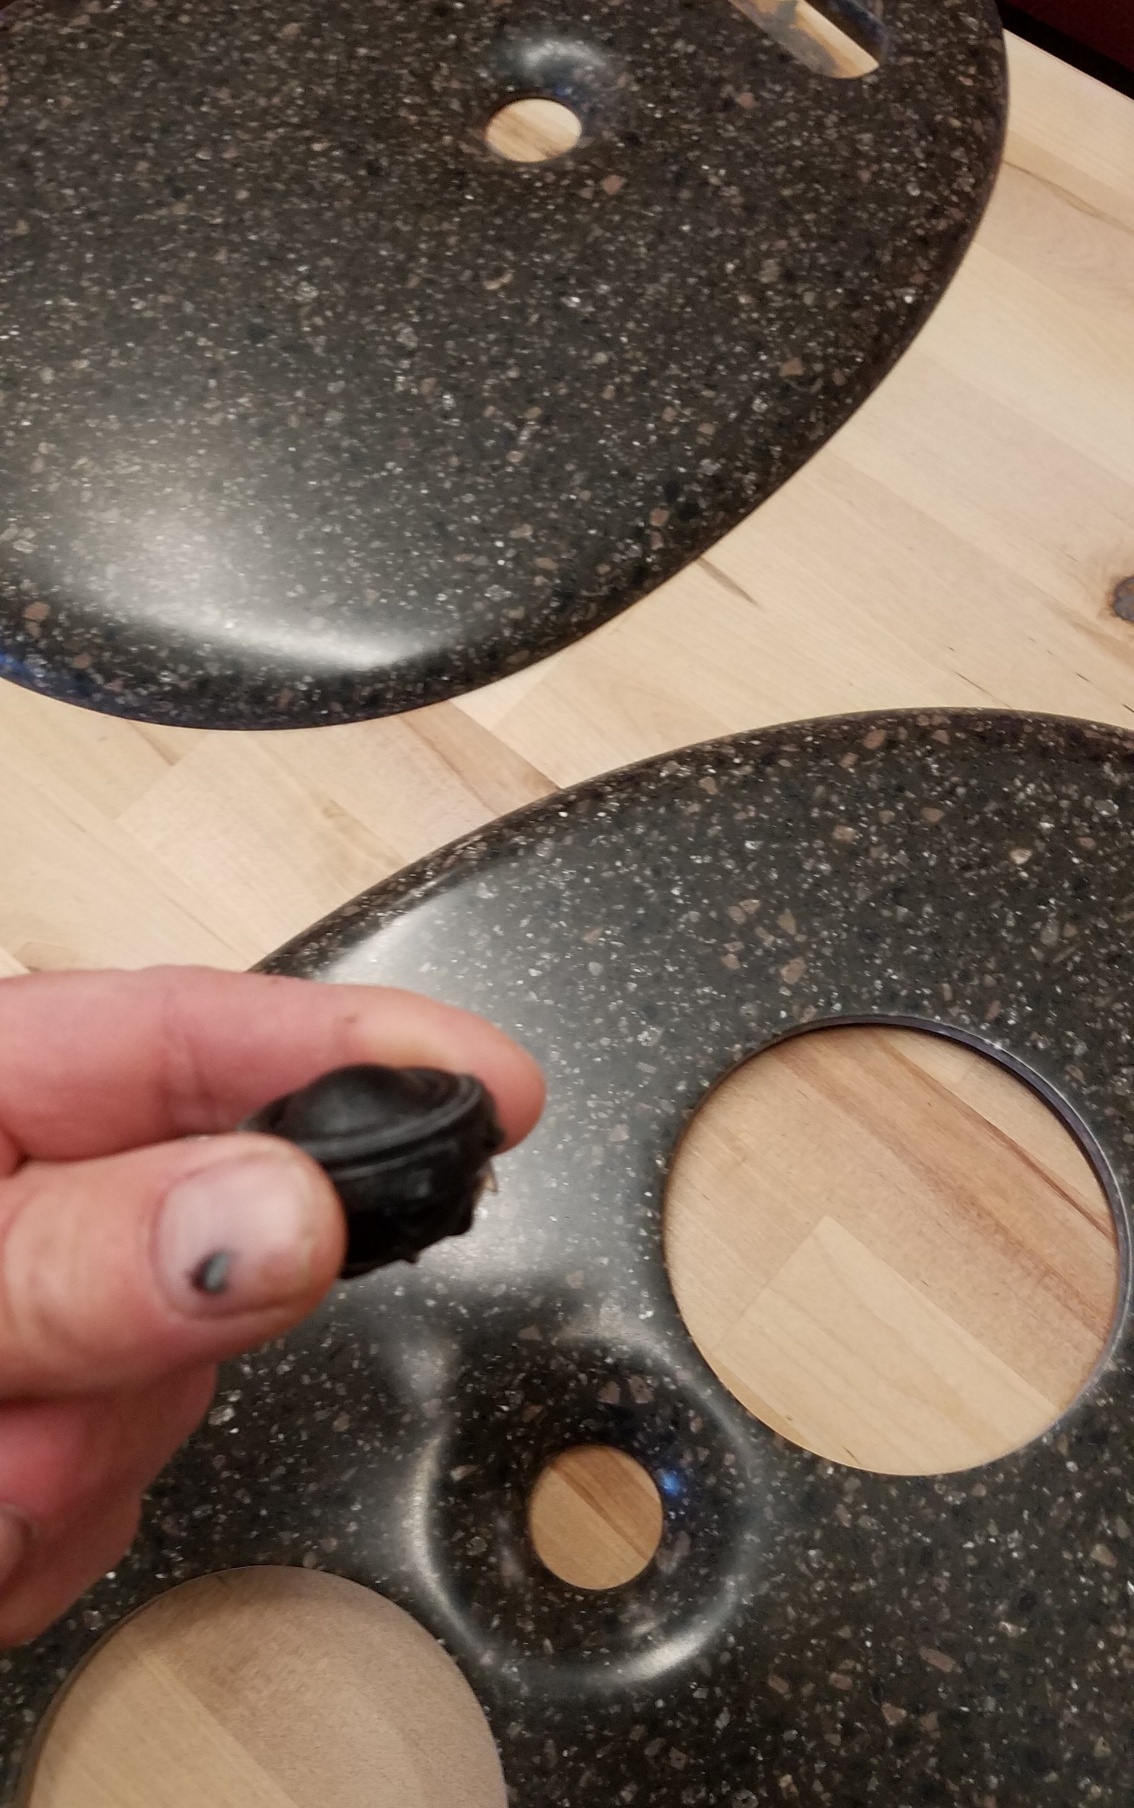
Two layers of vinyl plank flooring form the outer shell. The layers split to form a flared terminus and an internal spiral waveguide. 3/16″ ABS plastic are applied to front and back to create an integrated base. Acrylic solid surface counter top material is shaped, routered, sanded and polished through a grit progression. The drivers are rear mounted with stamped grills formed from gutter screen. A thumbnail profile router bit was used to create waveguides to load the tweeters and improve time alignment with the front woofers.
Crossover Design:
The epoxy that I added to the center of the woofer cones complicated the crossover design and lowered their sensitivity. But I thought it necessary to utilize the full potential of the internal spiral, by getting Fs closer to the 1/4 wavelength tuning frequency of the line. So using my omnimic I ended up with a forth order crossover containing 13 components. It is accessed by a removeable plastic panel recessed into the bottom of the base. I have much to learn about passive crossovers. I also wired two DPDT toggle switches in the rear to change the rear tweeter polarity. For dipole or bipole operation and 0 to -3 Db attenuation. The overall sensitivity is quite low, less than 80 Db
Tips & Tricks:
If I can do it, how hard could it be?
Conclusion:
I love them. The bass is tight and musical, That is what I love about transmission line speakers. However I am not sure if I consider them a do over, due to their complexity. The flared terminus shows strong output at a tuning frequency of 38 Hz with a fist overtone 14 Db down at 350Hz so that is what I consider to be the most successful aspect of this project. They do not need a subwoofer, unless you need sound below 35 Hz
About the Designer:
I am a self-employed cabinet and furniture maker in rural Evansville IN. I build wooden rectangles almost daily, so i enjoy using my artistic ability and my electrical background along with my accumulated knowledge of techniques to manufacture items from various materials. I also enjoy using big words to make me sound more photosynthesis.
Project Parts List:
|
Part # |
Description |
Qty |
|
290-212 |
Dayton Audio ND105-4 4″ Aluminum Cone Midbass Neo Driver 4 Ohm |
4 |
|
264-1528 |
Peerless OX20SC02-04 20mm Fabric Dome OX Tweeter 4 Ohm |
4 |
+ There are no comments
Add yours