Custom Executive 200 BoomBox


Designer:
Custom Executive 200 BoomBox
Project Category:
Portable Speakers
Project Level:
Intermediate
Project Time:
20+ Hours
Project Cost:
$100 – $500
Project Description:
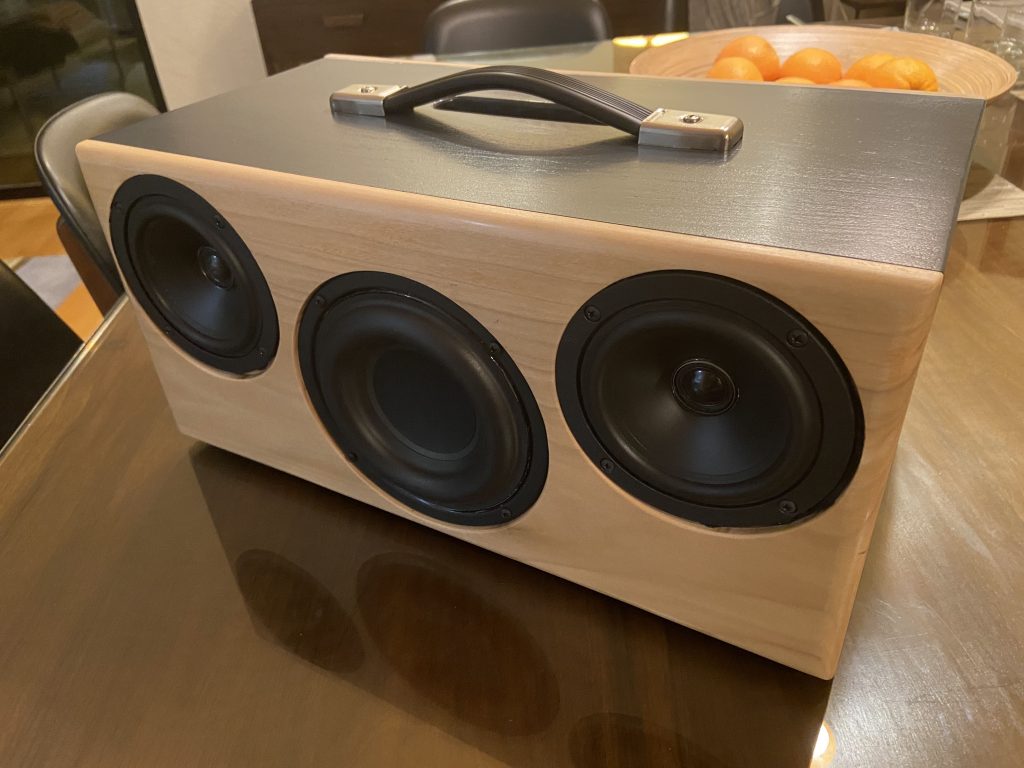
I built a custom version of the Executive 200 portable speaker kit as a graduation gift. I leveraged the components from the kit, but built a custom cabinet, swapped the 8in passive for two 6.5in passives, and upgraded the battery pack to 5×26650 cells.
Design Goals:
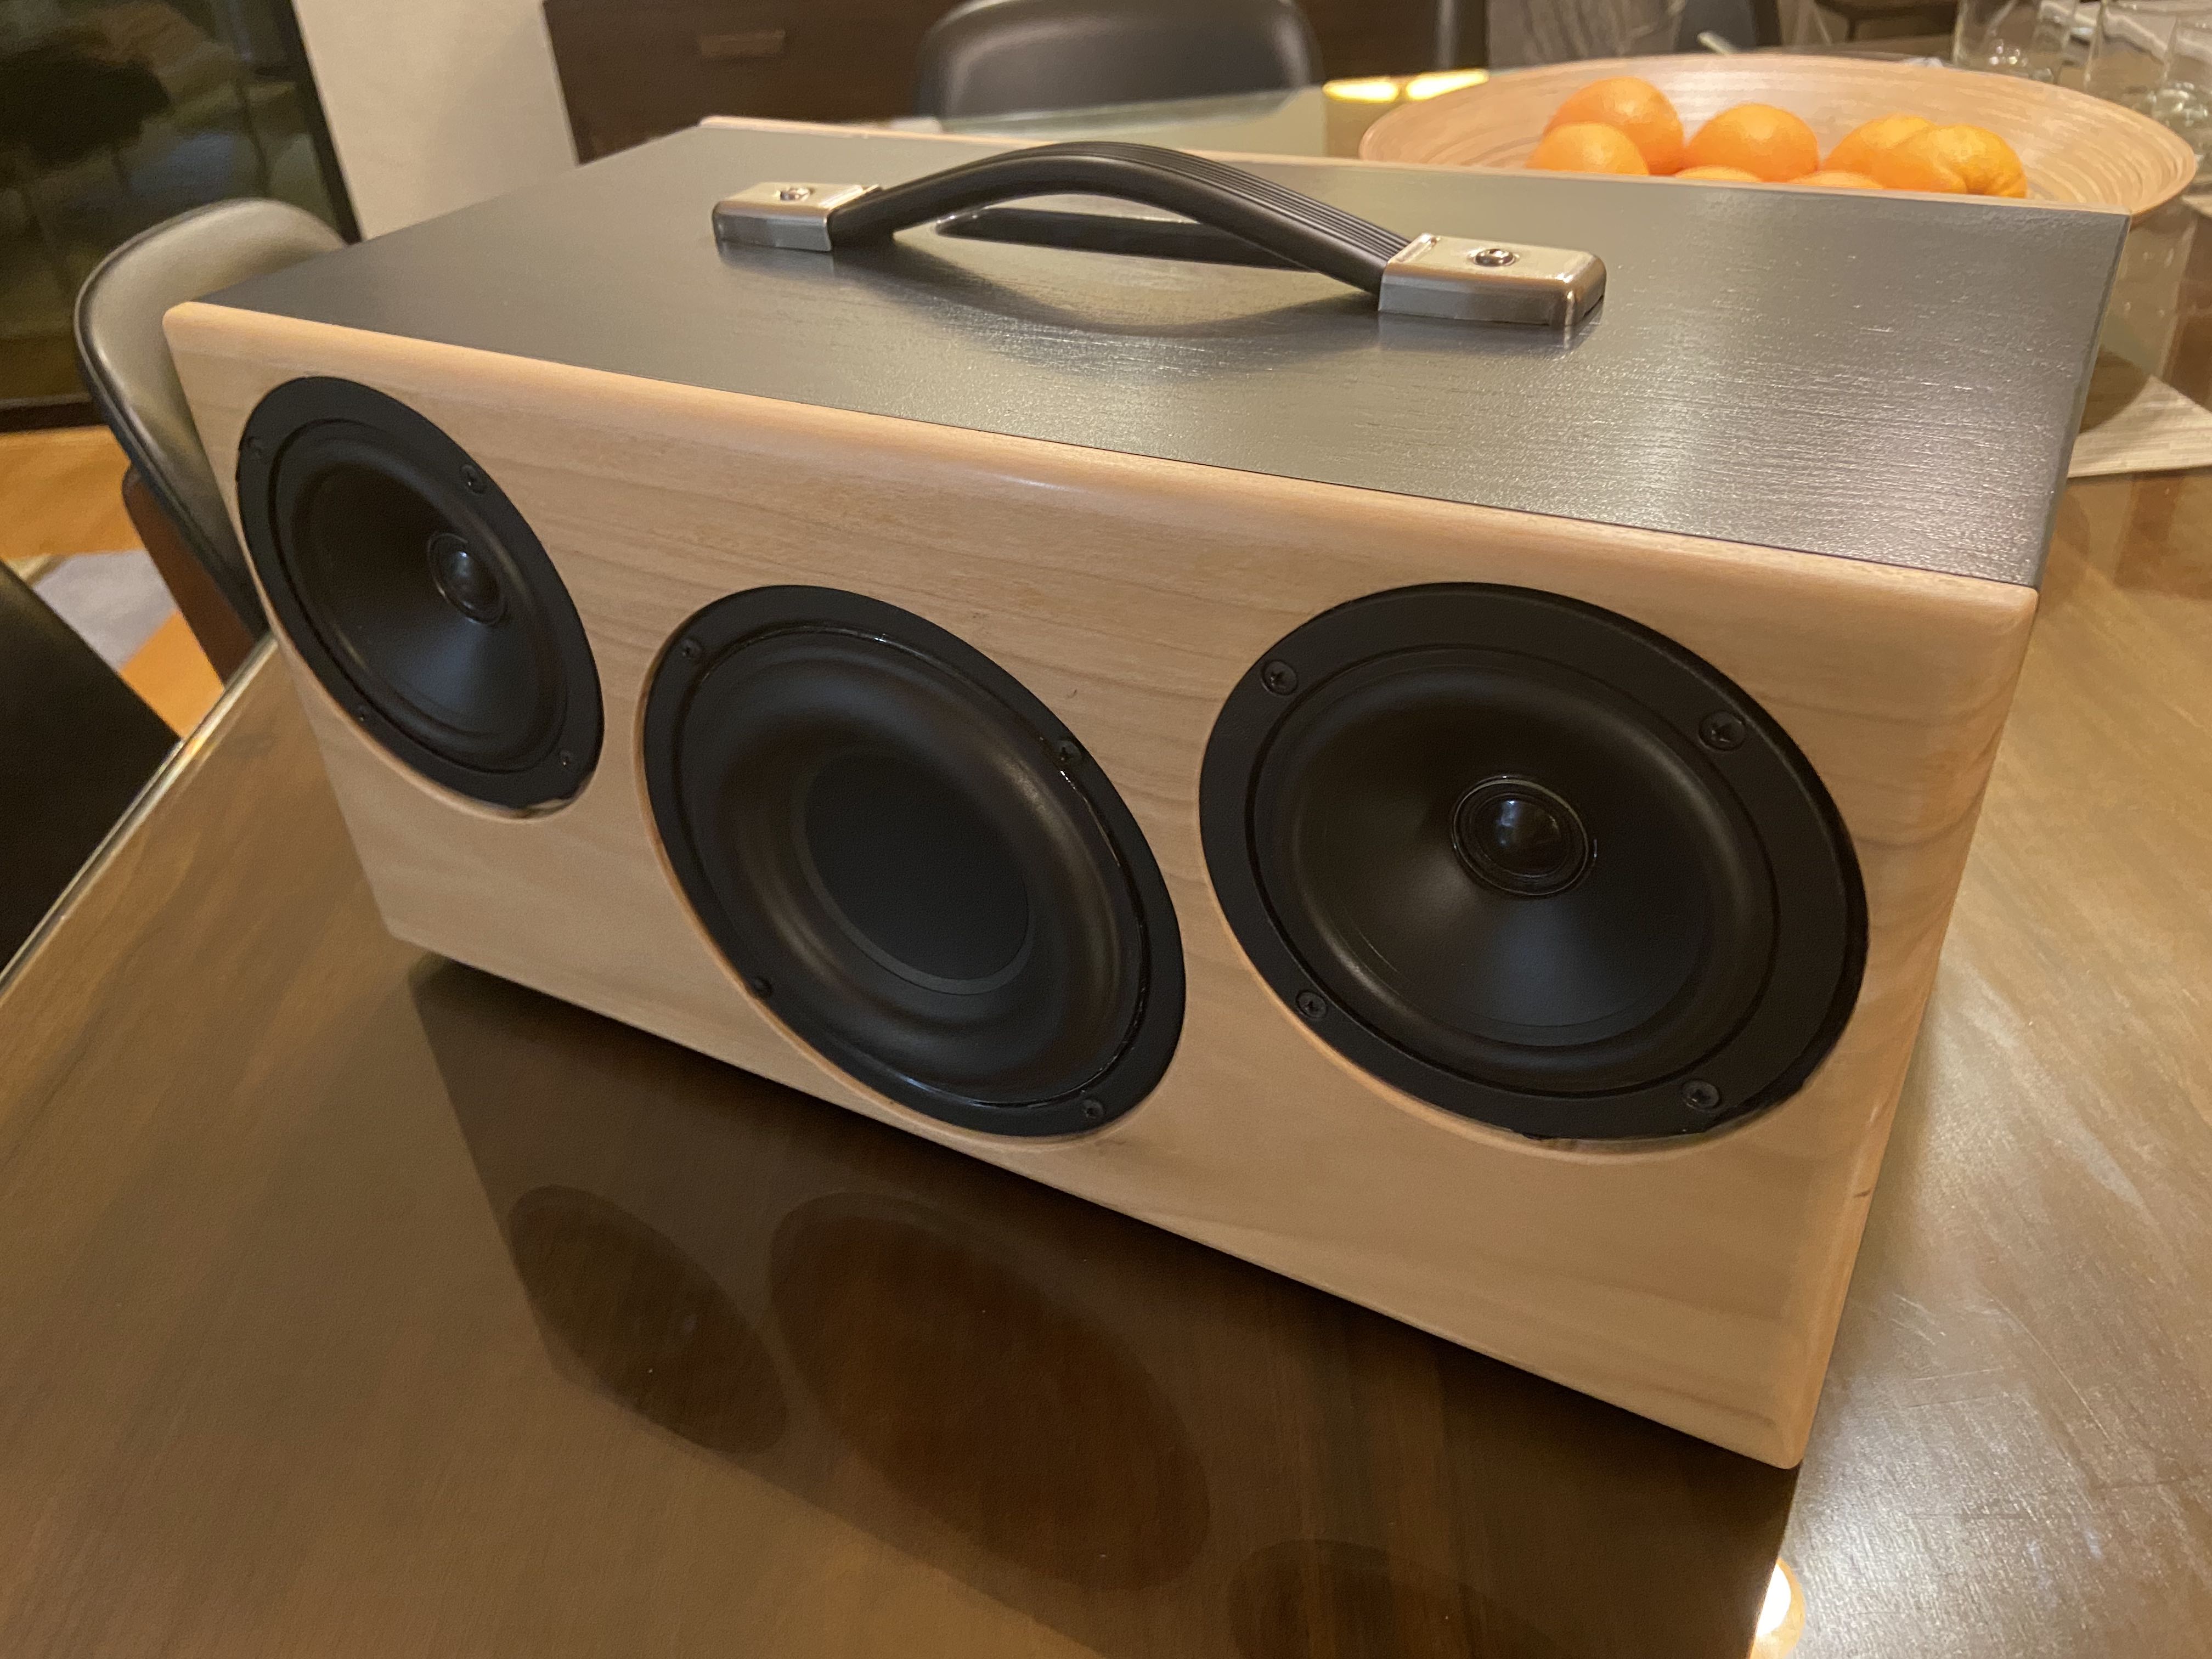
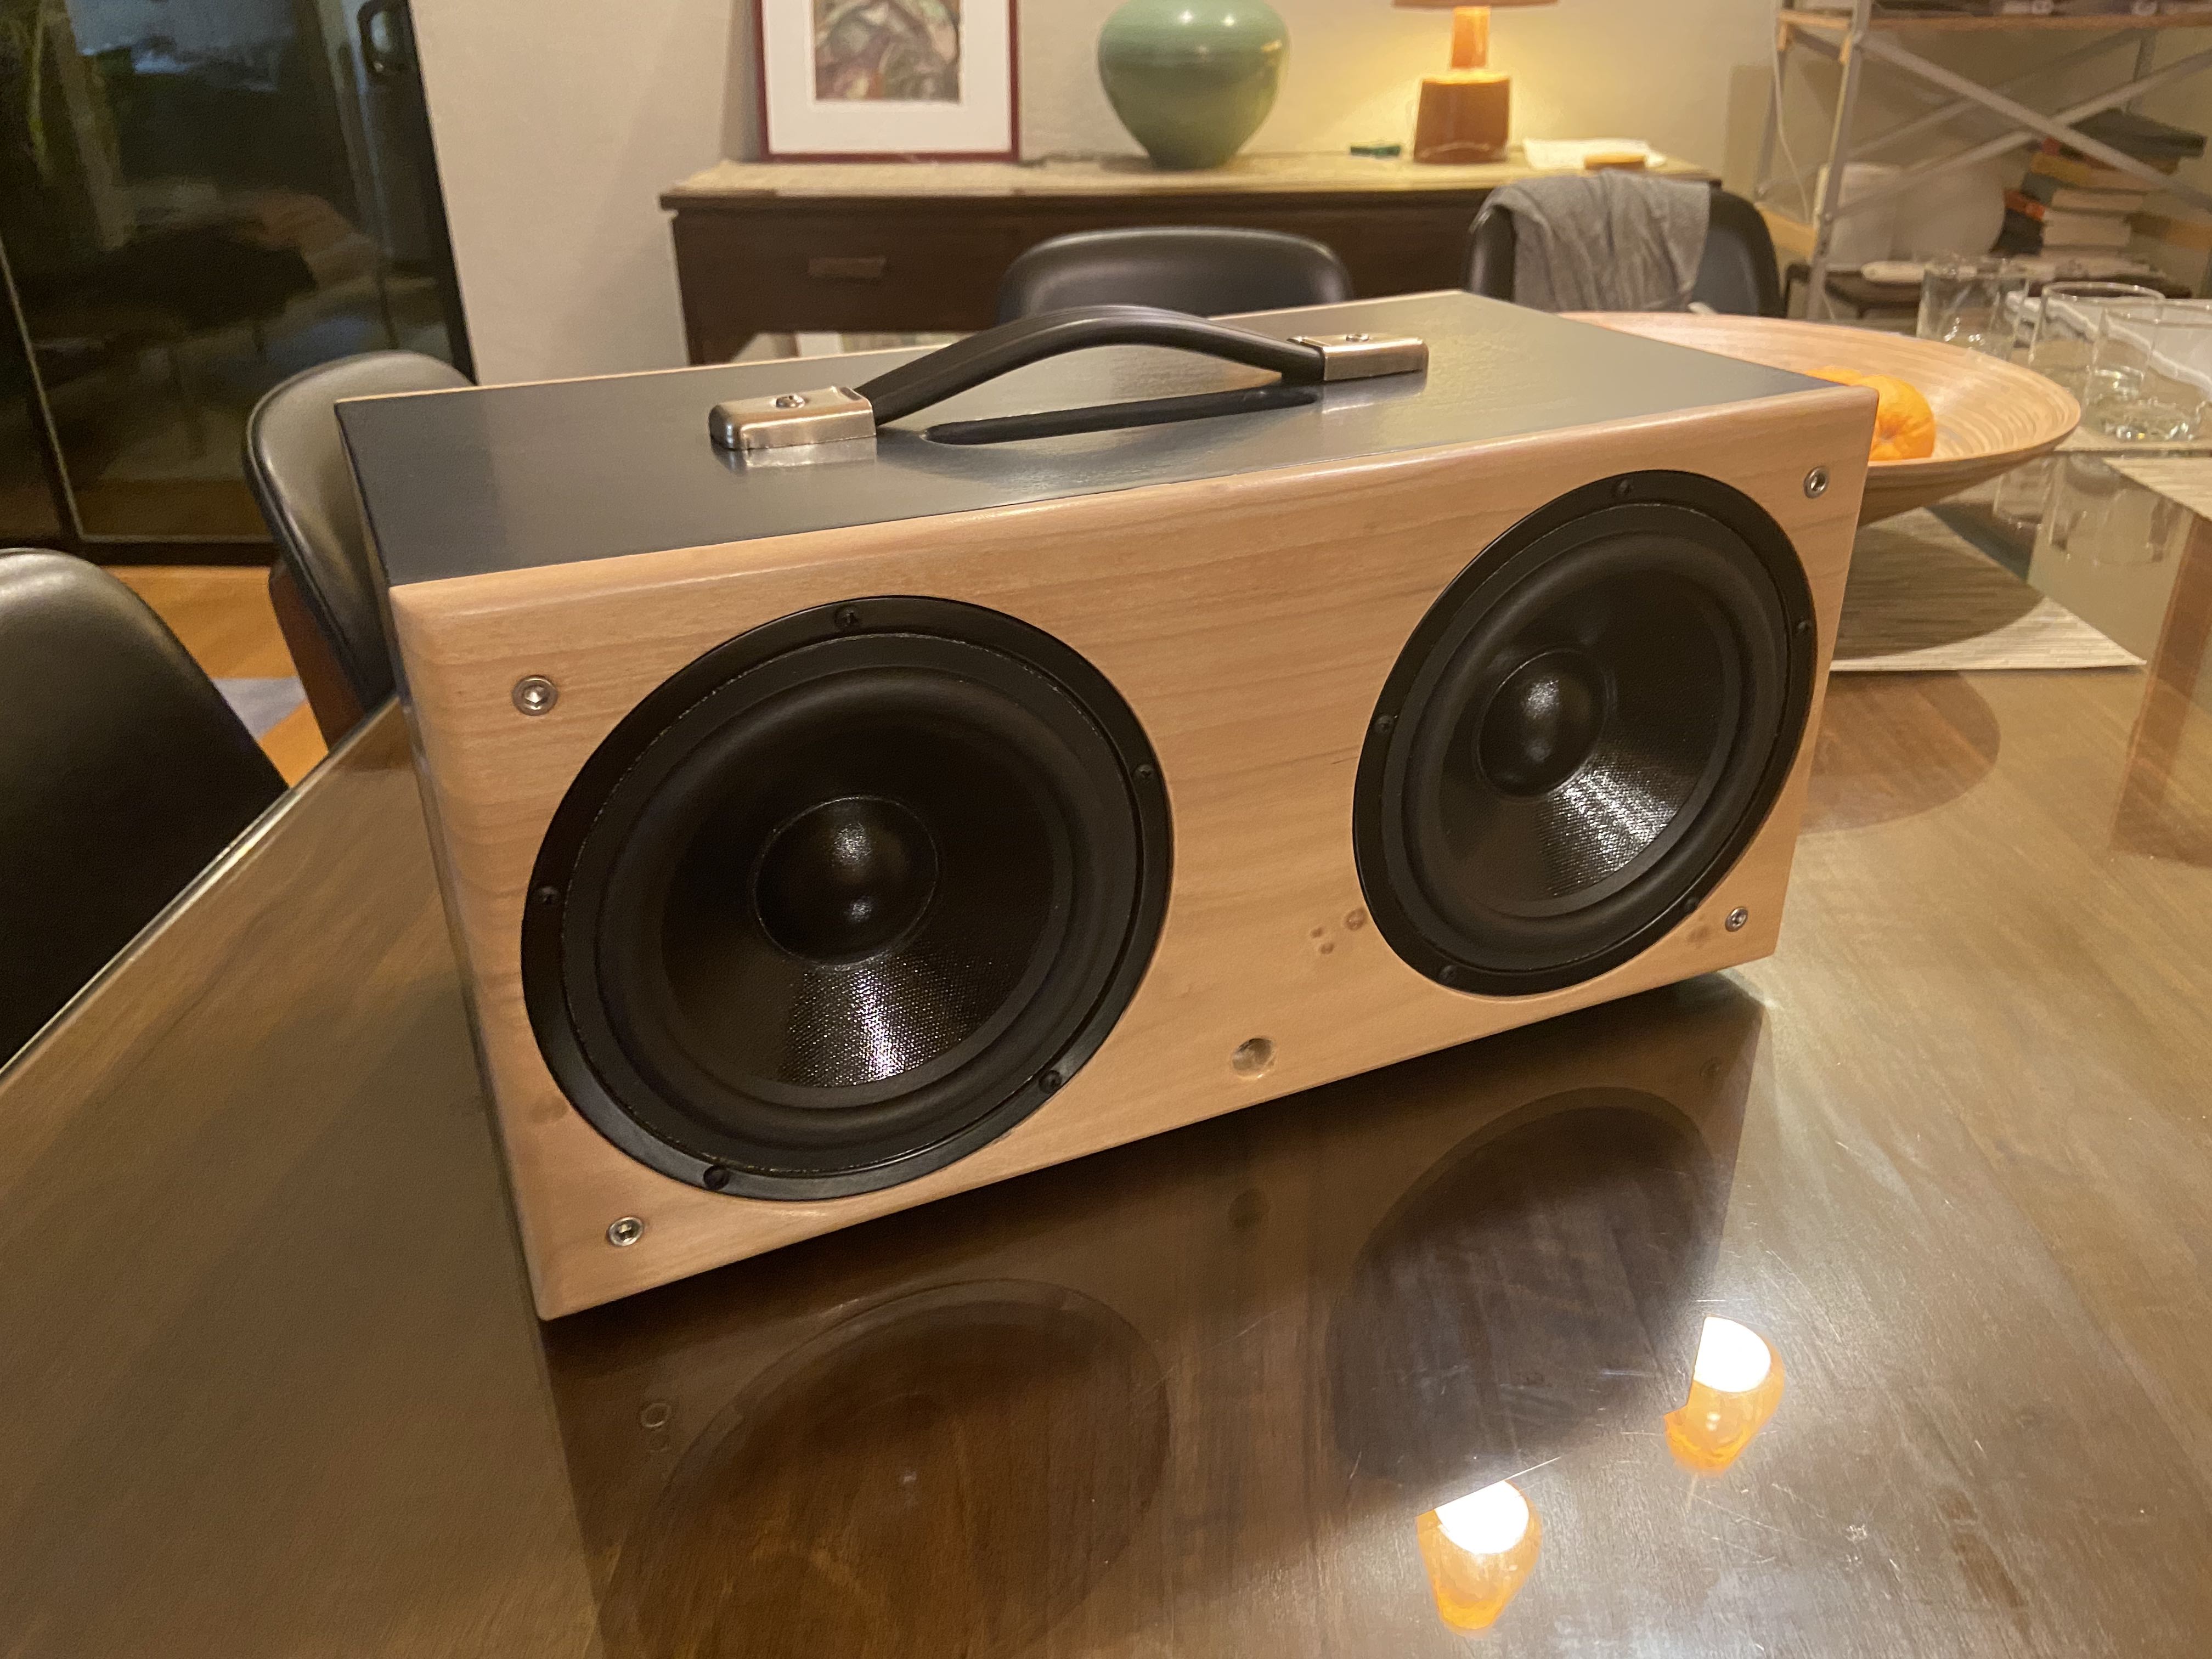
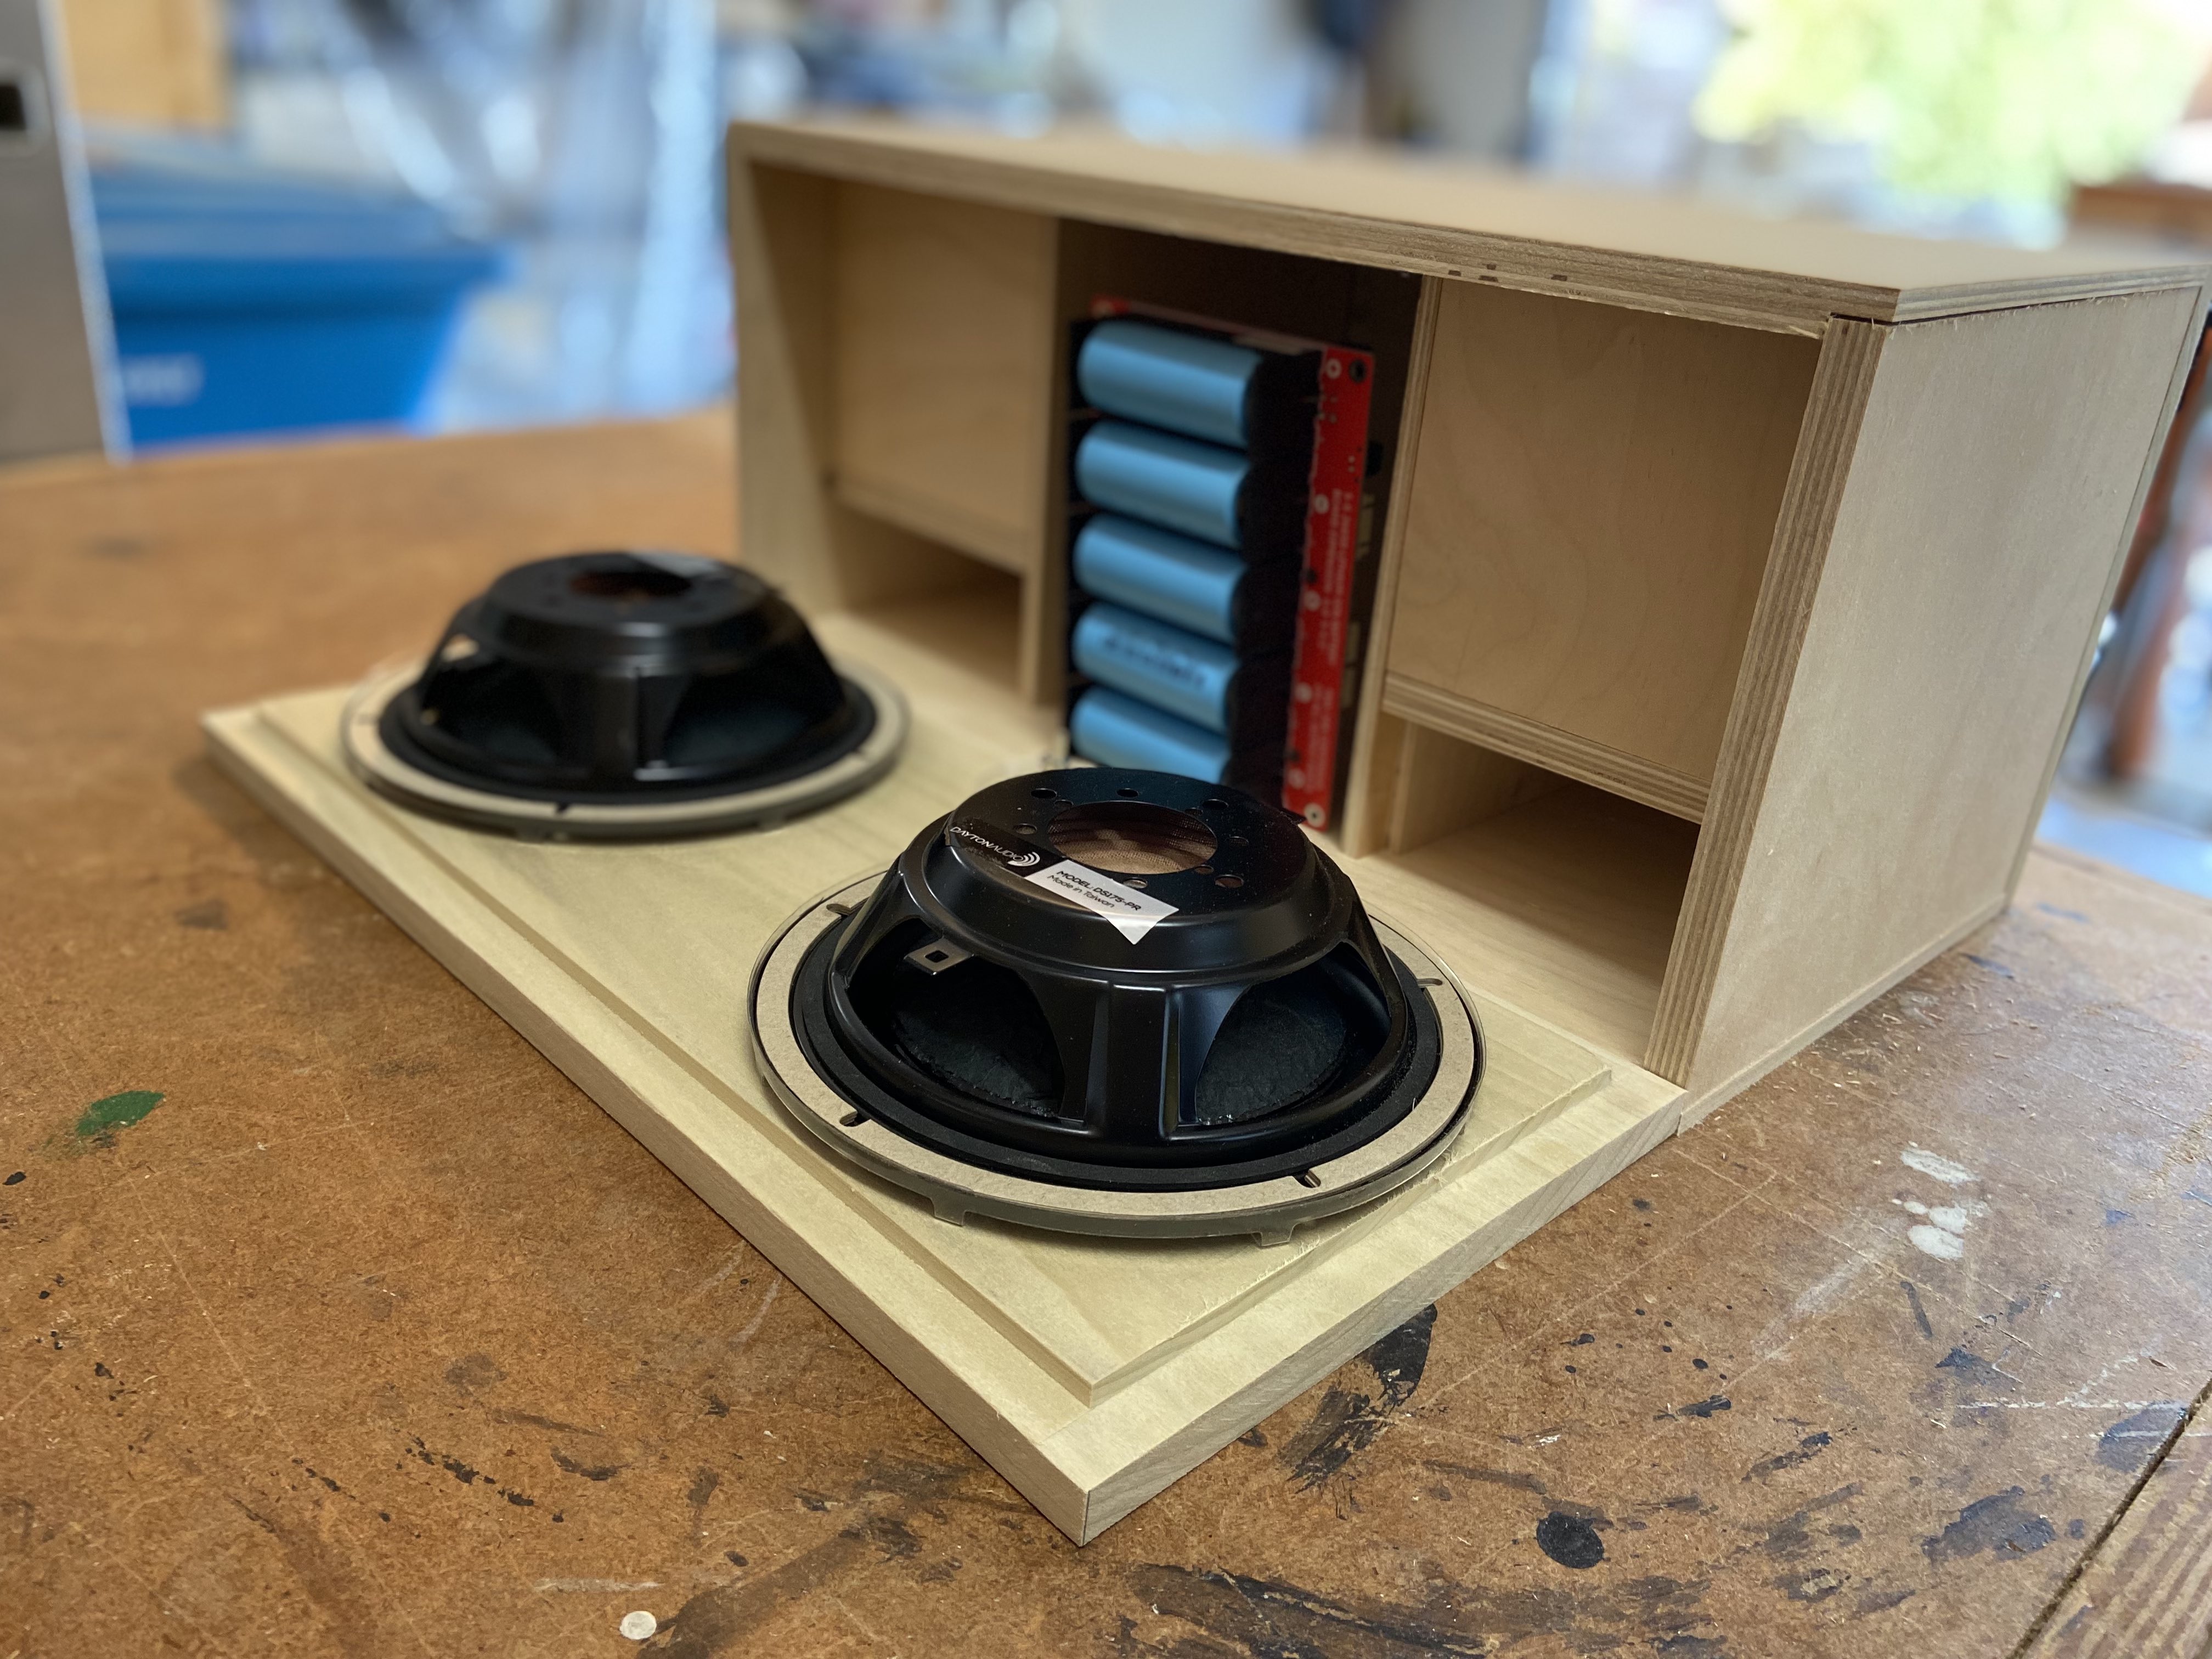
I previously built the Blast Box as my own portable speaker, and was impressed with the results. For this build, I wanted something more boombox sized, so I started with the Exec200 kit. I wasn’t crazy about the front-mounted controls, so I designed a custom cabinet that maintains the same volume, but locates the controls on top. I also wanted to shrink the width and height, so I landed on a cabinet that measures 17x8x8 (w/d/h). To upscale the look, I used 3/4 poplar for the front and back panels. And finally, I wanted more battery power and capacity, so I upgraded to the 5×26650 pack.
Driver Selection:
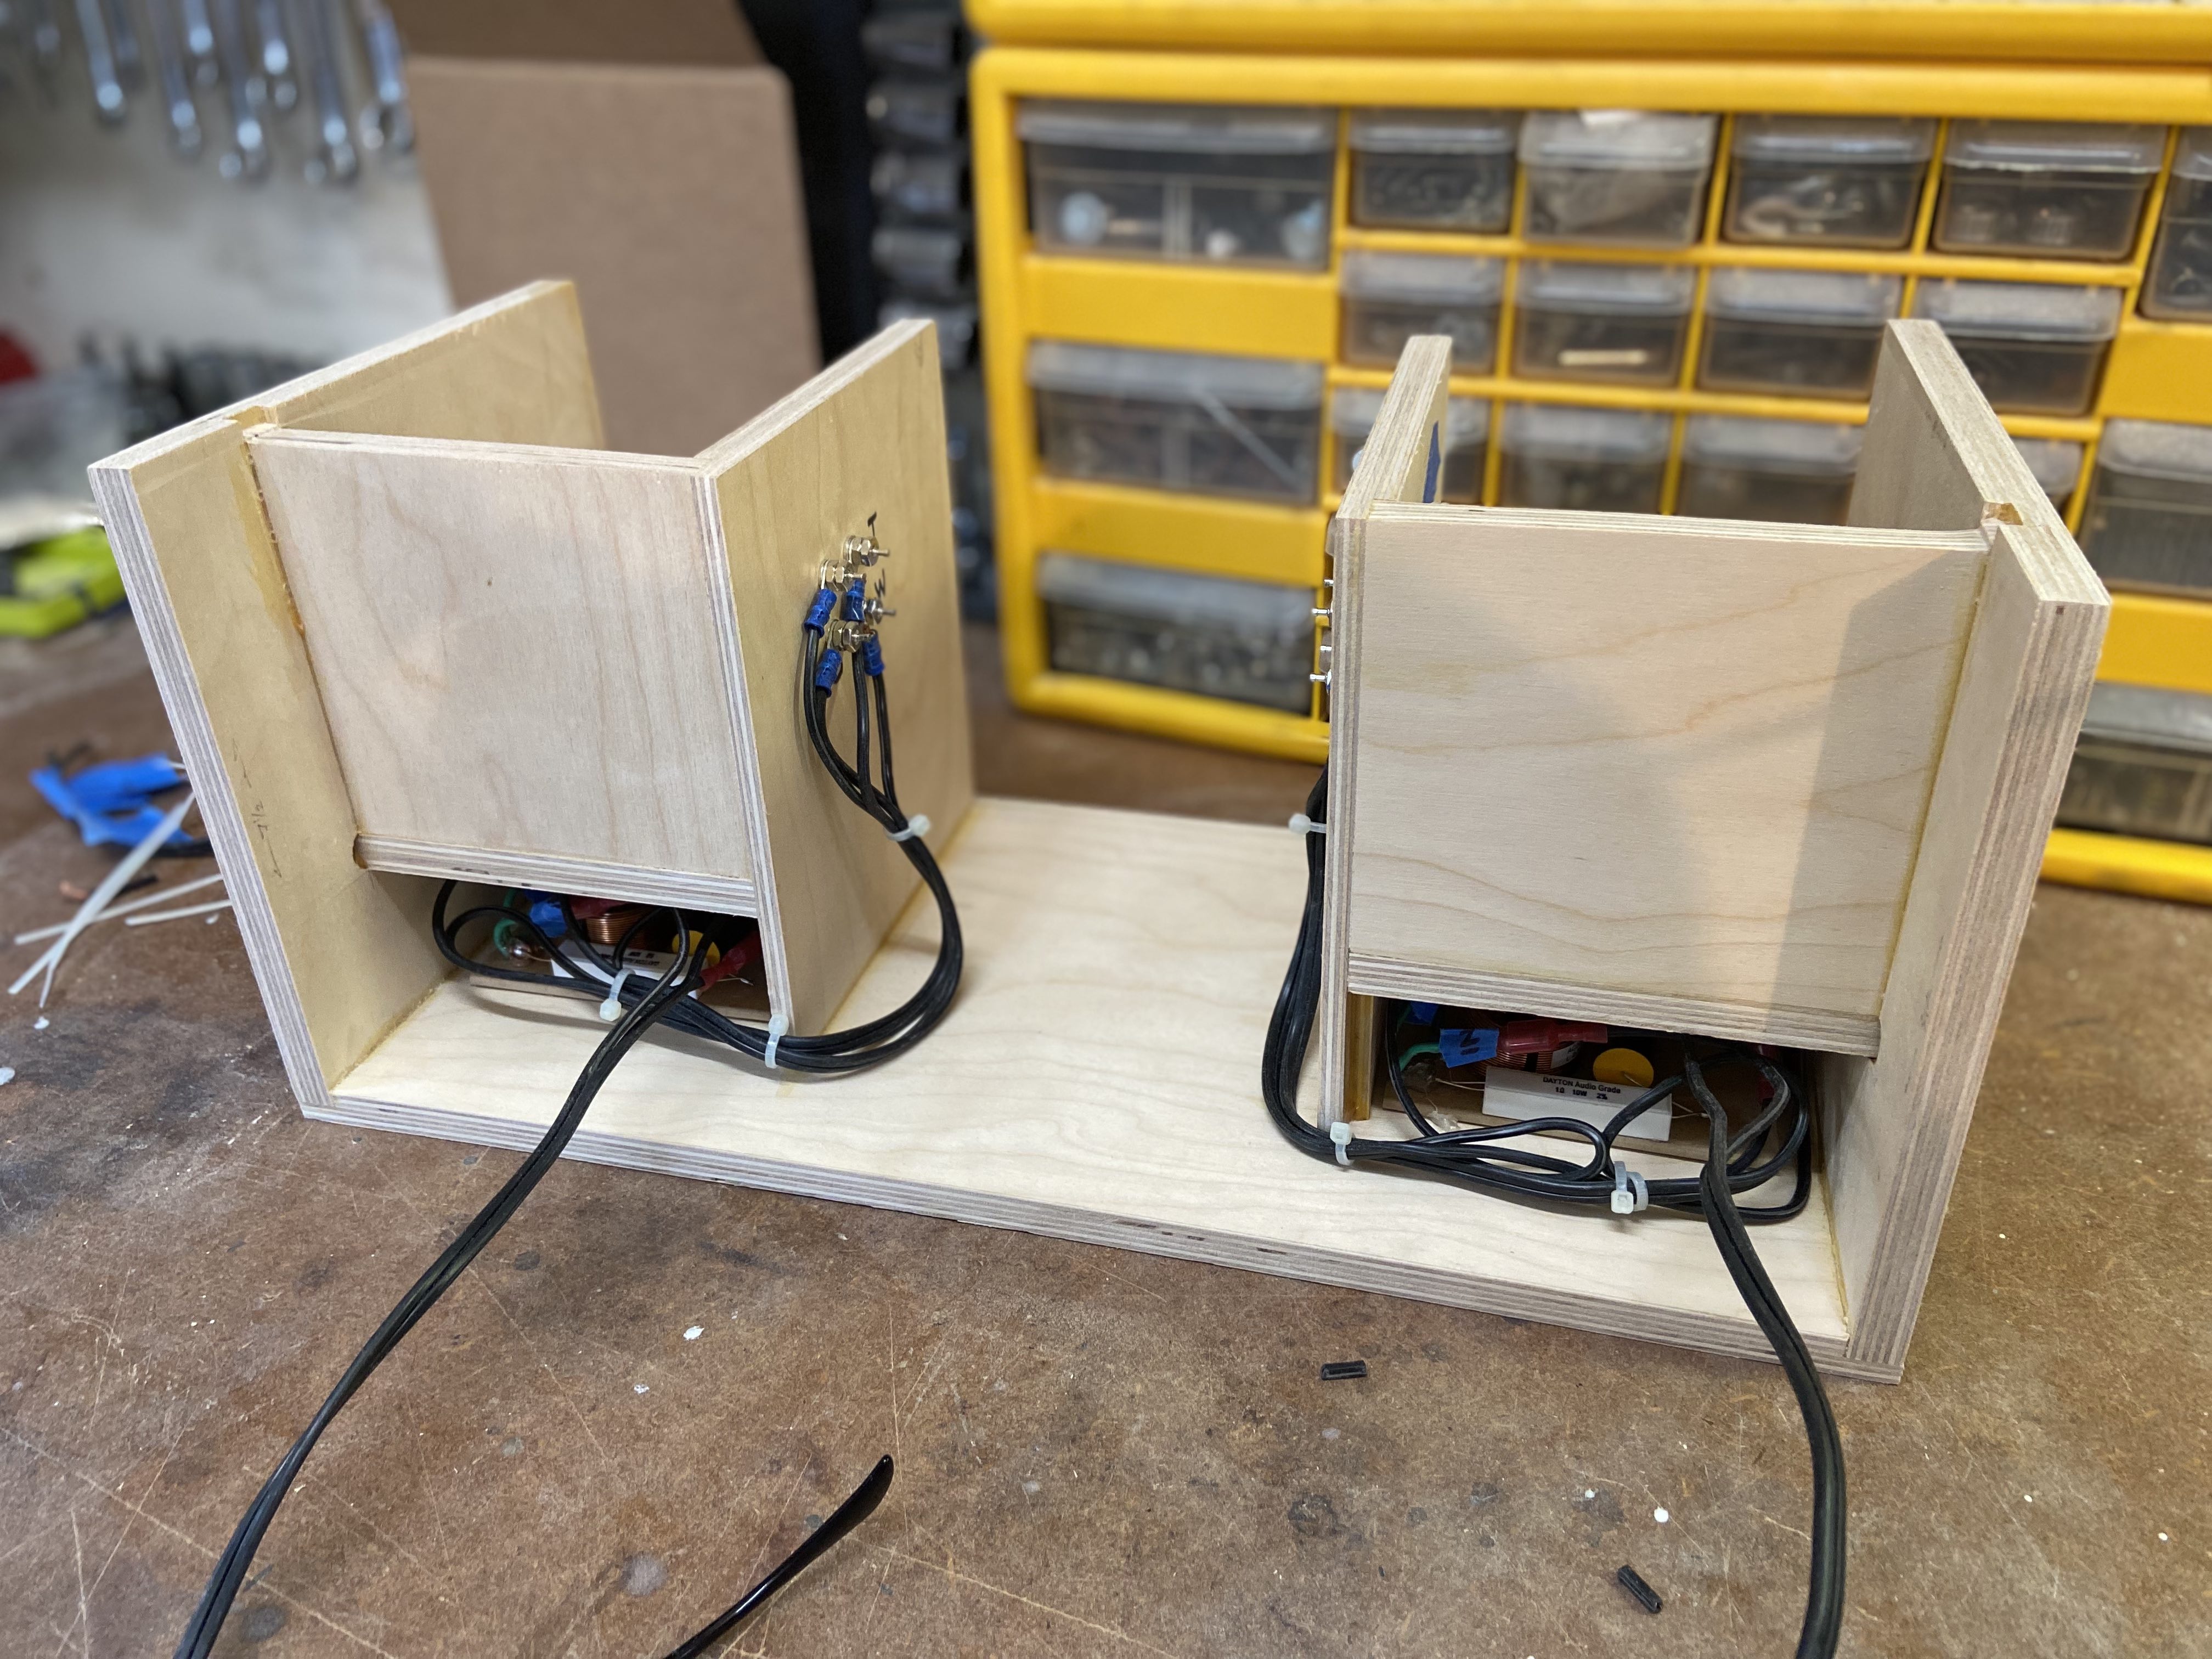
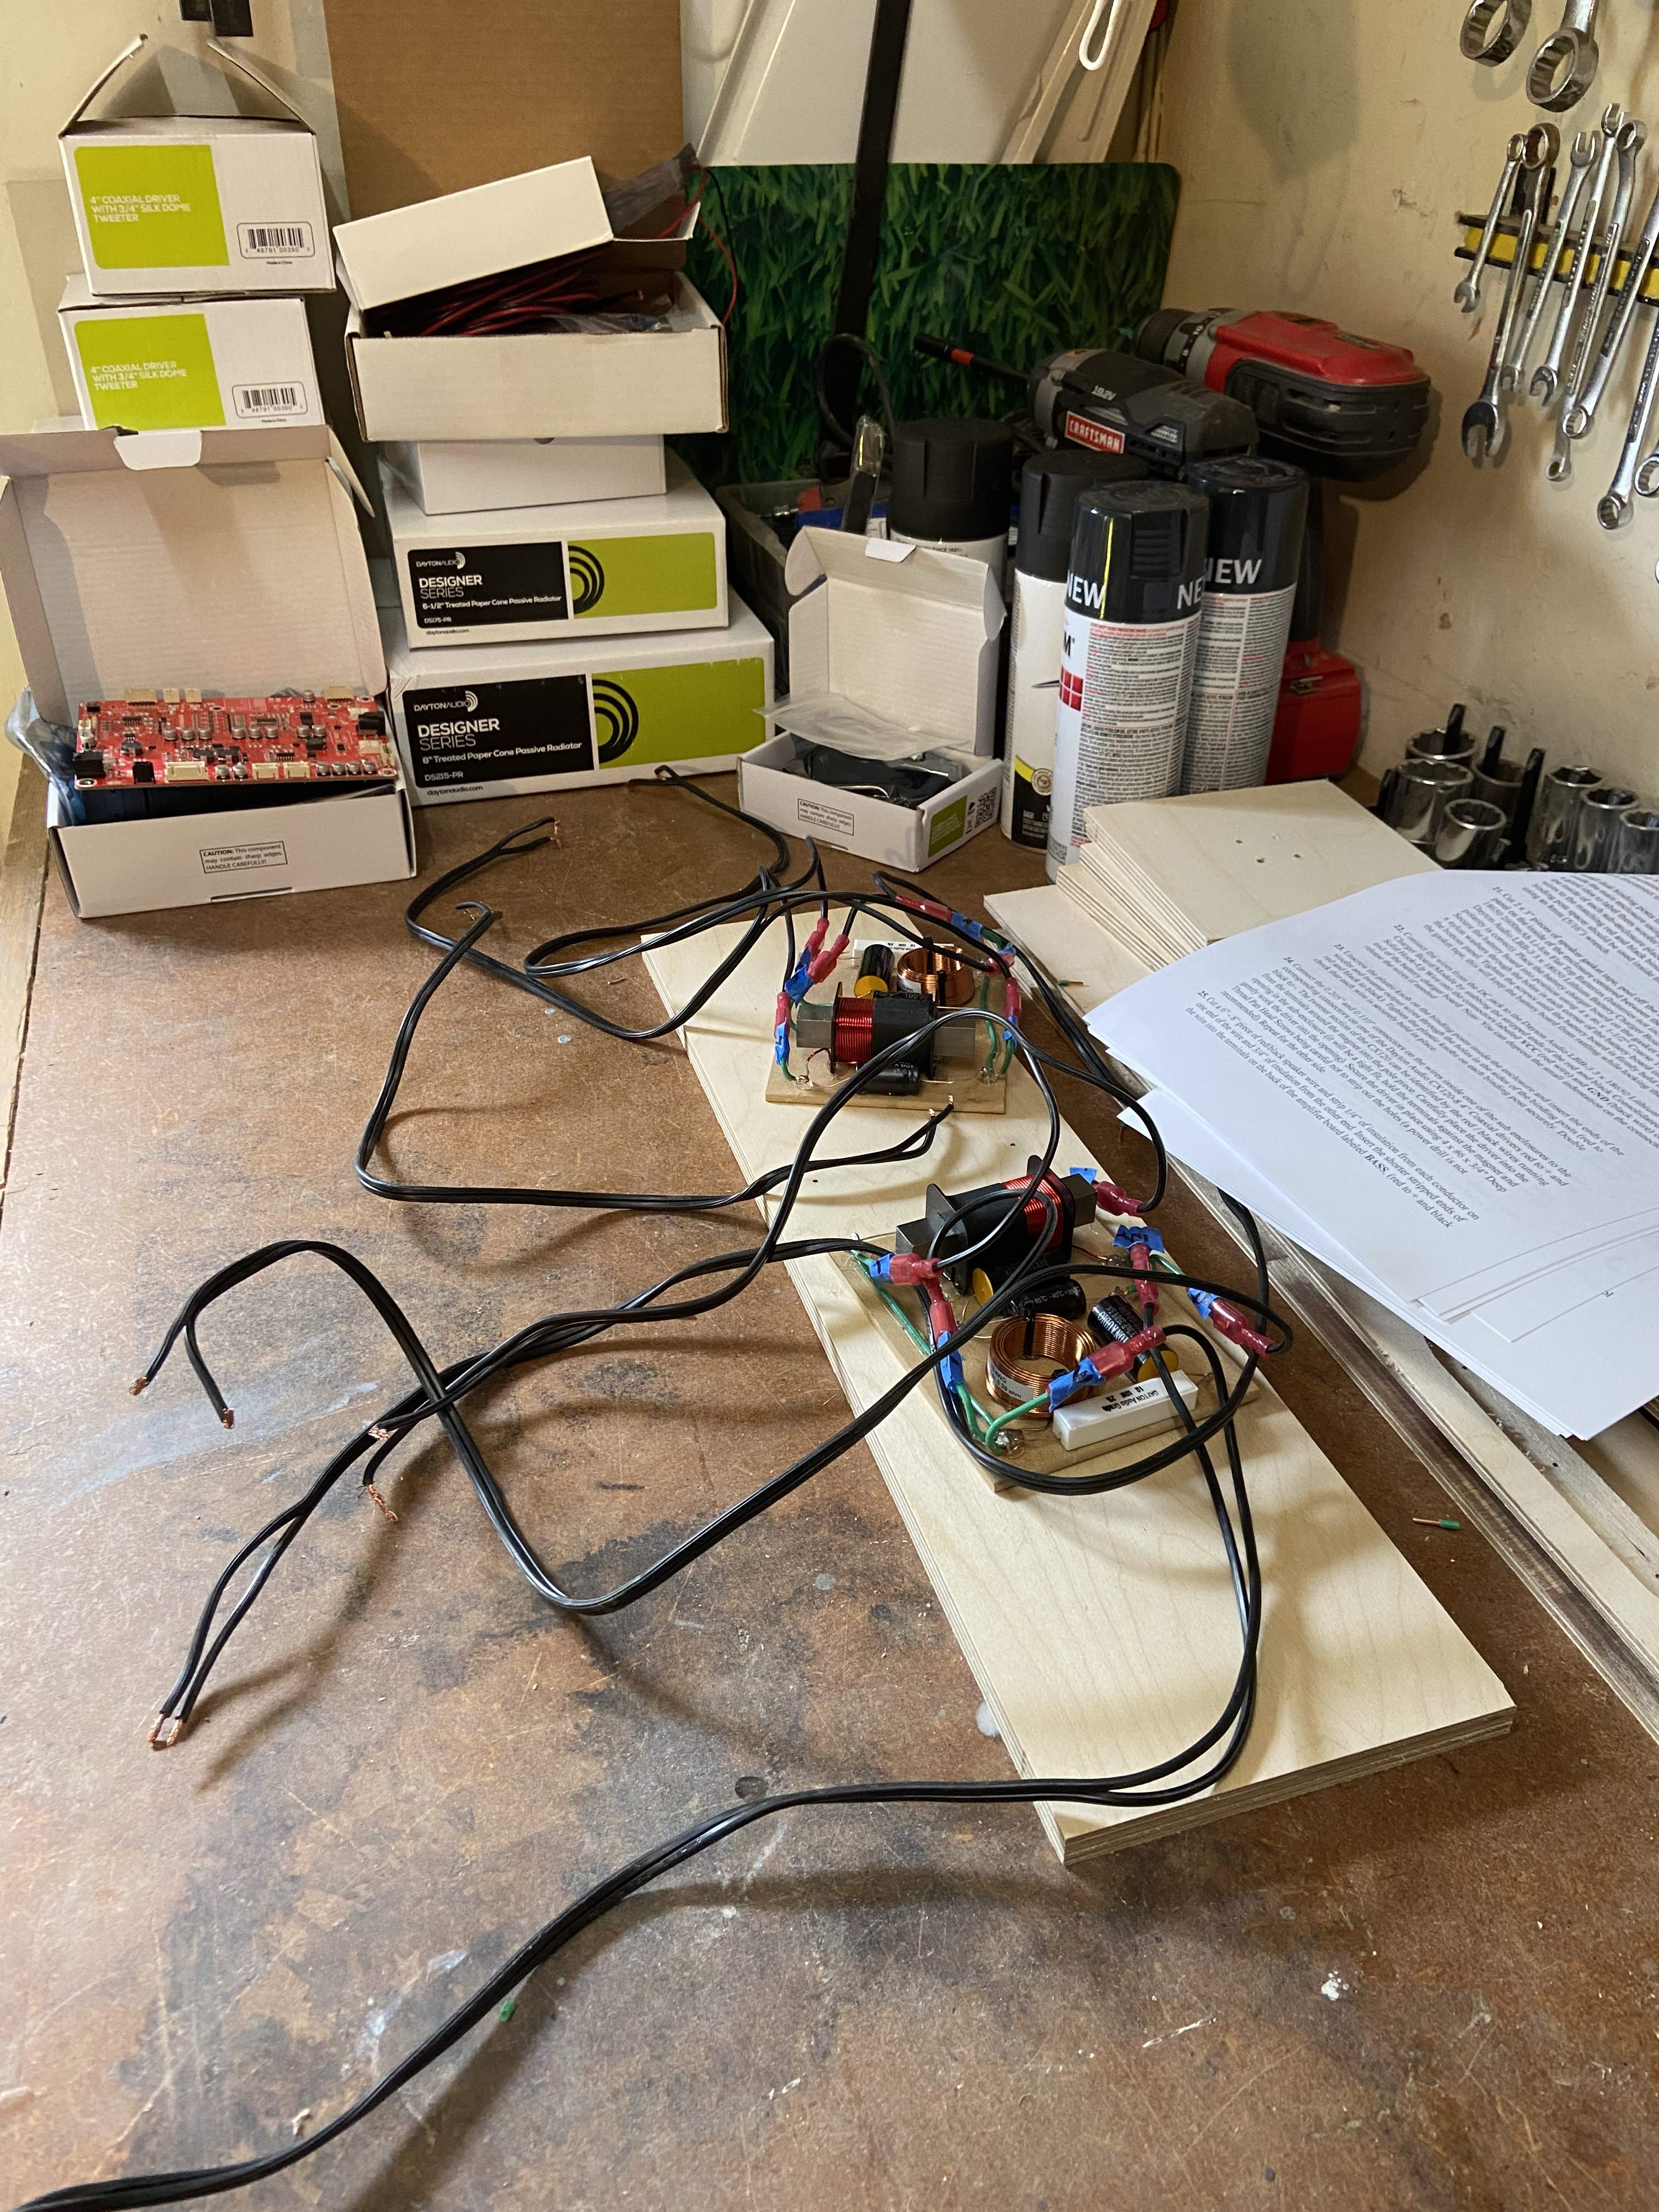
I used all the components from the Exec200 kit, but replaced the 8in passive driver with two 6.5 passives (part 295-498).
Enclosure Design:
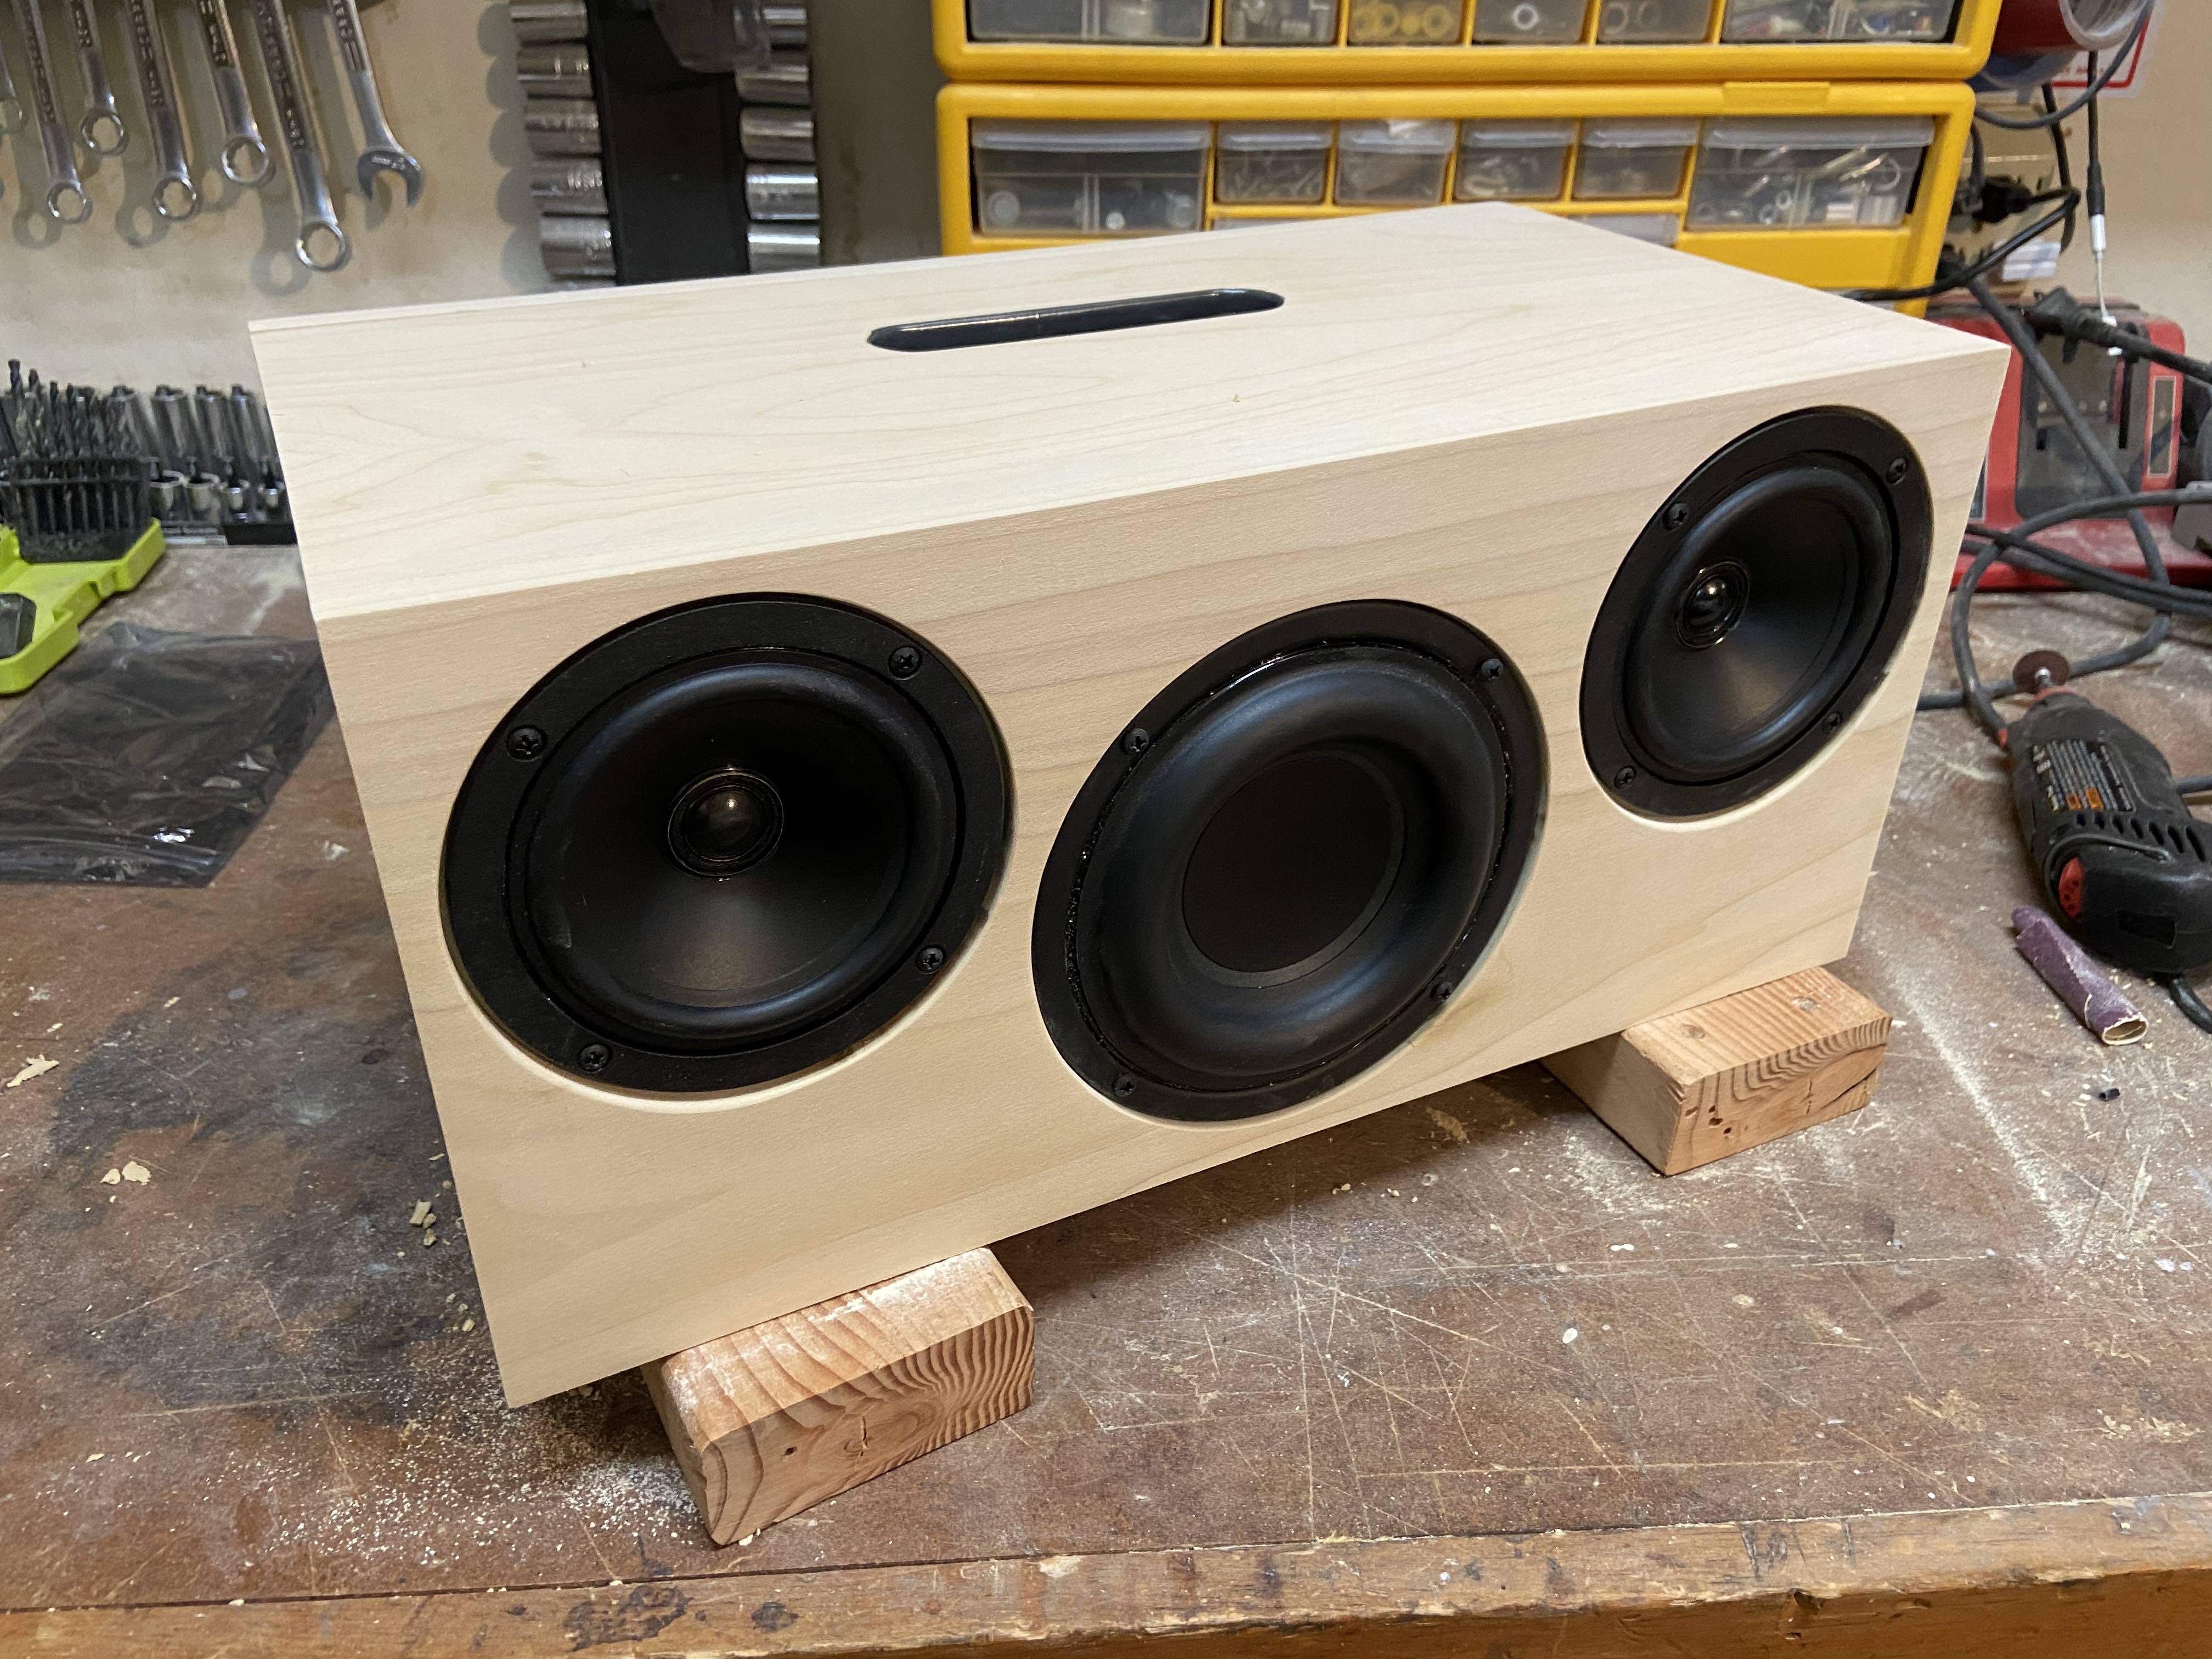
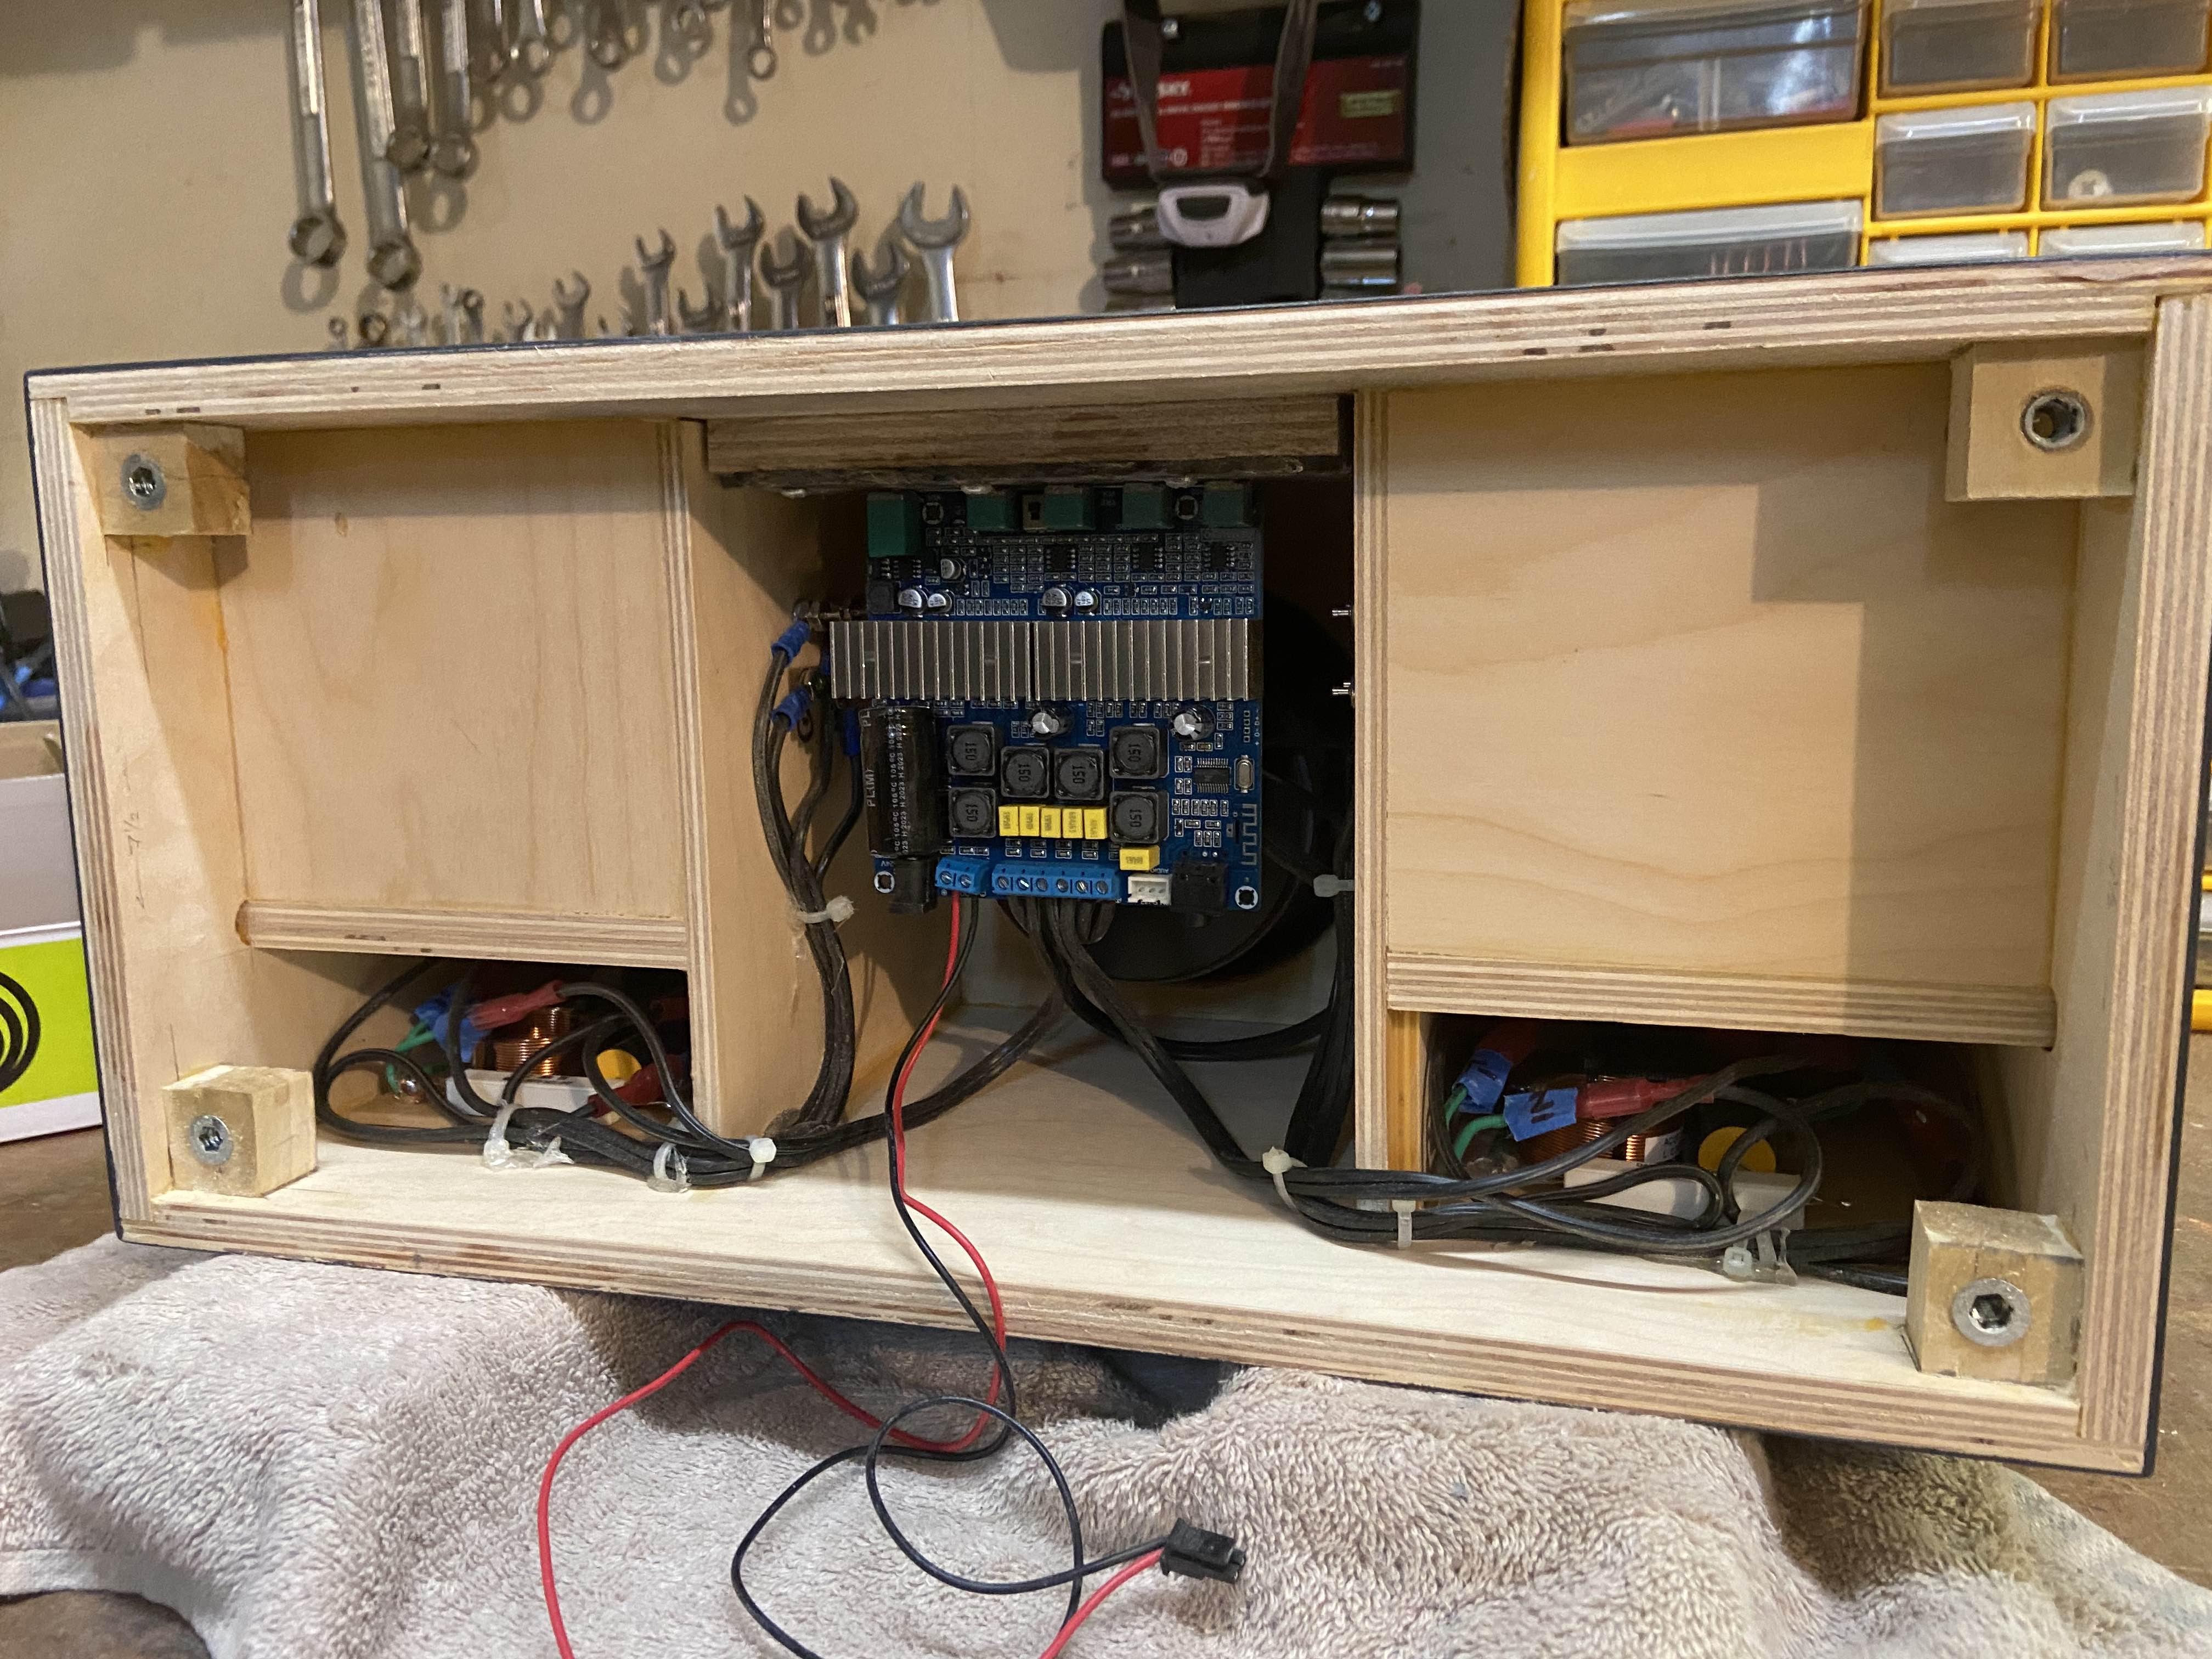
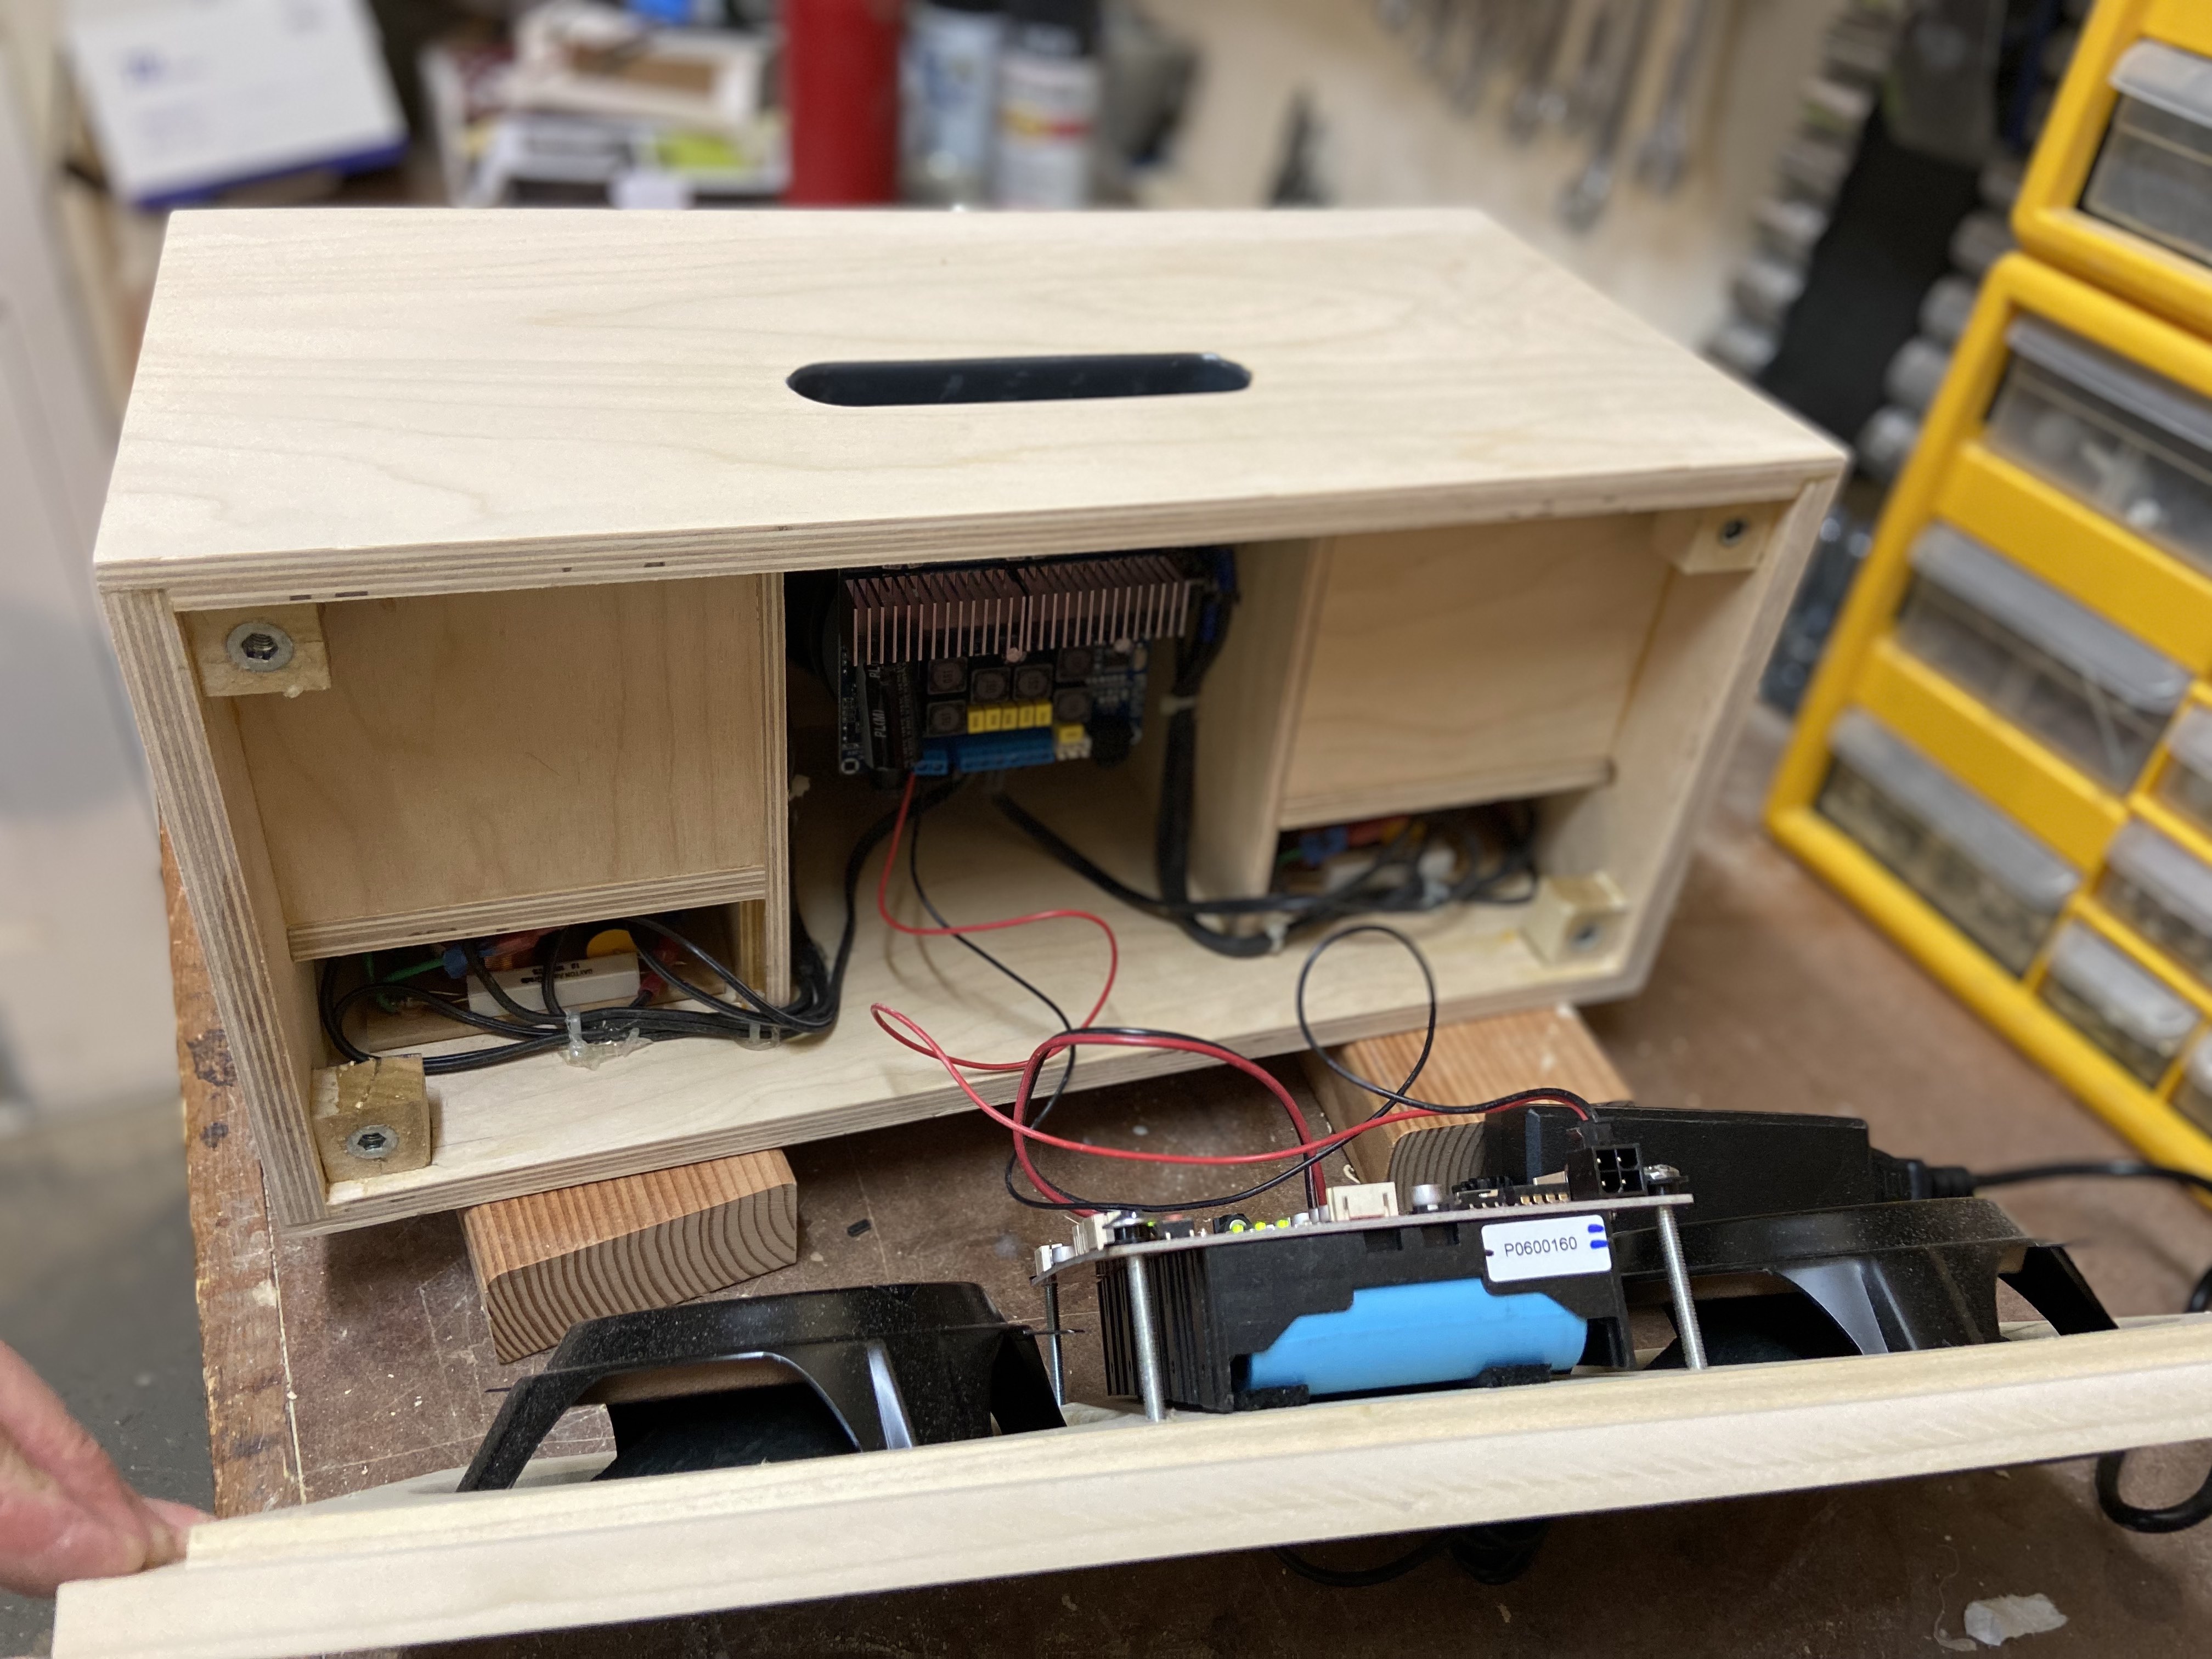
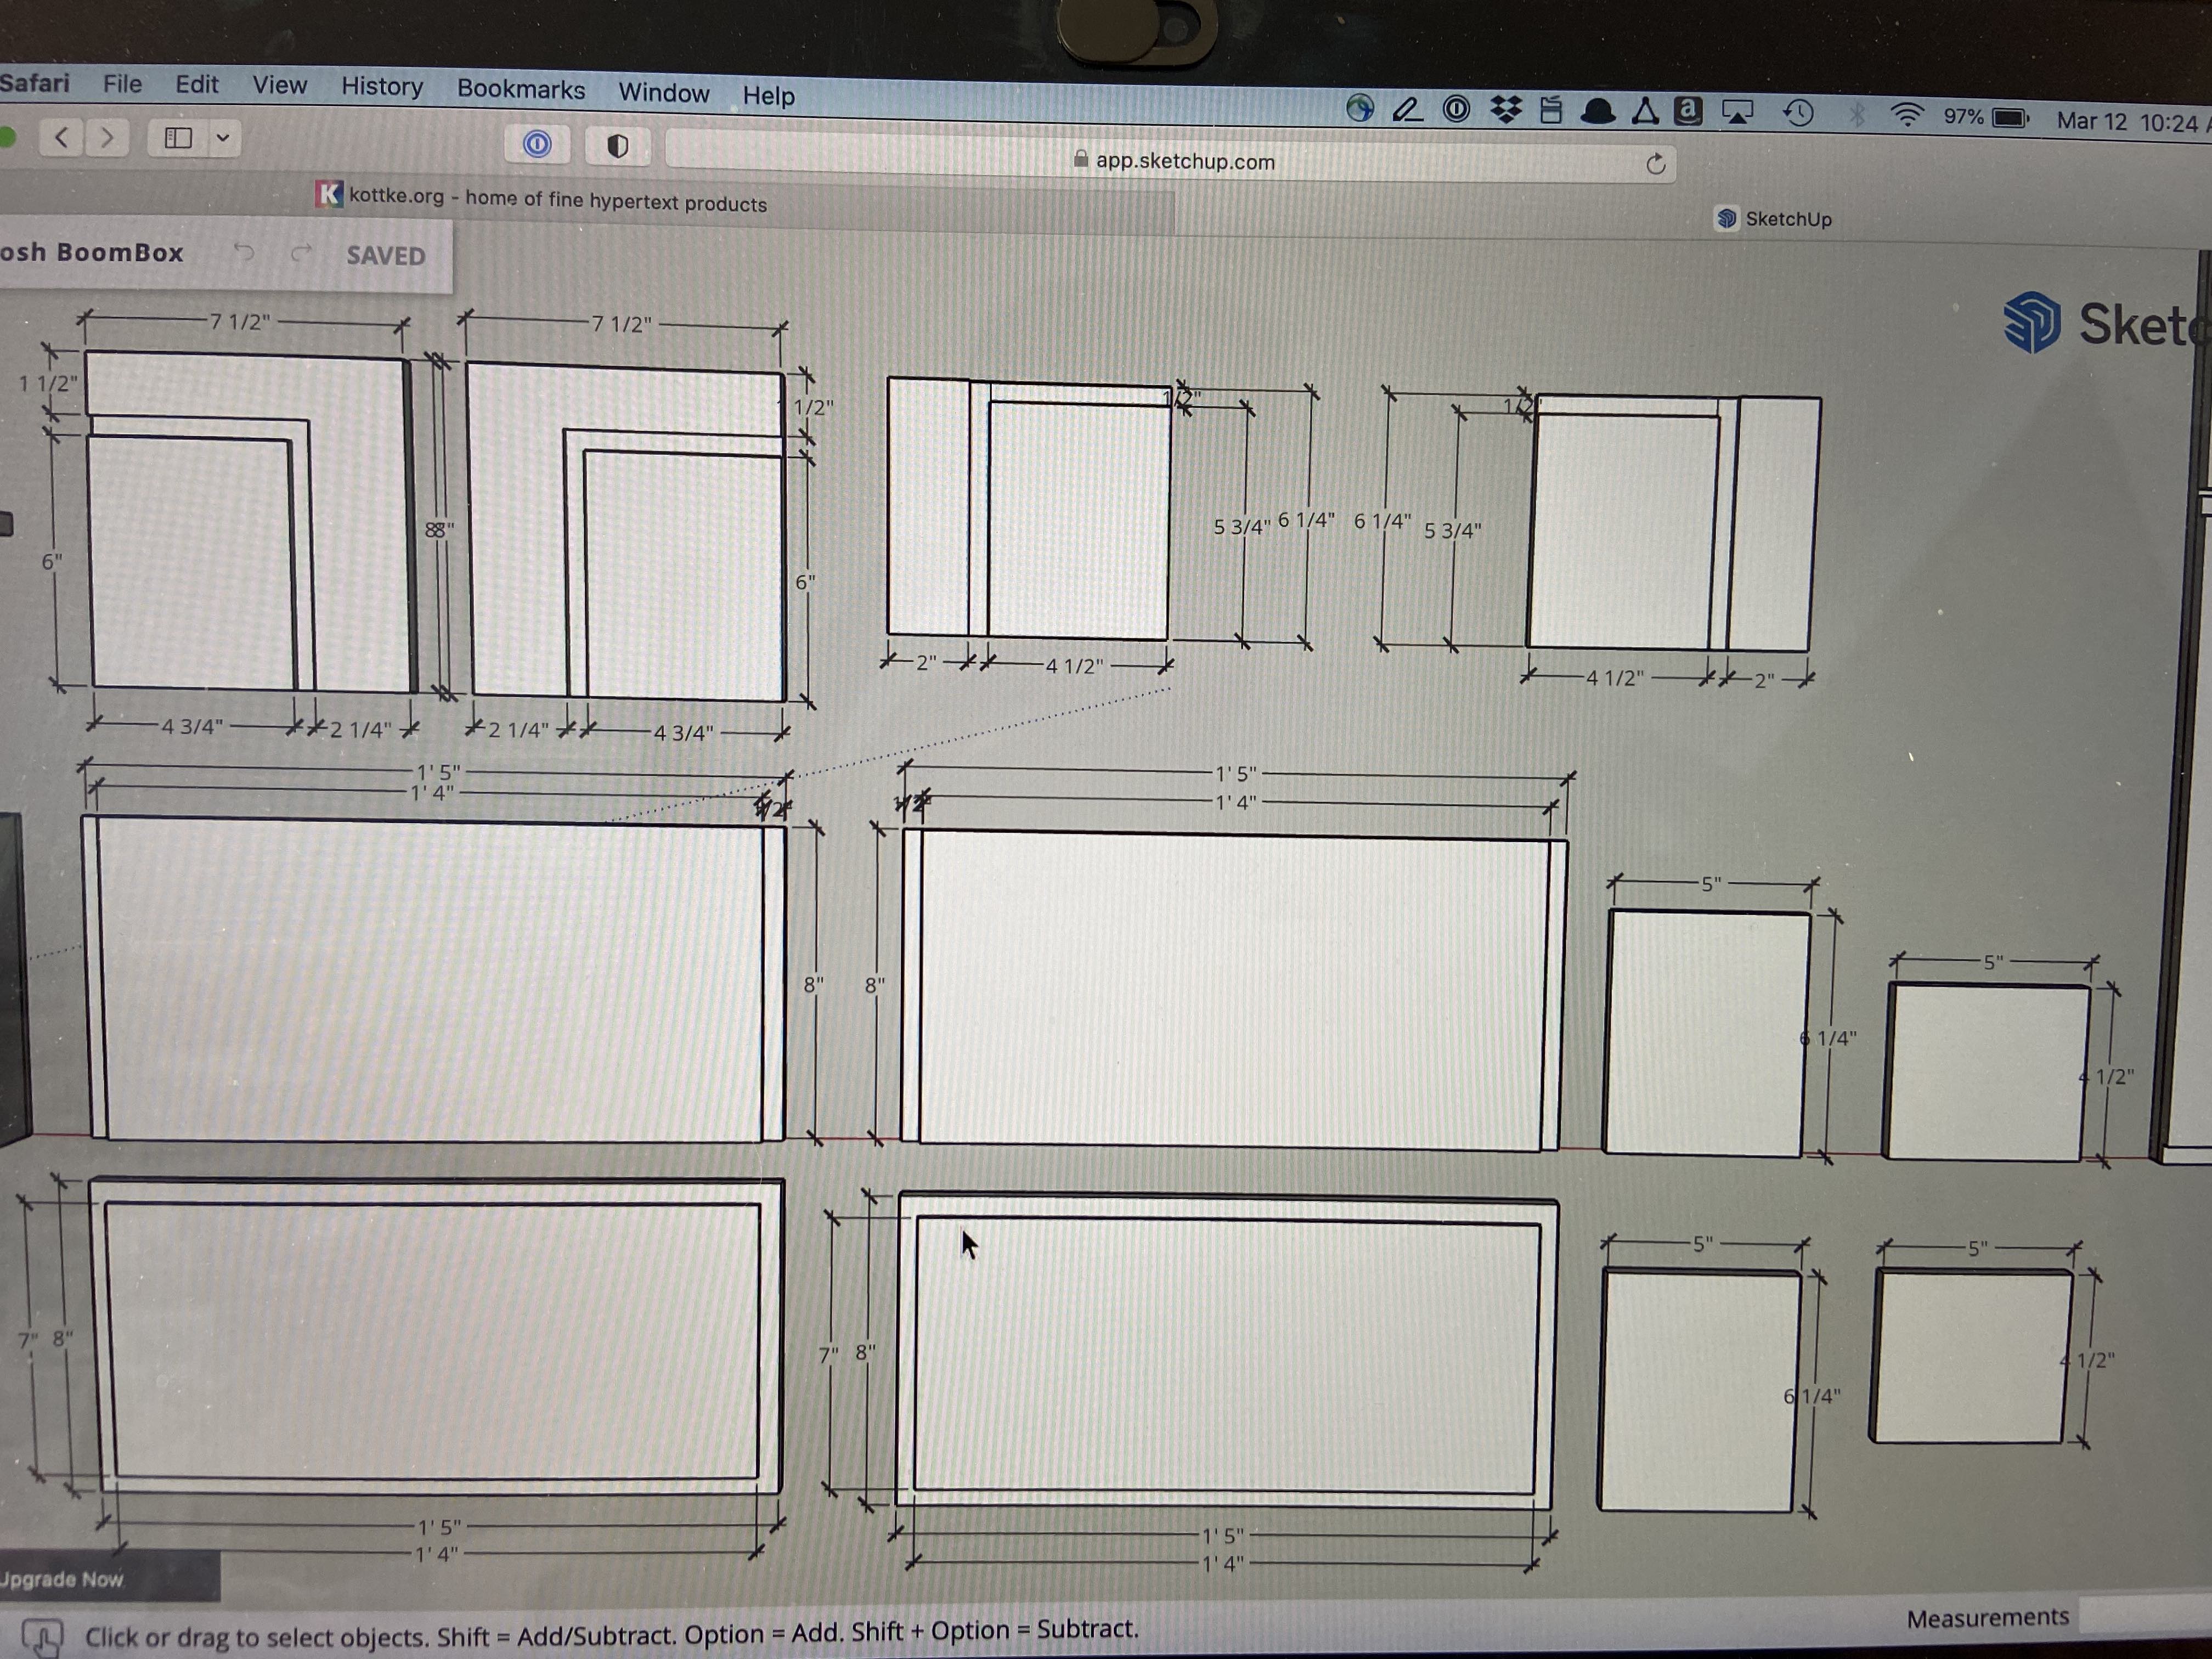
I used 1/2in Baltic ply for box construction and 3/4 poplar solid for the front and back panels. Overall finished dimensions are 17in x 9in x 8in (w/d/h). Volumes for the 4in drivers and the sub are the same as the kit, so no changes needed to the crossovers. Surface area and specs of the single 8in passive vs two 6.5 passives was close enough that I didn’t feel a crossover change was needed. Controls are mounted on top, with 1/2in spacer to keep knobs away from the handle. Power jack located on back panel in recessed hole. Battery pack mounted to inside of back panel. I made the back panel removable so I can get to the batteries and controls if needed.
Enclosure Assembly:
Insides, front, top and bottom panels all glued. Back panel attached via caulk and four bolts that secure to corner braces.
Crossover Design:
I used the kit crossovers without any modification.
Tips & Tricks:
Mounting the battery pack vertically on the inside of the back panel was an aha moment. There was no room on the floor of the cabinet, so this was the only solution without expanding the width. I painted the inside of the control cutout before painting everything else because the acrylic panel was mounted to the bottom of the cutout (i.e. no access after assembling).
Conclusion:
Fun project. Way more involved than just using the included kit cabinet, but I like the results. Finished size is exactly what I wanted, but it’s pretty heavy for a boombox. Sound quality is good, but doesn’t produce as much bass as the Blast Box. Getting everything to fit was tricky. I modeled everything in Sketchup first and built a mock version first before committing to final cabinet.
About the Designer:
Just a dad who likes tinkering in the garage. I’ve built several speakers from Parts Express now: two MK Booms, one Blast Box, one Exec200, and a custom TriTrix.
Project Parts List:
|
Part # |
Description |
Qty |
|
295-498 |
https://www.parts-express.com/Dayton-Audio-DS175-PR-6-1-2-Designer-Series-Passive-Radiator-295-498 |
1 |
|
142-107 |
https://www.parts-express.com/5-Pack-26650-5000mAh-Li-Ion-Flat-Top-Rechargeable-Battery-142-107 |
1 |
|
300-7164 |
https://www.parts-express.com/Executive-Portable-Bluetooth-Speaker-Kit-300-7164 |
1 |
+ There are no comments
Add yours