Festival DMT


Designer:
18hands
Project Category:
Loudspeakers/Cabinets
Project Level:
Intermediate
Project Time:
20+ Hours
Project Cost:
Over $1,000
Project Description:
Based on the popular QSC K series. This is our take on probability, construction, style, and staying true to the DMT (Directivity Matched Transition) concept. While providing a community built sound system that can work in outdoor settings for the PEX summer festival in the Sound Camp.
Design Goals:
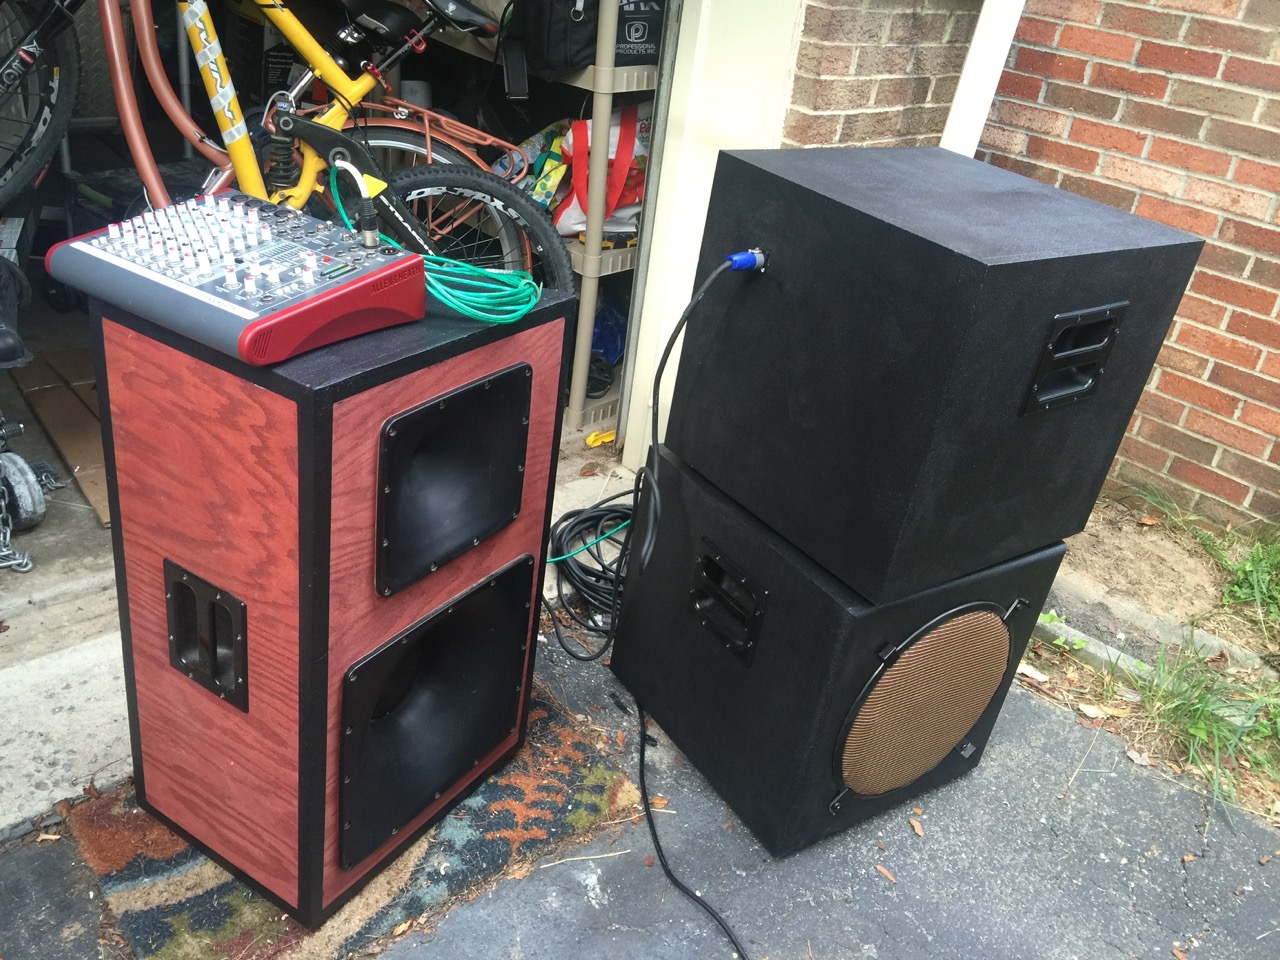
Many festivals around the country are big into building stages and camps that have a theme. It’s a challenge to bring the community of festival goers together to pitch into funding special art projects and sound systems. Typically, what happens is that sound is either rented or store bought. In this case, we wanted to build it ourselves and try to inspire other camps to do likewise. Currently, the standard sound systems at festivals are Funktion One (very pricy) and the good old QSC K series (somewhat affordable). We wanted to build on the familiar set up of the QSC system since we knew we can get them to sound comparable to Funktion One with the right drivers and design. Most folks know the amount of power they need when someone is bringing a QSC K setup. This is a critical consideration since these types of festivals is BYOP (bring your own power). Also, the amps in the K series are easy to connect and can easily replace the QSC system that is being rented or borrowed. Unlike store bought QSC KW153 series, we wanted the towers to be modular for portability and easy storage. Then we wanted to add a subwoofer to each tower. However, we wanted the woofers to match the waveguide of the towers. This means that this was different than a KSub since it has two 12 inch woofers. We wanted to use 15 inch woofers to match the towers. They had to be rugged and be able to handle chaotic festival environments.
Driver Selection:
Quantity 4 Celestion TF1530 (Bass/Mid Bass)
Quantity 2 Celestion TF0615MR (Midrange)
Quantity 2 Celestion Celestion CDX1-1730 (Highs)
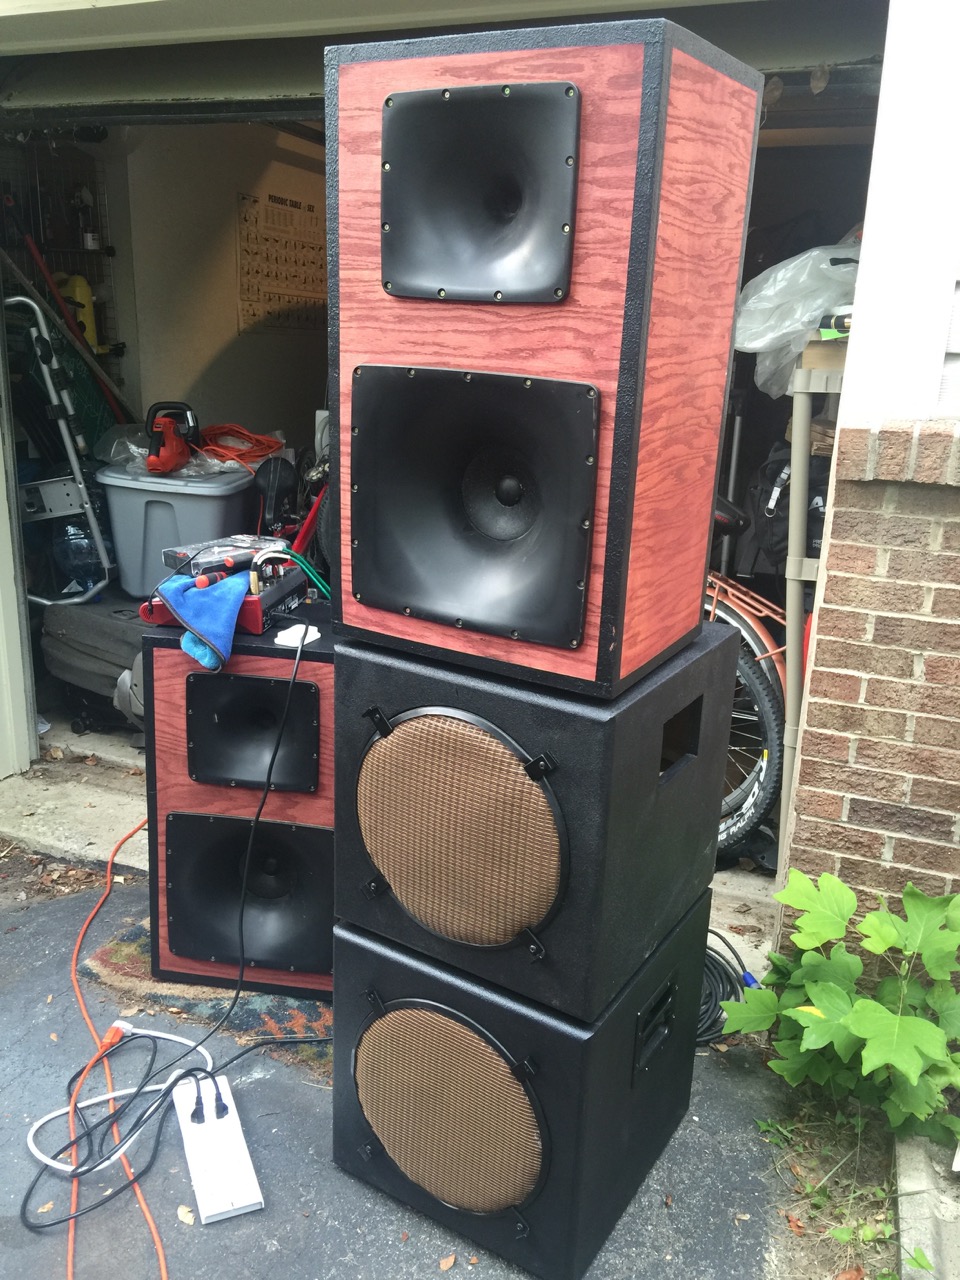
Enclosure Design:
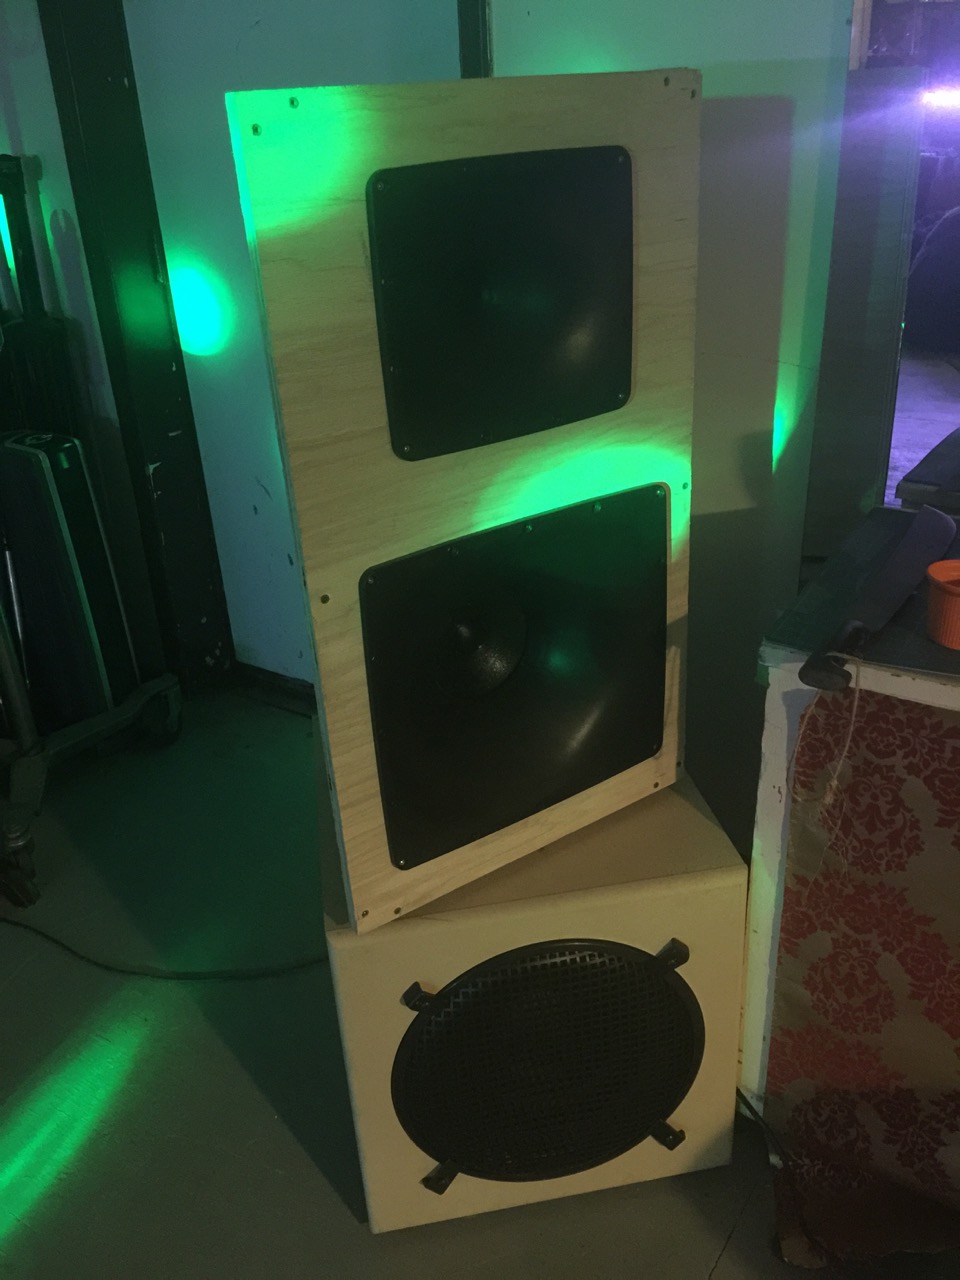
The towers are High, Midrange, Midbass, and Bass.
We separated this into 3 different enclosures.
Hand built and cut cherry wood for the High/Mid.
For the Midas and bass we used Denovo Audio Knock-Down MDF 3.0 cu. ft. Subwoofer Cabinet for Dayton Audio 15″ Ultimax Subwoofer.
We would integrate 1 QSC K amp into each enclosure plus 1 QSC Ksub amp for the 2 dedicated bass units.
Wave guides for the high and midrange were set to 75 degrees of coverage. This coverage matches the 15inch woofer coverage of the mid bass and bass.
Enclosure Assembly:
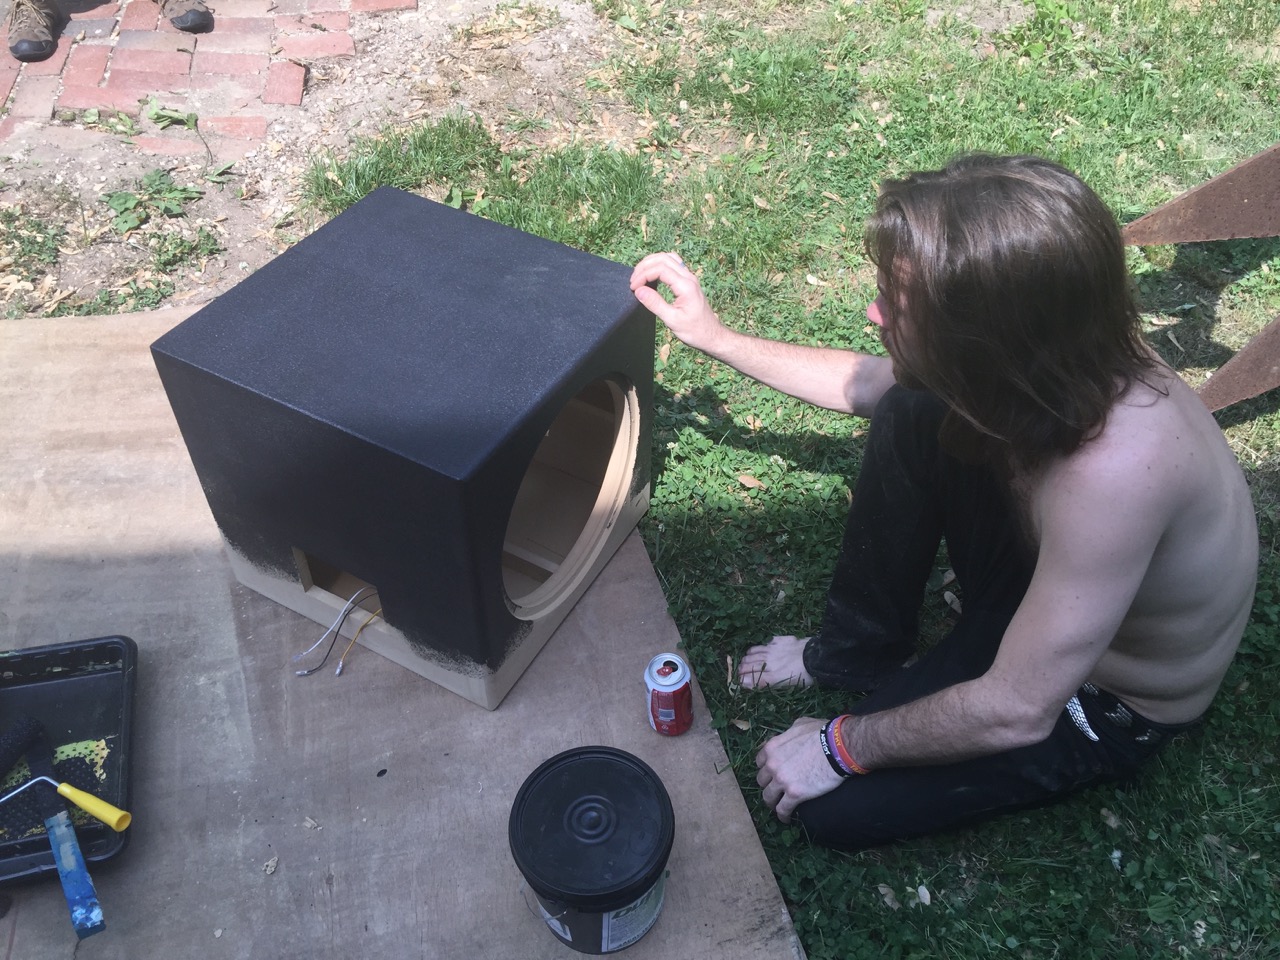
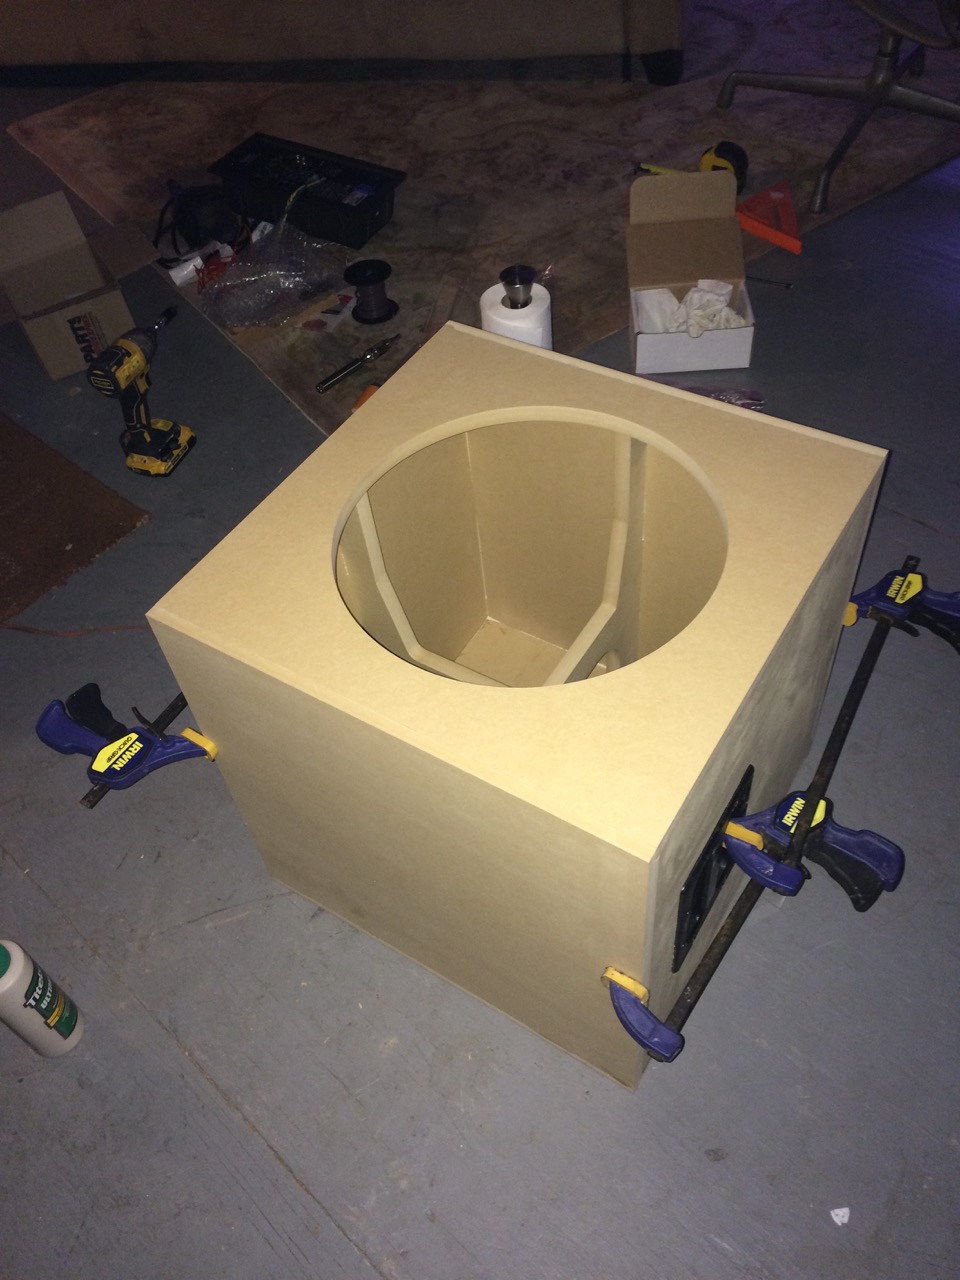
Getting the Denovo Audio Knock-Down MDF 3.0 for 15″ subwoofer enclosure was easy to glue together and paint with Duartex. We added some custom color to the duratex from the art store. It’s a deep dark purple with sparkles.
We then added some rubber feet. Penn-Elcom F1686 Rubber Cabinet Foot 1.57″ Dia. x 0.61″ H. To the subwoofer boxes.
We used a jigsaw to cut out the hole for the QSC K amps to fit in the back of the subwoofer enclosures. These amps have a custom harness so it was barely reaching the 15 inch sub. But we got it to connect. We then drilled holes for the speakon female connectors so we can send power to the mid/high. We drilled the crossover into the inside of the subwoofer enclosure and connected that to the speakon connectors. We went with NL2 for each driver instead of NL4. Just to keep things separate in case of troubleshooting at the festival.
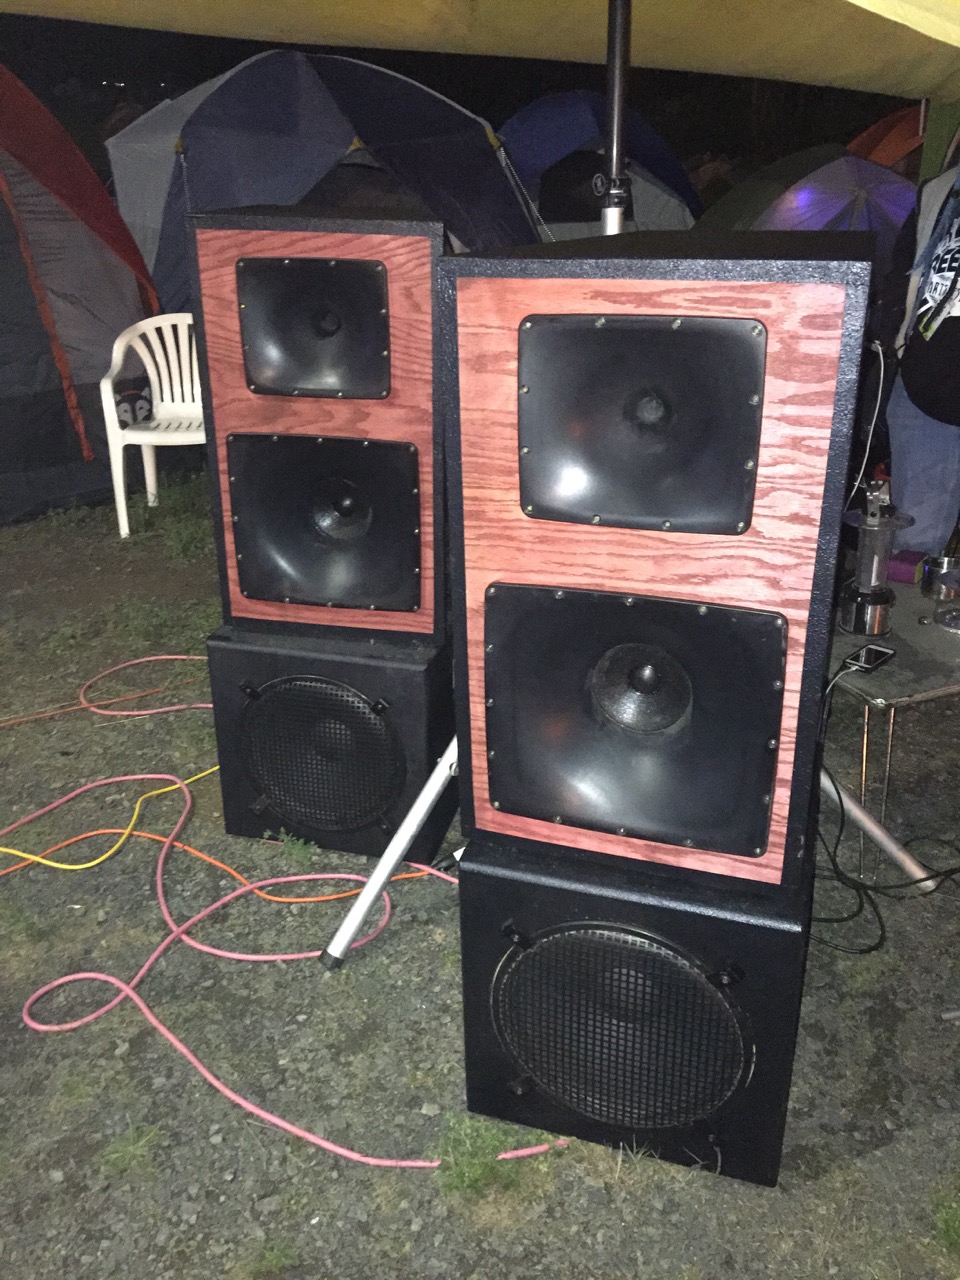
We then had to drill holes for the 15 inch metal grill. It had one of those mounting bolts with the teeth. This is something that needs to be done with the metal fasteners to give you leverage or the teeth won’t sink in and the screw will go into the soft wood. We then just screwed in rubber feet for protection.
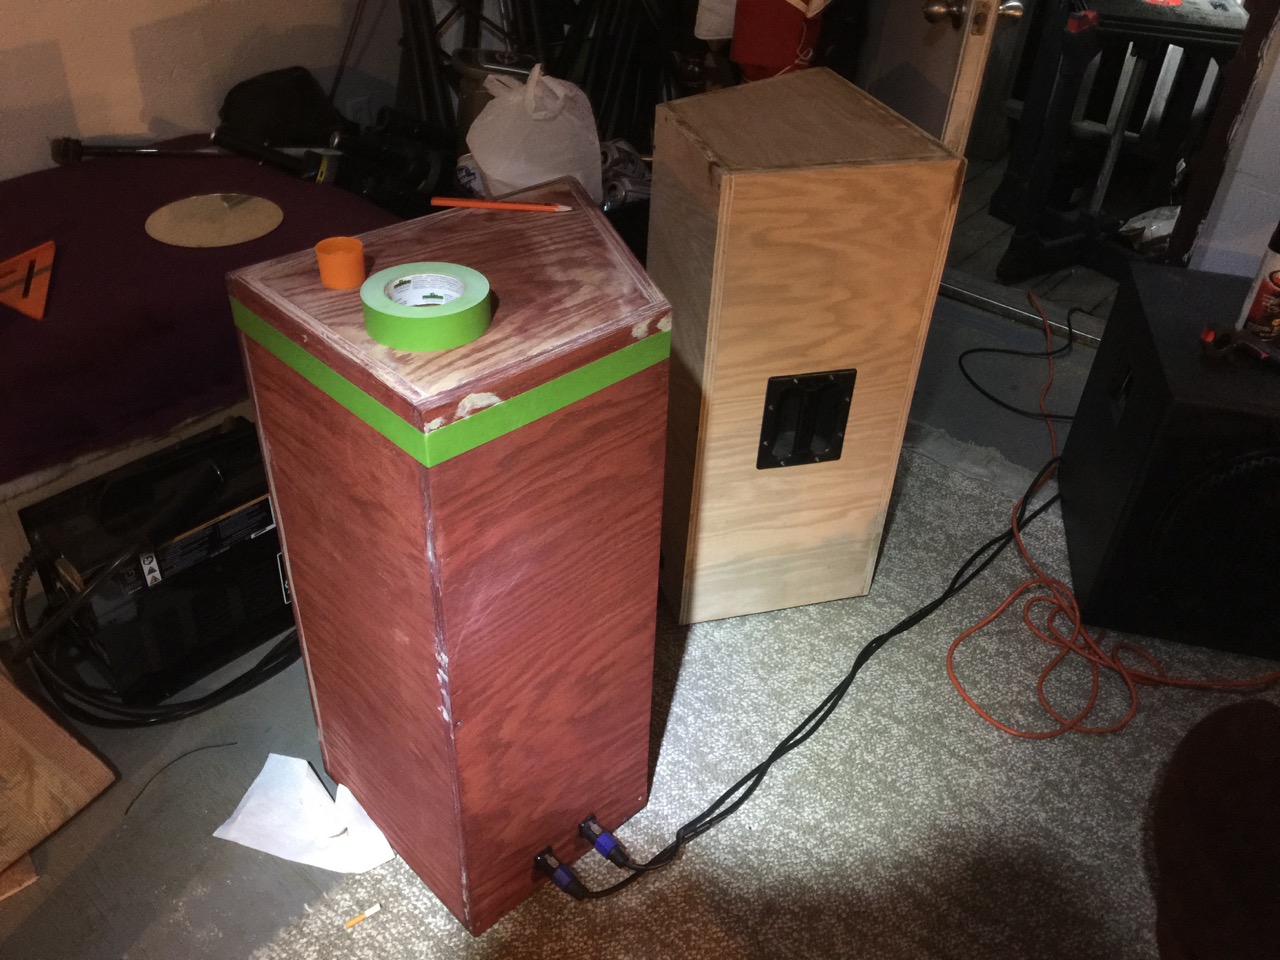
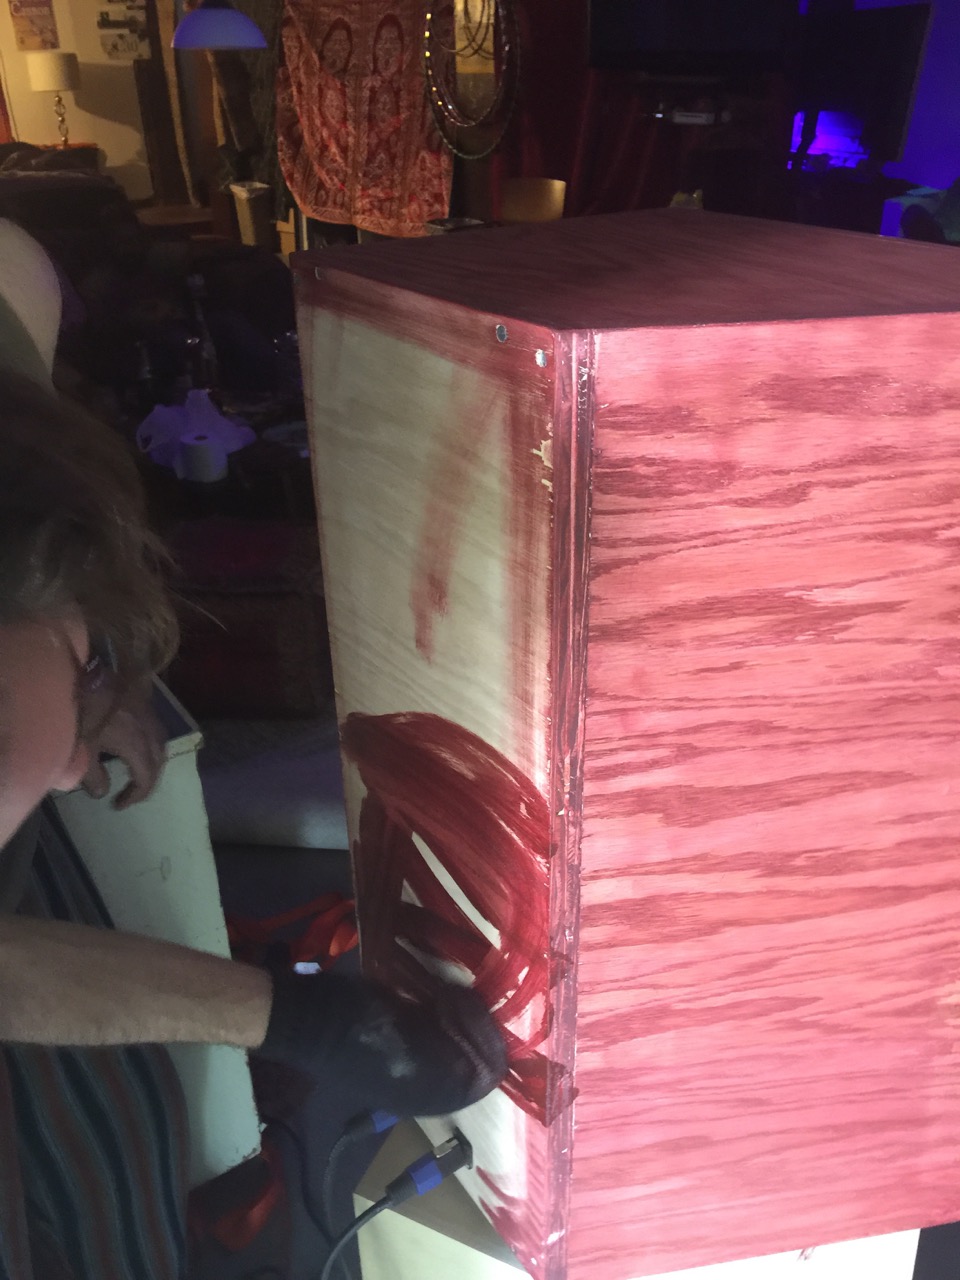
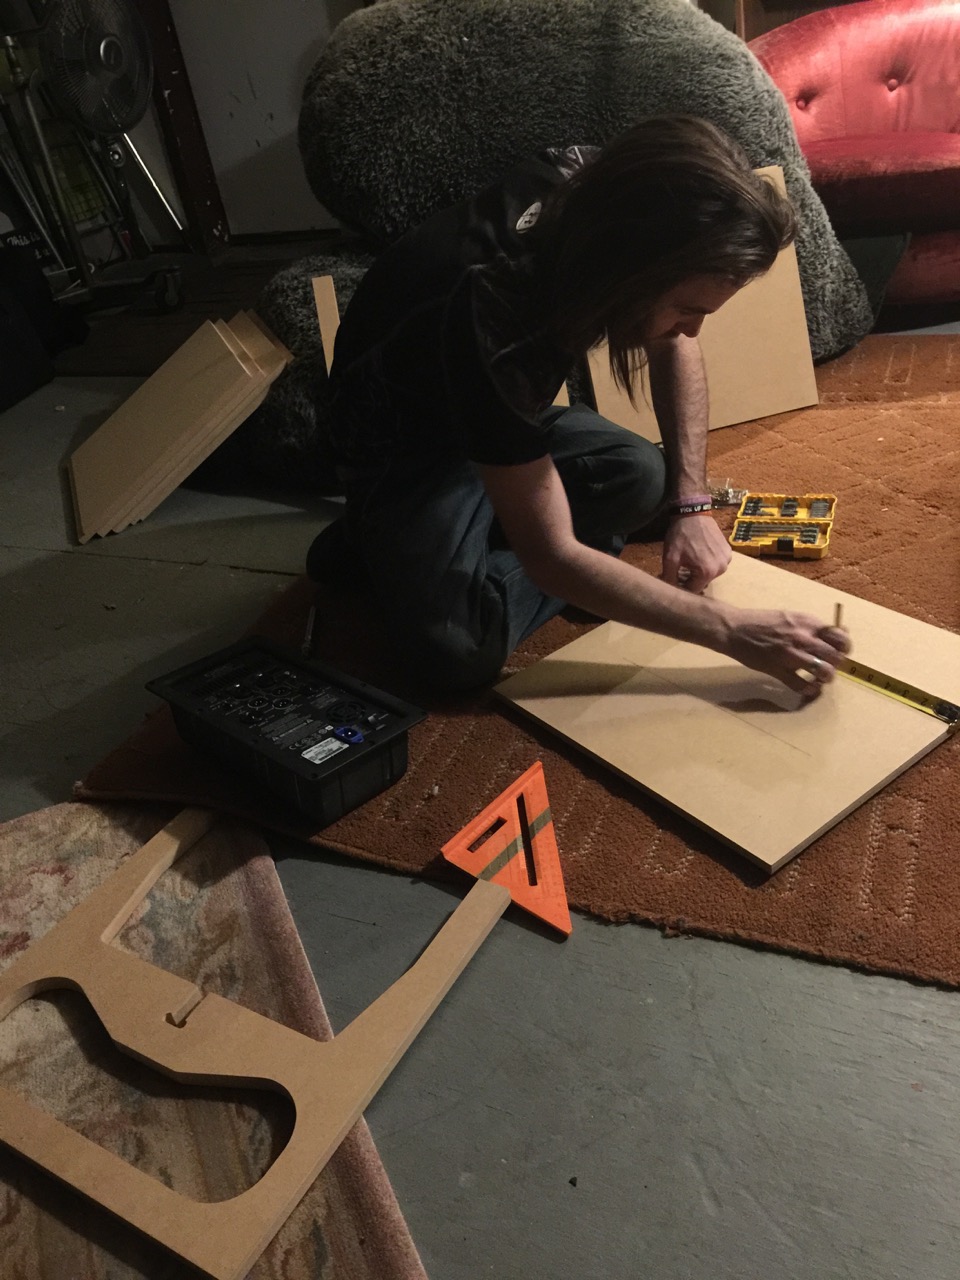
For the high and mids we bought some hard cherry wood from the local hardware store. This proved to be more difficult to sand and than the MDF subwoofer enclosure. We then designed a box with an angle. That way we could also use them as floor monitors if needed. Cutting them with a jigsaw was difficult but we cut out holes for the 2 waveguides which were square and so we didn’t need to cut in a circle. We then mounted the compression driver and mirage to the wave guides. Finally, we stained the high/mid cabinet red and painted the edges with dark purple duratex to seal the enclosure. We also painted the very top and bottom with duratex to protect from typical spills. Rubber feet were added.
Crossover Design:
The crossover was OEM from QSC.
It was input 129 hz to 20 khz and then split into midrange and highs. Cut off was around 350 hz.
The QSC AMP also had a built-in cross over for the mid/bass as long as the settings are set to ext. sub. If not then it also becomes bass. Engage the ext. sub setting to get the 100 Hz high-pass filter.
The final KSub amp also has cross over for dual subwoofer drivers. So we connected the two dedicated subwoofers for this amp.
Tips & Tricks:
Build your own speakon speaker cables. This is waterproof and beefy. It locks so kids can’t pull them out. Even big kids.
I feel like every speaker system should have this instead of banana plugs.
Get L shaped driver connectors for the drivers. This means there is less of a chance of the interior speaker wire to disconnect.
Set up separate connectors for each driver. This helps to make sure there is a good connection and provides possible set up for additional amps.
Use dremel to cut the holes for the handles. The jig saw was difficult to control with hard wood.
Conclusion:
Being able to match the subs to the mid-bass driver made a big difference as far as clarity and overall clean bass. Having a separate enclosure for the 15 inch drivers really helped sound imaging and separation. Carrying this set up in sections really helps when moving them across camping ground where a truck isn’t allowed or can reach. Overall, it was fun and we were able to get more out of the QSC amps with the upgraded drivers. I feel that this set up sounds just as good as any Funktion One medium sized set up for a fraction of the cost.
About the Designer:
Software engineer and product manager for TV broadcast software industry. Former pro DJ and current audiophile.
First time to build speakers was this project. Home set up is Mirage Omnipolar towers. 3 year burning man veteran. Love going camping. My advice is, build a sound system you can take camping.
Project Parts List
fantastic. Kinda need to build something similar for outdoor movies, but hoping cheaper….Problem Iam having is the home speakers just don’t cut it…Outdoor speakers cant handle the heavy bass, and all thus far sound, muddled or tinny or just not near the full range….Any thoughts or help??
Yes there is really nice celestion drivers that would be perfect. Celestion FTX0820
http://www.parts-express.com/celestion-ftx0820-8-coaxial-full-range-professional-driver–294-2096
So compact and really directional and full range. Go with OEM QSC K8 amps. Set it to deep and feel the bass.