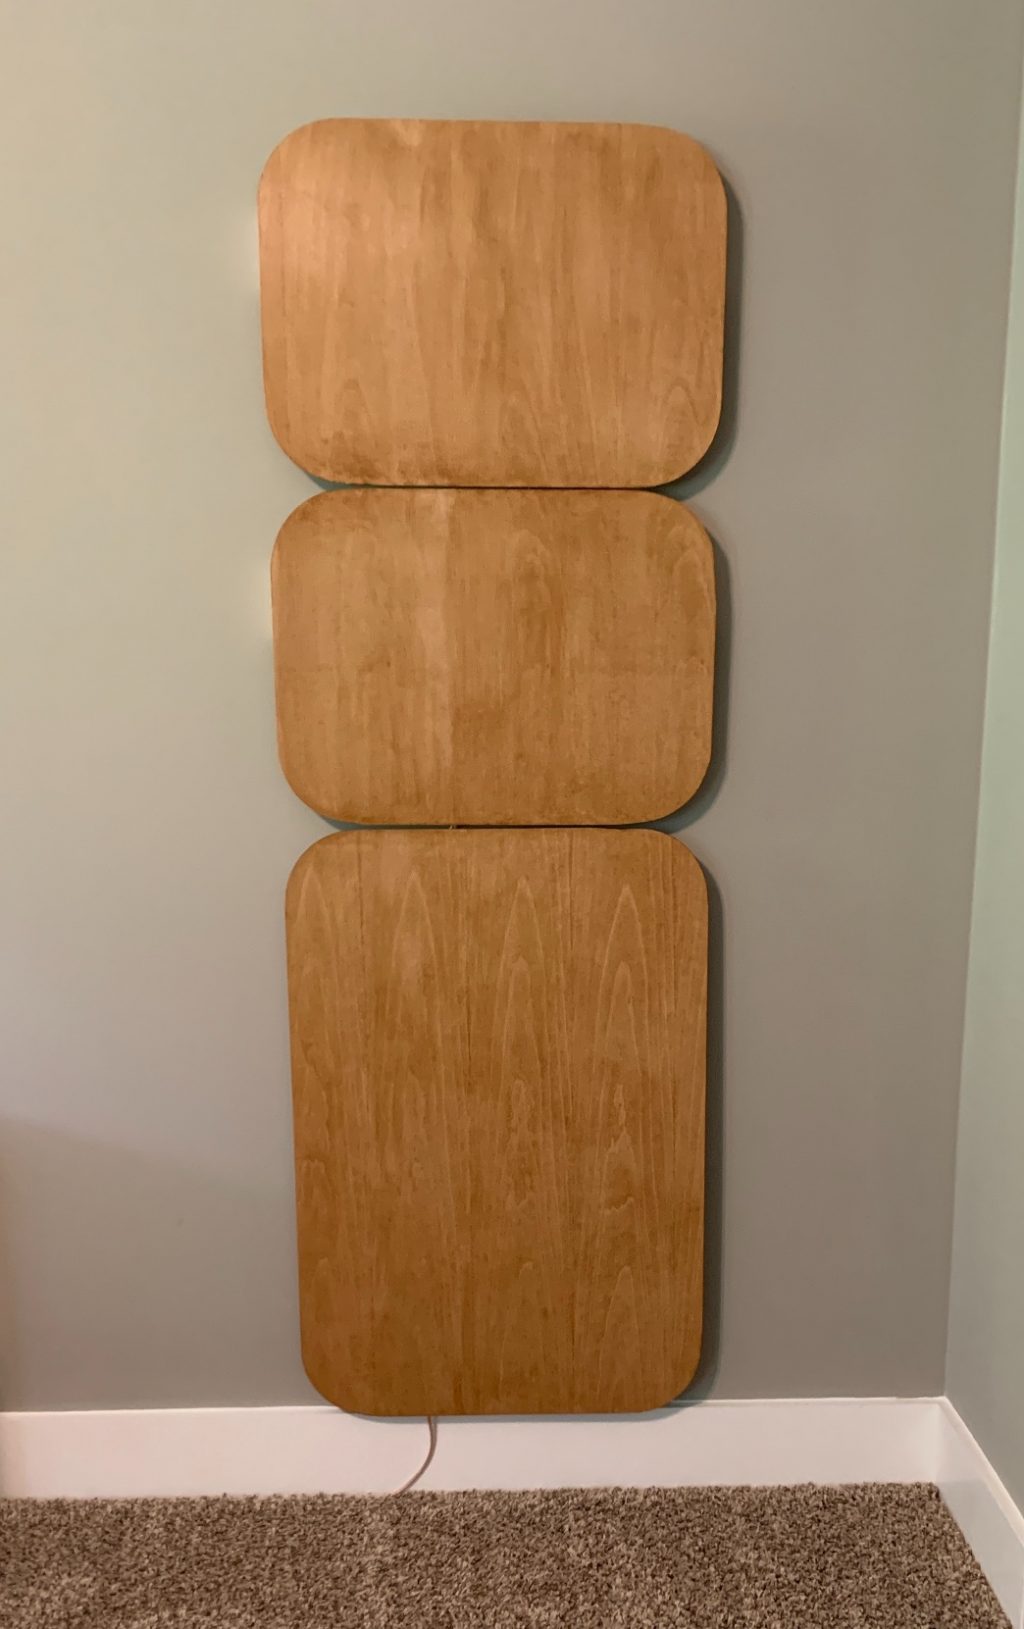
Flat Panel Speakers
Designer:
Kirk
Project Category:
Freestyle Speakers
Project Level:
Beginner
Project Time:
1-8 Hours
Project Cost:
$100 – $500
Project Description:
Speakers made form Dayton Audio exciters and plywood.
Design Goals:
Inexpensive speakers that sound good and fill the room with music and don’t look too bad.
Driver Selection:
295-230
Enclosure Design:
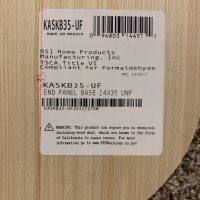
24×35 sheet of birch plywood from Home Depot
Enclosure Assembly:
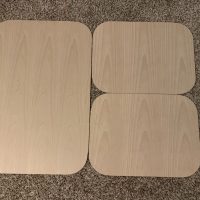
Bought 2 panels of Birch plywood for each side. One panel was left in its original size. The other panel I had cut in half.
I rounded the corners on all panels with a Dremel that has a radius attachment.
Stained the panels with a “walnut” color. Need another coat or two probably.
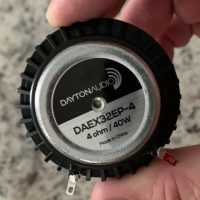
Attached the exciters at 3/5 height and width as many have recommended.
Crossover Design:
Crossover points are 1300Hz and 4500Hz
Tips & Tricks:
These sounded “muddy” before I used the crossover. With the crossover, I send the low to the large panels and the mid to a smaller panel and the high to a smaller panel.
Still not the “Boom” of a subwoofer but nice enough for what I need.
Conclusion:
Nice sounding speakers that look OK on the wall.
Would sound better and produce more sound if the speakers were not mounted to the wall though.
About the Designer:
First ever speaker build. Have no idea what I am doing but just learning as I go.
Project Parts List:
|
Part # |
Description |
Qty |
|
295-230 |
Dayton Audio DAEX32EP-4 Thruster 32mm Exciter 40W 4 Ohm |
6 |

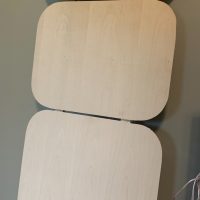
Nice idea. How did you attach them to the wall? Looks like there is a strip of pine holding it all together?
When I attached them to the wall I used command adhesive to attach a small pine block to the wall and double sided tape to attach the pine block the the panel. Two of these blocks per panel at the outermost edges on the left and right side. This gave the panel a little room off the wall but not much. TBH this installation looked cool but transferred too much sound through the wall into the other room. Plus it did not let the panels reach their full potential using both sides to make good sound.
I had a similar idea and found that plywood works better than foam – more musical imho. But mine is open baffle hybrid which has killer low end with dipole design. Ping me if you want to share ideas – rbek15@msn.com.
hanging on fishing line will negate any significant loss
Yes, That is my plan for the next build.
Do you know what the overall in-room measurements are for these? Thx!