LCR Front 3 Bookshelf Project 8” Dayton Reference Paper Woofer


Designer:
Ryan Michael Clark
Project Category:
Bookshelf Speakers
Project Level:
Intermediate
Project Time:
8-20 Hours
Project Cost:
$100 – $500
Project Description:
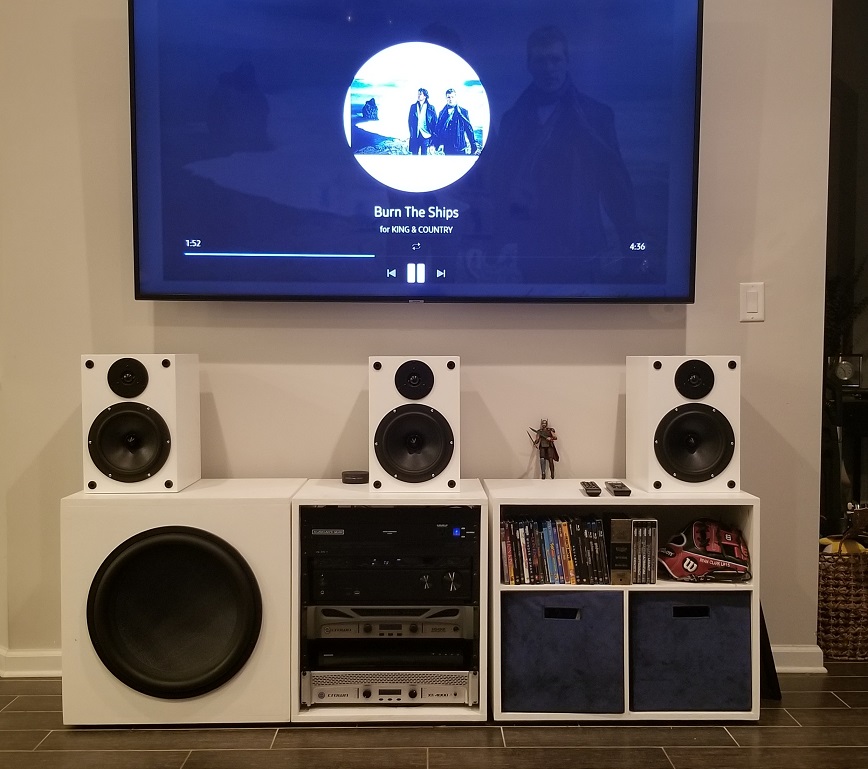
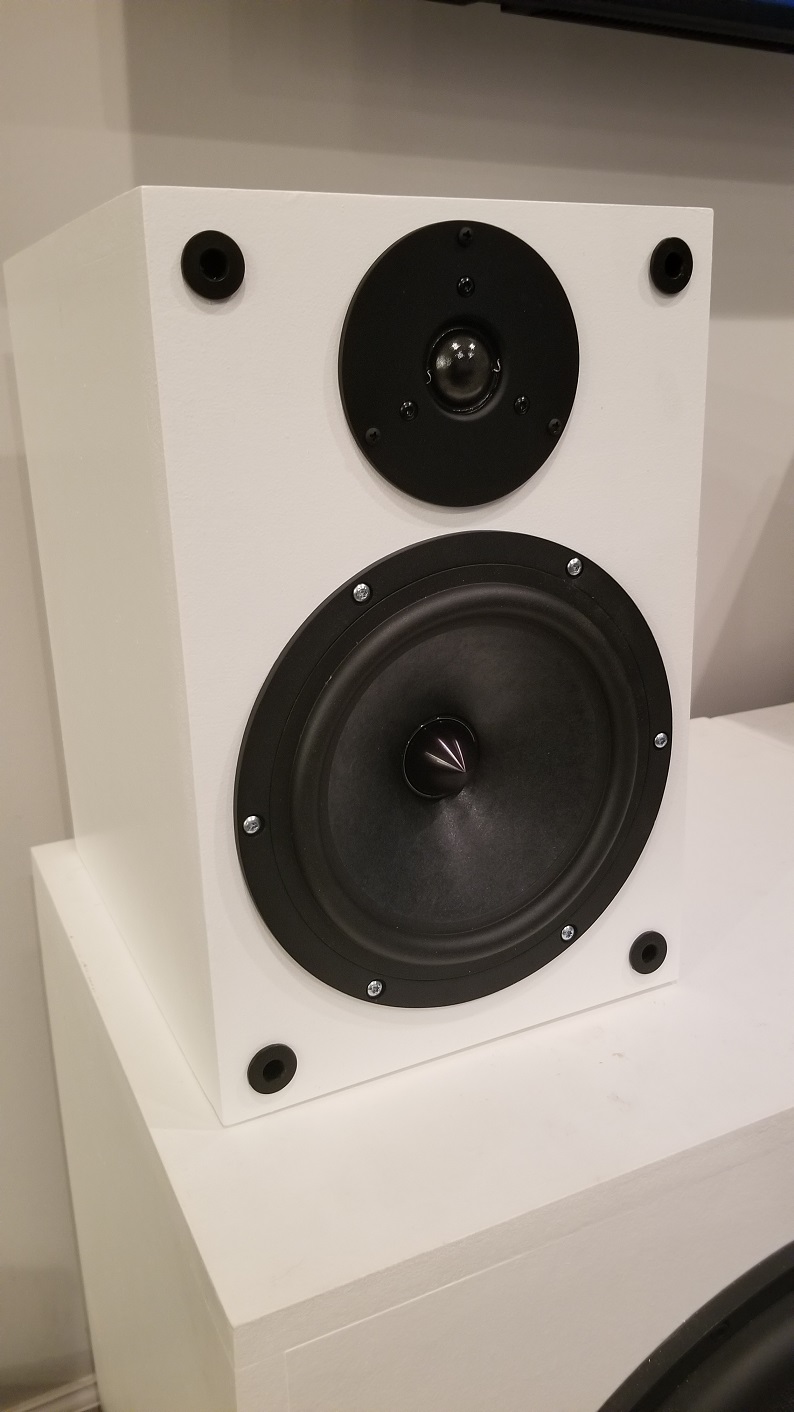
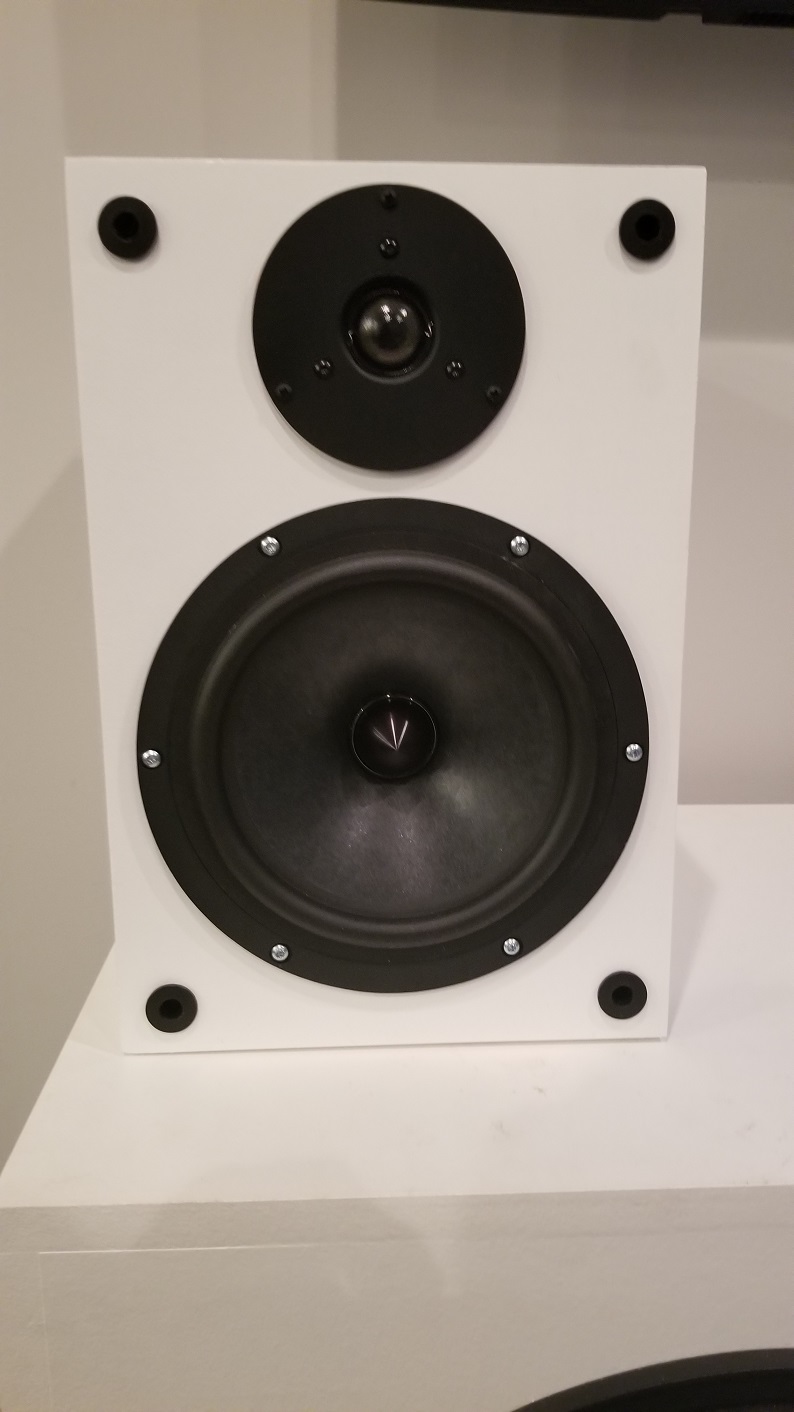
Identically matched left, right and center channel speaker for my living room. Basic 2-way design using all Dayton components: 8” paper reference woofer, DC28 dome tweeter and 3K crossover. 0.75 cubic foot sealed cabinets.
Design Goals:
I really enjoy both music and movies and wanted to upgrade my front 3 from my Polk set up that wasn’t really a matched set. I am not an audiophile and don’t have testing equipment, but the Polk speakers just seem to be missing that definition that I set out to get from this build. The Polks are not bad speakers, but I am hoping for good to excellence sound quality speakers. This was my first full range speaker build. I bounced around a while with different designs and ultimately decided on 3 identical “large” bookshelf speakers, which from what I have read is idea for an LCR set. A special thanks to PE techs that helped guide me on this design.
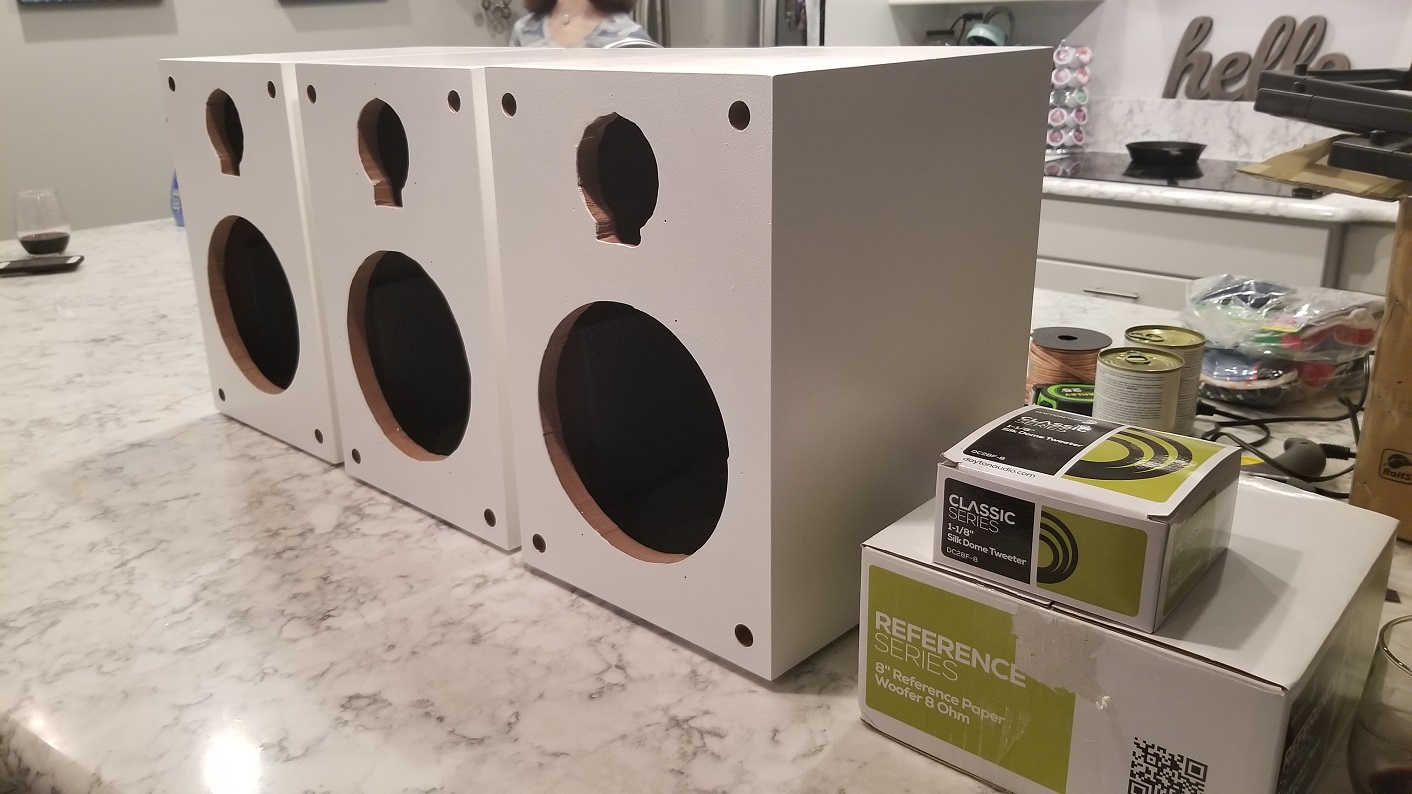
Driver Selection:
275-070
295-577
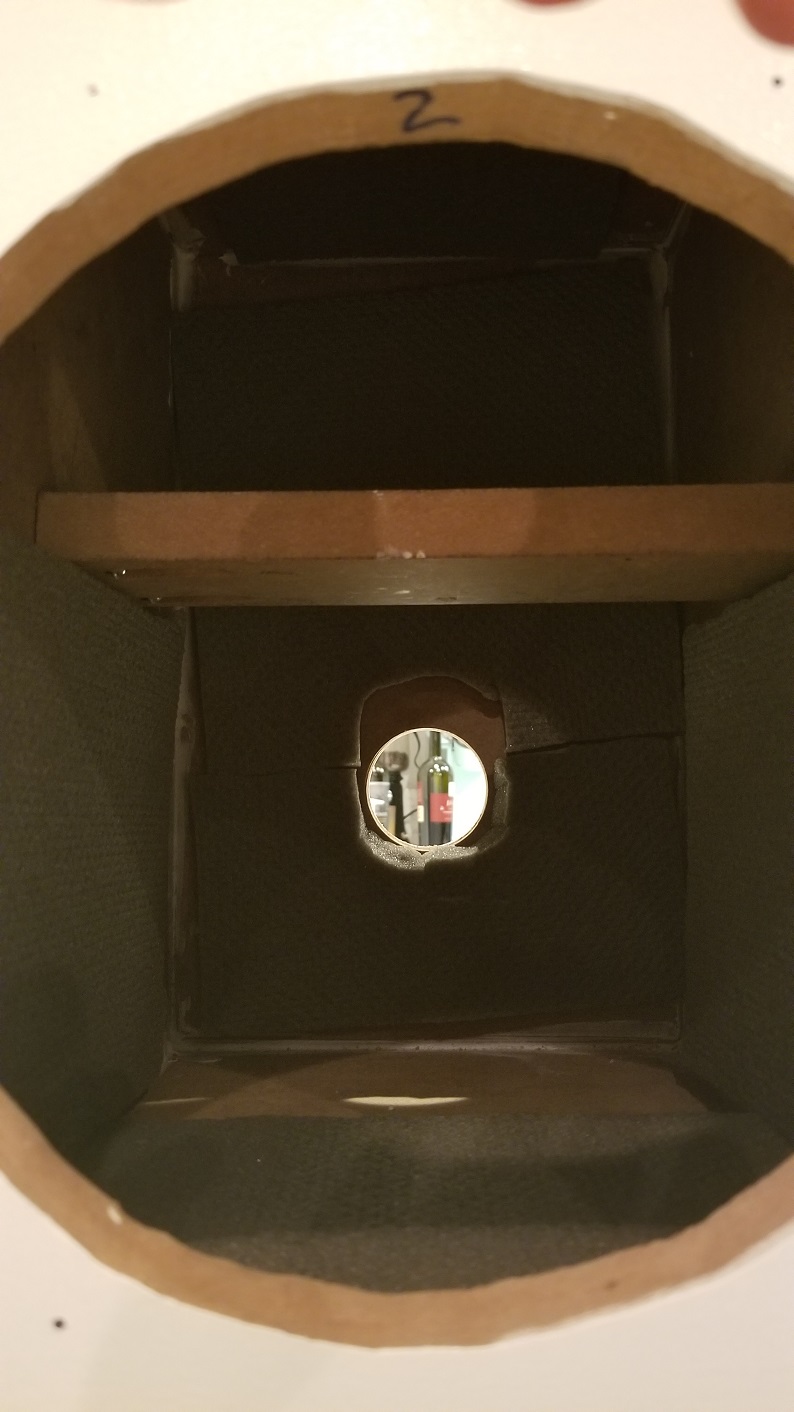
Enclosure Design:
I ended going with sealed enclosures as these speakers will likely spend their entire lives playing ~80 Hz and up (receiver crossover) and a larger ported enclosure wouldn’t add much value for my application.
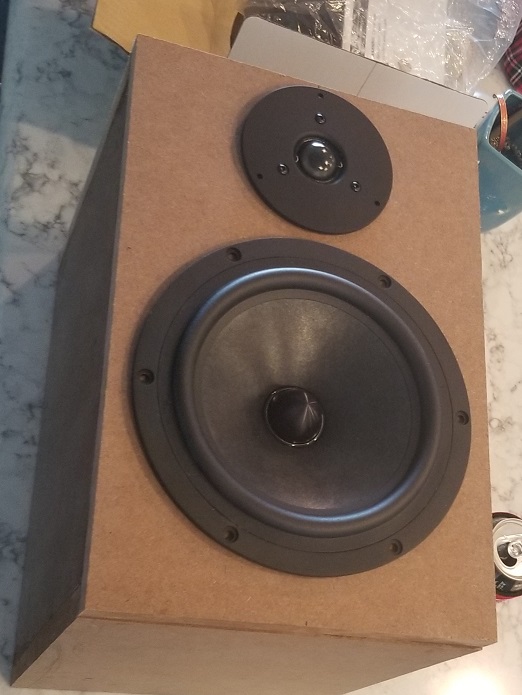
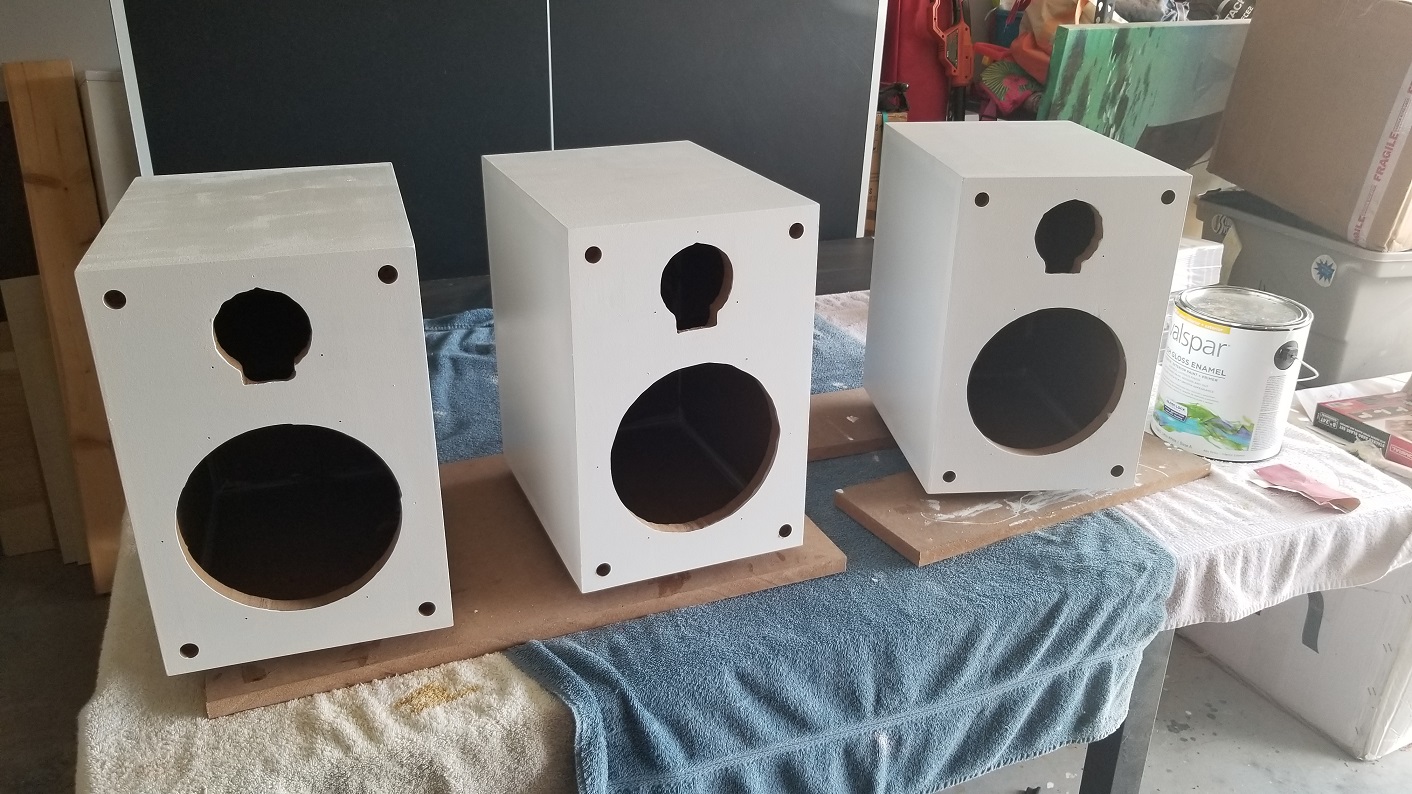
Enclosure Assembly:
Used 3/4 MDF, partial sheet left over from last project. I also was able to reuse some panels from two sub cabinets I was going to toss out.
Joined sides, top, bottom and baffle with glue and pocket screws. Mounted the back with glue and finishing nails.
Painted with interior while paint to match rest of system.
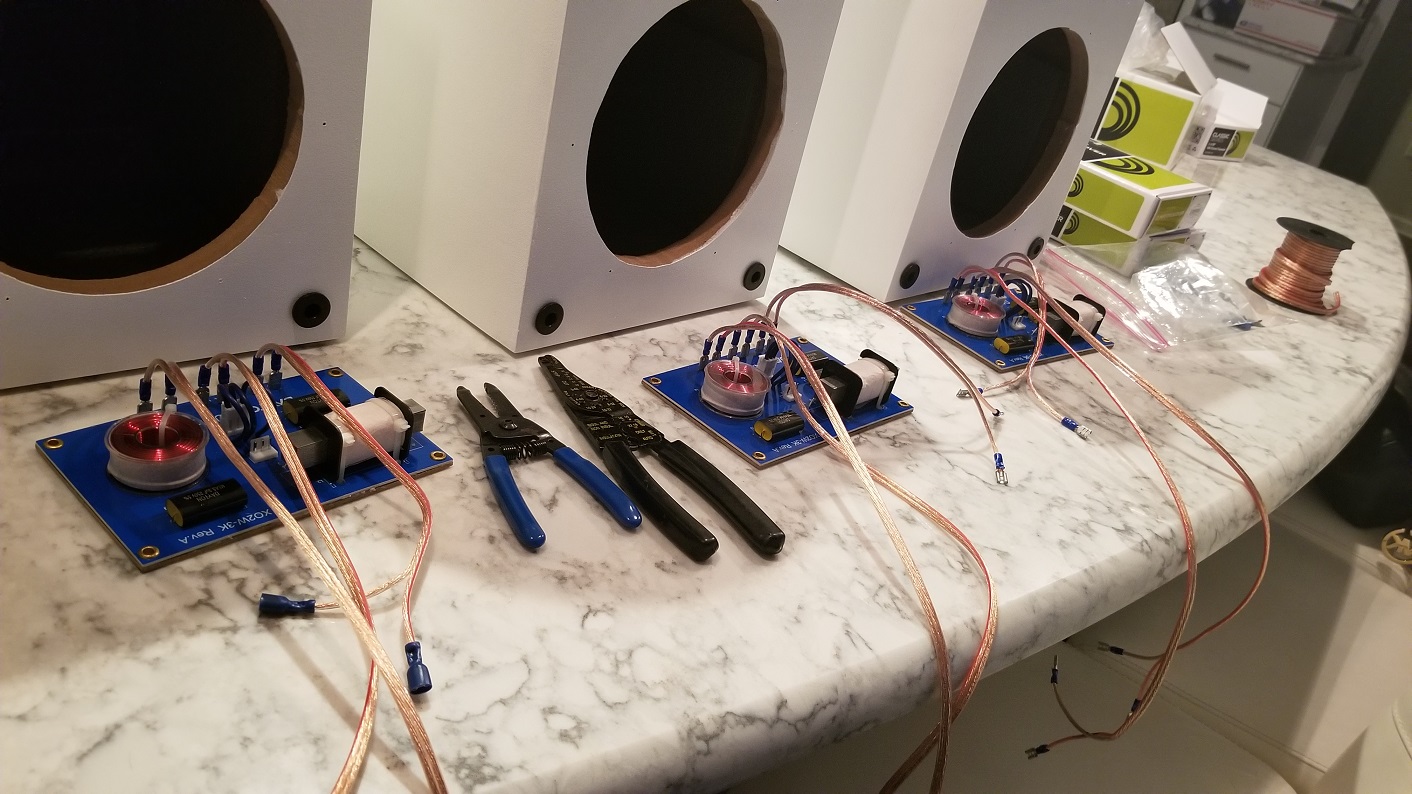
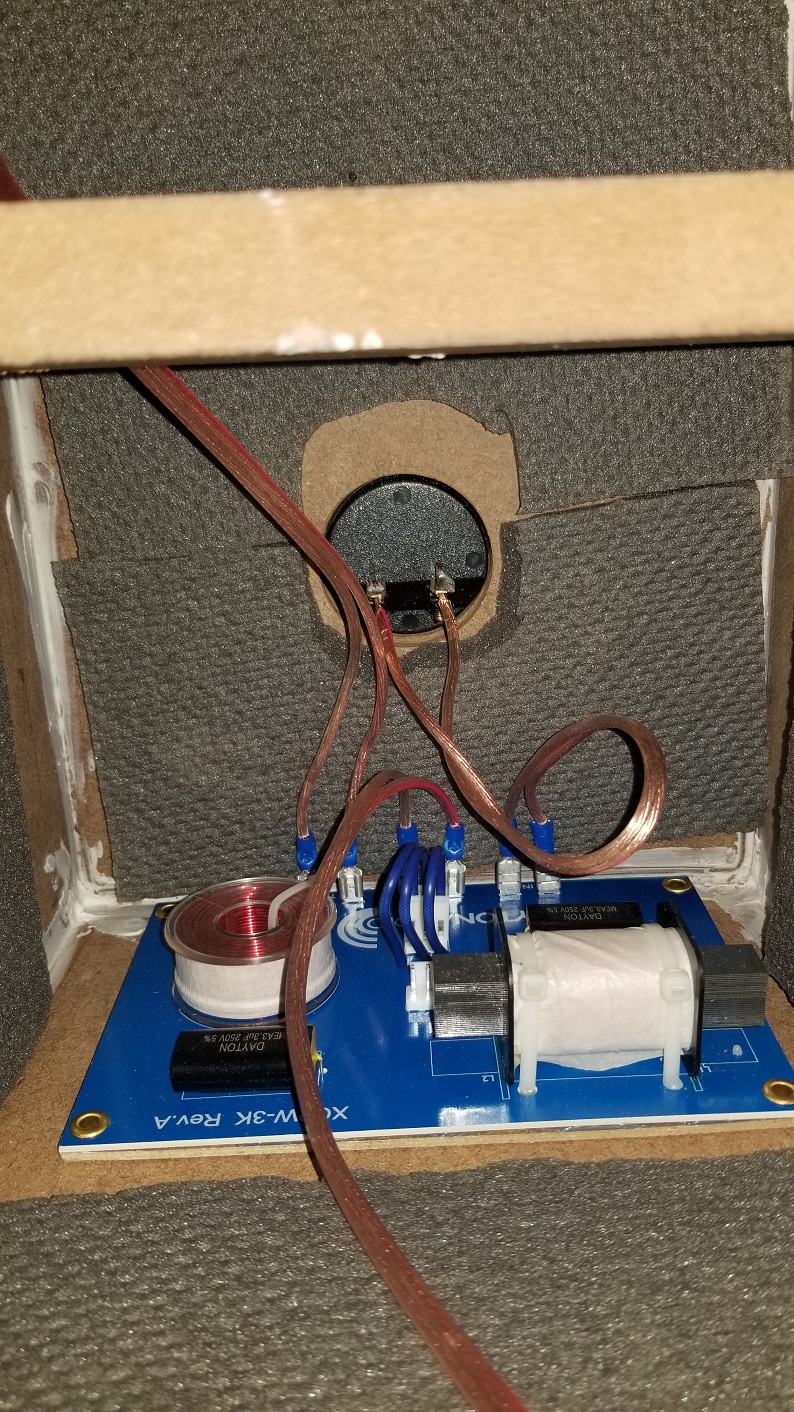
Crossover Design:
Prefab Dayton 3K crossover. Designing and building crossovers seems a little beyond my current capability at this point. In retrospect, the 3K crossover may be a little to high but the speakers sound great so I probably will not change them.
Tips & Tricks:
Slow down! I think my biggest challenge is that I try to speed through projects, excited about the finish line. The problem is that I often don’t spend time on the finishing details and regret it later. I have a toddler which limits my hobby time, so I would set short-term goals for each available time window with no expectation of a completion date. Example: Saturday – cut all pieces. Sunday construct cabinets. Lunch break Monday – predrill all hardware holes…
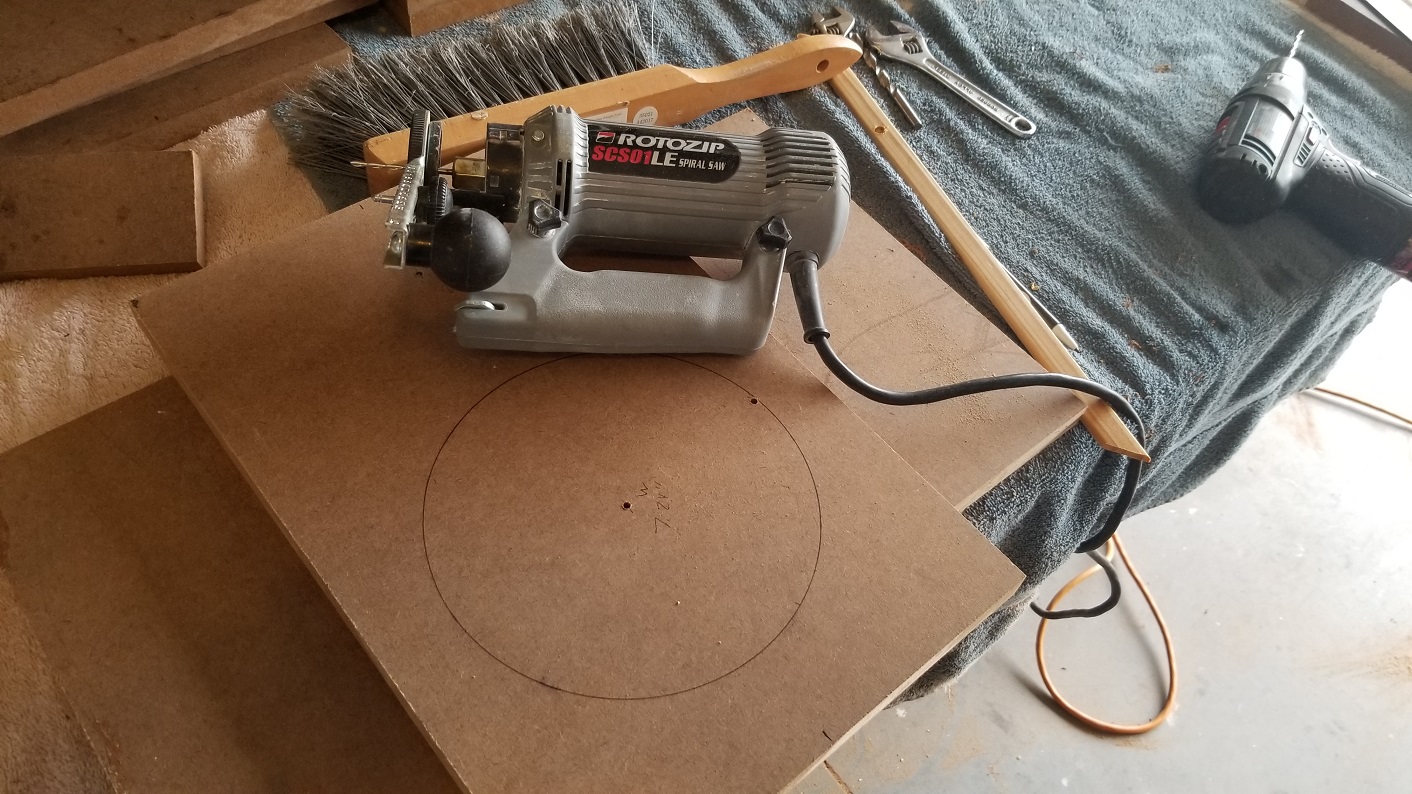
Plan your material cuts, always trying to make all common dimension cuts while your saw is set to that length, so you have as little variation as possible, not to mention a time saver. I lay out all my cabinet pieces on my material sheet sizes so I have a cut plan (see my example in photos).
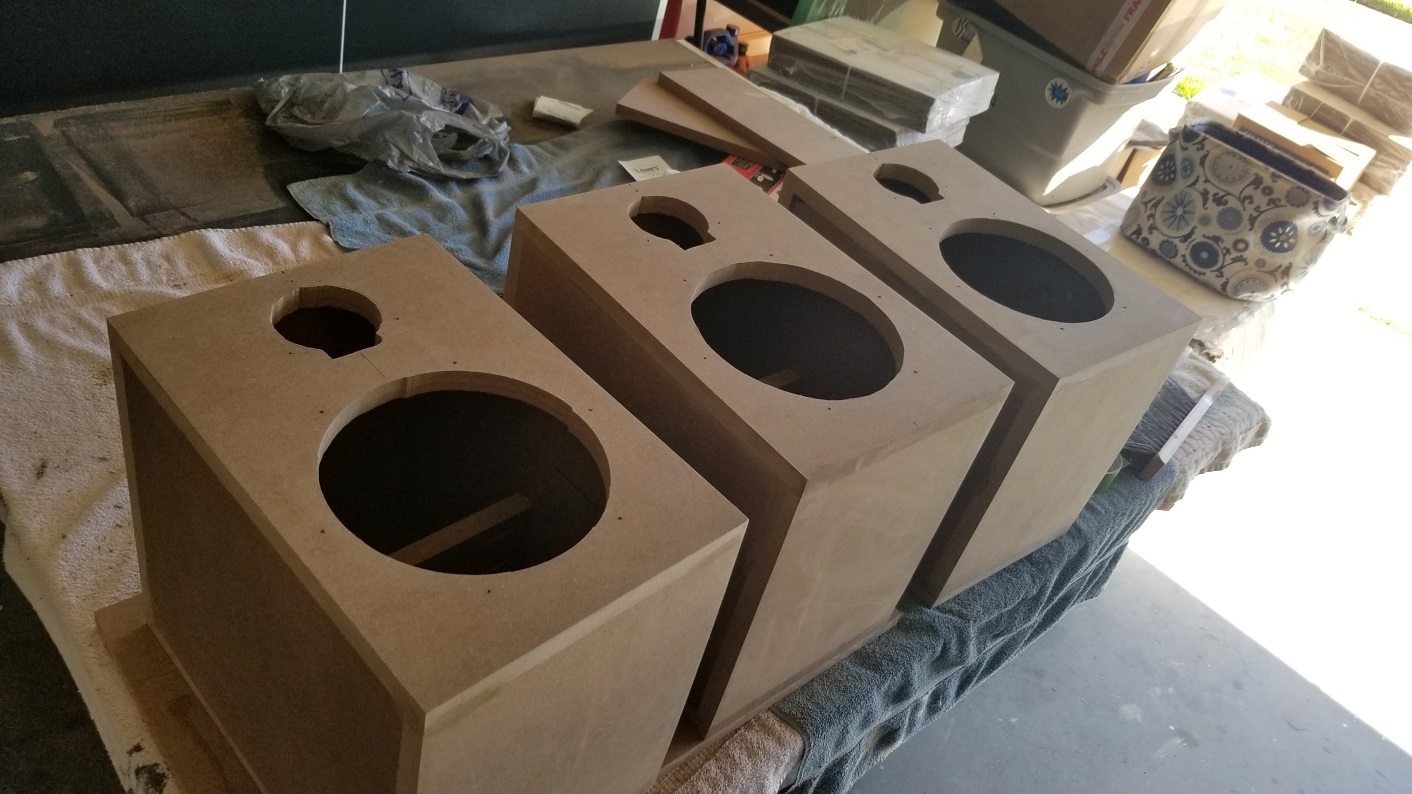
When constructing your cabinets, yield any flaws to the least seen part. In my case my baffles ended up about 1/32” too small. I tried to get that gap on the bottoms.
This time I predrilled all pilot holes (drivers, terminals, grill mounts) so that after I painted/finished I would have no dust and debris in my cabinets. This make the last part nice as I could finish up in the house without a mess.
I also read that if you use silicon to let the cabinets air out well before mounting the drivers as fumes from some sealants may damage drivers.
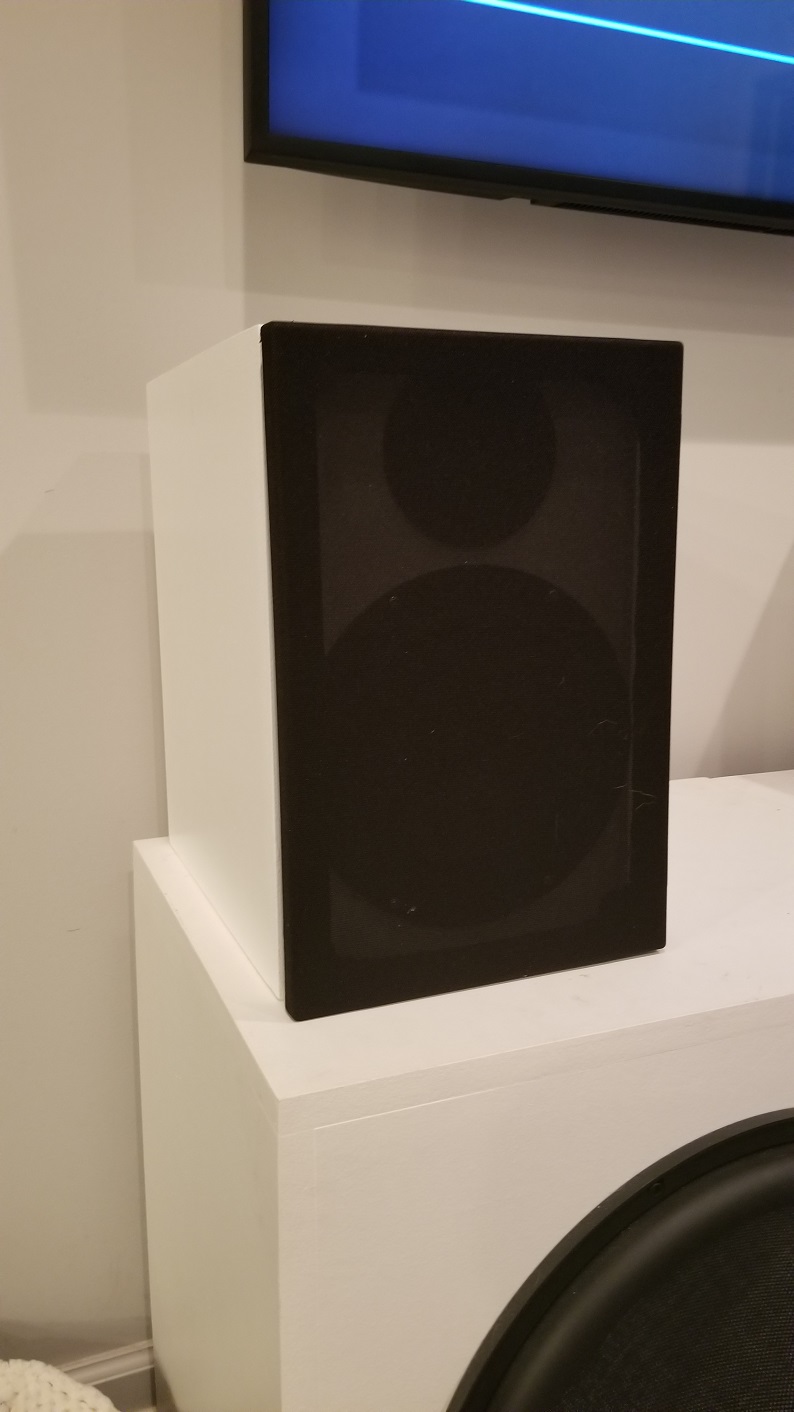
I used the PE grill kit linked below. It was really good kit despite my terrible skill with fabric. If you use this kit make sure to measure it out. I was able to make all 3 grills with the frames of one kit and only had to purchase 2 addition corner kits.
Conclusion:
Total cost (components and wood) for me, after getting some items on sale, open box, using coupons, etc., was less than $400! I feel my $400 speakers easily compete with one’s cost several times this. I am very pleased with project sound and finish. They drivers have less than an hour of play time. I know they will sound better as they break in, however, they are already noticeable better than what I had. Just clearer sounds and I can hear more content. Also, the off-axis is significantly better. Also, the cabinet is large enough that I can still add a port to get a little bump if I would like later. We will see…
Overall, I am ecstatic with the project. It was enjoyable, looks and sounds great. Already have plans for a couple more full-range speakers.
About the Designer:
I have always been an aspiring audiophile, although I don’t consider myself one. I am just a guy that loves music (listening and making), movies and building things out of wood. I still have my Infinity SM-62’s I bought out of a Crutchfield catalog in the early 90’s (~14 years old).
I am already planning a future project that I am calling “Old Schools,” which will be my recreation of the Infinity SM112 that I so wanted as a teenager. My versions will sound better ?
Project Parts List:
|
Part # |
Description |
Qty |
|
275-070 |
Dayton Audio DC28F-8 1-1/8″ Silk Dome Tweeter |
1 |
|
295-577 |
Dayton Audio RS225P-8A 8″ Reference Paper Woofer 8 Ohm |
1 |
|
260-144 |
Dayton Audio XO2W-3K 2-Way Speaker Crossover 3,000 Hz |
1 |
|
260-346 |
Parts Express Speaker Grill Frame Kit |
1 |
|
260-348 |
Parts Express Speaker Grill Frame Corner Kit |
1 |
|
260-276 |
Parts Express Round Speaker Wire Terminal Cup 2-15/16″ Gold Spring-Loaded |
1 |
|
100-016 |
Audtek Electronics SKRL-16-50 16 AWG OFC Speaker Wire 50 ft. |
1 |
|
260-520 |
Sonic Barrier 1/2″ Acoustic Sound Damping Foam with PSA 18″ x 24″ |
1 |
|
260-335 |
Parts Express Speaker Grill Cloth Black Yard 70″ Wide |
1 |
+ There are no comments
Add yours