Mini-tower

Designer:
John
Project Category:
Loudspeakers/Cabinets
Project Level:
Intermediate
Project Time:
8-20 Hours
Project Cost:
$100 – $500
Project Description:
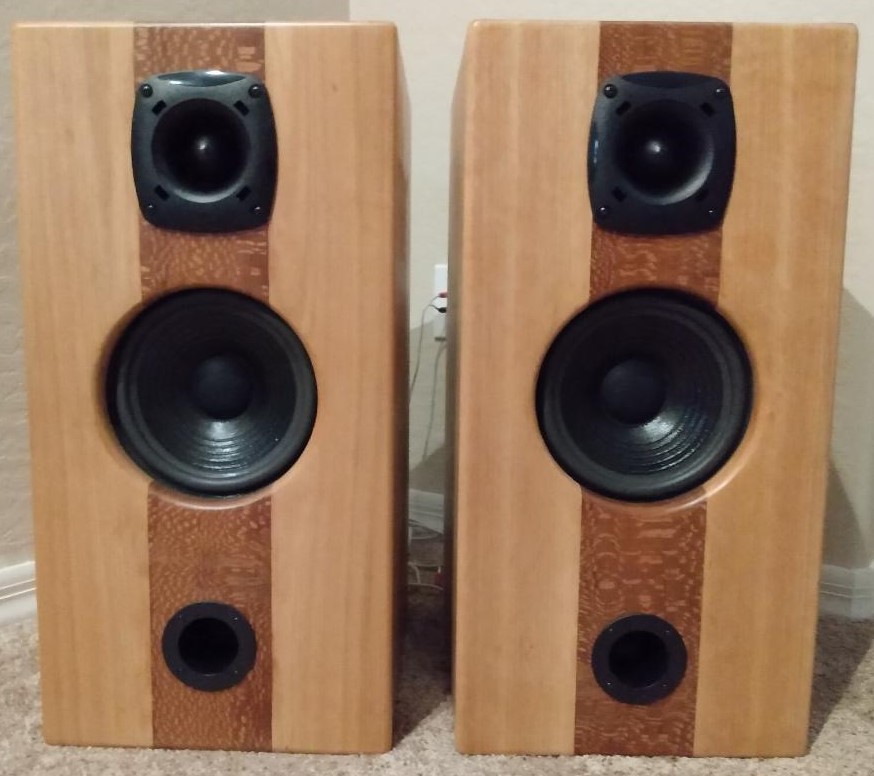
I designed and built a medium size mini-tower. I had a number of Parts Express components that I combined to make this 8 inch 2-way speaker. We wanted something that looked nice and could fill a room with nice background music.
Design Goals:
Moderate size, decent bass response, clear treble, attractive woods and visual appearance.
Driver Selection:
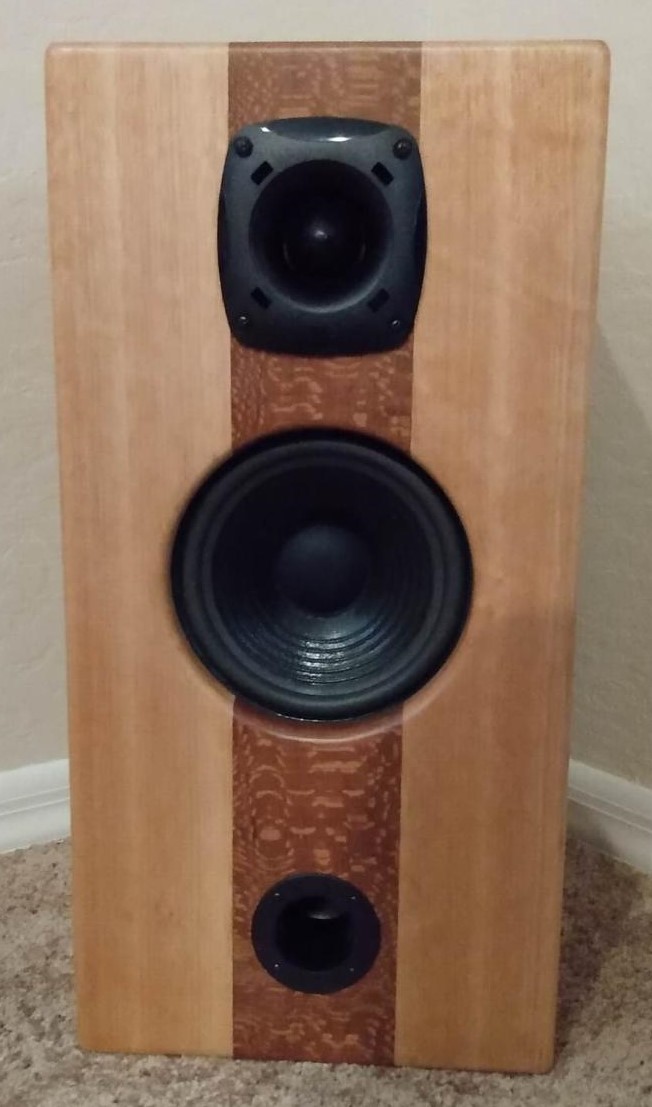
Woofer- TC-8034 8 inch 4 Ohms. Tweeter- Selenium ST-200, 8 Ohms. These drivers were selected for smooth response, and relatively high SPL.
Enclosure Design:
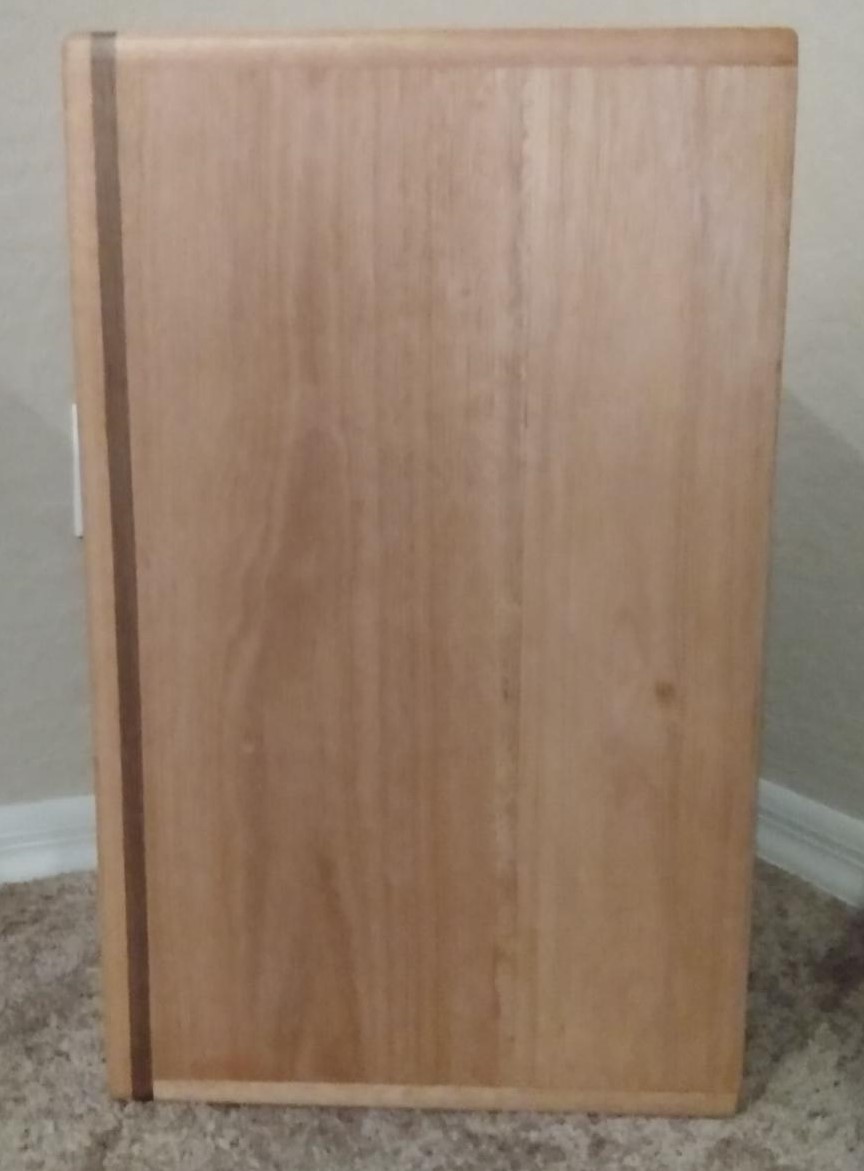
The box was designed using the Loudspeaker Design Cookbook software package. The external dimensions are 24Hx12Wx15D. These dimensions would be nearly-optimum for the woofer, with a short port length predicted. The cabinet wood is solid 3/4″ Red Grandis, with 3/4″ Leopard wood for the center stripe, with a Black Walnut trim strip around the outer perimeter to hide the joints. The back panel is 3/4″ MDF.
The 2 inch port was selected so that the port length was short to minimize any breathing effects. The actual port lengths were 2.5 inches for one cabinet, and about 2.7 inches for the other cabinet (due to variations in the actual woofer stiffness, I believe).
Enclosure Assembly:
All of the “nice” wood was planed to 3/4″ before starting. The front and top/bottom panels were made by joining ~6 foot long pieces of Red Grandis and Leopardwood, observing the grain orientation, using biscuits and then cutting to size. The side panels are biscuit-joined Red Grandis, about 8 feet long, and cut to size. Medium biscuits were used throughout. The holes for the speakers were cut with a plunge router and Jasper cutting guide. The woofer is back-mounted, so I used a 3/4″ quarter-round to smooth the top inside edges. Because the speakers align to the center stripe, accuracy of the hole locations is important. All of the interior joints were reinforced with 3/4″x3/4″ pine. The key issue is to keep the edges square, and move quickly when assembling as the PVA glue sets quickly. Cross-corner measure to ensure squareness. Use lots of clamps.
The walnut trim strip was inlaid with a 1/2″ router bit, set to slighter shallower than the thickness of the walnut. The walnut was trimmed with a small hand plane to precisely fit the grooves. To bend around the corners, cross-grained walnut was soaked in hot water for 20 minutes, then glue applied and slowly bent the wood around the corner curve to prevent cracking. Blue painter’s tape was use to hold the corner inserts in place until the glue dried.
The box was sanded sequentially from 80 to 120 to 220 grit using an orbital sander. The finish is 4 coats of Minwax Polyurethane Clear Satin, lightly sanded with 400 grit paper between coats. The back panel was drilled for the L-pad and mounting screws with countersunk holes. Flat black enamel was used for the back panel finish.
Crossover Design:
I used ERSE (http://www.erseaudio.com/) as a starting point.. I selected a Linkwitz-Riley configuration. varying C and L values to get a crossover frequency about 3200Hz, with 12dB per octave slopes. Since the actual values (C1=4.4uF, L1=0.56mH, C2= 8.8uF and L2=0.28mH) are not available, I trimmed the components using additional capacitors in parallel and adding/removing wire from the coils to get precise values
All capacitors, resistors and coils are from Parts Express. A Zobel R-C series network was added across the woofer to smooth response (http://diyaudioprojects.com/Technical/Speaker-Zobel/). These component values were 9uF and 9.5Ohms. Crossovers were tested and tuned individually with a sweep generator and oscilloscope. The actual crossover points are about 3250Hz. The crossovers have point-to-point wiring on terminal blocks, mounted on 1/4″ plywood, caulk mounted to the back panel (no vibration), with screws (just for insurance).
Tips & Tricks:
Use alignment jigs when using biscuit joints. Lots of Tite-bond in the joints, wipe off the squeeze-out. Add 3/4″ reinforcement along all of the edges and the back panel supports. Wire internally with polarized plugs and color coded wires in case of repair.
Conclusion:
The speakers are attractive looking, and sound really smooth. Still trimming the tweeter L-pad for aural balance to our ears. They are not as efficient as some of my other larger designs, but quite adequate for the demands.
About the Designer:
I am trained as an EE from Michigan State University, with MS and PhD in Materials Science from MIT. I made my first speakers for a friend about 50 years ago. I have built more than 50 designs, including exact replicas of Klipschorns, JBL L200s, and Voice of the Theaters. My favorite drivers are horns for mid and high ranges, mostly from JBL, ALTEC, Selenium. I have experimented with all types of tweeters, but keep coming back to horns for their clarity and high output. I also rebuild VOX guitar amplifiers from the 1960’s and 1970’s, improving the electronics and restoring cabinets to “as close to original” as possible.
Project Parts List:
|
Part # |
Description |
Qty |
|
299-2200 |
TC-8034 8″ Treated Paper Cone Woofer with Foam Surround 4 Ohm |
1 |
|
264-348 |
Selenium ST200 Super Tweeter |
1 |
|
260-265 |
Speaker L-Pad Attenuator 100W Mono 1″ Shaft 8 Ohm |
1 |
|
260-387 |
Speaker Cabinet Port Tube 2″ ID Adjustable |
1 |
|
260-276 |
Parts Express Round Speaker Wire Terminal Cup 2-15/16″ Gold Spring-Loaded |
1 |
|
260-317 |
Acousta-Stuf Polyfill 1 lb. Bag Speaker Cabinet Sound Damping Material |
1 |
Very nice work! Your years of experience and the wisdom you have amassed, is displayed by the way you you describe the details involved to build your beautiful speakers.
Which horns do you favour when you build your speakers?
Very nice. Glad I looked in to see the details. So cool your background and energy to build these speakers. Sidenote. I played guitar in a rock band in 70s… had a Vox Beatle amp. My friend had a Vox Viscount (I believe). Those at that time were at the top of the line. Thanks for posting!