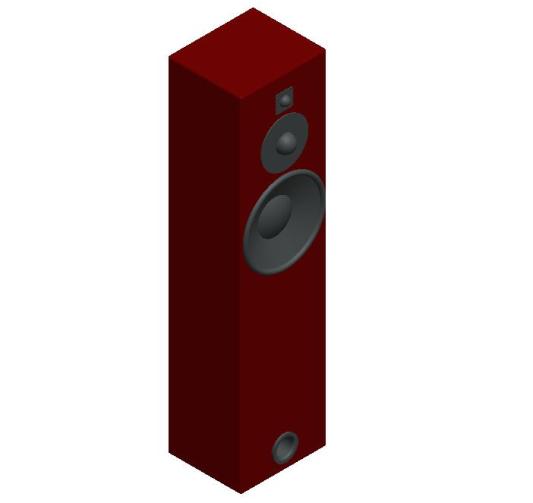
The 3-B (Beginner’s Budget Build)


Designer: Jonny Wilkens
Project Time: 20+ hours
Project Complexity: Novice
Project Cost: $100-$500
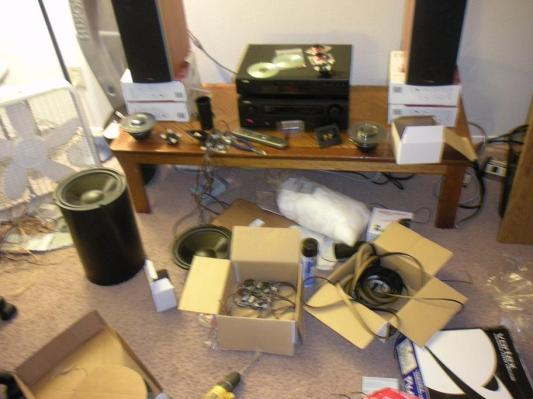
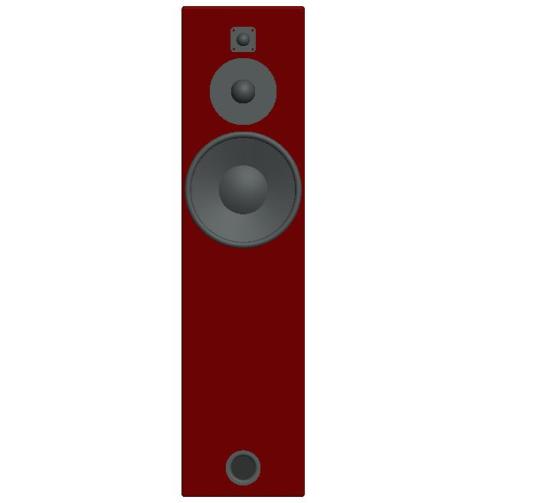
Driver Selection
I prefer the softer sound of dome midranges and tweeters so I chose the Dayton DC50F-8 midrange as my starting point. I thought it would provide the nice soft sound I was looking for, so I picked up 2 of them on sale for $25 each. The efficiency was also 90db which fit with my scheme. As this project was going to have the focus be the midrange, I chose a woofer and tweeter with a slightly lower efficiency to emphasize the midrange more. The DC50F-8 goes down to 500hz so I knew using a subwoofer would not be an option; I would have to use a woofer and cross it over above 500hz. I wanted it to be a 10” driver so it could keep up with quick bass but also have the ability to go as close to 20hz as possible for the lower frequencies. For this I chose the Dayton DC250-8. It has a good frequency range, and being a lightweight treated paper cone, I knew it would be quick enough to keep up with fast music. The power handling of the woofer is also very close to that of the midrange with one being 70wrms and one being 80wrms, and at $25 each it fit the budget. The tweeter took the longest time to select. At first I wanted to stay within the Dayton family but none of the drivers came close to the power handling of the other 2 components while staying in the budget. Like the woofer, I wanted this to be 89db efficient also, to continue the emphasis on the midrange. The DC50F-8 topped out at 6000hz so my options were pretty open in terms of lower frequency limits on the tweeter. Finally, after deciding I could not stay within the Dayton family, I looked to Morel. I knew Morel made fantastic drivers but most of them would have put me over the budget. In October 2009 I saw that the Morel MDT 12 was on sale for $25 each. It could handle 80wrms, it was 89db efficient, and the frequency extended well below my 6000hz limit on the midrange. It was the perfect fit on all accounts. I looked at the MDT 22 also but I was going to be crossing it so high over the driver’s lower limit it was not worth the extra money in this case.
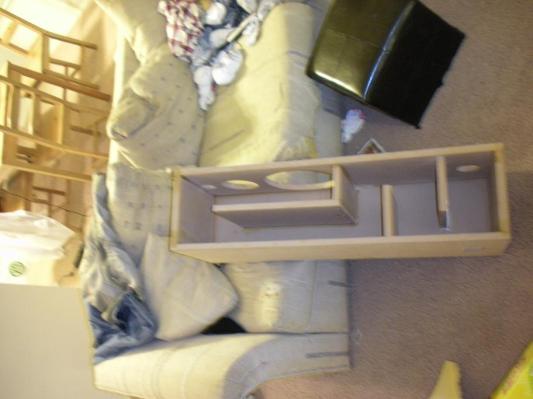
Enclosure Design
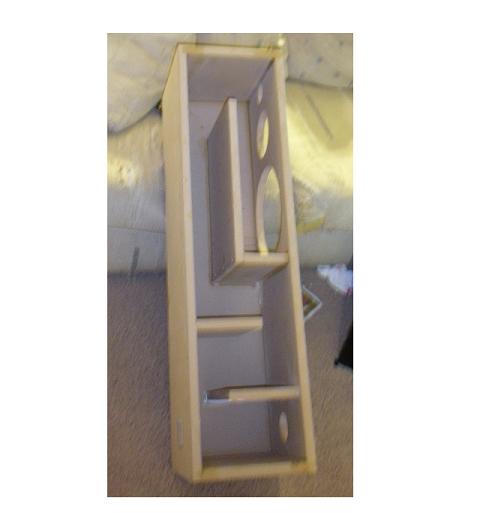
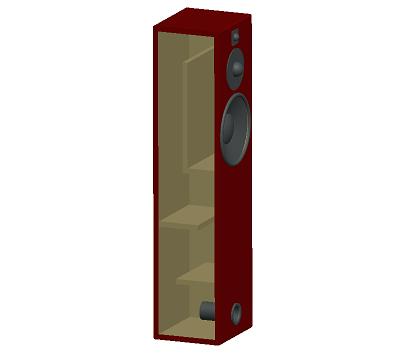
For my enclosure, I wanted something that would be sure to put out some good low bass. My dome midrange has a sealed back so I did not have to factor that into the design. After some research I decided on a transmission line design with an interior volume of roughly 1.8 cubic feet. I thought that would suit my needs best since I was going to be asking my woofer to play the upper bass frequencies as well as the lows. Next is a part where budget plays a huge role in my design. In order to minimize costs, I modeled my plans in CAD software and played with the dimensions until I could make both boxes out of one 4×8 sheet of wood. I allocated for the use of MDF over particle board in my budget, so there were no issues with using that. My wife measured my seated ear height at home so I knew how tall to make them. After modeling it I had to tweak some of the dimensions so it all fit, but finally settled on dimensions that would put the drivers at the height I wanted and fall within my single sheet goal. In terms of the inner baffling, I wanted it to be front firing for aesthetic purposes so I designed the TL path to be as long as possible with my given stipulations.
Amplifier/Crossover Configuration
As I am a beginner speaker designer I chose a pre-made crossover. I found the (PE part number) 260-210, 100 watt, 800/5000, 3-way crossover. It fit my design perfectly and at $15 was easy on the budget.
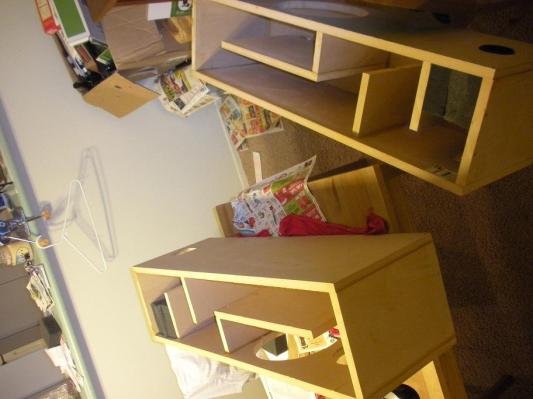
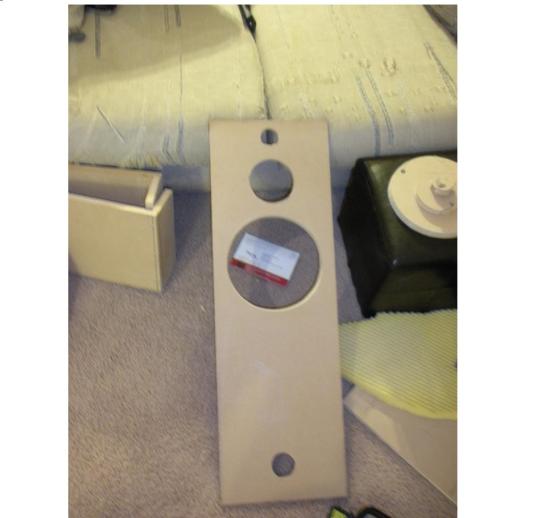
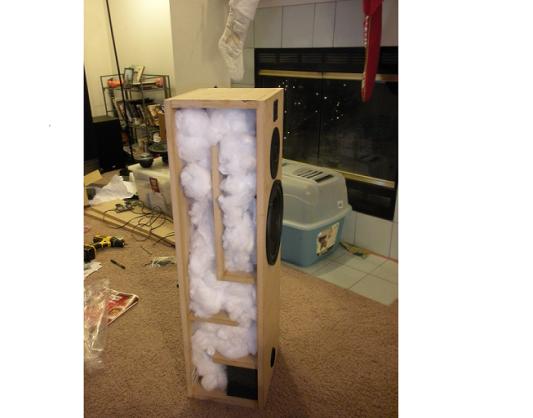
Enclosure Assembly
The assembly was very straight forward. I bought my MDF, transcribed my cut lines and cut it on my dad’s table saw. Once I had all the pieces, I cutout the holes with my jigsaw, and sanded as needed until each driver fit. I assembled (screwed and glued) 5 of the 6 sides first on each box leaving a sidewall out on each. Then I installed the inner baffling pieces. Next came the crossover with all the wires already soldered to it which I screwed to the far sidewall. Then the drivers and binding posts with everything connected, and the dampening material which I pulled apart to loosely fill the cavity. Finally I closed them up with the final sidewall.
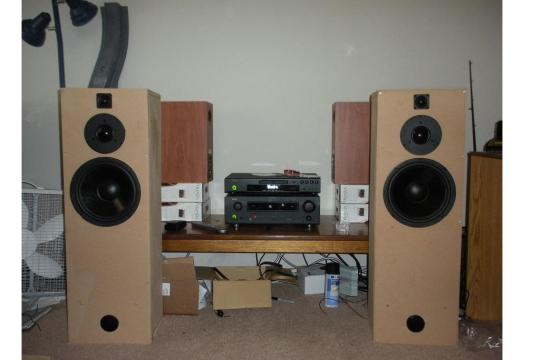
Conclusion
After listening for a while I was unhappy with the bass output level. Originally I had the 5” tube in hopes of tuning the output to strictly lower frequencies. Through trial and error I found that no port tube was the best, and that the transmission line design already accomplished this. I trimmed them so that they became purely cosmetic and I got the output I was looking for. My budget was $300 and the final tally was around $260 so I was able to hit my budget goal.
Project Parts List
|
Part # |
Description |
Qty |
|
277-060 |
1 |
|
|
285-010 |
1 |
|
|
295-315 |
1 |
|
|
260-210 |
1 |
|
|
260-309 |
1 |
|
|
260-317 |
1 |
|
|
260-322 |
1 |
|
|
260-542 |
1 |
|
|
081-435 |
1 |
+ There are no comments
Add yours