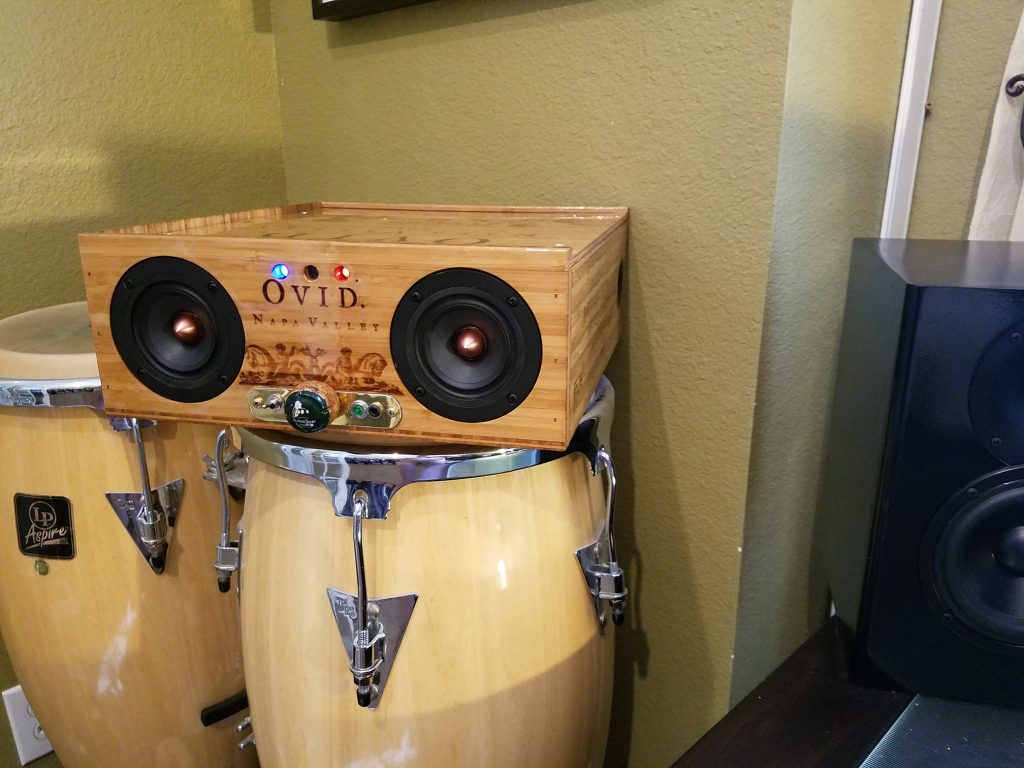
Wine Box Bluetooth
Designer:
There are some that call me Tim
Project Category:
Portable Speakers
Project Level:
Beginner
Project Time:
8-20 Hours
Project Cost:
$100 – $500
Project Description:
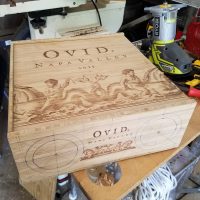
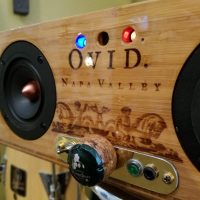
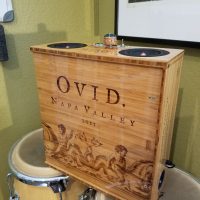
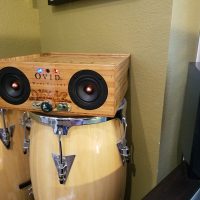
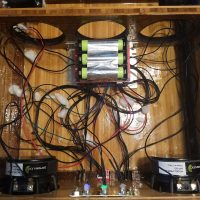
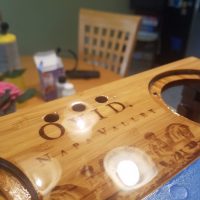
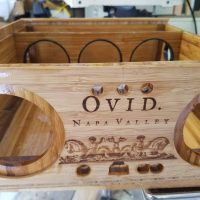
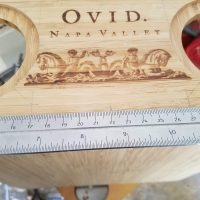
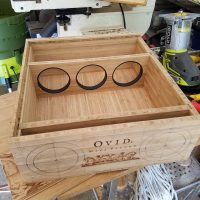
3 bottle bamboo wine box. Added walnut interior bracing. Finish is Envirotex pour on epoxy.
Design Goals:
College freshman gift – needed to look cool and sounds good.
Driver Selection:
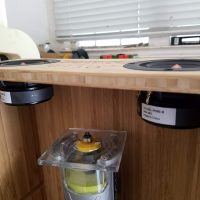
295-349 Dayton Audio PS95-8 3-1/2″ Point Source Full Range Driver 8 Ohm
Enclosure Design:
11 liters
Enclosure Assembly:
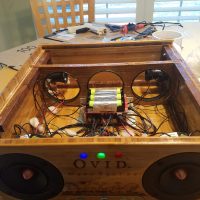
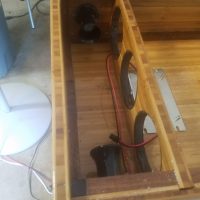
Bamboo plywood. Walnut bracing.
Functioning sliding lid (screwed down)
Fabricated control plate (door push plate from Home Depot)
Champagne cork volume control
Epoxy interior and exterior to add stability -especially on the sliding lid which was a bit thin.
Crossover Design:
n/a – point source speakers
Tips & Tricks:
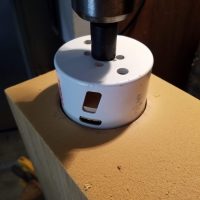
Do not try using a circle jg to cut bamboo. The fibers grab the blade and make for an uneven cut. Definitely want to use hole saw then come back with a rabbet bit.
Envirotex epoxy – the thicker the coat, the less likely yuo are to get bubbles. Bubbles pop with CO2, not neat, so just blow on them.
Conclusion:
Came out just like I wanted it.
About the Designer:
Novice – this is project #3
Project Parts List:
|
Part # |
Description |
Qty |
|
300-7302 |
Portable 60 Watt Battery Powered Bluetooth Speaker Package with 3″ Full-Range Drivers |
1 |
|
295-349 |
Dayton Audio PS95-8 3-1/2″ Point Source Full Range Driver 8 Ohm |
2 |

Can you please explain how you sealed the sliding lid to the bottom of the enclosure? I’m doing something similar for a center channel and it’s vexxing.
The sliding lid is held down with 6 brass screws. 4 on the side and 2 on the cross brace in the middle.
I put a thin coat of epoxy in the slide channel and thicker coats on the lid (not glued together) – this helped create an airtight seal and the screws ensure no rattling.
Thanks Tim. That’s very helpful
I put a very thin coat of epoxy on the slide channels and also coated the sliding lid (so you get a kind of plastic on plastic fit when it’s screwed down). The lid is screwed down to the side bracing and the one cross brace in the middle (6 brass screws). No rattle (screws) and no air leakage (epoxy coating). The sliding lid is on the top. The bottom is epoxy coated with extra walnut strips in all of the seams to make it stiffer.