
Zivojinovich Birdhouse Speakers


Designer:
Chris N
Project Category:
Freestyle Speakers
Project Level:
Beginner
Project Time:
1-8 Hours
Project Cost:
Under $100
Project Description:
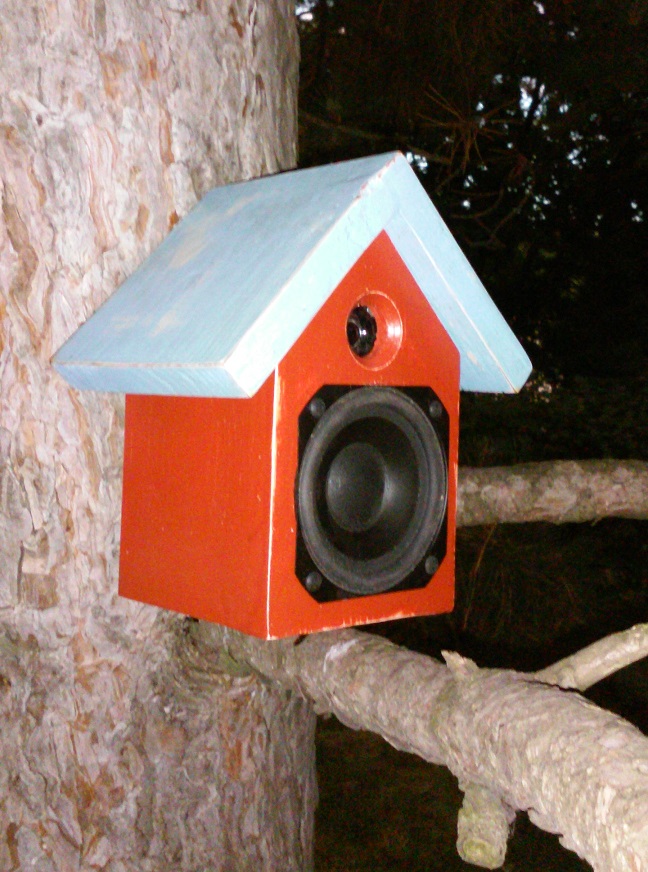
The Zivojinovich Birdhouse Speakers are a compact speaker, designed to be used outdoors, but would work just as well on a bookshelf or desk.
Design Goals:
The primary design goal is weather resistance. A secondary goal is low cost, being used outdoors, they are less protected and may succumb to damage easier than if they were indoors. Being inexpensive drivers eases the pain should they need to be replaced. A small size is desired for a variety of locations, such as wall mounting. The birdhouse design fits in with the outdoor location, so they don’t stand out.
Driver Selection:
I searched my inventory of drivers and chose the Aura NS35-255-4A woofers. The tweeters are an un-named 1″ plastic cone tweeter designed for car use. I bought these from PE years ago, I think they may be Onkyo’s. Both drivers have poly cones, a material that should hold up to moisture better than untreated paper, and more dent resistant than a metal cone.
Enclosure Design:
The enclosure is made to emulate a traditional birdhouse. They are 8″ in height, about 7″ at their widest point, and 5.25″ deep. The lower, red, part of the cabinet is 4.5″ wide and 4.5″ deep. The cabinet is sealed.
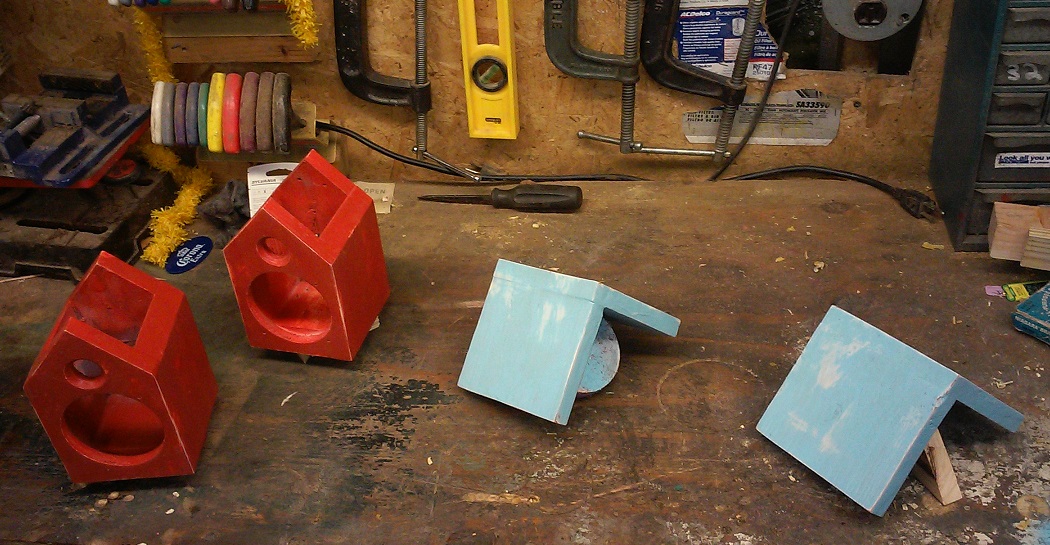
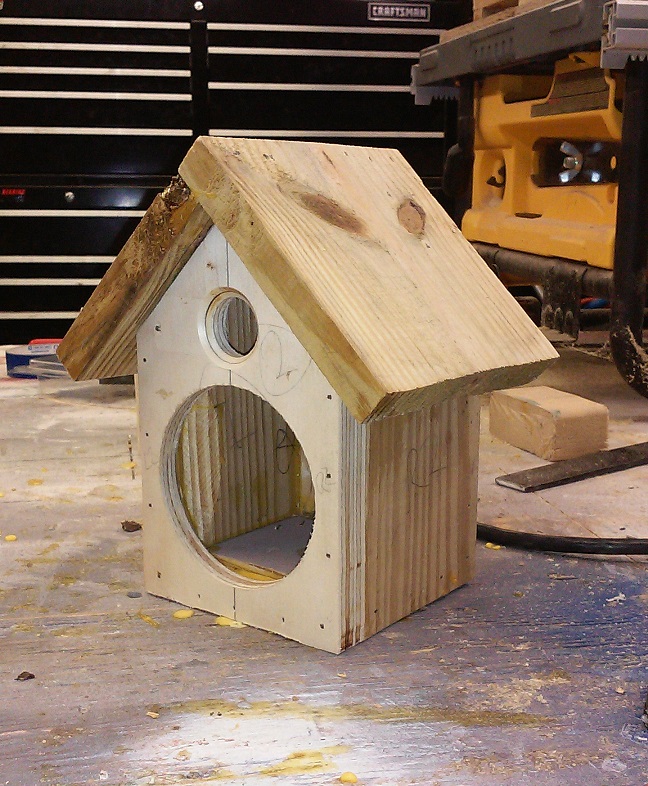
Enclosure Assembly:
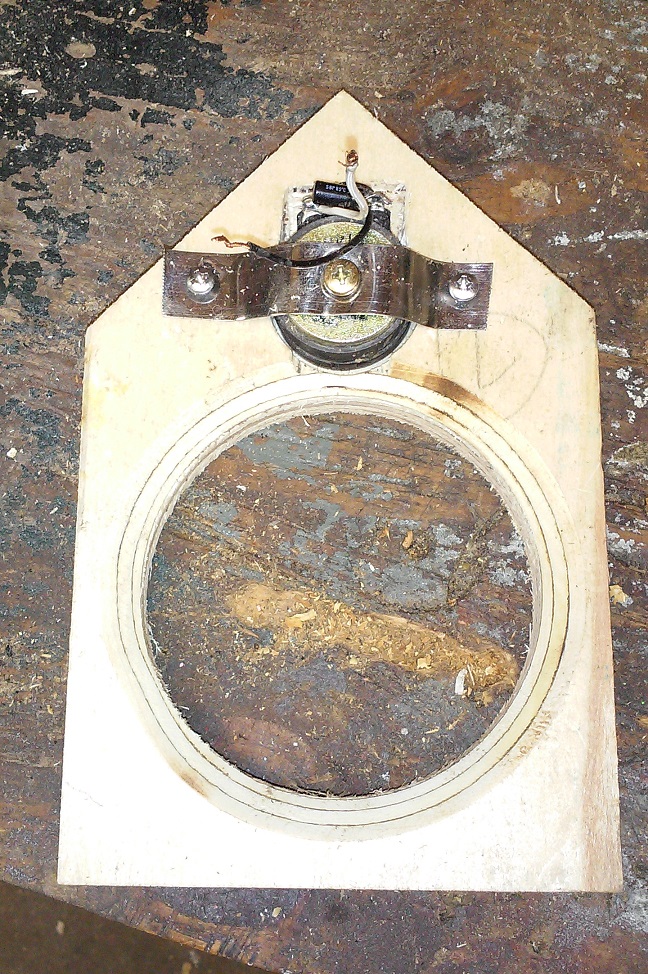
Enclosure assembly is basic, using butt joints, held with glue and brad nails. The top is removable, held in place by screws. The tweeter is an odd shape, so I traced its shape onto the back of the baffle. The bulk of material was removed with a 1″ Forstner bit. The rest of the shape was chiseled out by hand. The front of the tweeter through hole was routed over with a 45 degree chamfer bit, which looks nicer than a 90 degree opening, and also boosts the tweeters low end. The same bit was used to chamfer the rear of the woofers opening on the baffle, giving it much needed breathing room in the narrow cabinet. The cabinet is lightly stuffed with poly fill.
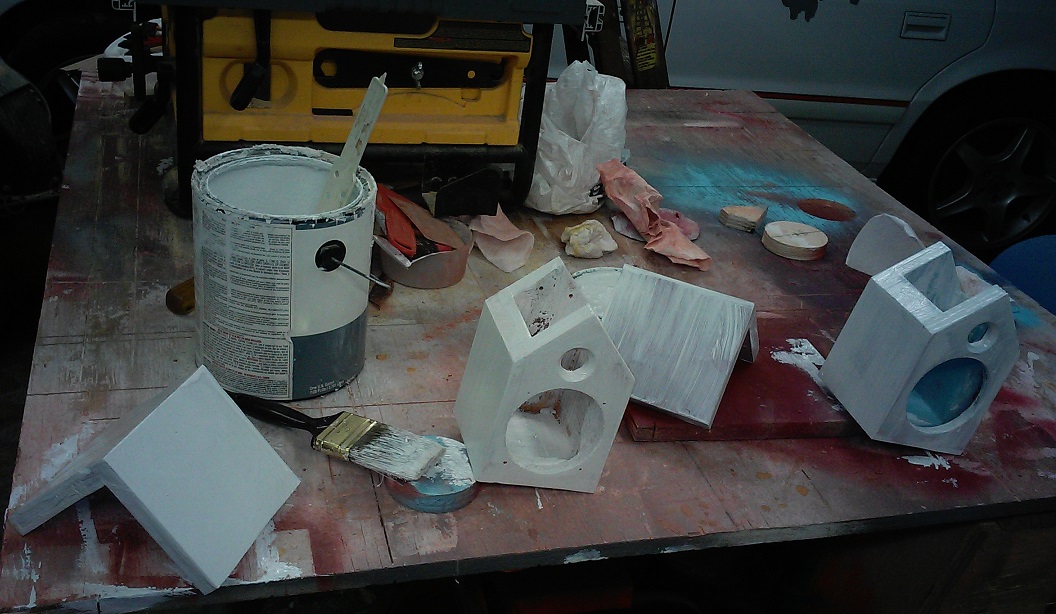
The Rustic finish starts with Kilz primer, 2-3 coats. I’ve found it to be durable, and the white color shows through the distressed edges nicely. The red and blue color are standard spray paint, another 2-3 coats. The top coat is wipe on polyurethane, satin finish. I applied the first coat with a rag, before the paint was completely dry. This allowed me to remove some of the paint as I applied the poly, giving the cabinets a weathered appearance. After the first coat dried, I used #0000 steel wool to both smooth and distress the finish. The second coat was then applied and smoothed with more steel wool before the third and final coat.
Crossover Design:
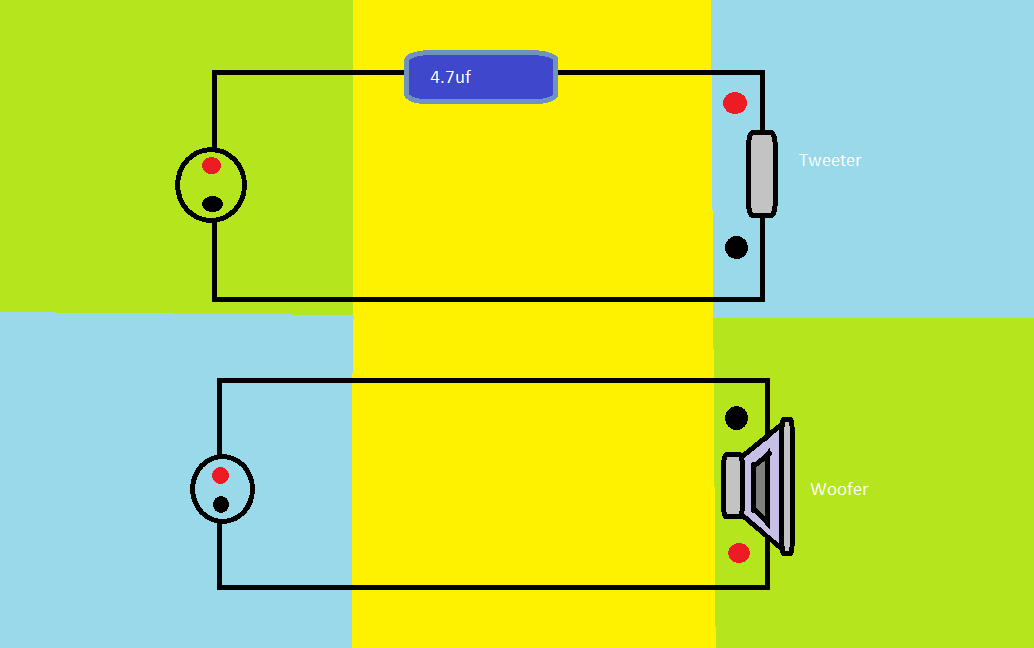
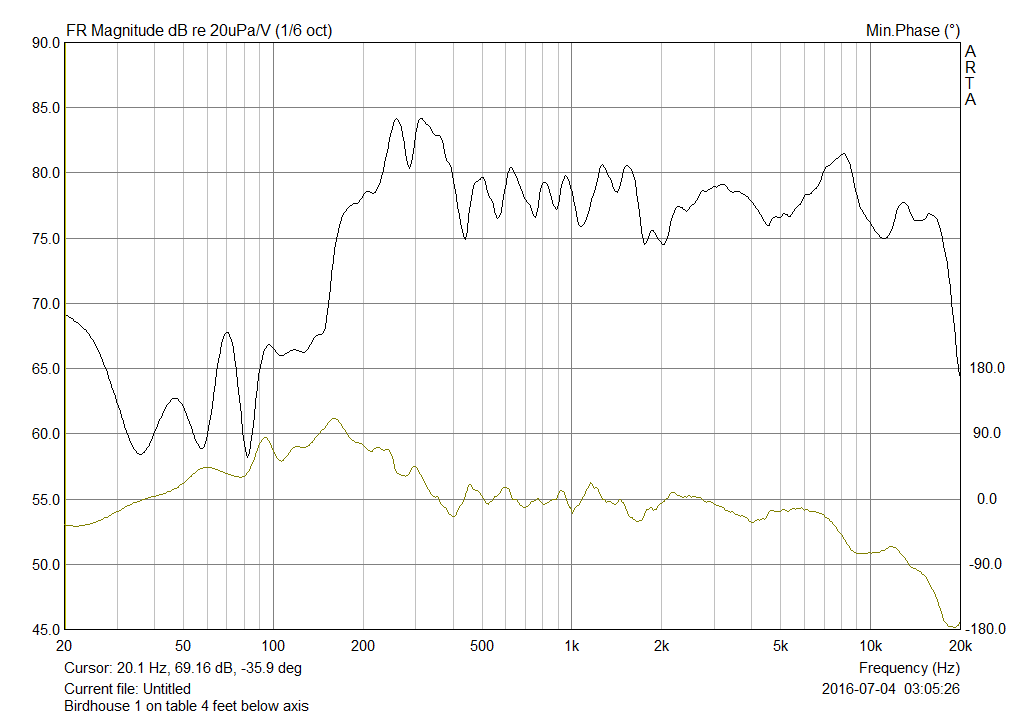
The frequency response and impedance of both drivers was measured in cabinet. I used Passive Crossover Designer (PCD) to simulate the crossover. The woofer was relatively flat, aside from a peak in the low end, and gets reinforcement when wall mounted, and its top end rolled off well enough that I left it unfiltered. The tweeter had slight low end rise, presumably from the mild waveguide. A 4.7uf cap rolls it off. The tweeters level matched the woofer closely, no padding deemed necessary. The tweeter is connected with normal polarity, the woofer’s polarity is reversed. The responseis best when listened to at or below the woofer.
Conclusion:
This was a fun project. They sound decent, although they are light on bass. They were easy to assemble, and the crossover, which performs well, is as simple as it gets.
About the Designer:
I’ve building and modifying speakers almost as long as I’ve been listening to them.
Products Used:
Aura NS35-255-4A
Buyout Plastic tweeter
+ There are no comments
Add yours